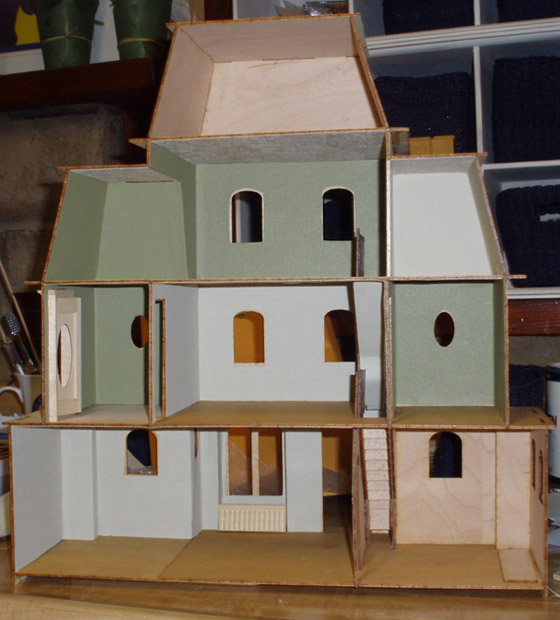
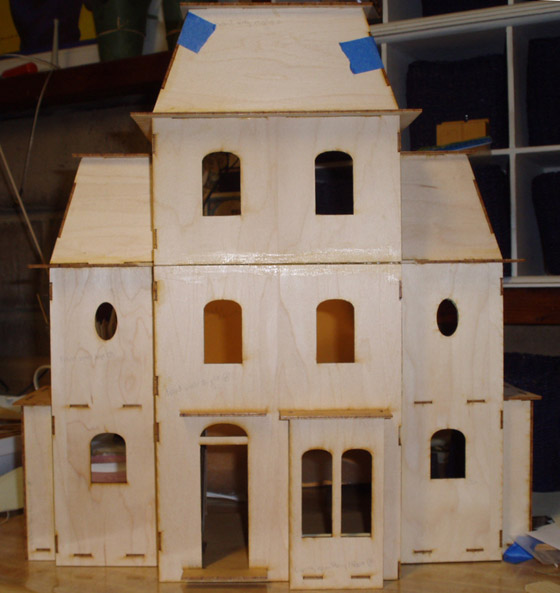
I finished assembling the Rosedale this week. Before gluing in the third floor and attic, I cut the wallpaper and ceiling pieces that would to go inside. It was much easier to figure out the shapes with the parts unassembled, particularly the angled wings and attic.

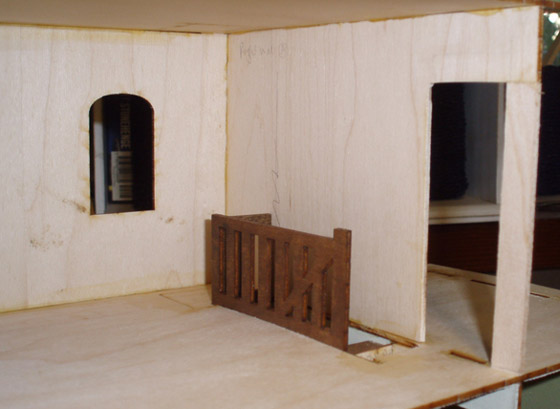
A few weeks ago, I assembled the big room on the third floor as a standalone unit. I glued this part in first and added a bit of strip wood at the front edge of the bathroom door opening, to form a proper doorway. (If I’d just cut the hole properly in the first place, this wouldn’t have been necessary…)
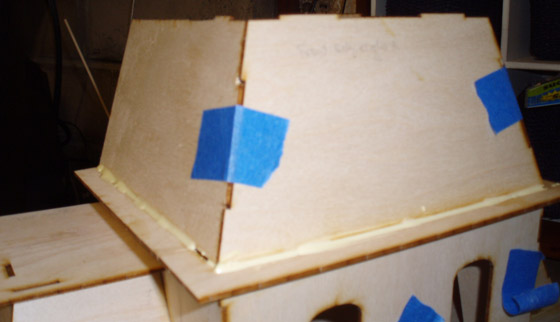
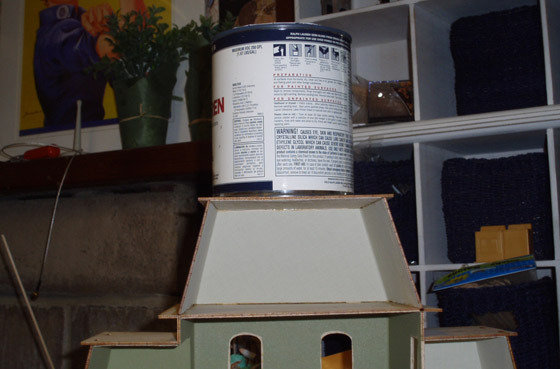
Next I glued in the walls and ceilings of the third floor wings, followed by the attic walls. On the side pieces, I had to shave off a tiny bit at the top of each tab to get them to sit properly. Since these pieces are angled, running glue along the bottoms didn’t have much effect so I glopped glue on the outside for good measure. (I wiped it after taking the picture, so plenty of glue got into the seams but it’s not quite as sloppy as the photo suggests!)
While that was drying, I papered the master suite. Initially I’d planned to use light brown paper for this entire floor, but decided adding a third color might be too busy, so instead I used a combination of the green and off-white used elsewhere in the house. In a real house it doesn’t matter if every room is a different color, but in a dollhouse when you’re looking at all of the rooms at once—especially in a modern house—it can be nice for everything to match. Ideally I would have papered the whole house in one color (off-white) but I bought out the store’s supply and it was a close-out, so no way to go back and buy more. Hopefully the mix of two colors doesn’t look too weird.
Here’s a view of the master suite. You can’t even tell the doorway was pieced together with scrap wood!
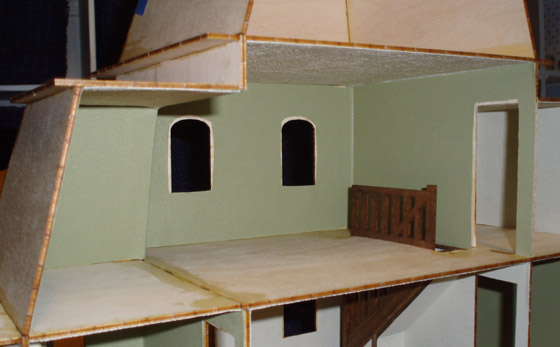
I thought papering the attic would be easier with the ceiling off since I’d be able to reach in from above, so I papered that room, then glued the ceiling in. Usually I hide the gaps where the walls and ceiling meet with crown moulding or some other sort of trim, but with these slanted rooms I think I’ll use wallpaper borders instead—it’ll be easier than trying to get the angles right. I have a sheet of Brodnax arts & crafts borders that should look nice with the Rosedale’s wall colors.
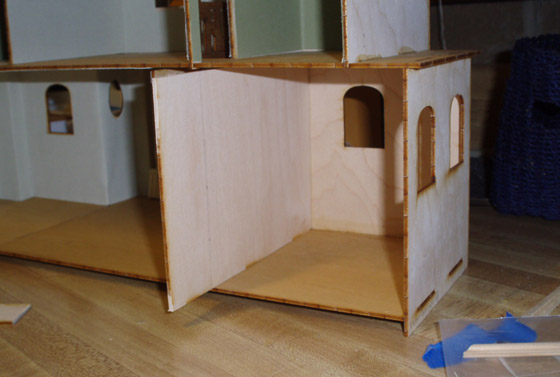
With the third floor and attic complete, the last bit to tackle was the laundry room on the first floor. I didn’t want the staircase jutting into the room, so I needed to create a wall to cover it up. I used the remaining portion of Kit A’s right wall (the top half had already been removed to create a wall on the third floor). I had to cut a bit off the bottom to make it the right height.
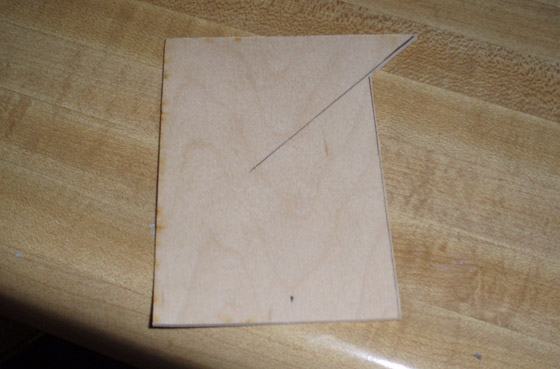
With the wall in position, I drew a pencil line along the bottom edge of the staircase (sorry, neglected to take a picture from that angle!) I also drew a vertical line a bit inside the doorway so the pantry I’m planning to build under the stairs won’t be too close to the door. I used these as guides to cut the piece down to size.
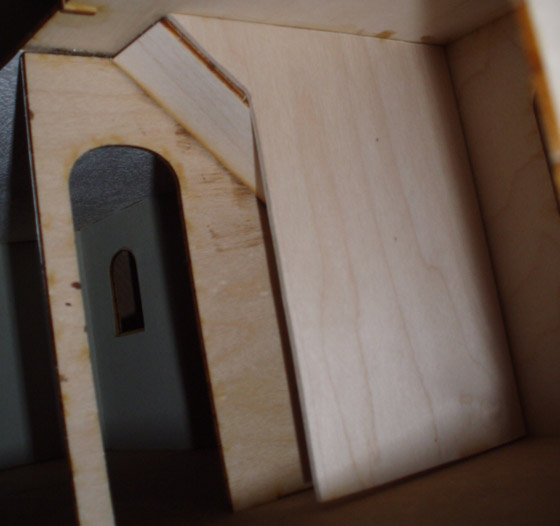
When drawing the angled line under the stairs, I neglected to take into account the thickness of the wood that goes under the stairs. (In the photo below, you shouldn’t be able to see the brown edge; the wall piece should be flush with it.) I was able to correct this by adding a small piece of strip wood to the corner—it scoots the wall out just enough.
Here’s what I ended up with for a pantry. I’m not sure yet if I’ll add doors like I did in the Fairfield, or just open shelves.
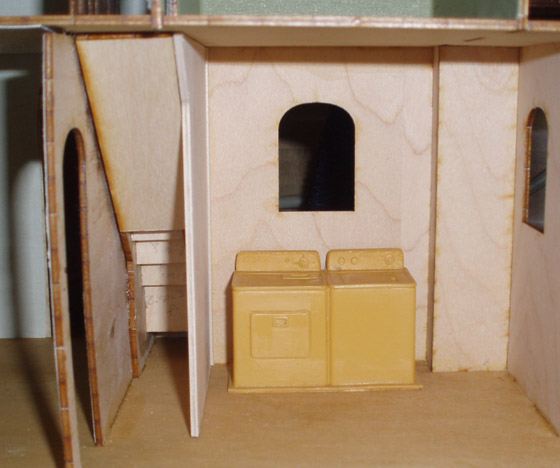
And here’s the wall piece glued in, with a better view of the strip wood I added to the corner. Once it’s wallpapered you won’t even know.

So that’s (almost) a wrap! After I add wallpaper and ceiling paper to the kitchen, I’ll start prepping the house for paint. I’m planning to stucco it, which hopefully won’t turn into a horrible mess…
 Emily is a freelance writer, miniaturist, and adventure game enthusiast.


Looks wonderful! Thanks for the updates. You really can’t tell at all where the strip wood was added!