I usually use clapboard siding on my dollhouses, but stylistically that didn’t seem right for the Rosedale. In the workshops I’ve taken with The Guys from Texas, they taught a technique for using watered down wood filler to create a stucco texture. I’ve never done it on my own (let alone for an entire house!) but hey, you never learn how to do something unless you try it. What could go wrong?
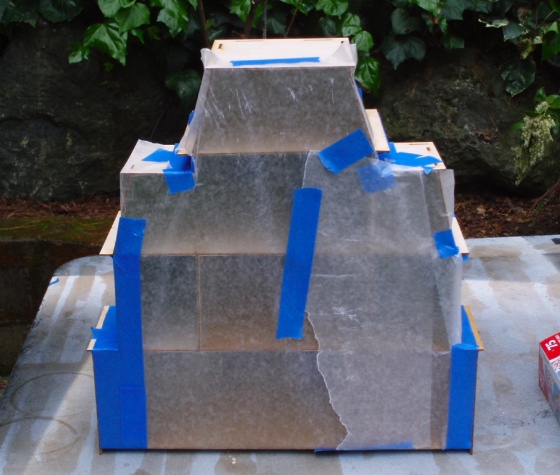
Actually, it went surprisingly well. I started by masking off the areas where fascia and window trim will go, as well as any other spots next to stuccoed areas that I didn’t want to get covered with wood filler.
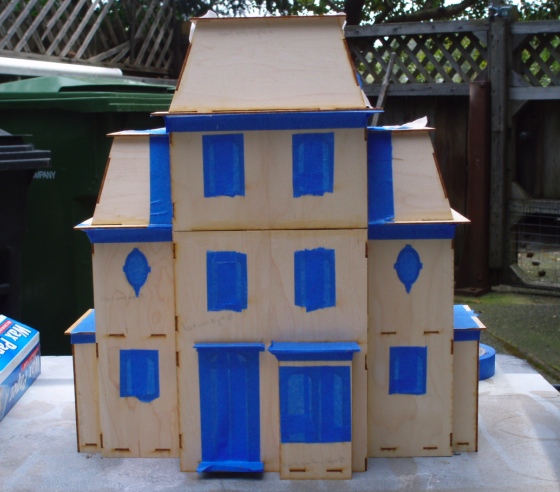
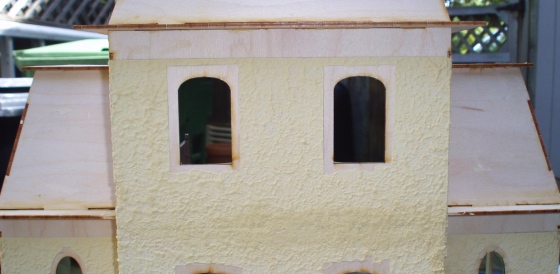
I traced lines around the window trim and applied masking tape starting at these lines, covering the windows to keep the wood filler from getting inside. I was kind of sloppy with the tape at the bottom of the windows. There’s no bottom trim, just window sills that rest on the bottom edge of the window, but I needed to stick the tape down at the bottom or it wouldn’t protect the inside of the house. I figured that even if some areas right near the trim aren’t textured, I can paint them and you won’t really notice the lack of texture. (Famous last words.)
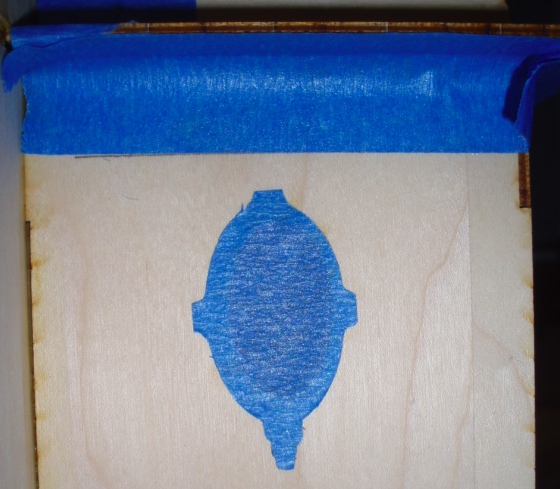
The trim around the round windows presented a bit of a challenge. I wanted to mask off the trim areas to prevent having to glue trim to an uneven surface, but this trim is an odd shape. I stuck one of the trim pieces to a piece of masking tape and traced around the edge with an Xacto knife. (Note: The blade needs to be sharp!)

Next I held the trim up to the window and drew a pencil line at the top. I used this as a guide for where to stick the tape.
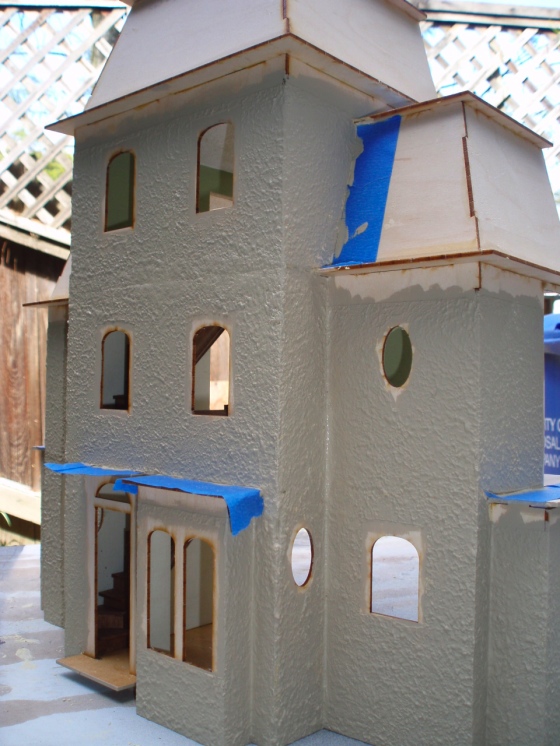
Here are side views to show what else I masked off.
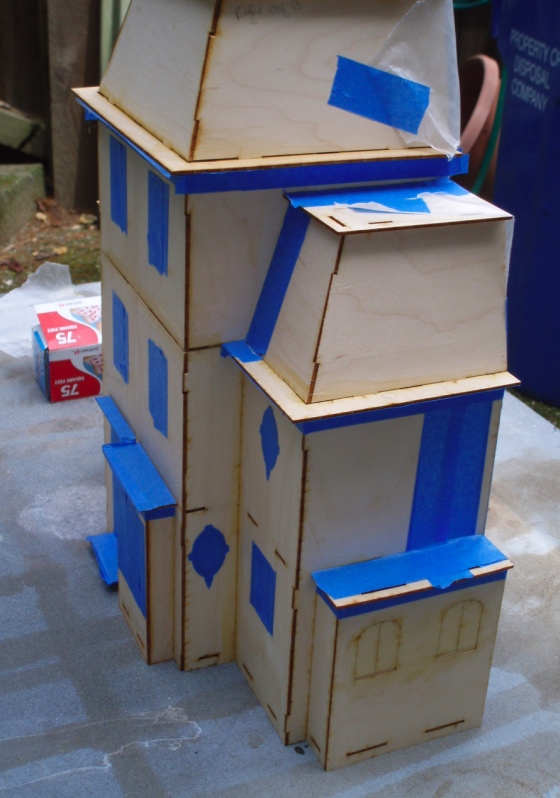
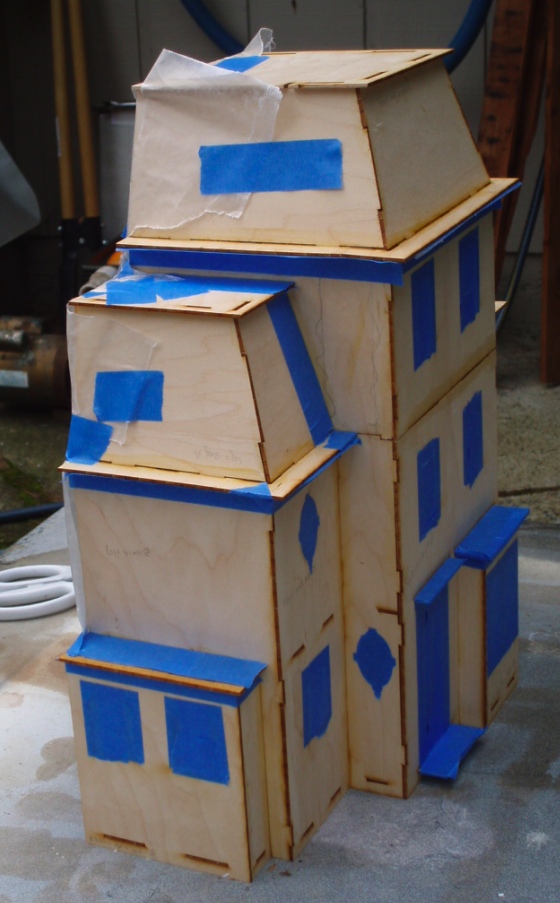
I taped wax paper over the back to protect the interior. The watered down wood filler is drippy and I didn’t want to get any on the wallpaper!
The wood filler plus water has a consistency of melted ice cream. I added too much water initially and had to keep adding wood filler to thicken it up, so I ended up with about twice as much as I needed.
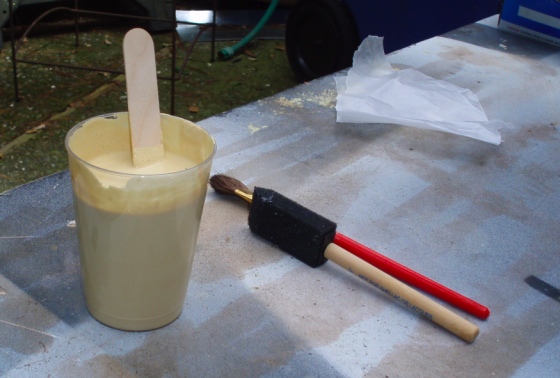
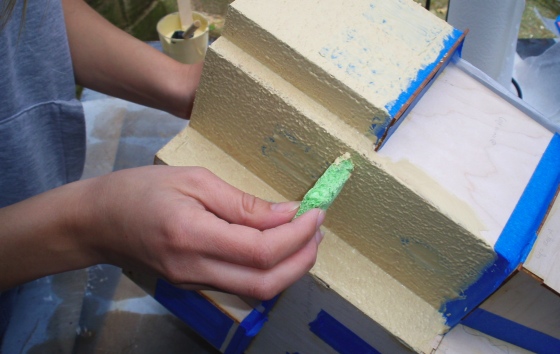
First, I used a foam brush to spread wood filler over a section of the house.
Then I dabbed it with a piece of sponge to texture it.
It took about an hour to do the whole house, and the parts I started with were already dry by the time I was finished.
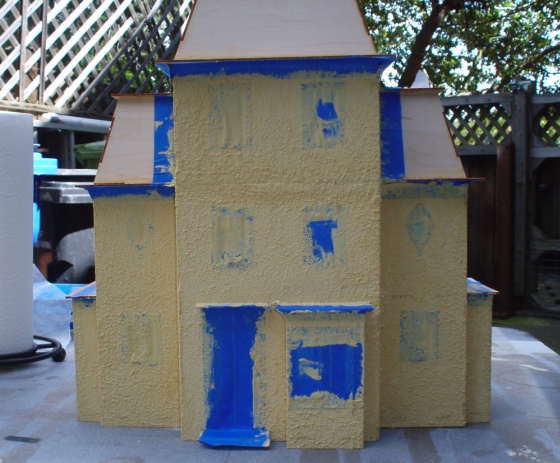
I waited about fifteen more minutes, then carefully pulled off the tape pieces. I had to poke the window tape out from the inside. The round windows worked out okay but the undersides of the other windows are pretty scraggly, especially the one on the left, and contrary to my earlier “famous last words” I think it will be fairly noticeable. Window boxes to the rescue?

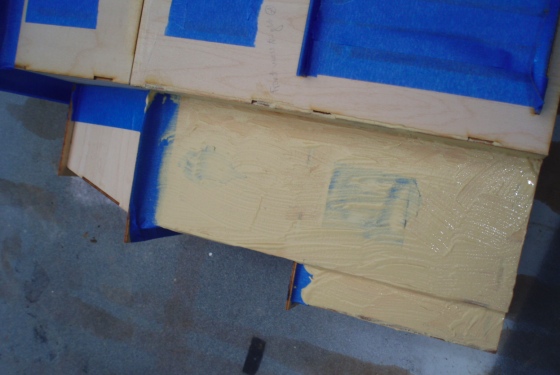
I’m also not thrilled with the joint where the second and third floor meet. As a result of my bash, there’s a big crack where the front pieces don’t quite meet. In retrospect, I should have filled this, let it dry, and sanded it before starting the stucco. Instead, I got overzealous trying to blend it in and ended up caking wood filler over it and not texturing it as well as the rest of the house. (It’s worse in person than in the pictures!)
I’ll wait and see how it looks when the paint dries, but I might end up covering this joint with trim. It lines up with the fascia on the two wings, so it might even look like I planned it that way!
Just this week, Geoff repainted our dining room, and we had some leftover Behr paint samples from when we were deciding on a color. I grabbed one named “Harvest Brown” and started painting. I’d gotten about this far when I realized I was using the wrong color… I’d meant to use the lighter “Desert Sand.” Oops!
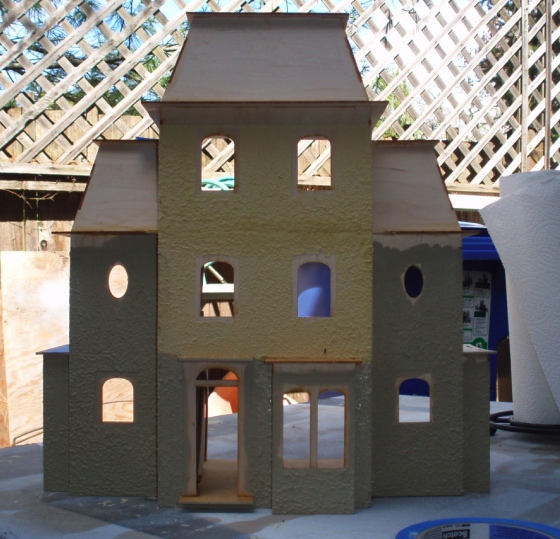
Even if it’s not what I had in mind, I’m going to stick with this color. It has a stony feel that works with the texturing. I’m thinking about dark red and a lighter tan or off-white for accent colors. Or maybe purples?
I thought I was doing a good job with paint coverage, but after it dried I noticed a lot of spots where the lighter wood filler shows through, so I’ll have to do a second coat.
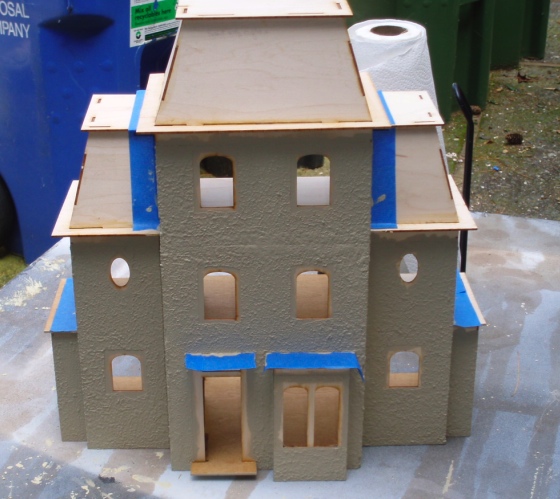
This endeavor took about three hours from start to finish, which is a lot quicker (and less frustrating) than siding would have been. And at $5 for the wood filler (which is only half used up) and $0 for the paint I already had on hand, the price is right!
 Emily is a freelance writer, miniaturist, and adventure game enthusiast.


Hi Em,
Looks really good.
Consider extending the little “shelf” at the bottom of the adjacent Mansard roof around and across the front wall with the fascia trim at the joint between 2nd and 3rd floors. It will look like it belongs there and may help hide the joint.
Love,
Dad
Good idea. Ironically the floor piece had the trim built in originally, but I chopped it off!
Anyway, I’ll start with the fascia and see how it looks.
Interesting stucco technique. I may try this?
I was thinking about using spackle mixed with paint… Hmmmm… Now I have something else to consider! :D
This is great!
Thank you so much for posting it. I was searching for a way to make the exterior just like this and so glad I stumbled on it.
The finish turned out nice… I’ve used sand mixed with paint too for another textured surface…. I usually don’t thin my stucco but I like that stippled effect…. In Miniature Style II
Hey Emily,
The stucco looks absolutely amazing! It really does look like the “real deal”. Reminds me of an older mission style of texture. I really enjoyed the post, thanks so much!