With the floor and walls of the main room “timbered,” I decided to try aging the wood while I could still easily get my hands inside. I have some Minwax slate gray stain (water based) that I originally tried on the raw wood, but it was too light. The ebony stain was proving to be too dark, so I added a coat of slate gray with a sponge brush.
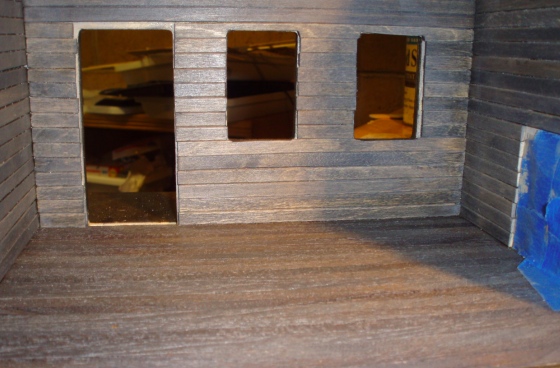
The result is easier to appreciate when comparing the room to the second story floorboards, which just have the ebony stain on them.
Next I got to work on the ceiling. Again, I wanted to do this while the ceiling was still unattached and accessible.
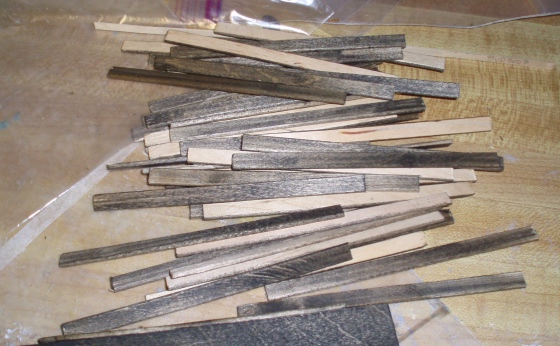
Skinny sticks aren’t long enough to run lengthwise across the ceiling, so I cut a bunch of them to be half the length of the ceiling, leaving a seam in the middle.
I covered the seam with a log.
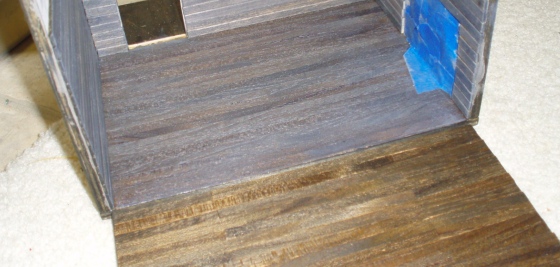
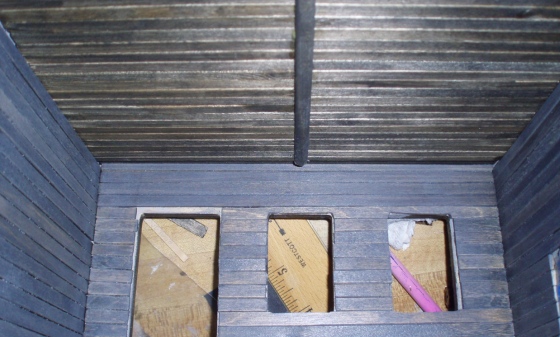
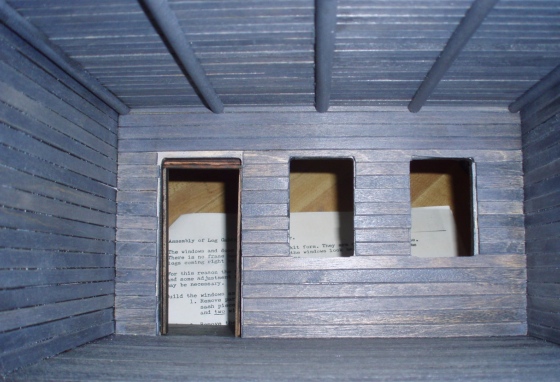
Here it is from the inside. (This picture also shows the color difference between the room with the gray stain added, and the ceiling which only had ebony stain at this point.)
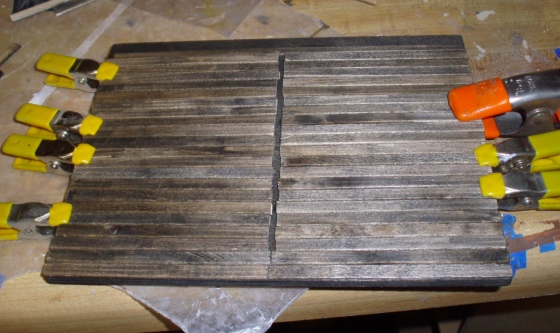
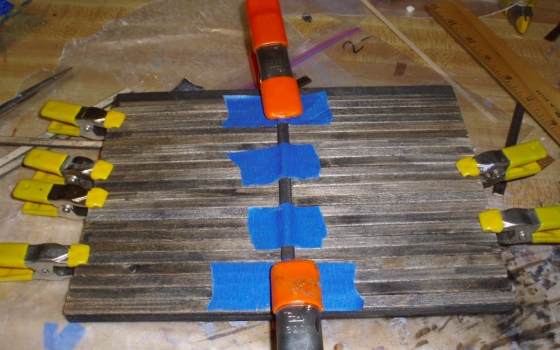
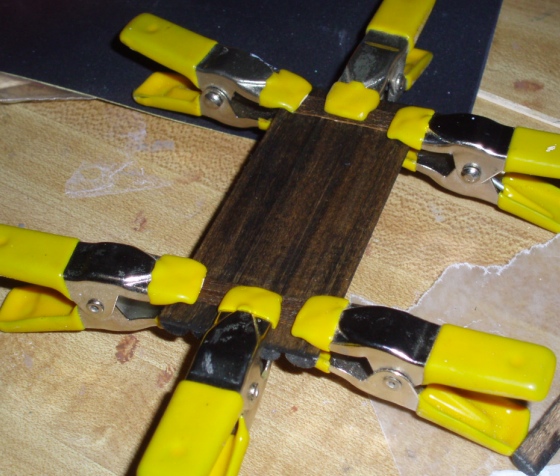
I added more logs to the ceiling. One was warped and needed to be clamped while the glue dried.
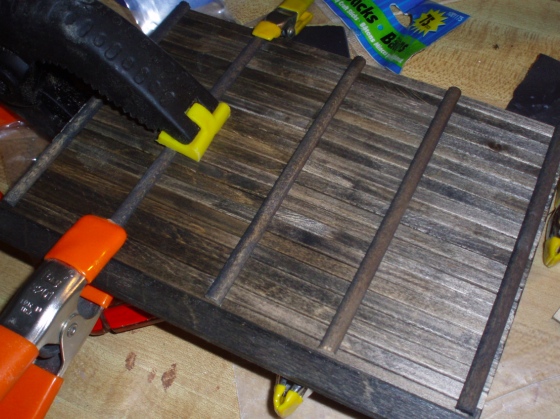
Added gray stain. In the photo below, the right half has the slate gray on it and the left half doesn’t yet.
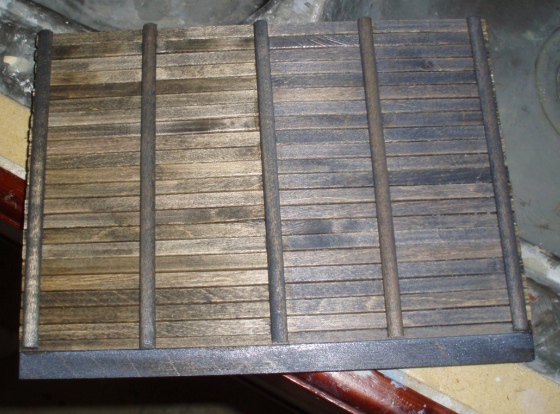
And voila! Not bad, for skinny sticks!
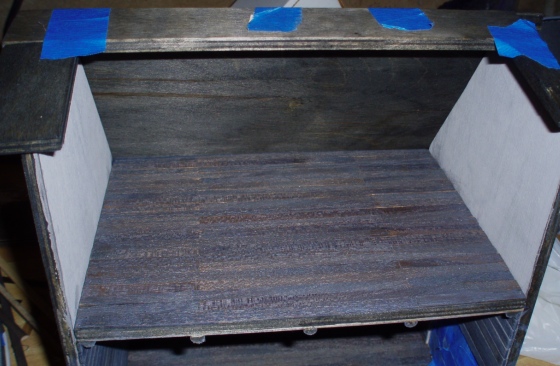
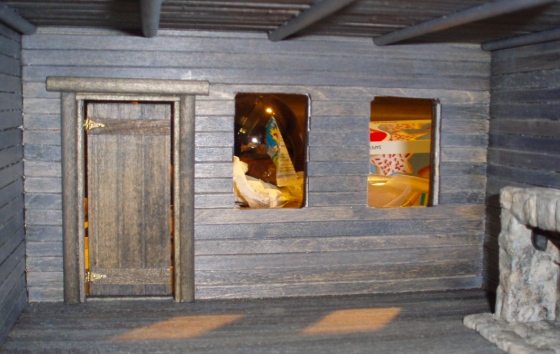
Here’s a view of the second floor. This space will be divided up into a bedroom and the “attic” with food to last the family through the winter. I will be adding skinny sticks to the walls and ceiling, like downstairs.
Next I was ready to start adding logs to the outside of the house, but since they’re supposed to butt right up against the door trim, I decided to make the door first. Here’s what I had to work with (just propped in the door frame at this point).
The directions said to build the door frame and hinge the door inside it with pins, like a Houseworks door, then glue the assembly into the door opening. Very quickly I decided I didn’t like this plan. The door frame pieces didn’t want to glue together nicely (understandably, as the parts I was trying to join are very narrow) and even using a jig, the corners weren’t drying square. It made much more sense to glue these pieces directly to the house, but that would have made it impossible to pin hinge the door since the pins would need to stick down through the door frame and into the door.
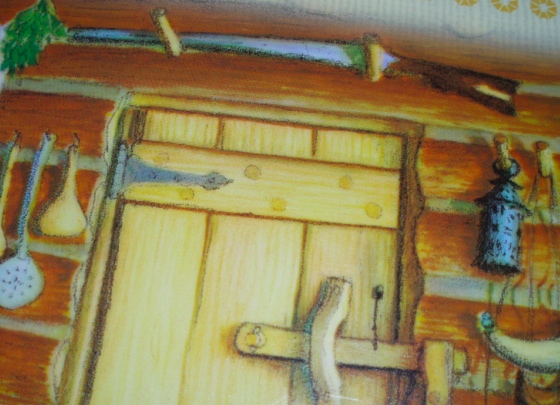
I checked the source material for inspiration. This is what I’m trying to emulate.
A while ago I bought some triangle hinges. (I had some reason for doing so but can’t remember anymore what it was!) They’re not exactly like the hinge in the picture, but close enough.
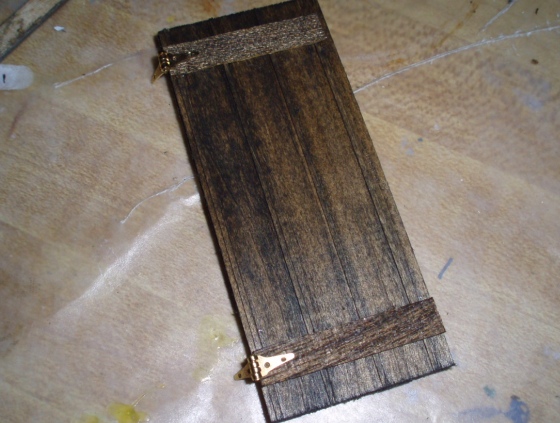
First I glued on two horizontal pieces for the hinges to attach to. These are leftover floorboard scraps.
The hinges’ size is okay even though they’re not meant for half scale.
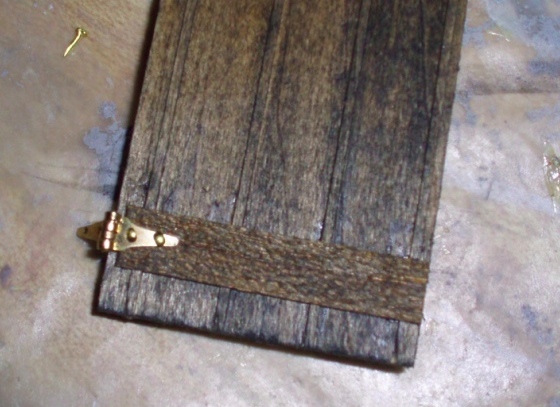
I attached the hinges to the door with brads. This was a bit finicky (especially with long fingernails…) Using the pilot hole punch to make holes for the brads to fit into helped. Then I squeezed them in with needlenose pliers.
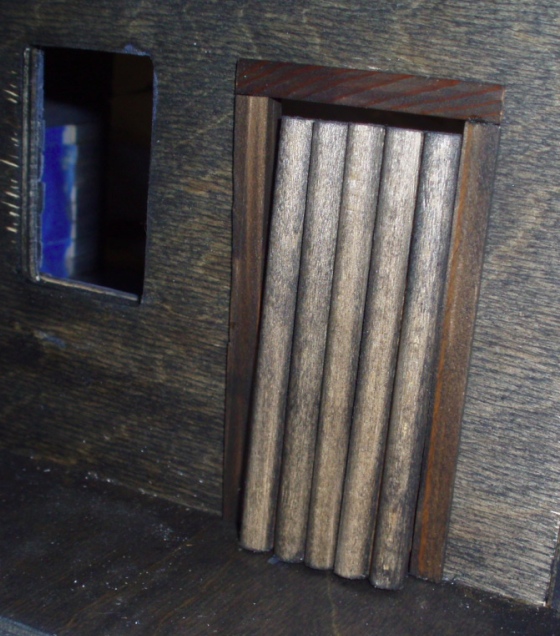
The interior door trim was too narrow to attach the hinges to—it would have forced the door to sit in front of the door frame rather than contained within it, if that makes sense. Since my skinny stick timbers added some depth to the wall, I needed to add a piece of trim inside the door frame anyway. So I just hinged the door to a piece of trim (also a skinny stick), with the plan of butting this up against the interior door trim.
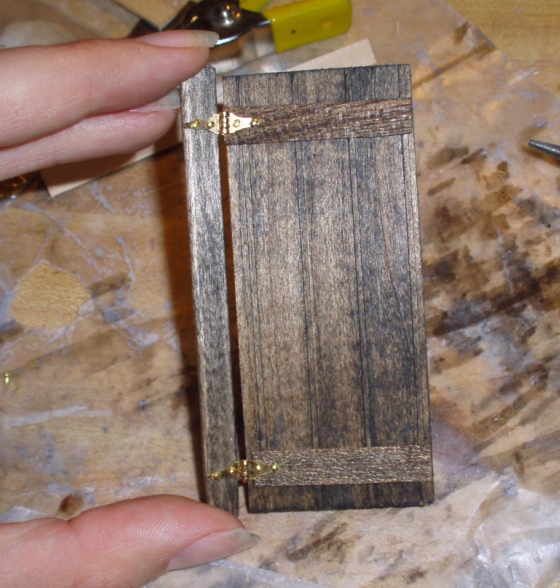
Here’s how it looks. The piece of trim jutted out a bit too far, so I added a log to the side to make up some of the depth (and to cover up the skinny sticks’ jaggedy edges!)
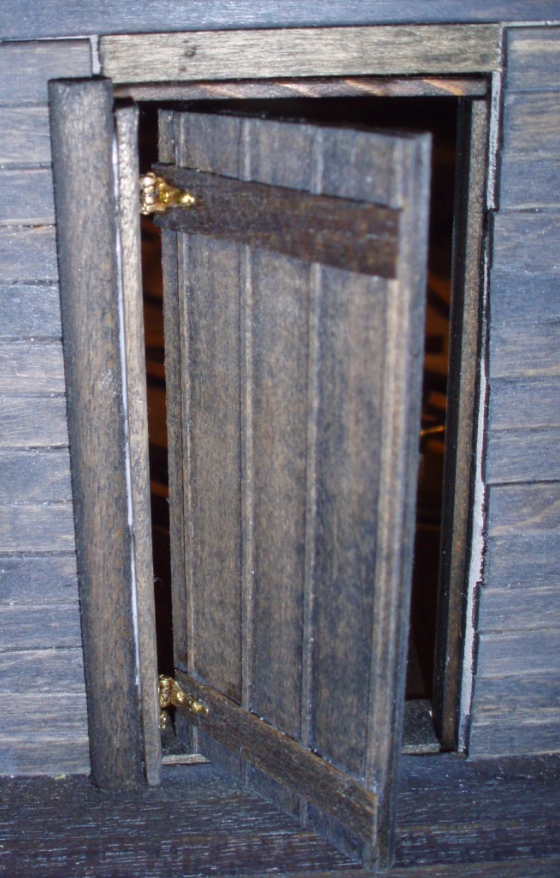
I added skinny stick trim and logs to the other side and top of the door, too. The door has a bit more of a gap than I’d like, but I guess that’s to be expected in a hand-build log cabin! Plus the door swings nicely, so I can’t really complain.
Next time – logs!
 Emily is a freelance writer, miniaturist, and adventure game enthusiast.


I Stumbled across your blog by doing a Google search for minwax stain in slate. Your pictures helped a lot. Thanks so much and it’s coming along really nicely!
Wish I could buy miniwax stain in Australia! great solution for the hinges.