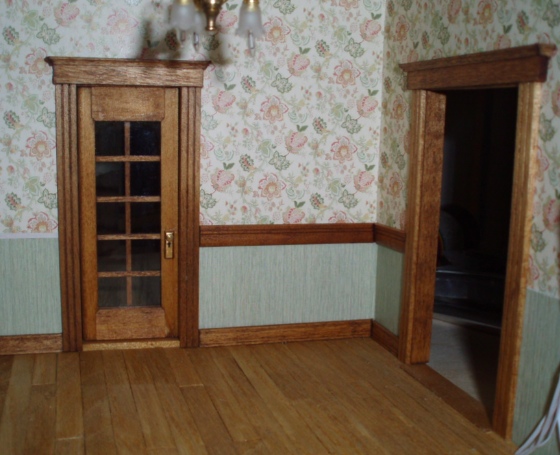
Moving right along with the rowhouse living room and office. Here’s the French door downstairs. For the headers, I haven’t been too careful about making sure they’re consistently wide. This one’s almost too short… I glued the door in before I cut it, so just had to wing it. In retrospect I probably should have made it a tad wider. Oh well.
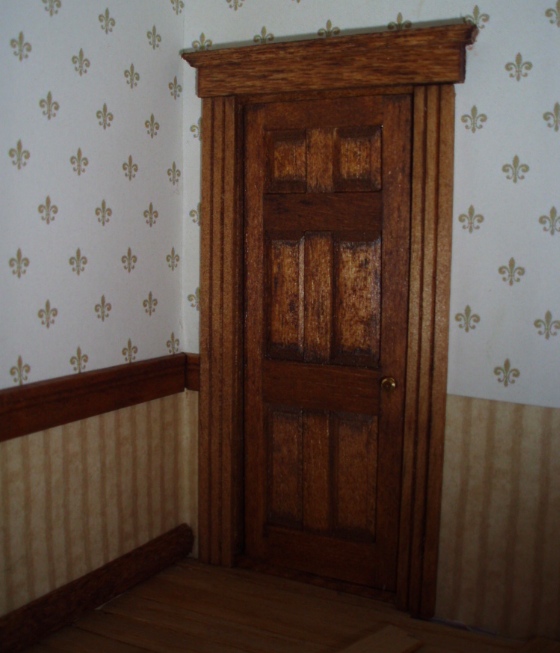
Here’s the second door in the office, which leads into the bedroom.
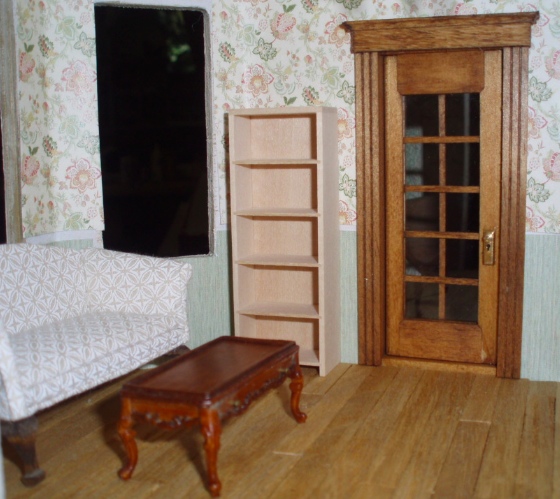
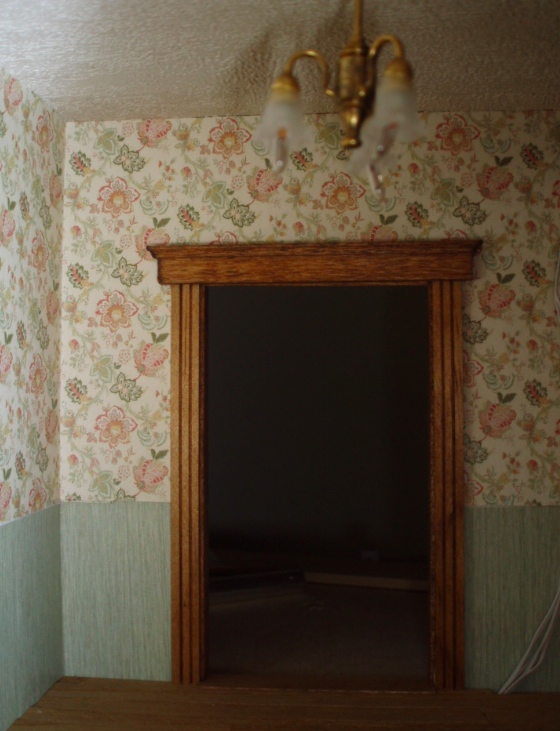
And here’s the open doorway in the living room, that leads into the kitchen. Originally this had an arched top but I filled it in with foamcore. This one’s a bit too wide, I should have cut it down but I didn’t realize until after I’d already glued the cove molding onto the top. So I left it. Hopefully I’m my own worst critic on this and no one else will notice. (Or if they do, they’ll be too polite to mention it.)
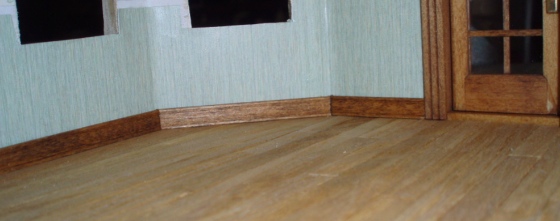
Started adding baseboards and chair rail. Also, in this picture you can see how I trimmed the inside of the kitchen doorway using thin basswood.
Before this, I did the baseboards in the office with a trim that curves out and it looks kind of bad in the bay window because the curved trim prevents a nice clean seam at the corners. I haven’t taken a picture of it because I’m so unhappy with it. Contemplating ripping it out but I’m not sure if I can do that without ripping the wallpaper.
Anyway, not wanting to repeat that mistake, I used a flat trim (but still with a bit of decoration) for the baseboards downstairs. Much cleaner.
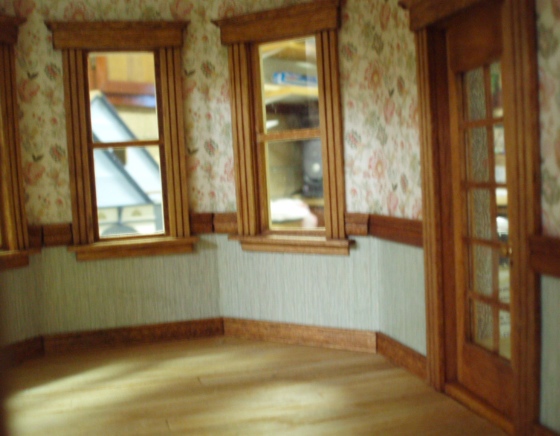
I put in crown molding before starting the windows, so I could reach my hands in the openings to get it in place. I thought the bay window would be difficult but it was just a matter of cutting one piece at a 45-degree angle and the piece it butts up against at 90-degrees.
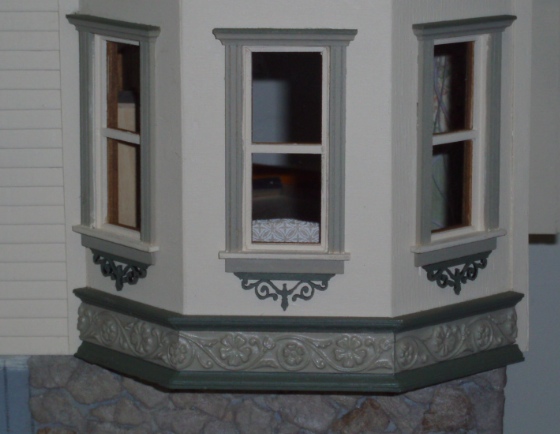
The first window is kind of crooked. That’s because it bumps into a piece of trim on the outside of the house. I had to shove the window in there and use super glue to make it stay. I tried to compensate for the mild crookedness by making the trim straight.
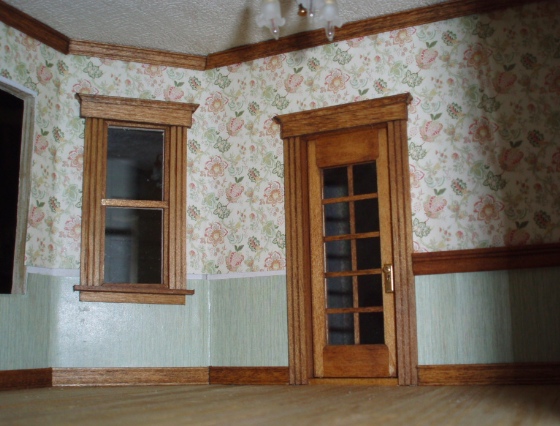
After doing each window, I did the chair rail to the right of it. This got harder and harder to do as I made my way around the room. The last window, especially, is hard to see – I had to crouch behind the house and peek through the kitchen doorway.
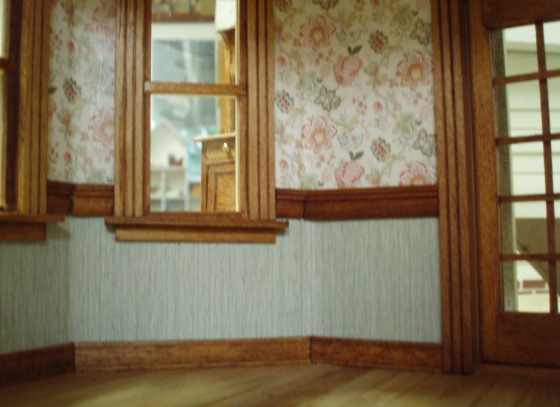
Once again, I eyeballed the width of the headers and they’re a tad wider than they probably should have been. I did make them all the same width, they just hang over the side trim pieces a little more than they should. Also they were difficult to center. (Now that I’m seeing it in this picture, that middle window looks pretty off center. This picture was taken through the kitchen door. Luckily you can’t really tell when you’re just looking at the house!)
With the windows glued in, I was able to add these embellishments to the front of the house.
Next I’ll repeat this process upstairs in the office… maybe first pulling out the baseboards I already put in and replacing them. Stay tuned.
 Emily is a freelance writer, miniaturist, and adventure game enthusiast.


The finishing details inside and outside are really bringing this house together nicely.