Okay, they’re not hallways exactly, but the Queen Anne Rowhouse has two rooms that are dominated by stairs. If I’d built this house myself I would have left out the wall between the “stair room” and the “bay window room” on one or both floors. But it came with walls snugly in, so I decided to suck up the fact that 20% of my usable space would basically be glorified hallways.
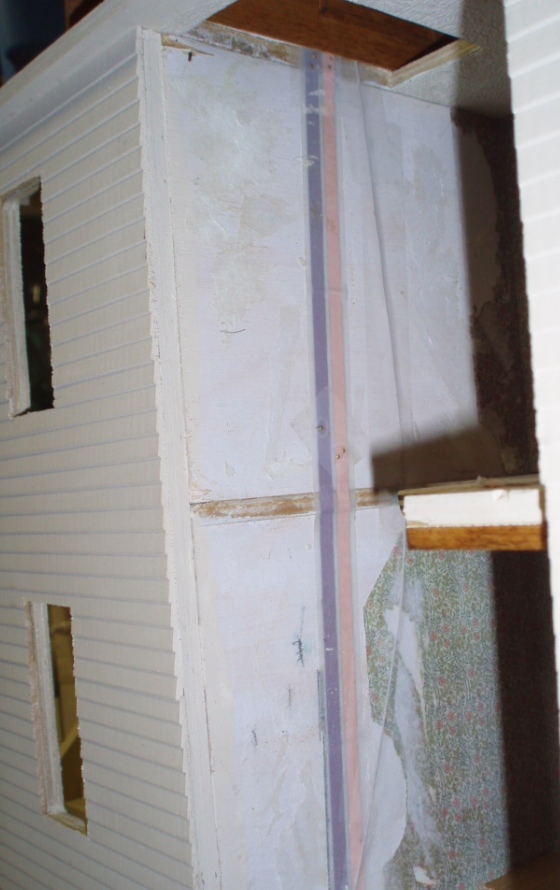
Back in February, my dad helped me build two crazy staircases that would work in these rooms. (It was no small undertaking!). Since then I’ve been slowly finishing the rooms, but I was held up by some electricity and wallpaper logistics. In particular, I wanted the wall that the stairs go up against to have one continuous piece of paper without any trim or gaps in it, just like in a real house. My first attempt was thwarted when I underestimated how visible the wire running down from the attic would be under the paper. Dissatisfied, I ripped it out, added a piece of stiff paper upstairs to cover the wire, and tried again. This time I had trouble gluing the very inside corner because my stiff paper didn’t go all the way to the corner and this prevented me from getting a nice clean seam. In attempting to fix it, I made a huge mess and ultimately ripped out the paper in disgust.
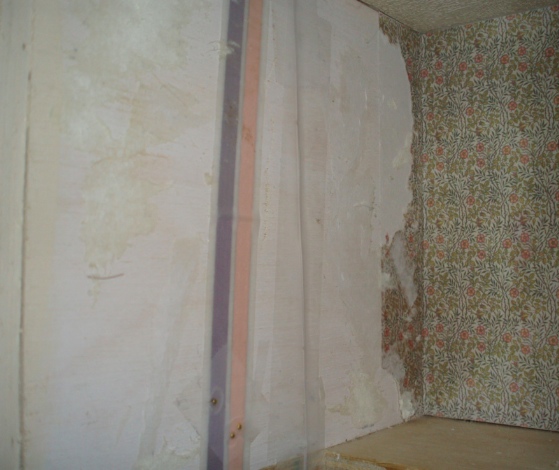
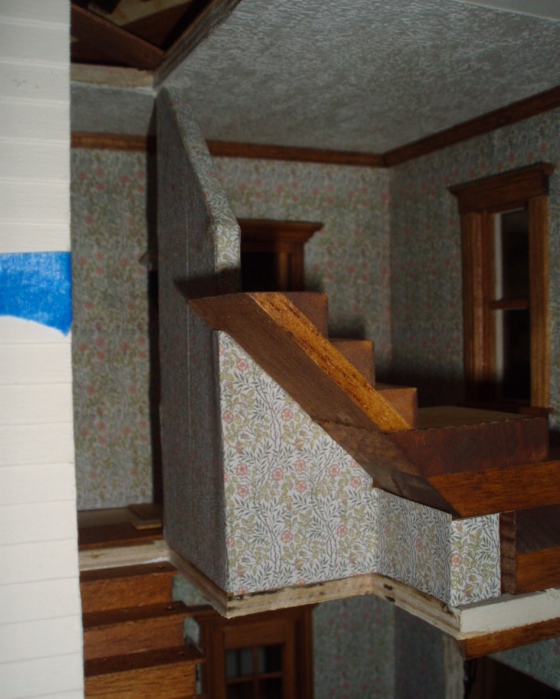
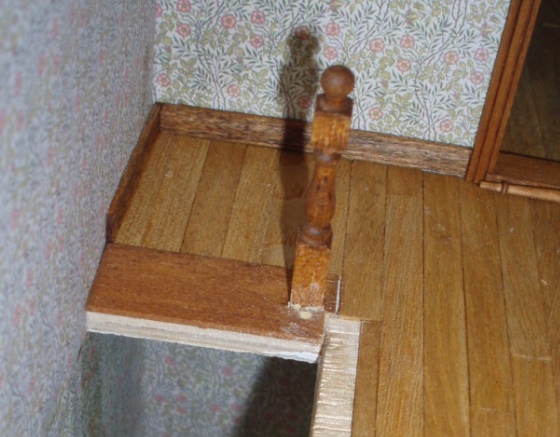
I didn’t take pictures of either attempts because I thought – hey, what could go wrong?! Here’s what I was left with after Strike Two.
After the second mishap, I thought for a few days about how to proceed. Luckily I hadn’t damaged any of the paper on the adjoining wall (yet!), because I already attached a light to that wall and the wires are covered up with wallpaper and flooring on the other side. In other words, repapering the adjoining wall would be a no-go. At this point I felt like I only had one more try to get it right.
Instead of gluing the stiff paper to the wall this time, I cut my wallpaper and then glued it to the back of the paper instead. This way I was able to get the edges matched up perfectly. (For the bottom half, the fit of the stairs was too snug with stiff paper added, so I only did this on the top. Downstairs the offending wire is covered up by the staircase, anyway.)
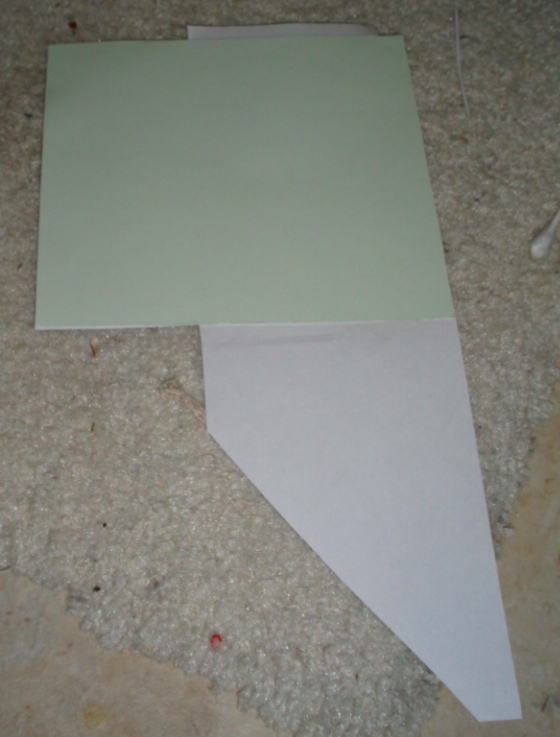
It worked! There are a few glue smudges and wrinkles, but I think once the stairs will be in place they won’t be obvious. The side edge isn’t straight but with the hinged panel attached you won’t be able to see that.
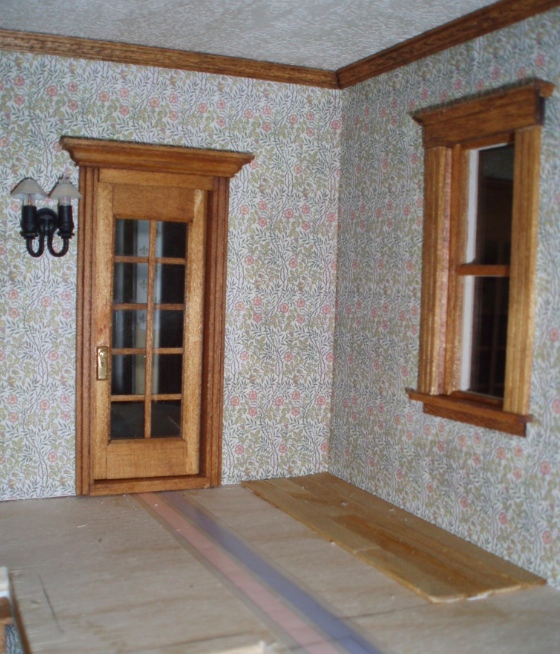
Next I got in the crown molding and window trim on the second floor, and started on the floor. The floorboards don’t go all the way to the edge, to accommodate the staircase.
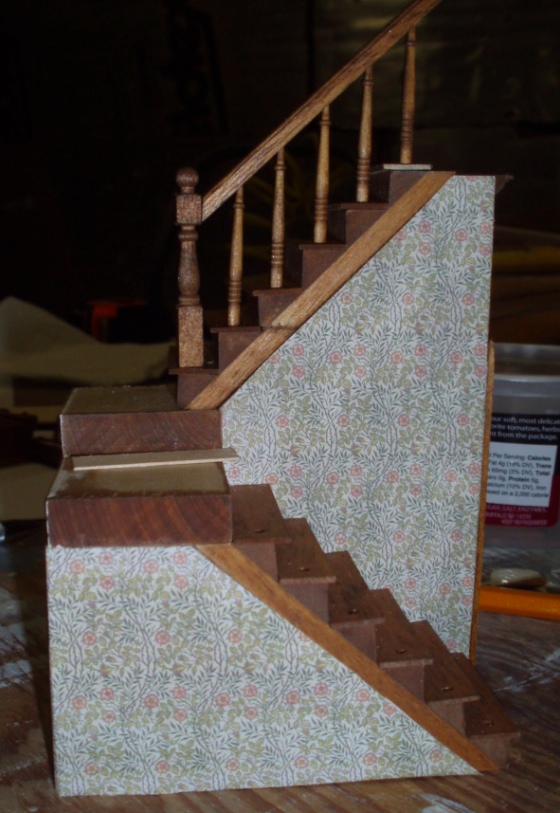
I wallpapered the front and back sides of the staircase wall. I made this wallpaper on the computer, so I could have printed out another sheet, but I didn’t feel like it and thought I could make do with leftover scraps. As a result the back side of the stair wall has a fold in it. It’s more obvious than I’d expected but not bad enough for a do-over. I’ll be dressing up the back side of the staircase with stained basswood, just so it’s a little nicer to look at.
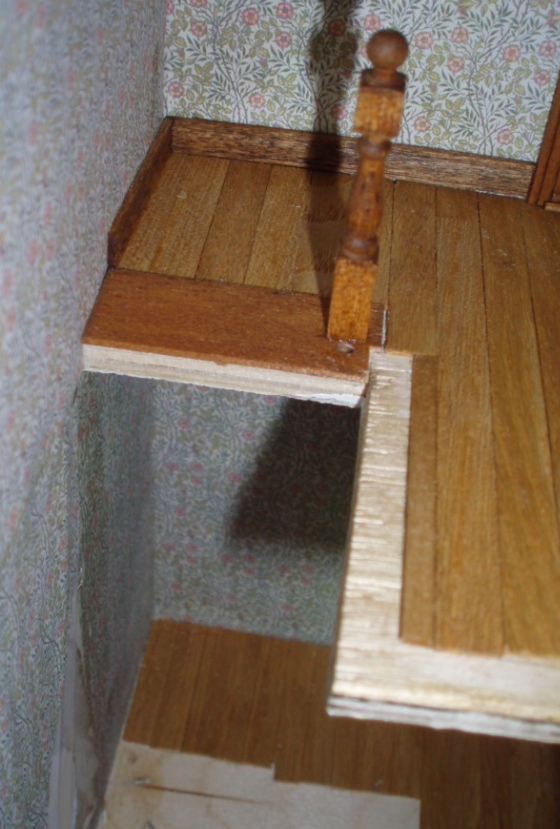
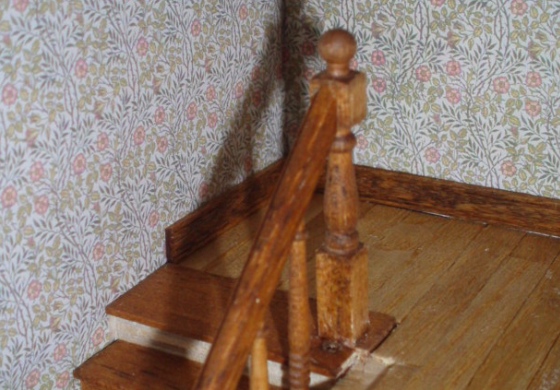
I needed to glue the tread for the top stair onto the floor so I could finish the hardwood floors, and didn’t want to do that without first putting together the railing so I was sure to put the tread and newel post in the right place.
Then I did something kind of dangerous. I slid the stairs in and tried to figure out where the newel post should go in order to glue it, but with the tight/awkward space and the newel post not wanting to stand up straight, I was having a lot of trouble. So I glued it in with super glue. That’s a sure way to mess something up, permanently, but I took a chance.
I had decided not to put in a last spindle because I thought my newel post needed to be positioned on top of the spindle hole for the railing to meet up with it properly, but once the super glue was involved (allowing the newel post to actually stand up straight, unlike when I tried tacky glue and it kept falling over) I realized it needed to go just behind the spindle hole. Oh well. Super glue is forever (in this case, anyway).
I managed to get some wood filler into the hole.
Then I dabbed it with the stain pen. It’s not perfect, but very hard to see unless you’re looking for it. (Remember that there’s going to be a wall to the right of it, so the top step is in shadow.)
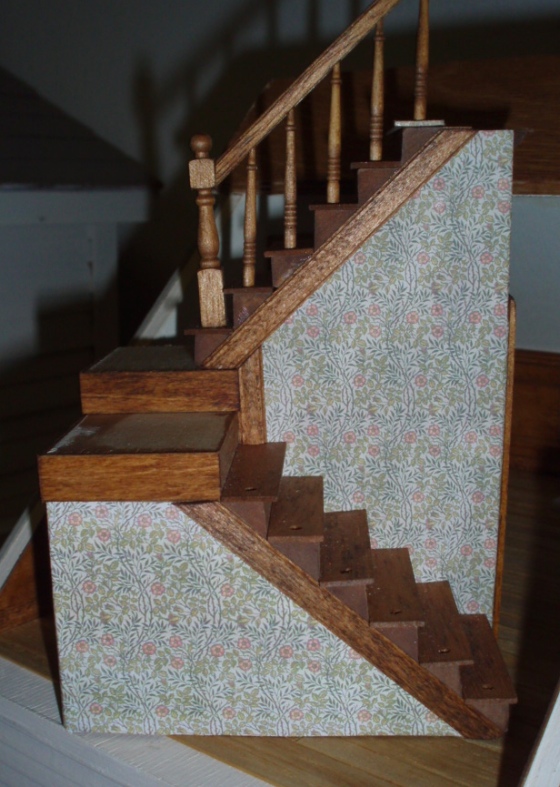
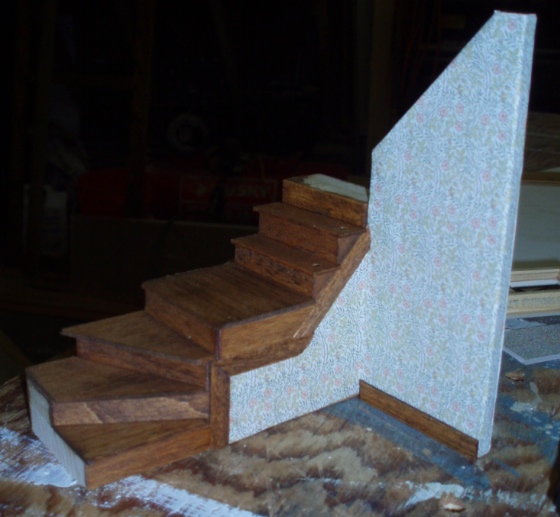
Next I added trim to the bottom staircase. I’d bought some 1:12 chair rail to use for baseboards but ended up not using it because it has a hump that doesn’t play nicely with 45-degree angles. So I used some of it to dress up the stairs instead. I also added pieces of stained basswood to the sides of the landings to cover up the circular saw marks. Still need to add baseboard, I ran out of the trim I was using.
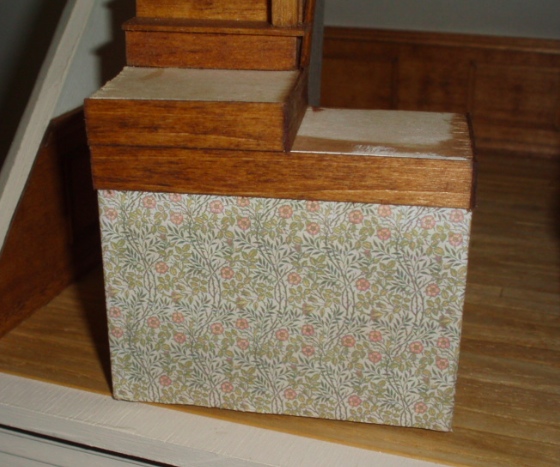
The stained basswood continues around the back, so it’ll look decent when you open the wall to look in. I’ll probably add a baseboard to the bottom of the back side, too, even though that side wouldn’t have baseboard in real life. (It wouldn’t be wallpapered either…)
Then I cut treads for the landings. I thought the three curved stairs at the bottom of the second floor staircase would be hard to cut, but they turned out to be very easy. I used thin basswood (3/32″ wide?) that’s easy to cut with scissors. I folded up scraps of paper to get the shapes of the triangles, traced onto the basswood, cut it roughly with scissors, and then sanded it down on the disc sander to the right size. Rounded the corners a bit with sandpaper before staining.
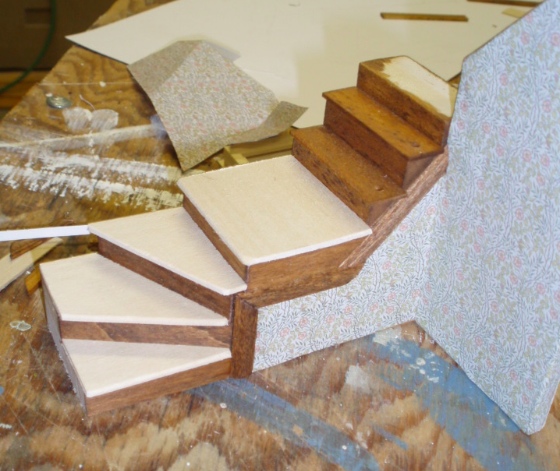
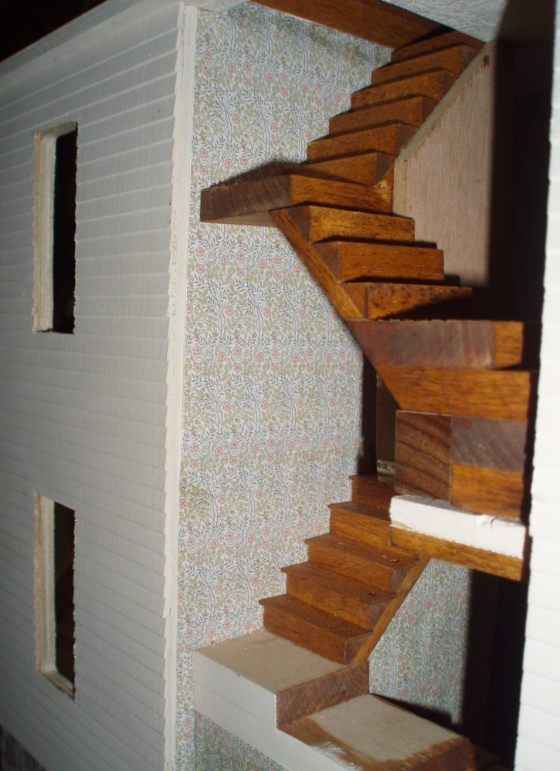
Here’s the result. I like it!
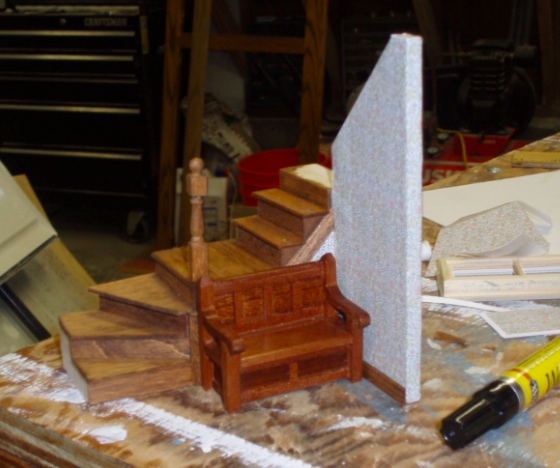
I might put this wooden bench against the stairs, in which case the trim work is more or less wasted. Even without the bench there, this side of the staircase is hard to see once it’s in place.
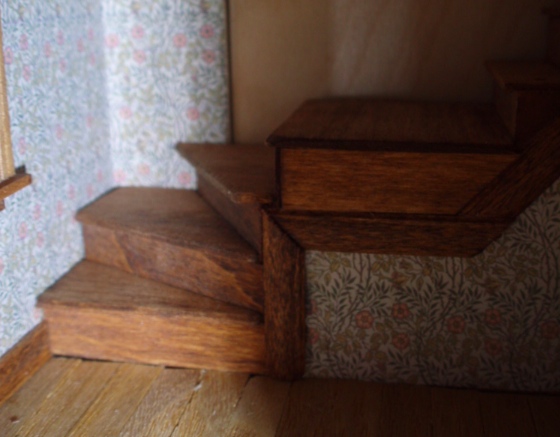
Here’s a shot of those bottom stairs with the staircase in place. The floorboards are a little jagged but you can’t tell (the only way to even see this view is by peeking through the French door in the office…)
My next task will be to finish the railings, and to get the last light in place. It’s going to hang inside the well, from the bottom of the highest landing. It’ll be tricky to install, but I have a plan…
 Emily is a freelance writer, miniaturist, and adventure game enthusiast.


I like your attention to detail, even on the parts that won’t necessarily be seen or won’t be seen easily – it appeals to the perfectionist in me as well.