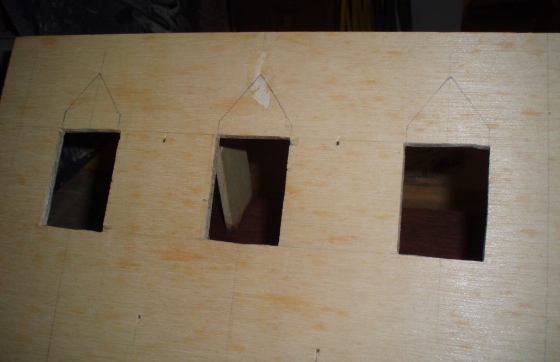
A few weeks ago, when Geoff helped me cut holes for the dormers I’m adding to the Gull Bay, I had him cut rectangles. The Houseworks front-opening Victorian, which I have in my stash, uses the same kind of dormer and it comes with a rectangular hole, so I figured that was the way to go. But after the holes were cut I changed my mind and decided a peaked hole would be better to add in more light.
I taped the dormers in place and stuck a pencil through the window holes to draw around the inside of the dormer roof.
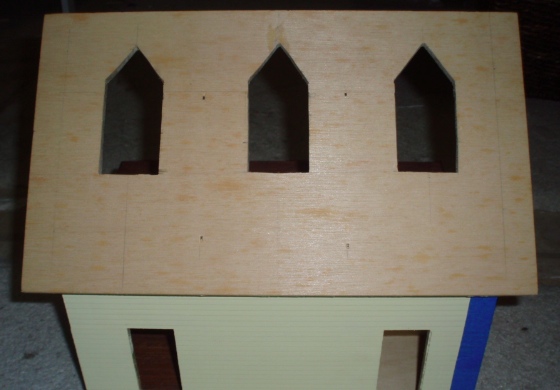
Then Geoff helped again with the jigsaw. He said I should learn how to use it, but he does *such* a good job…
With that taken care of, I got started on shingles. On my puzzle house I stained the shingles with Minwax Ebony and really liked how they turned out, so I planned to do the same with the Gull Bay. Fortuitously, my Ebony stain can was almost empty. When I went to the hardware store to buy more, I saw two new Minwax colors on the shelf – “Classic Gray” and “Weathered Oak”. Something about the “new color!” burst on the cans compelled me to buy them. (Marketing!!)
Here are swatches of all three – Ebony at the bottom, Classic Gray at the upper left, and Weathered Oak on the right. Once I saw them there, I really liked how the gray looked with the yellow paint.
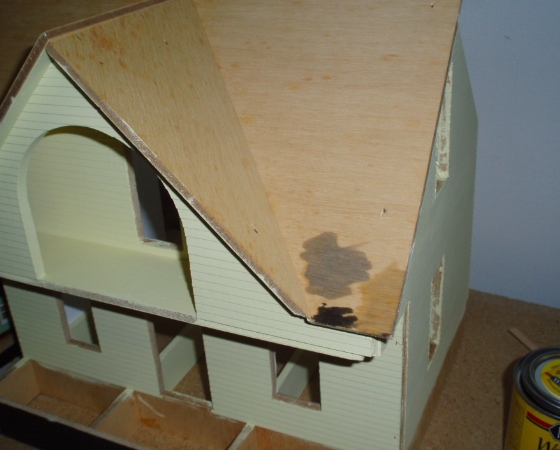
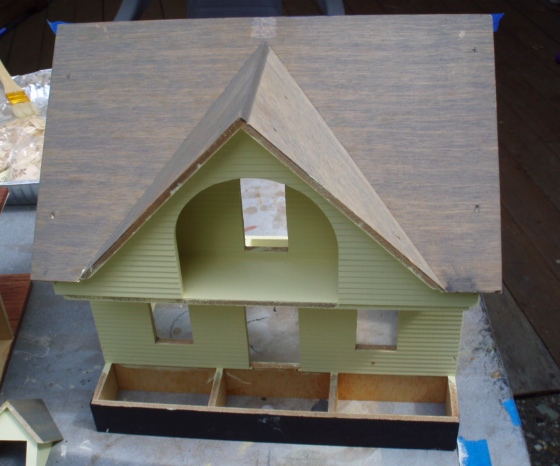
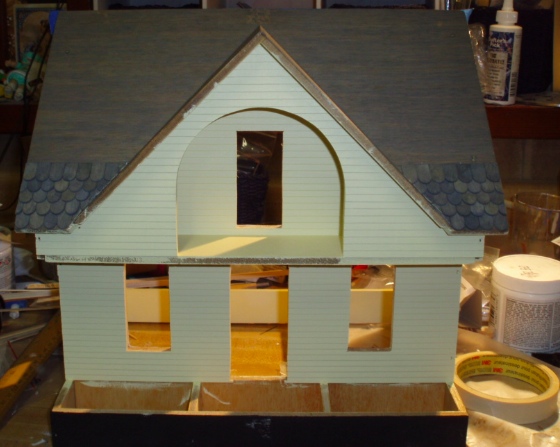
I started by staining the roof. This is kind of unnecessary since the roof gets covered up with shingles, but I always do it on the change that a tiny bit of roof will show through somewhere.
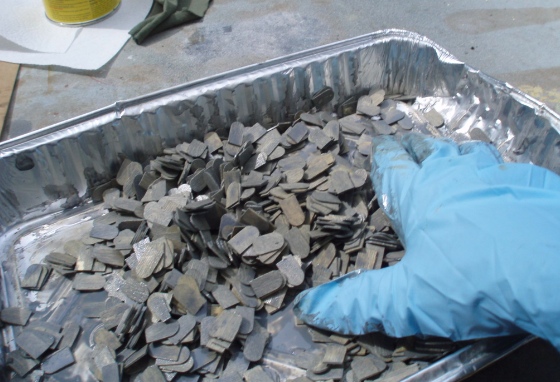
Then I did the shingles. This is messy but kind of fun. I put all my shingles in a disposable roasting pan and poured in some of the stain. Then with my (gloved) hand I sifted the shingles around in the stain to coat them.
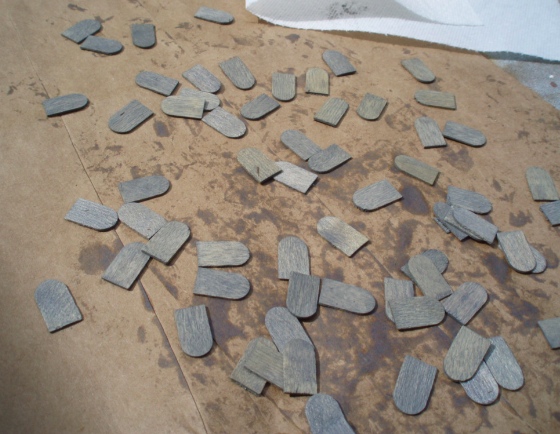
One handful at a time, I removed the stained shingles and spread them out on a paper bag. Then I dabbed them with a paper towel to soak up excess stain. In the beginning this soaked up a fair amount of stain (enough to leave behind shingle-shaped splotches on the paper towel) but the process took long enough that by last few handfuls, the stain was mostly dry and the paper towel came up almost spotless. This time lapse resulted in some nice color variation — some shingles are light gray and some much darker.
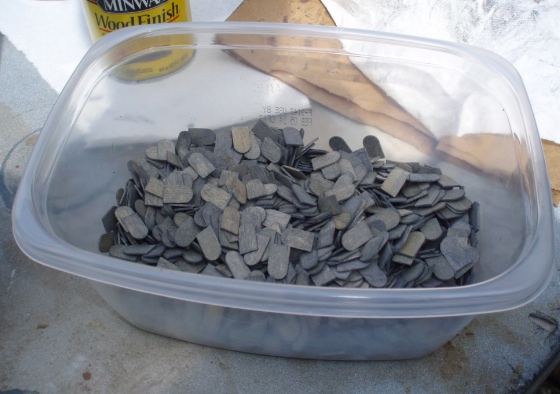
As I finished with each handful of shingles, I poured them into a container for storage. This is four packages of half scale fishscale shingles, 1600 shingles total.
The shingles needed to dry but I had some daylight left, so being in a shingling mood, I pulled out my Queen Anne Rowhouse and did a few rows of that. I started shingling this house a year ago and only got halfway up the first side of the roof. It took me about an hour to do four more rows… not the most exciting job.

But the next day when I got to work shingling the Gull Bay, I missed the rowhouse’s nice, straight, boring rows. I *do not* like shingling along angled lines and most of the Gull Bay’s front roof is dominated by the angled gable. Oh, goodie.
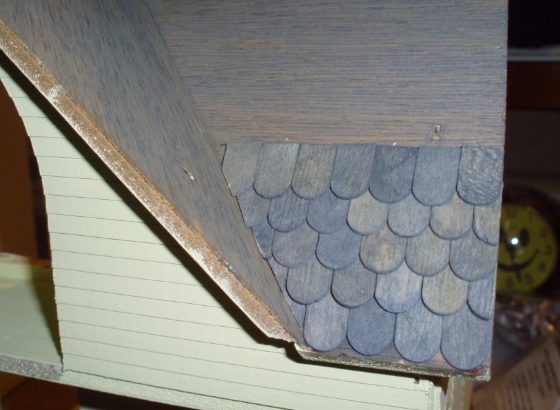
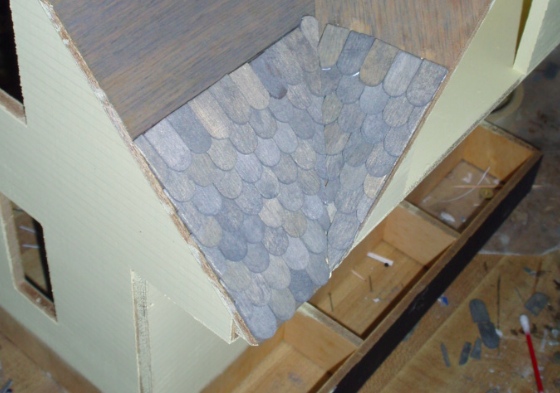
I started with the front-facing roof pieces on either side of the gable. I’m bad at drawing straight / correctly spaced lines, so rather than drawing on all my lines at once, I do a row of shingles and then measure up 5/16″ from the tops of the shingles to do the next row. I “check my work” by measuring down from the top of the roof to make sure the line is straight and consistent on both sides of the gable. It seems to be working so far.
I love the color variation — glad I ended up with this gray stain. I think the ebony would have been too dark and overwhelming. The house came with four packs of fishscale shingles which I had planned to swap out with rectangular shingles — I thought the fishscales were too cutesy — but at the last minute decided to go with them because I already had them and couldn’t think of when else I’d need so many fishscales. I’m glad I did, they add character.
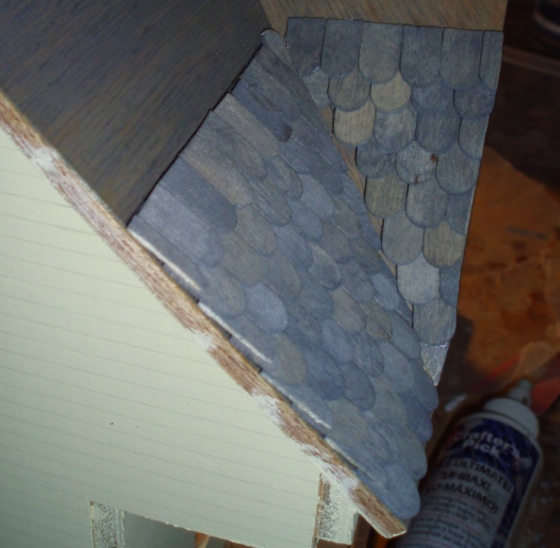
I’m using The Ultimate glue as opposed to hot glue, which I’ve given up for shingles after too many burned fingers. The Ultimate holds the shingles in place well but doesn’t dry as quickly as hot glue. I found that when I tried to move on to the gable immediately after finishing a row on the front-facing part of the roof, the shingles I’d just laid down slid around when I tried to butt the gable shingles up against them at the seam. So I did several rows of the front-facing part and let those dry before moving onto the gable.
Did I mention that I hate cutting shingles along angles? Because I felt like I was doing a messy job with the angles, I got it in my head that I could fudge this by leaving out the shingle immediately next to the seam. I liked it when I did it, but when I went to post this blog and saw the picture the gap was driving me nuts.
I could have covered it up with trim, like so, but the gap’s still visible and it just looks sloppy.
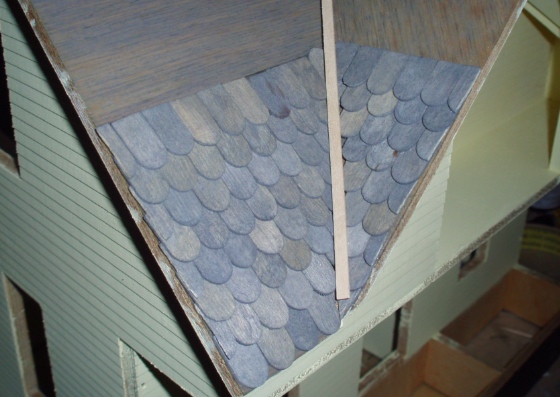
So I did what I always do when I’m dissatisfied: impulsively ripped it out. Luckily, even though a day had passed since I glued these in, the glue was kind of sticky and they were easy to pull up. Maybe I should have let the stained roof dry another day before I started gluing on shingles. Oops.
I started the gable again, this time starting each row from the angled side and working my way out, rather than the other way around as I had been doing yesterday. This worked better and I was able to get a more snug fit at the seam where the angled shingles meet. I might still add a small trim piece, but at least it’s not a sloppy mess anymore.
 Emily is a freelance writer, miniaturist, and adventure game enthusiast.


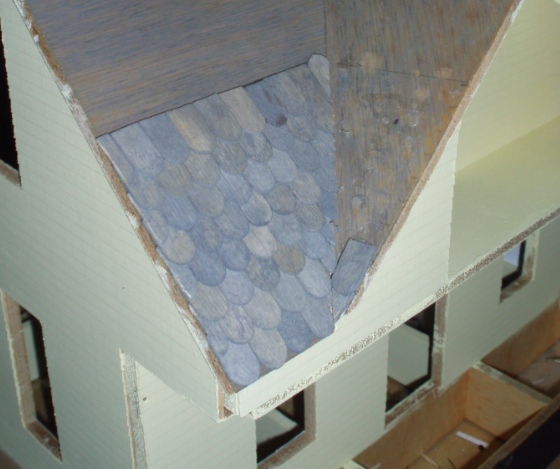
The way you have done them is called a “closed valley” (when the shingles touch those on the other part of the roof. An “open valley” leaves a slight gap along the lines where the roofs meet. You could do that with trim, some aluminum foil to look like flashing, or just let the roof surface show through. However, you probably still have to trim the shingles to the angle of the roof joint, although with fish scales you might not have to if you leave the joint large enough to allow a full shingle starting at the valley.
I like the way you are doing the shingles now, and the variation in shades of grey is really effective.