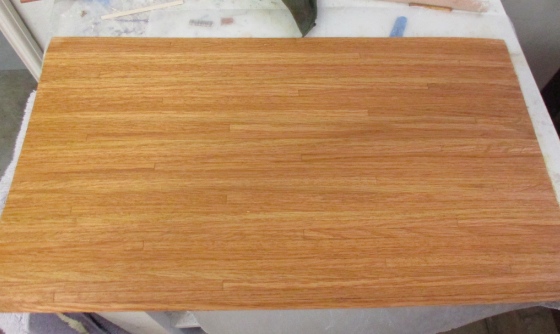
The ink cartridge I was waiting for finally came in the mail, so I was able to move forward on the breadbox interior. The first step was staining the floor. This is a Houseworks flooring sheets that I got in a Freecycle haul this summer. I stained it with Minwax English Oak.
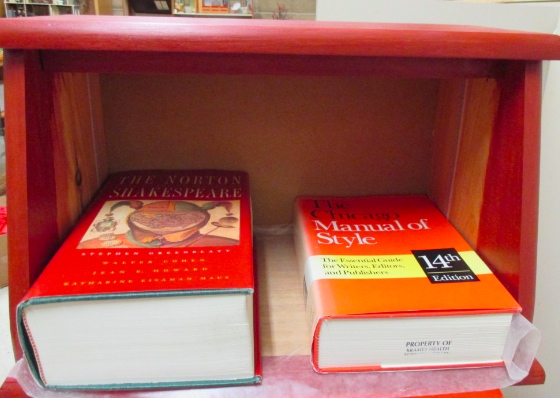
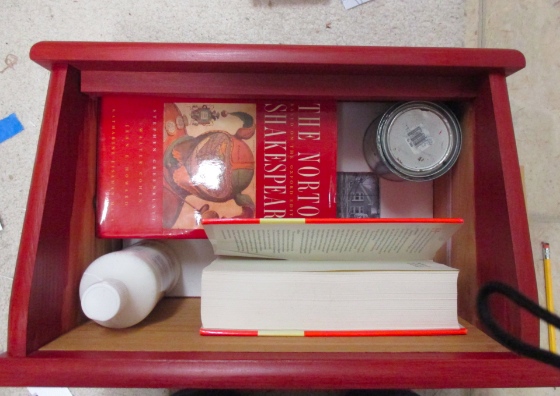
When the stain was (mostly) dry, I glued it in and weighed it down with heavy books. (I always knew Shakespeare would come in handy!) I put down a piece of wax paper since the stain was still a little tacky.
Meanwhile, I glued wooden spacers to the back of the foamcore I’d cut to make a false back wall. The casement window extends 1/4″ from the back of the foamcore so I used 1/4″ wood to make the spacers. (The square window is not quite as deep as the casement window.)

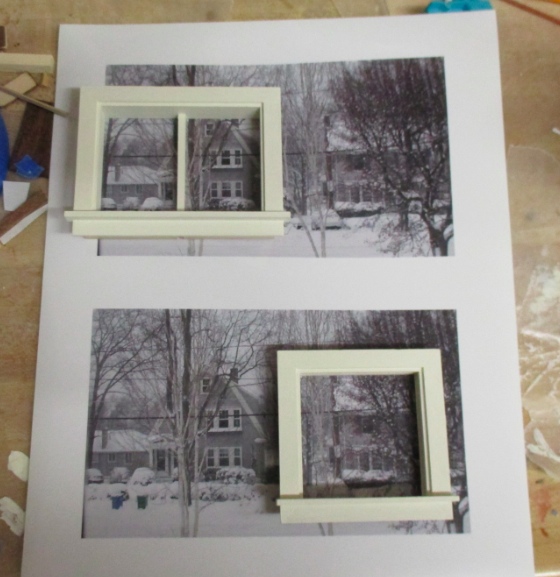
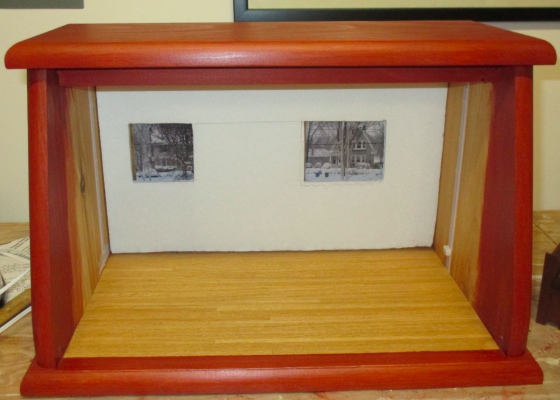
So here’s why I needed the ink cartridge — to print out a winter scene for behind the windows. This is a photo of the view out my parents’ front door after a snowstorm. My dad sent me a bunch of pictures and initially I wanted to use two different ones, but since the windows are next to each other, they had to be similar (same scale, road running through in the same place, etc.) It turned out to be easier to use one photo big enough that I could grab a portion for each window.
I printed out two copies and messed around with the windows until I liked the placement.
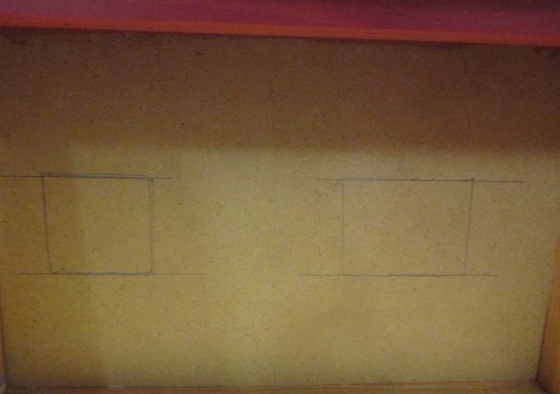
I put the false wall in place and drew the outline of each window through the holes.
I lay in the photos, put back the false wall and the windows (which had the plexiglass removed), and moved the pictures around until I had them exactly where I wanted them. Then I glued them in.
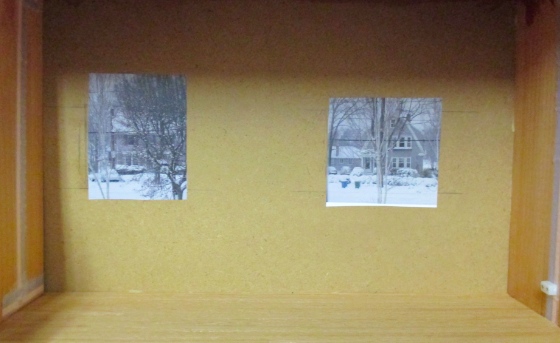
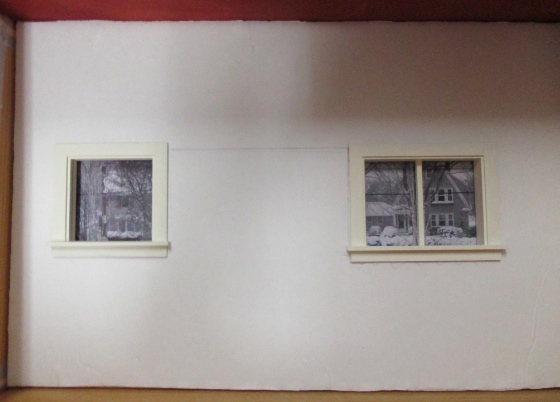
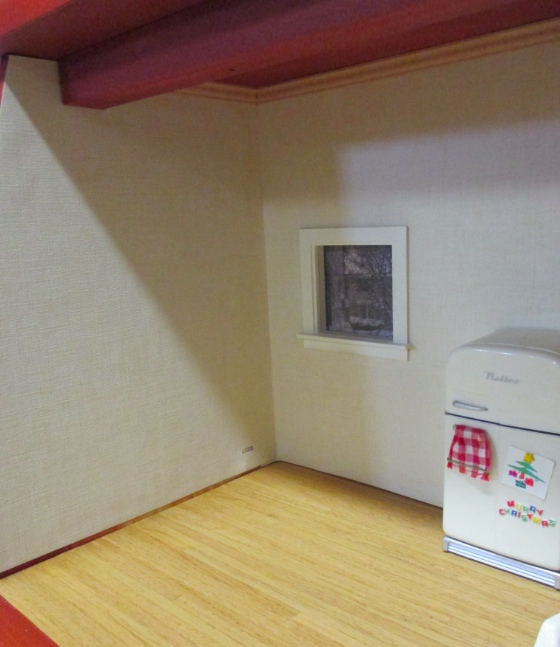
Here’s how they look through the windows.
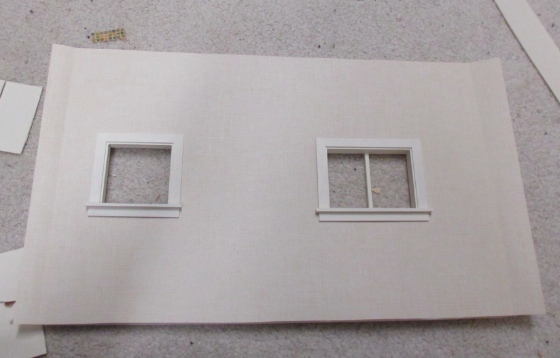
Before gluing in the false wall I cut a piece of wallpaper for it, with extra at the edges to fold around the corners. I put this aside to glue on after the wall was in.
Finally, it was time to glue in the false wall. I lay the breadbox on its back, applied glue to the wooden spacers, and then weighted the wall down with as many heavy things as I could fit. The foamcore was kind of warped (made worse by me putting it in and taking it out so many times) and I was worried about it not gluing in straight.
I left it alone overnight. Success!
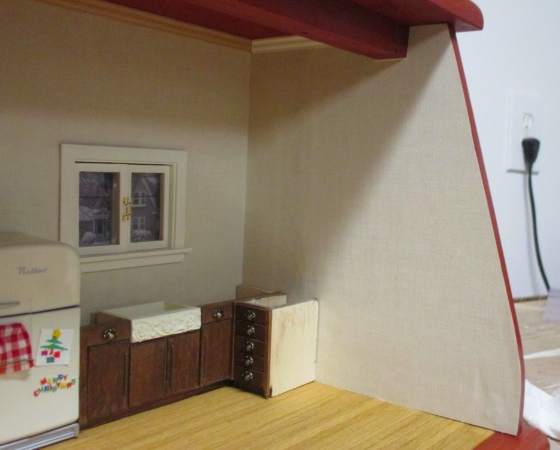
Next I glued in the wallpaper. This paper is beige with a hatchmark texture in it. I wanted a solid color and the pickings were slim, but this looks reasonably like what you might find in a kitchen. I couldn’t come up with a good way to end the wallpaper where the breadbox lid rests (it’s on a diagonal and the lid isn’t currently on so I don’t know exactly where it’ll sit), so I ran the wallpaper all the way to the front edge of the box.
I cut crown molding to go around the top. On this side, I cut a small notch in the wallpaper to see the tape wire through.
In that small notch, I inserted an outlet. I wasn’t thinking about the baseboards when I pounded in the outlet, but luckily the baseboard *just* fits underneath.
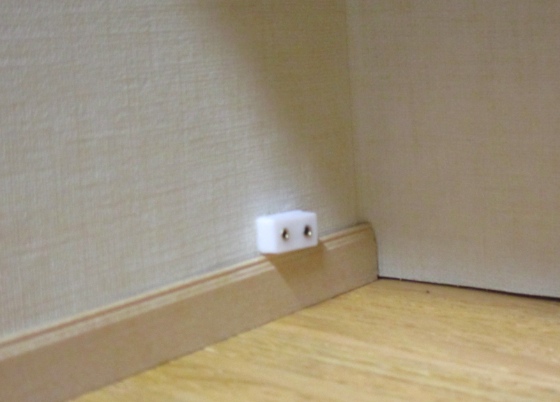
I’ll use this outlet for a lamp on the table… probably this one, but it’s a bit brighter than I anticipated. You can see the the outlet and lamp plug under the bench if you go looking for it, but there’s so much going on here that it’s not obvious at a glance.

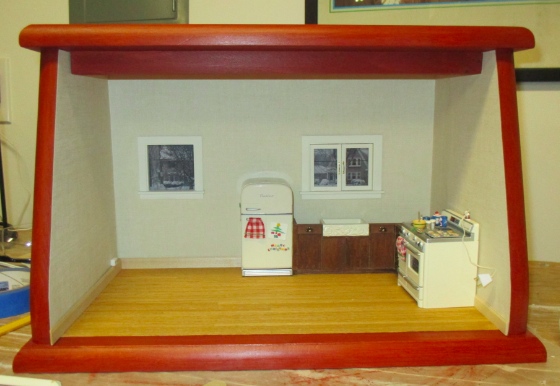
And here’s how it looks overall. It’s getting there…
 Emily is a freelance writer, miniaturist, and adventure game enthusiast.


Leave a Reply