I’m almost done with the Victorianna stairs (the first floor, anyway) but here’s a quick post in the meantime.
Besides finishing the stairs, another task that needs to get done on the Victorianna before I can move forward with assembly is laying down the hardwood floors in areas that will be inaccessible once the back is on. In the past I’ve used coffee stirrers and skinny sticks, but my hardwood flooring of choice has become LittleWonders Lumber, which is basically packs of 1/32″ veneer cut into flooring strips. This stuff is vintage and impossible to find.
Okay, how hard could it be to make my own? I bought some 1/32″ black walnut veneer off eBay. There were two lots – five big sheets, and an assortment of little pieces. I used some of the little pieces for stair treads and planned to cut up the rest into strips for the floor.
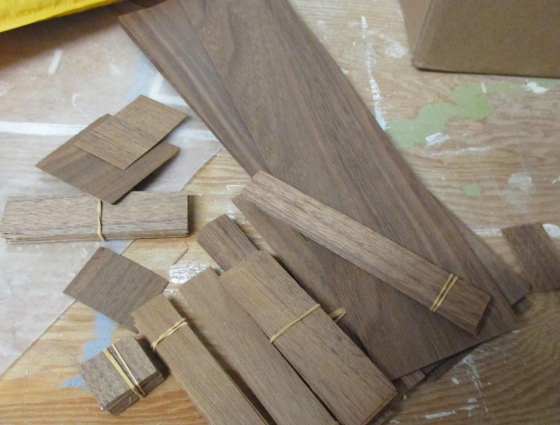
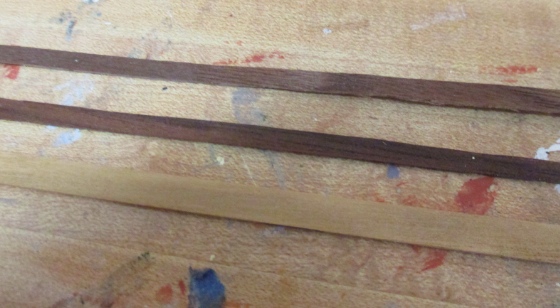
It worked pretty well for the stair treads (as you’ll be able to see soon!) but for floorboards, not so much. I’m not sure if it’s just this wood or I’m cutting it wrong or what, but when I went to cut my boards, the blade got caught on the grain and I ended up with very raggedy edges. I tried it both with the paper cutter and with an Xacto knife, and my floorboards just didn’t have the clean edge of the LittleWonders boards, as you can see in the pic below (the bottom board is LittleWonders).
Disappointed, I revisited the idea of using coffee stirrers, but when I stained them with walnut stain (to match the black walnut stair treads) I didn’t like the color. Plus, the round edges need to be cut off each stirrer, and then the boards have to be cut down using a saw as opposed to using scissors with the 1/32″ veneer — much more labor intensive.
Now, this isn’t my first time buying veneer. I got some “micro veneer” last year that’s very thin and has a paper backing. It cuts easily on the paper cutter, and I’ve found some good uses for it — like the countertop in the artist’s cottage — but because it’s so skinny the “boards” didn’t have any depth, so I didn’t like it for hardwood floors. (That’s why I made a point of buying the 1/32″ veneer this time.) But since I had it lying around, I figured I’d give it a try.
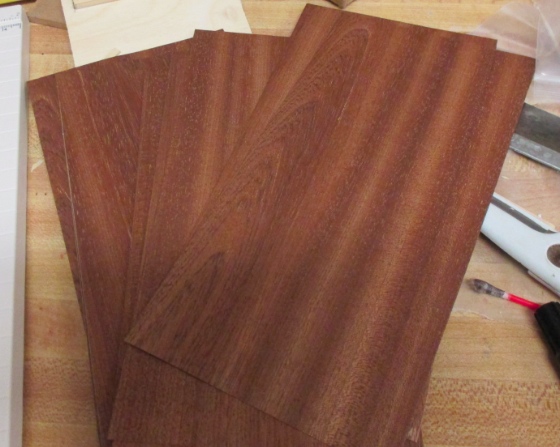
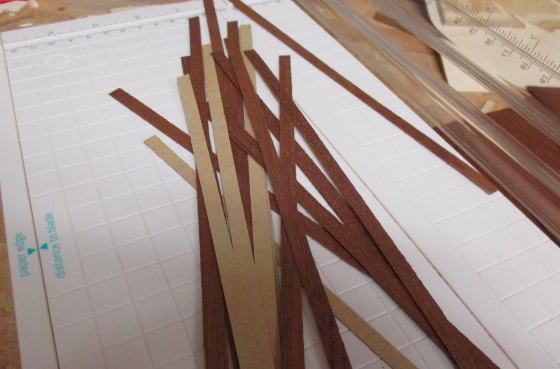
I marked off 1/4″ strips and cut them with the paper cutter.
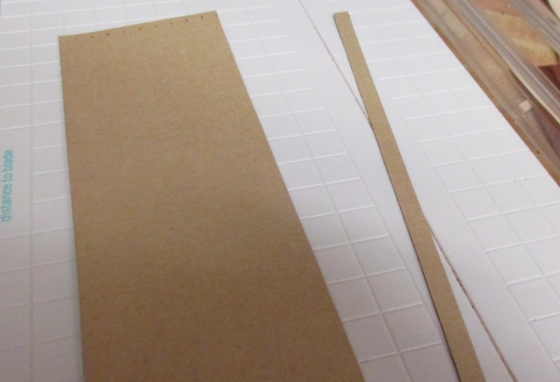
I ended up with nice straight cuts, no issues with ragged edges. Again, I don’t know if this has to do with the type of wood, or the paper backing, or what, but they came out much cleaner than my attempts to cut the 1/32″ veneer.
I laid a couple on the floor and looked at them. Because the wood’s so thin, there’s almost no noticeable seam where two pieces meet — that’s what looks unrealistic to me. So I got out a Sharpie and ran it around the edge of each “board” to provide definition.
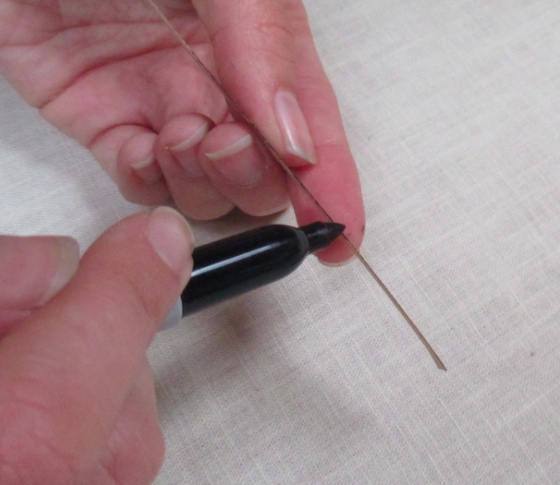
Guess what, it worked!
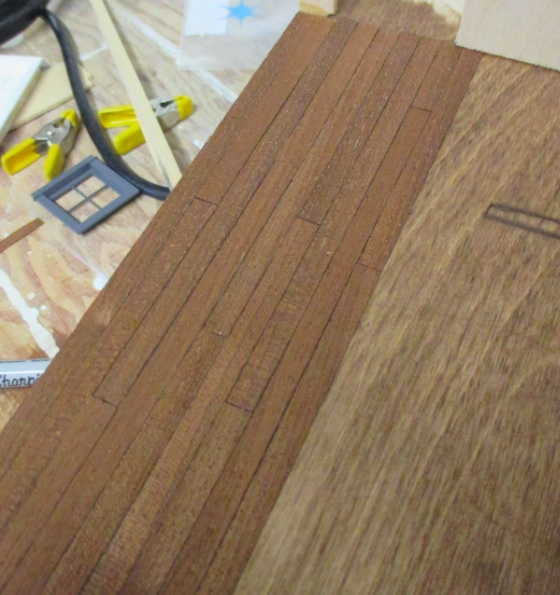
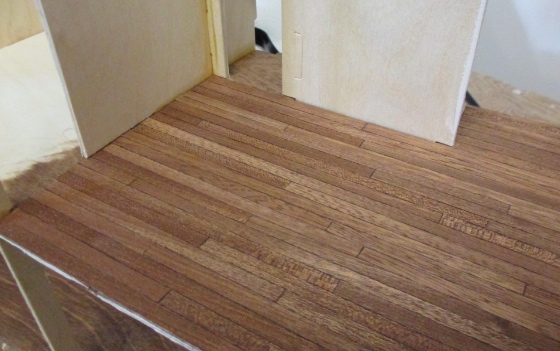
I’m not sure how this veneer was treated, but it already has color and a bit of a sheen, so I didn’t need to stain it or do anything else to make it look nice. And because it has a sticky back, I didn’t need to glue either — just peel the backing off and stick the board down. That’s why I’m considering these “no mess” hardwoods… although I did get Sharpie on my fingers.
 Emily is a freelance writer, miniaturist, and adventure game enthusiast.


Looks really good! I’m so impressed with the scale of the grain and the variation of colour. I’m going to have to look around and see if I can find some like that myself. :) It’s kind of nice it doesn’t require any stain either, gives it a more lived in finish.
This is the stuff I bought: http://www.ebay.com/itm/Wood-Micro-Veneer-Lot-Assorted-Dyed-Mahogany-Self-Adhesive-Except-B-/271802607419
There are a lot of options on eBay though, just do a search for veneer. The stuff I have is apparently .010-.012 thick.
It looks great! Nice work!
Thank you so much for this tutorial! I just used it to make floors for my dollhouse and it worked incredibly well.
Very effective way of doing the flooring, thanks for sharing.
This worked really great for my hardwood floors. I used the link on ebay, and ordered mixed colors so I could install darker floors in one area of my mini house and lighter floors in another area.
You can see it here:
http://minisunderconstruction.com/wp-content/uploads/2016/05/IMG_3807-768×576.jpg
So thanks for this great time saver!
Very nice! Thanks for sharing your picture.
Hi, there. Your final flooring looks amazing!!! I’m trying to find an alternative to using the very expensive dollhouse wood floor veneer sheets. I read your tutorial about the wood flooring, but I’m still confused. Did you use 1/32″ veneer or not? If I read you correctly, you purchased some on Ebay which didn’t work. Then you purchased some more that did? Please clarify or provide a link for what actually did work for you.
The 1/32 veneer I bought didn’t work for me. When I tried to cut it it came out too jagged on the edges. That might have been due to the type of wood it was.
The stuff that worked is called “micro veneer” and it’s thinner than 1/32. You can buy it here: http://www.ebay.com/itm/Wood-Micro-Veneer-Lot-Assorted-Dyed-Mahogany-Self-Adhesive-/282208524291?
Good luck with your floor!
Not sure if you have tried checking this place, but a lot of people swear they are the best. https://www.northeasternscalelumber.com/