I have always envisioned the puzzle house as a country cottage with hardwood floors throughout. Last weekend I bought coffee stirrers to use for the floors. The skinny stick hardwoods I did in the Fairfield just seemed too thick and clunky. To my surprise, I couldn’t find wooden stirrers at Costco, Staples, Target, or the grocery store. Finally I tried Smart & Final, a restaurant supply store, and they had them—at a great price! (The box of 500 stirrers cost less than $3, including tax.)
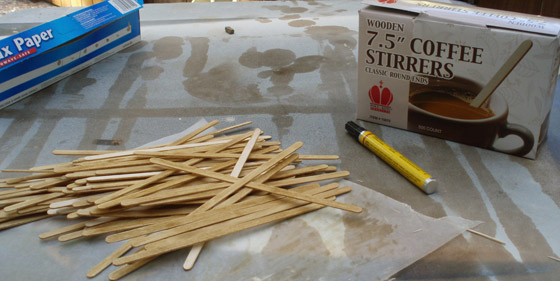
It took maybe five hours total (spread out over three days) to lay hardwoods for the entire house. Some of the stirrers were warped, but by placing heavy objects on them while the glue was drying, I was able to make most of them behave. The windows and doorways are trimmed with decorative strip wood that I got at the dollhouse store. I put flat strip wood inside the doorways to cover up the exposed edges of the plywood.
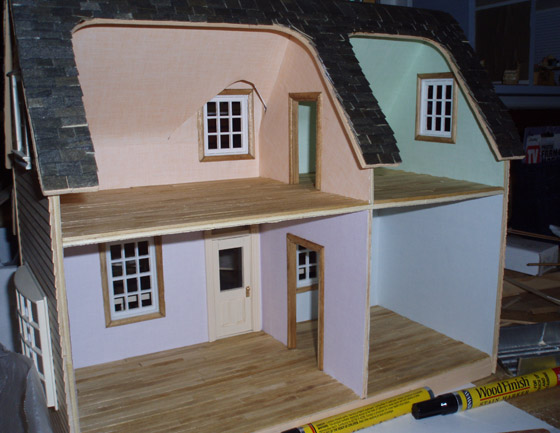
I used a Minwax Golden Oak stain pen for the floorboards, and Minwax Early American for the trim. I’ve said it before and I’ll say it again: stain pens are one of the best inventions ever. If you’ve never used one of these for a mini project, you’ve got to try it. It’ll blow your mind. (And I’m not just saying that because I’ve been sniffing stain fumes.)
After the hardwood floors were in, the rest of the trim work went much more quickly. I added painted trim to the edges of the walls and the second floor, to hide the plywood, and put in stained crown molding downstairs, chair rail upstairs, and baseboards throughout.
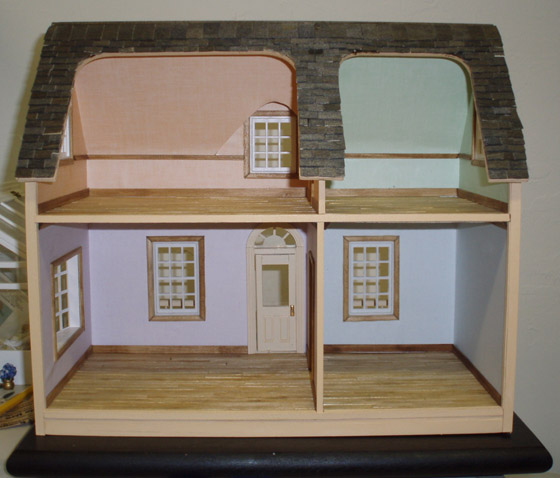
The main purpose of the chair rail was to hide a wallpaper seam that was bothering me in the larger of the two rooms. I decided to put it in the smaller room as well for consistency. I used a fancy notched trim I got at the dollhouse store that was labeled “picture frame.” (Ironically, the curved trim I used for the windows and doors was labeled “chair rail.”)
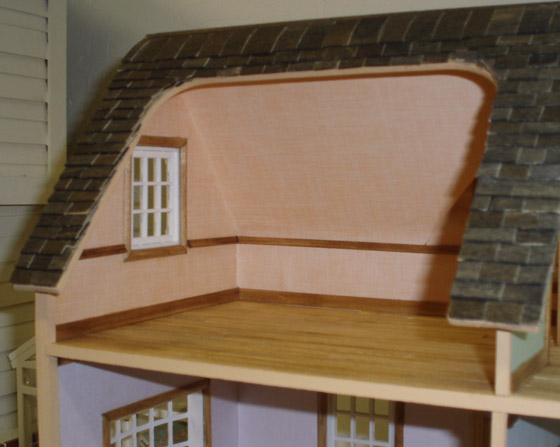
This is the first time I’ve ever done chair rail in a dollhouse. I think if I do it again, I’ll make the bottom half of the wall a different color than the top half. I also had an idea to turn some 1:12 shutters like these horizontally to create wood paneling. Due to the height of the shutter, it wouldn’t have solved the seam problem in this house so I didn’t end up trying it, but I want to try it in a future project. (Assuming I remember!)
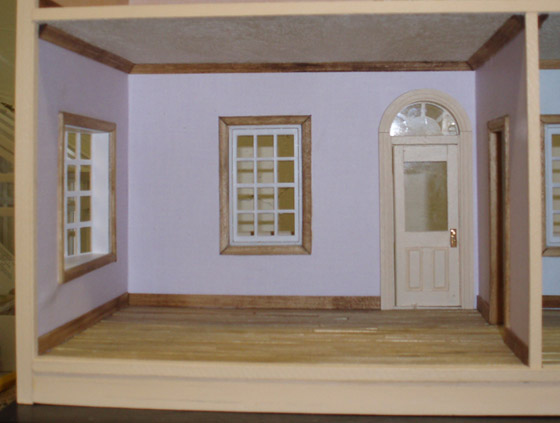
I thought about putting chair rail downstairs, too, but decided against it. The downstairs rooms have crown molding that the upstairs rooms don’t have, plus I didn’t want the rooms to get too matchy-matchy. Also, my brain hurt from having to think about which way to cut the angles. It may look great when it’s finished, but mitering corners is not one of my favorite activities.
Now comes the best part—interior decorating! I already have most of the furniture picked out for this house, but it’s still in kit form. I’m also going to create a yard, possibly with a small garden (nothing as elaborate as the Fairfield’s!) Yesterday I happened to walk past a garage sale where a woman was selling a swiveling “TV tray” for $3. It looks homemade; just a piece of wood on top of the same type of turntable I used for the Fairfield.
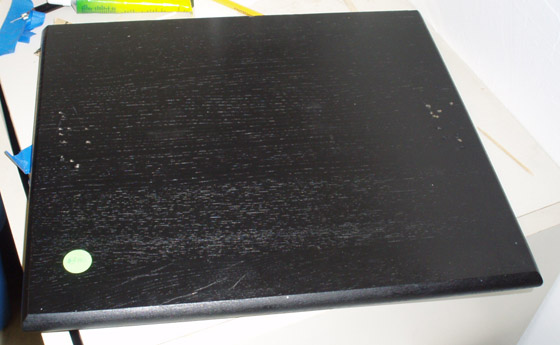
I didn’t have my wallet with me but I went back a few hours later and it was still there. Karma! It’s the perfect size for the puzzle house. I’ll cover it with grass and maybe add a picket fence and a few bushes.
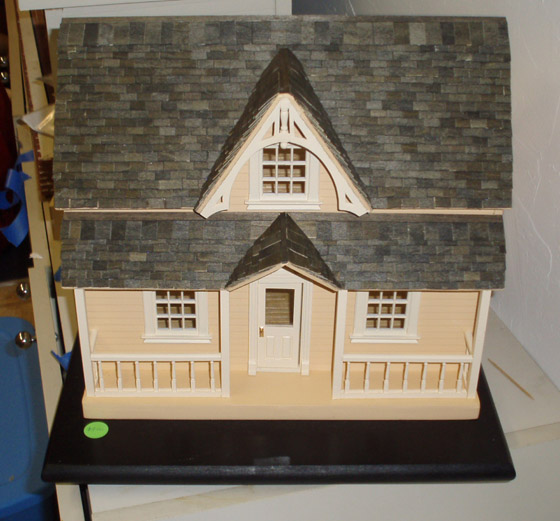
There will be a bit more yard space than you see in this picture; I didn’t have the house all the way to the back when I shot it. Probably not enough room for any trees… but maybe a birdhouse on a post?
 Emily is a freelance writer, miniaturist, and adventure game enthusiast.


I was just wondering, could you stamp a design onto the upstairs wallpaper? I’ve seen people match a patterned wallpaper with a plain one with the same base color before, and it would match the country feel.
Looks really great Em. The floors are perfect and the trim really gives it a finished look. Can’t wait to see the furnishings.
Love, Dad