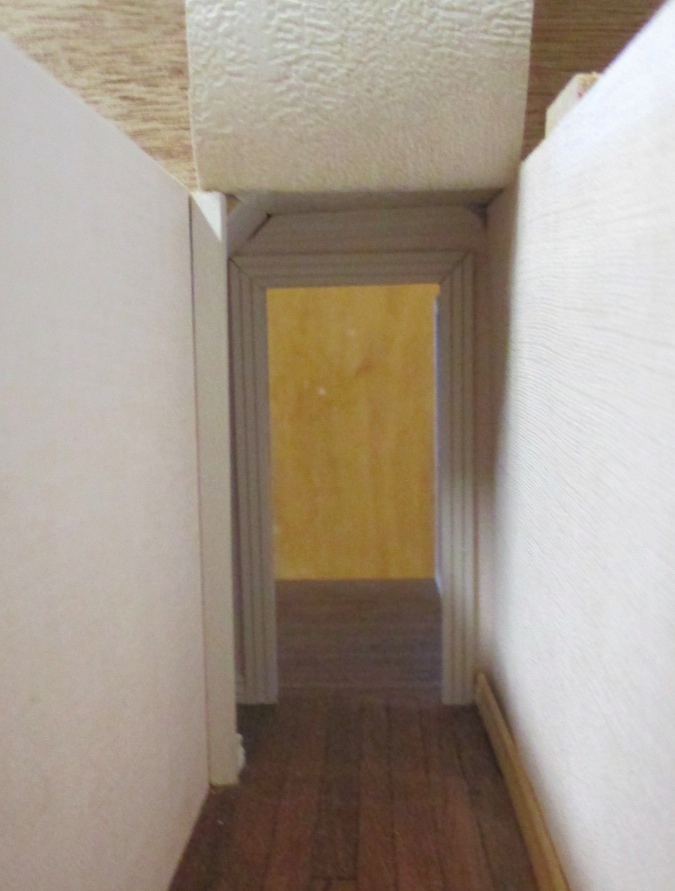
Half scale dollhouses often need to be decorated as they’re built, or else you end up with spaces where it’s too hard to reach your hands in. I give you Exhibit A: the Victorianna’s upstairs hallway.
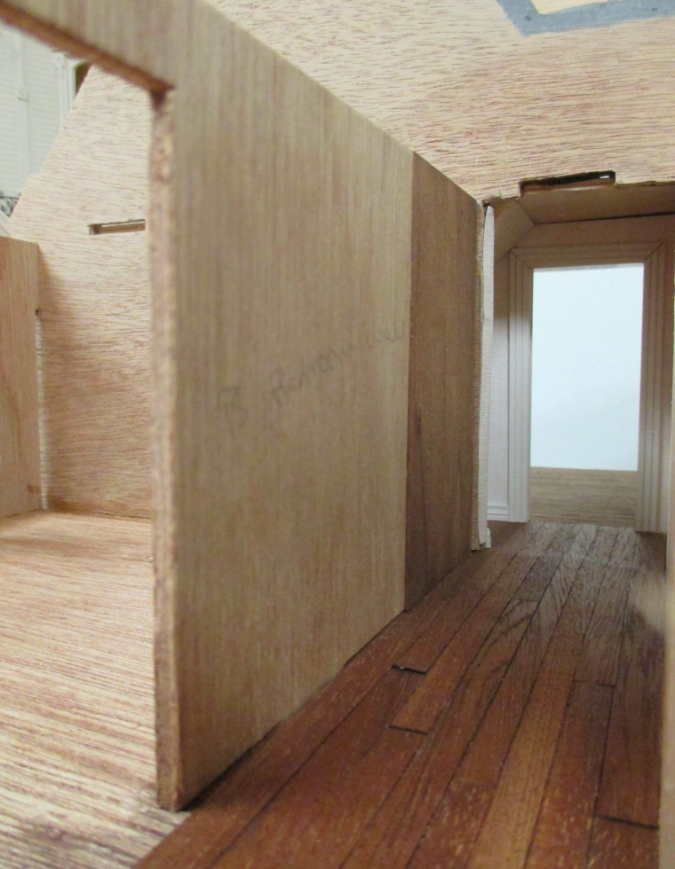
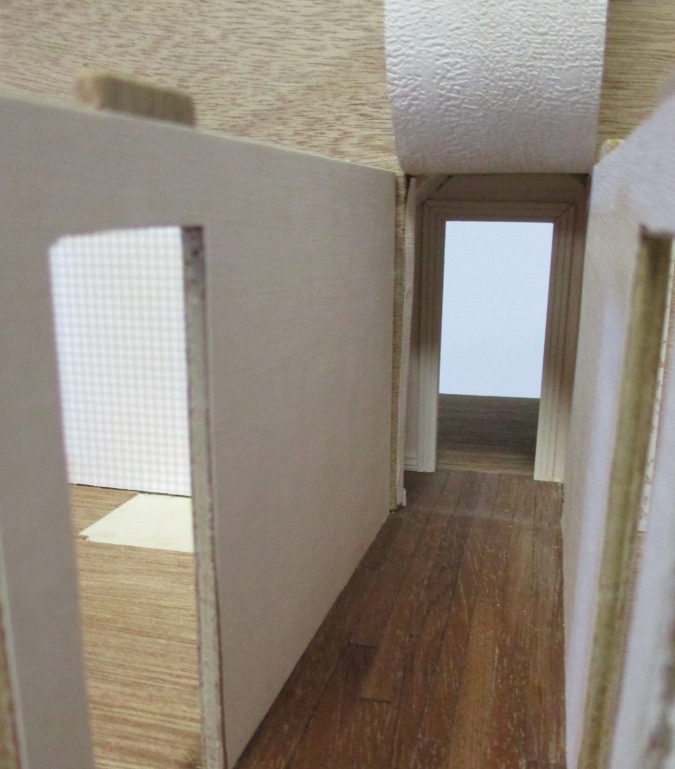
Because of how I’m bashing the house, this is a long skinny hallway that takes up the whole luan plywood half of the house and extends into the birch plywood half. The space is 2″ wide and about 9″ deep. The wall on the right is part of the structure, but I put off adding the one on the left until after I’d finished the hardwood floors and wallpapered the right wall.
Next I glued in the wardrobe that’s forming part of the left wall, and the wall itself. The ceiling isn’t glued in, it’s just there to hold them in place while the glue dries.

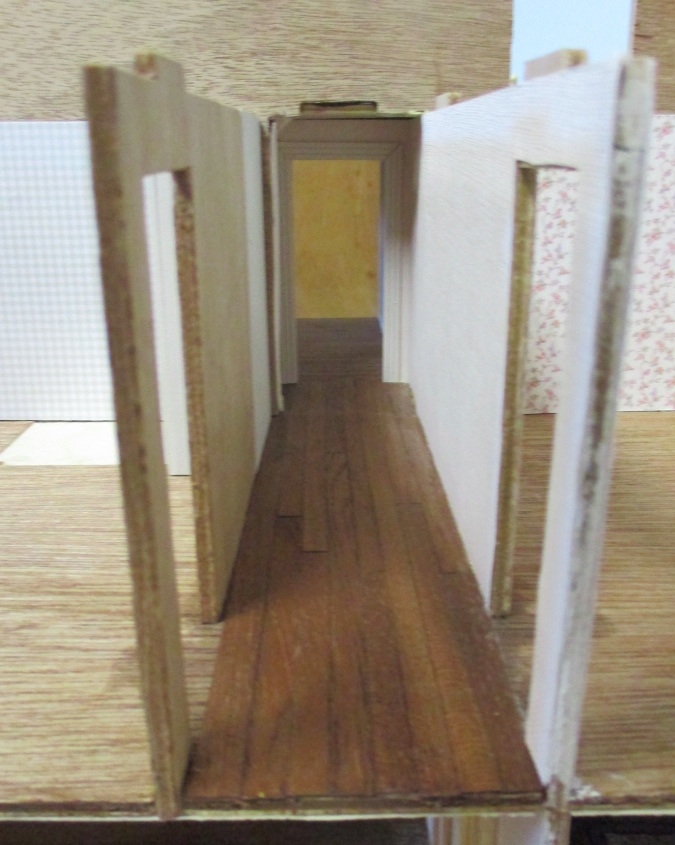
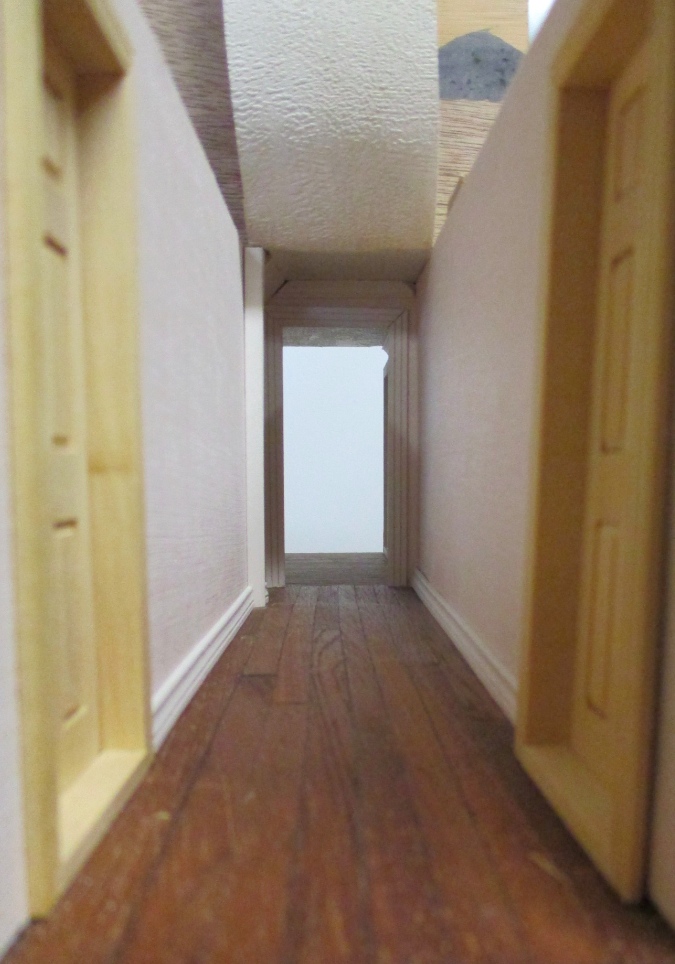
Here’s the hallway with both walls glued in. It’s starting to be a tight squeeze!
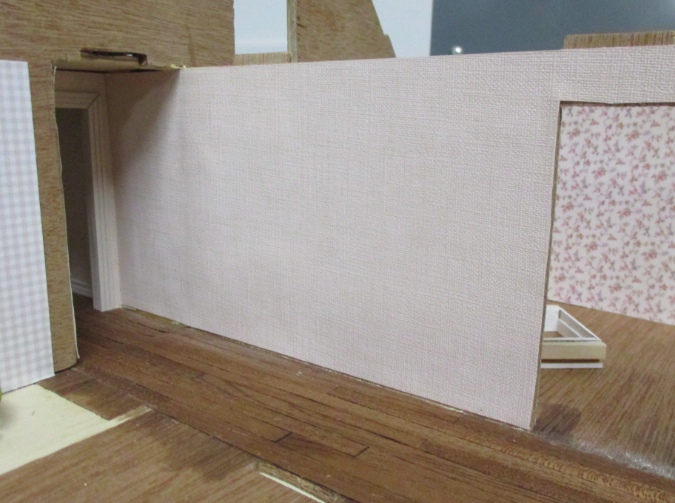
I had two tricky things to deal with in here. The first is this weird little piece of wall sticking out where the left wall/wardrobe combo isn’t lined up with the corner. If I’d realized it would be like this I could have cut back the opening , but we’re way past that now.

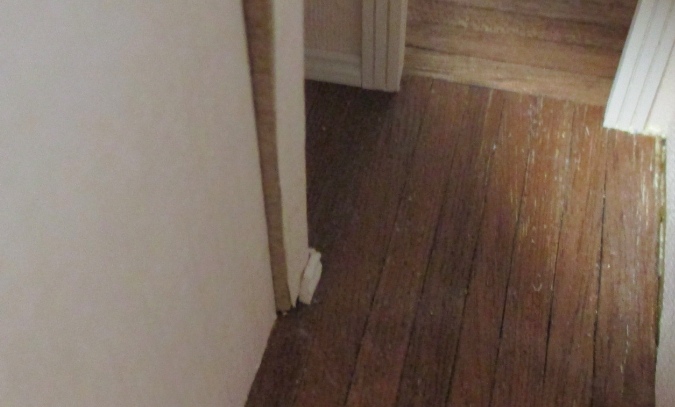
Wallpaper is wrapped around from the other side but it’s a bit messy, and there’s a piece of baseboard at the bottom that’s angled to meet up with another piece of baseboard. I tried covering it up with various trim scraps and decided on a piece of corner trim.
The other tricky thing to deal with here is how to extend the ceiling paper into the small area above the stairs (which is a slightly different shape than the rest of the hallway due to the top of the staircase). If I waited until the ceiling was in I’d surely get glue all over the wallpaper trying to make it work.
I ended up cutting a long piece and gluing it just to that area by the stairs. When I glue in the third floor, I will first add wallpaper mucilage to the hallway part of the ceiling and attempt to glue the rest of the paper to it at that point. It has the potential to go horribly wrong…
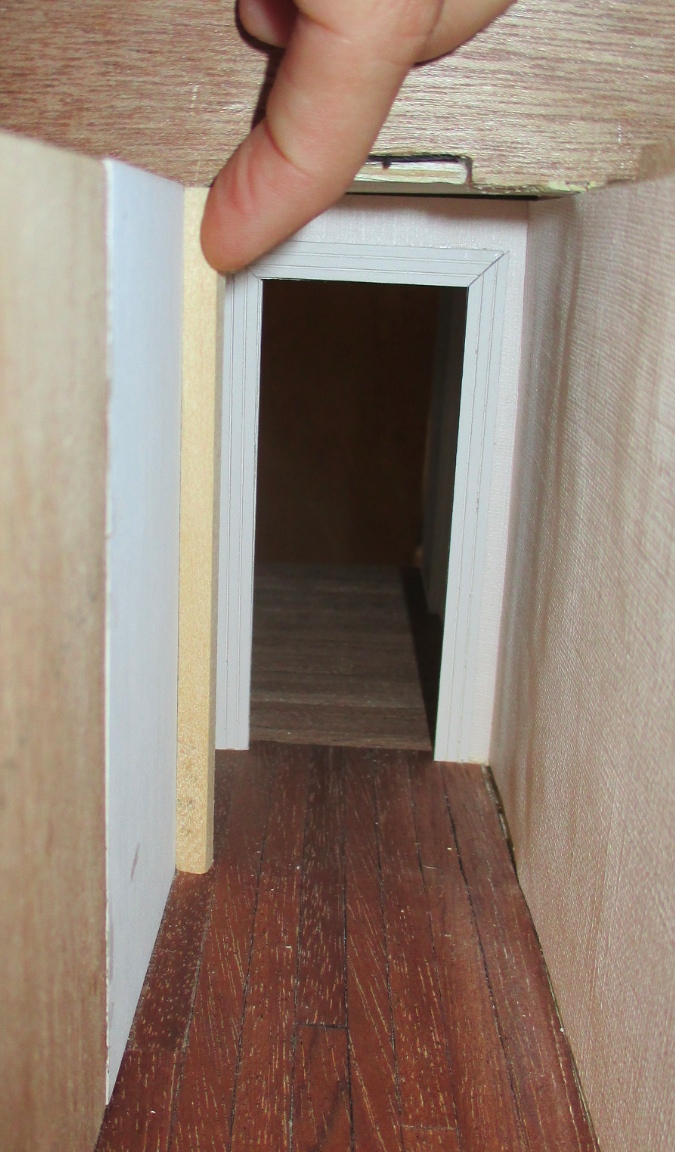
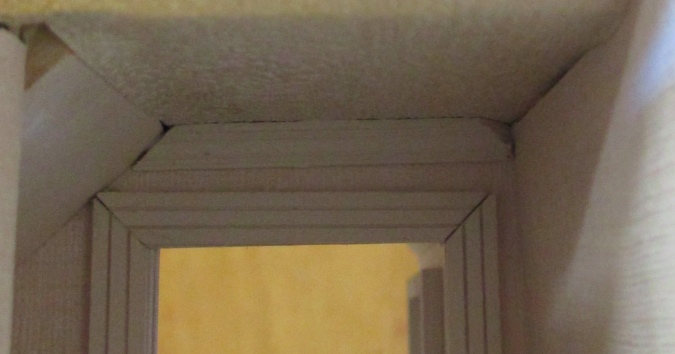
With the ceiling paper glued in over there, I added the piece of crown molding I’d already prepared for over the doorway. Even with the third floor removed, this was tough to reach and I couldn’t see what I was doing as I was doing it. So it’s crooked. I don’t care.
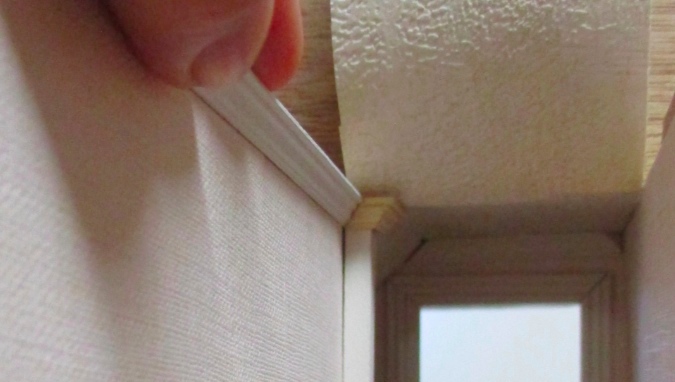
Back to the funny corner — the left wall has been wallpapered and it’s time for the trim extravaganza. First I added a tiny piece of baseboard at the bottom to meet up with the baseboard at the top of the stairs.
Then I glued in the corner trim. This was my first attempt, with Tacky Glue. Something wasn’t quite right (maybe the bottom banging into the baseboard, which was a tad too long?) and I kept ending up with either a big gap at the top or a big gap at the bottom. Dissatisfied with how it was drying, I ripped it out.
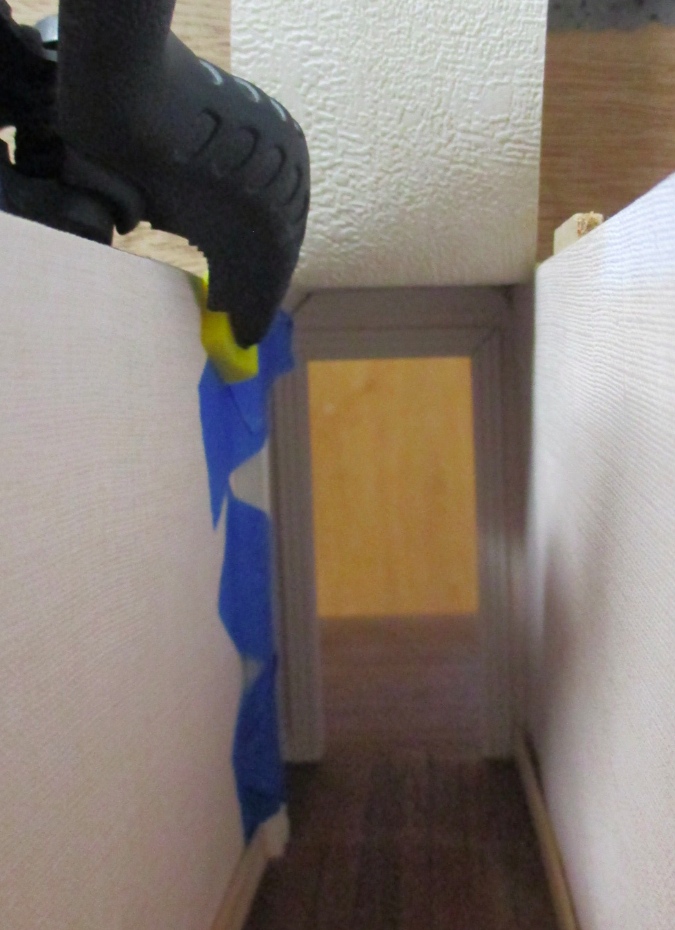
Second try: Super Glue. Always a dangerous move. It’s not quite flush at the top but good enough. The bottom edge is also pretty good and it looks good from the other side of the house when you peek through the doorway at the top of the stairs, but it was impossible to get a picture.
A small, unpainted triangle is visible just beyond the corner trim (it’s the top of the staircase). Once everything’s put together it will be hard to see, but I’m a perfectionist and it was bugging the crap out of me. I glued together some tiny pieces of crown molding to go at the top of the corner trim, effectively hiding the unpainted triangle.
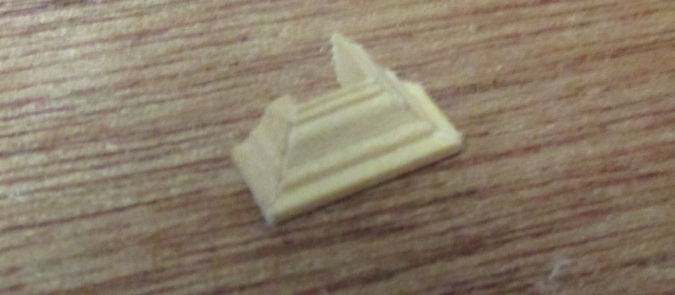
Here it is on a scrap piece of corner trim, to give you a better idea of what it’ll look like. It’s impossible to get a good picture of this in place…
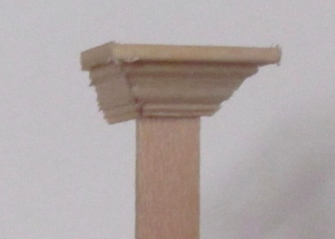
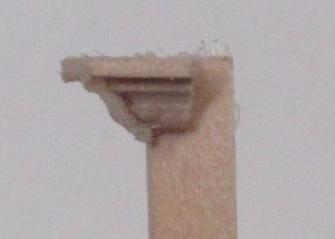
I ran out of crown molding and am waiting for more to come in the mail, but here it is with a scrap, to give you the idea. That back piece of molding is still crooked but at least the unpainted triangle will be hidden.
The last thing I’m able to do for now is add baseboards. The crown molding needs to wait until the ceiling is glued on, and the doors can’t go in until the rooms they open into are finished. I’ll do the last little pieces of baseboard after the doors are glued in, too.
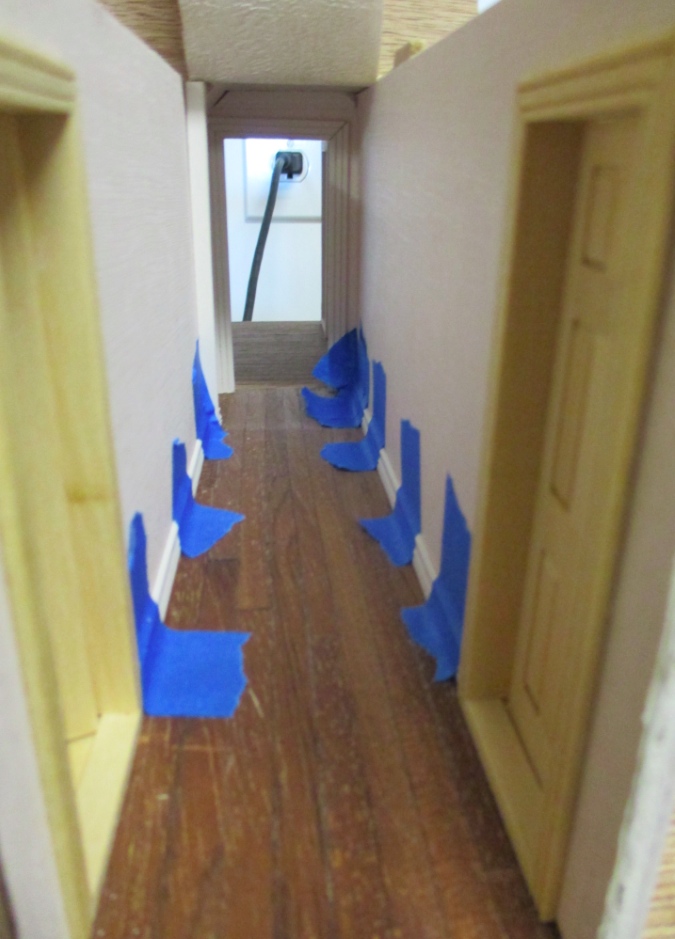
This hallway will be pretty dark once the ceiling is on, so I have to get my fill of gazing at it now…
 Emily is a freelance writer, miniaturist, and adventure game enthusiast.


This is incredibly AWESOME! Thanks for continuing to share your progress, including problem solving. Now you need an itty-bitty drone to fly through the house and take pictures for you. ; )
Wow! As one perfectionist to another I understand the annoyance of a little unpainted triangle. And I admire your solution.