The Den of Slack

emilymorganti.com

Page 166 of 238

Rosedale fascia

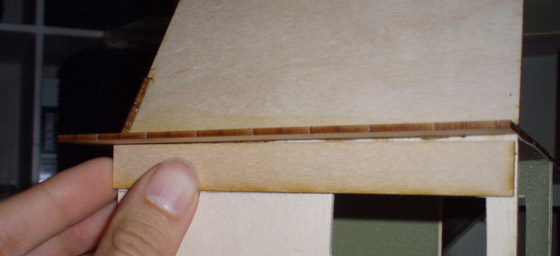
With the house assembled and stuccoed, I moved on to the fascia. (A fancy word for trim! I’m not exactly sure if this is the correct usage of the word “fascia,” but that’s what the Rosedale’s instructions call it…)

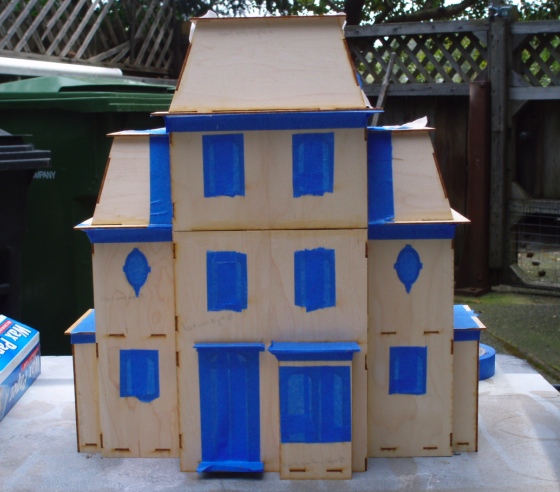
I first had to decide on trim and accent colors. Since I accidentally painted the house darker than I originally had in mind, I wasn’t quite sure what to do for the trim, so I painted some swatches on the house in an area that will eventually be covered up.

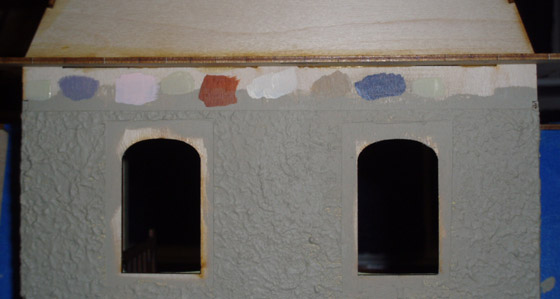
To keep the house from looking too dark, I decided to go with my old friend Sandy Feet (sixth from left) for the trim, and I think I’m going to use the lavender (second from left) and navy blue (second from right) for accents. (I initially bought the lavender and blue to redo the trim on my infinite possibilities porch, but haven’t done it yet.)

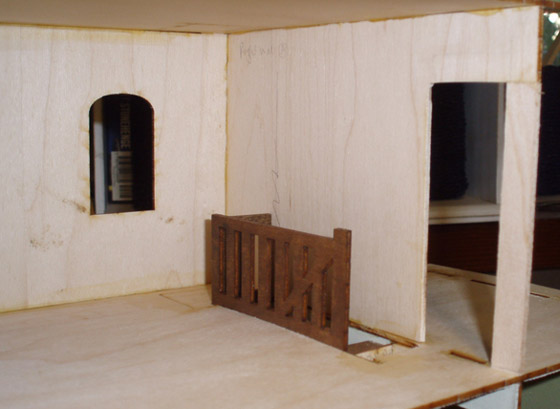
Before painting any fascia, I needed to cut a hole for the new porch door.


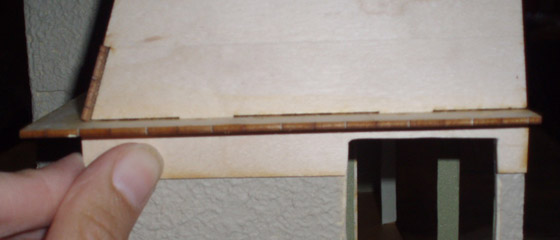
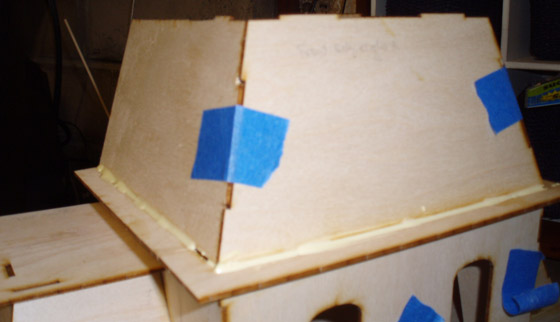
Step 1: Hold fascia over the hole and draw a line on the back side with pencil.


Step 2: Get Geoff’s help cutting a hole with the dremel.


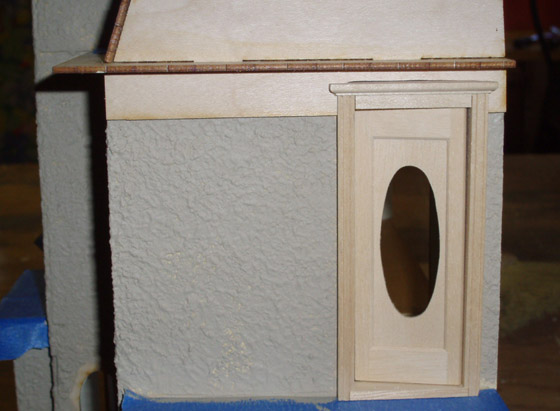
Step 3: Sand until it fits. It’s a little crooked at the top. I’ll have to fill that in with wood filler or add some strip wood above the door.

Continue reading

Stucco madness

I usually use clapboard siding on my dollhouses, but stylistically that didn’t seem right for the Rosedale. In the workshops I’ve taken with The Guys from Texas, they taught a technique for using watered down wood filler to create a stucco texture. I’ve never done it on my own (let alone for an entire house!) but hey, you never learn how to do something unless you try it. What could go wrong?

Actually, it went surprisingly well. I started by masking off the areas where fascia and window trim will go, as well as any other spots next to stuccoed areas that I didn’t want to get covered with wood filler.

I traced lines around the window trim and applied masking tape starting at these lines, covering the windows to keep the wood filler from getting inside. I was kind of sloppy with the tape at the bottom of the windows. There’s no bottom trim, just window sills that rest on the bottom edge of the window, but I needed to stick the tape down at the bottom or it wouldn’t protect the inside of the house. I figured that even if some areas right near the trim aren’t textured, I can paint them and you won’t really notice the lack of texture. (Famous last words.)

Continue reading

Rosedale assembly complete!

I finished assembling the Rosedale this week. Before gluing in the third floor and attic, I cut the wallpaper and ceiling pieces that would to go inside. It was much easier to figure out the shapes with the parts unassembled, particularly the angled wings and attic.

A few weeks ago, I assembled the big room on the third floor as a standalone unit. I glued this part in first and added a bit of strip wood at the front edge of the bathroom door opening, to form a proper doorway. (If I’d just cut the hole properly in the first place, this wouldn’t have been necessary…)

Next I glued in the walls and ceilings of the third floor wings, followed by the attic walls. On the side pieces, I had to shave off a tiny bit at the top of each tab to get them to sit properly. Since these pieces are angled, running glue along the bottoms didn’t have much effect so I glopped glue on the outside for good measure. (I wiped it after taking the picture, so plenty of glue got into the seams but it’s not quite as sloppy as the photo suggests!)

Continue reading

« Older posts Newer posts »

© 2025 The Den of Slack

Theme by Anders NorenUp ↑