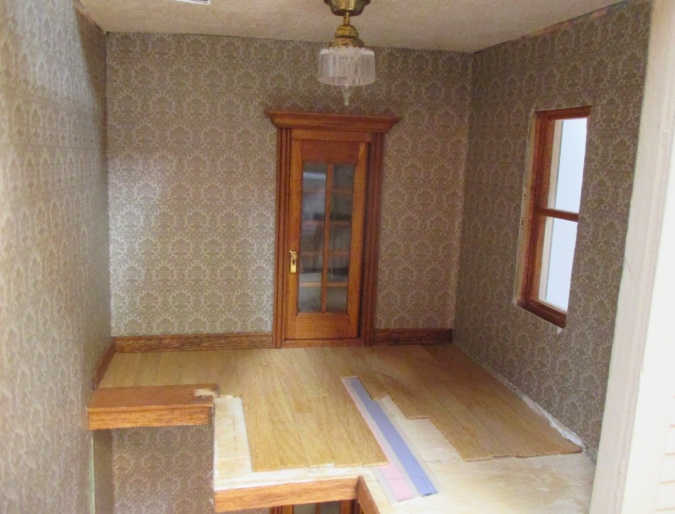
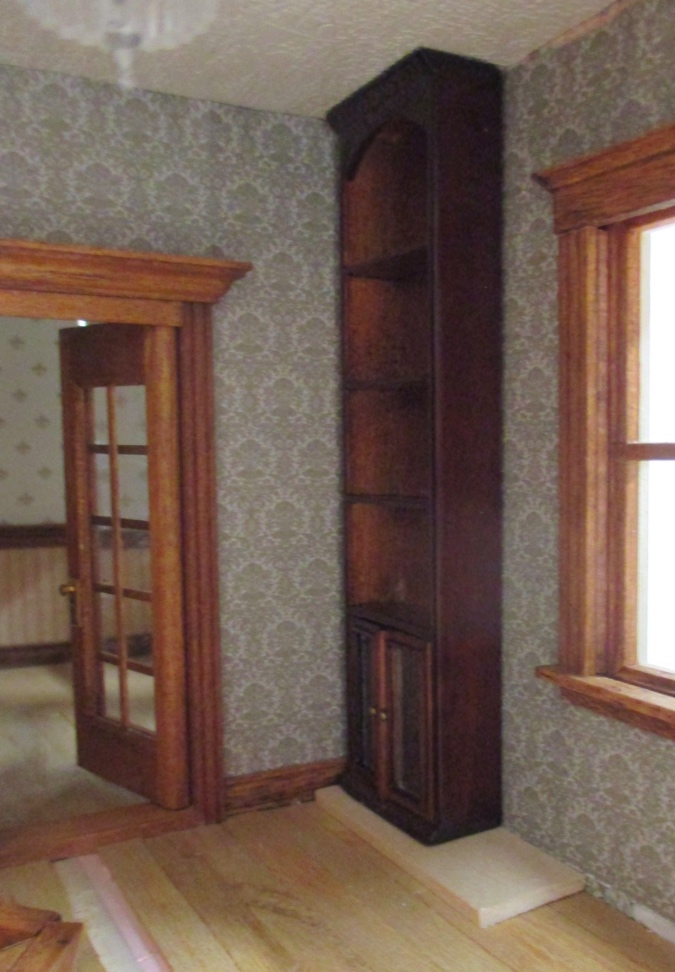
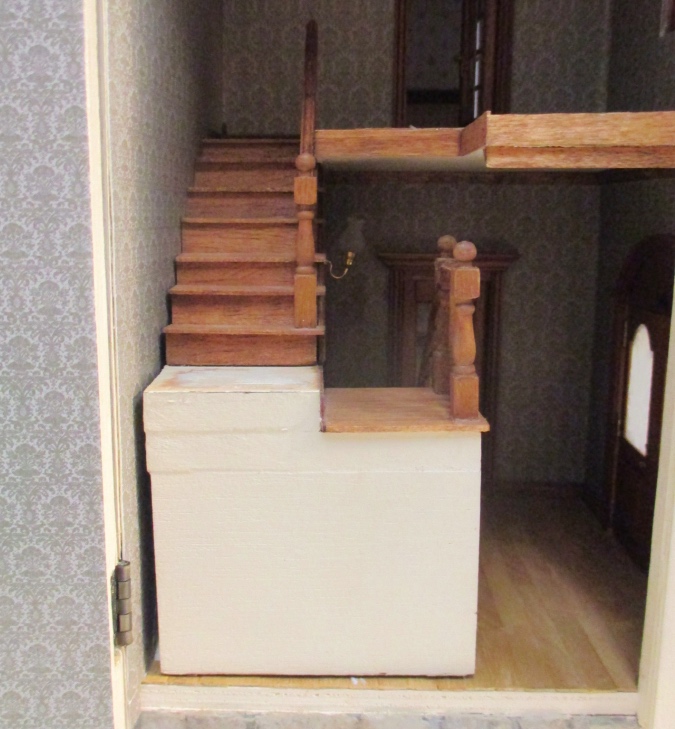
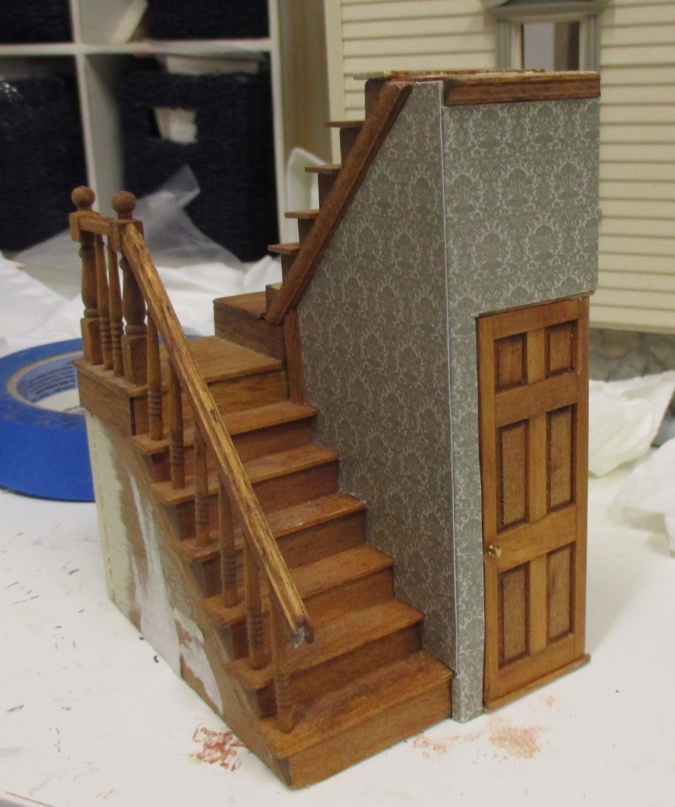
With the Rowhouse’s wallpaper and staircase fixed, I moved on to the upstairs room. I needed to patch the floor where the staircase had previously been, add railings so the little people don’t plunge to their deaths, and figure out how to handle the crown molding and baseboard around the Greyford bookcases I bought to go on either side of the window.
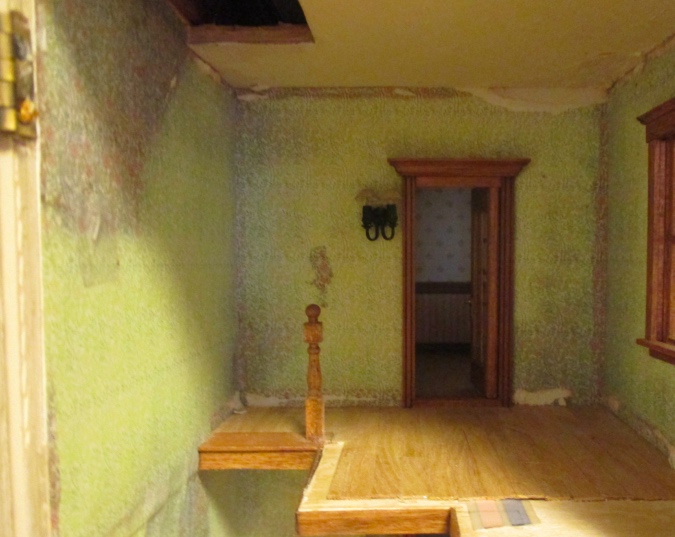
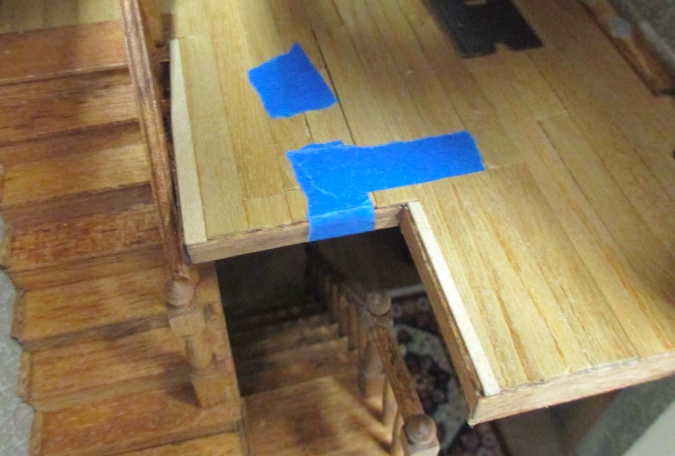
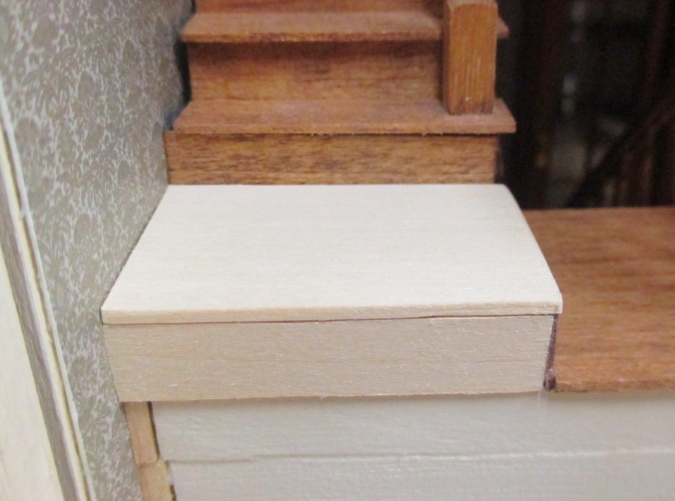
I didn’t think to take a picture of the floor when I started this process, but this one gives an idea of the area that needed patching:
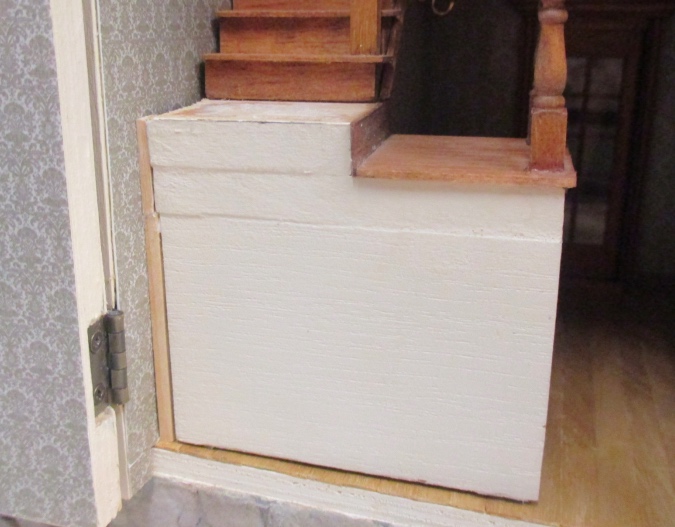
Luckily, I had a few leftover pieces of the flooring I used. I tried removing some floorboards so the patch would be less obvious, but it was hard to pull them up without breaking them, which left remnants of the floorboard behind that were then tough to get off.
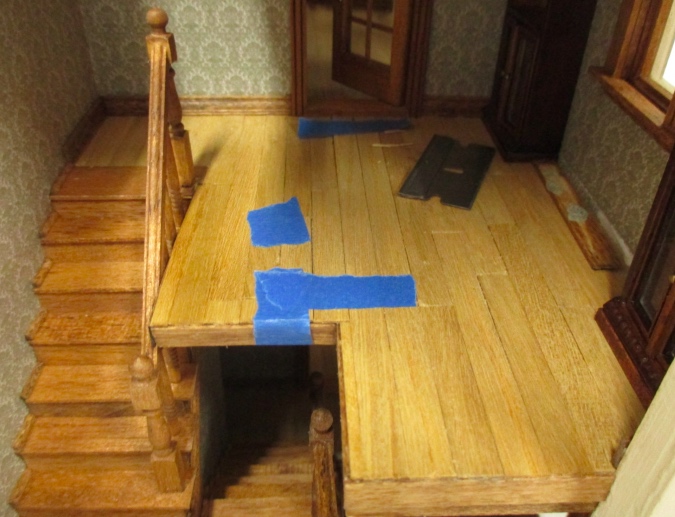
So I decided to start patching and see how bad it looked with the boards all meeting up in the same place, rather than staggered. The fact that the boards all meet up next to each other isn’t too noticeable beside the bookcase, but as the patch extended beyond the bookcase it would have become more obvious. So I got to work removing more floorboards by sliding the tip of my utility knife or a razor blade under the edge and prying them up.
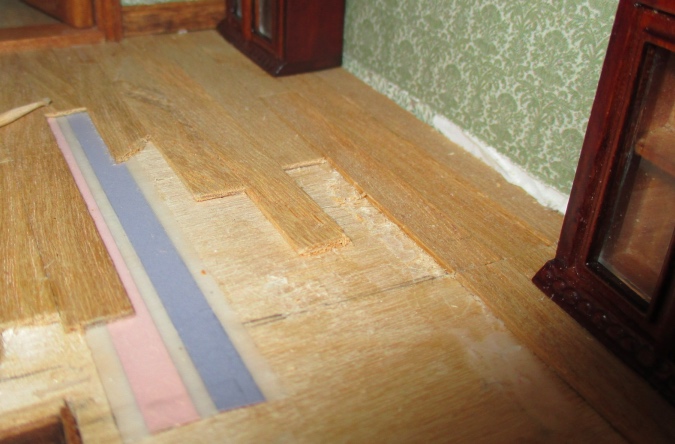
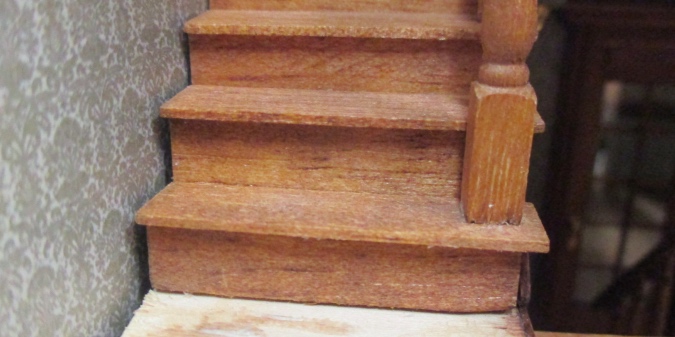
Some came off more easily than others. Luckily this tapewire isn’t attached to anything so I didn’t have to worry about damaging it.
When I got to the edges I needed two irregular pieces. The floorboards splintered if I tried to cut them, so I used basswood for these.
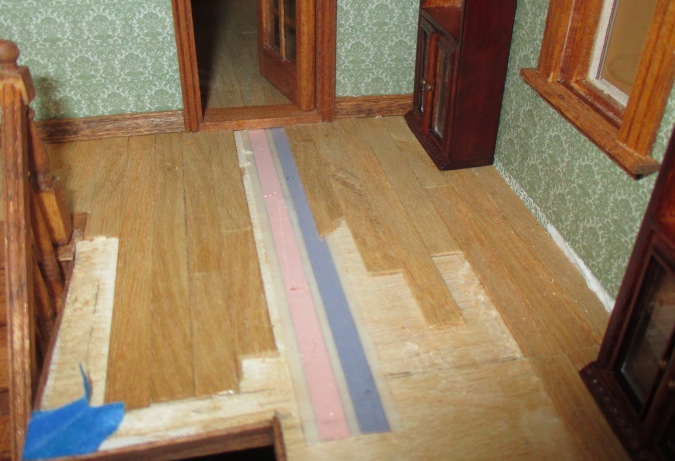
All patched!
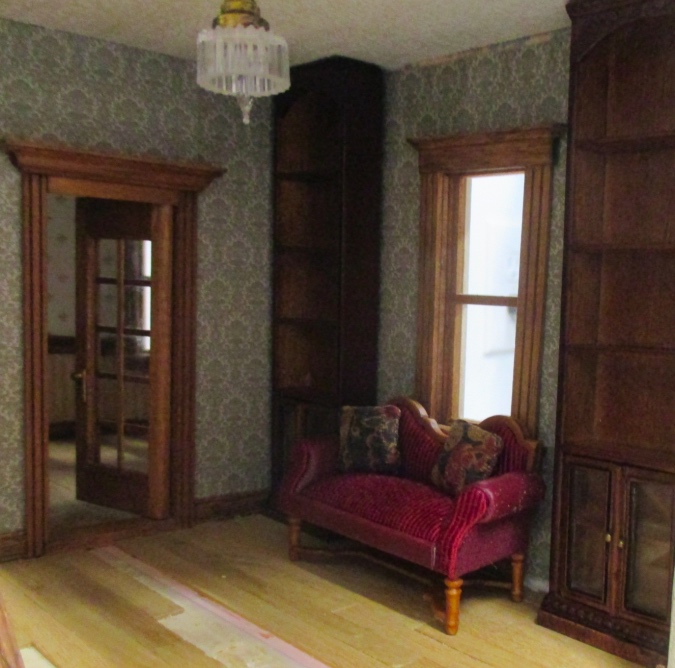
The Greyford bookcases are 4.75″ tall and the ceiling height is 5″. That left too small of a space above the bookcases to fit the crown molding. I decided to add wood to the bottoms, so the bookcases go all the way to the ceiling. Then I’ll just put crown between the two bookcases rather than running the crown around the top (which would have been complicated by the trim at the top of the bookcase).
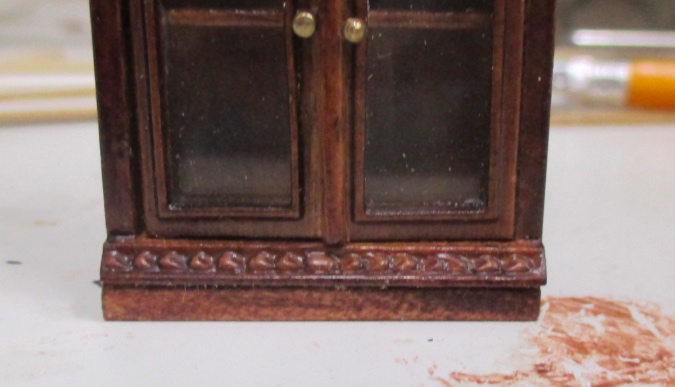
These bookcases are supposedly “new walnut” finish, but they’re darker than other new walnut pieces I’ve bought in the past. Here’s the bookcase next to a new walnut kitchen cabinet I’m going to use in a different house. The lighter color was what I was expecting when I ordered the bookcases.

I tried all my different stains to find a match and this was the closest I could get. This is Minwax Mahogany gel stain.
The base blends in better on the far bookcase, which is in shadow, than on the close one, but hopefully once the room is finished that won’t be where your eyes go. While I was working on this, the settee I ordered from JBM in Australia arrived. I like it!
 Emily is a freelance writer, miniaturist, and adventure game enthusiast.

