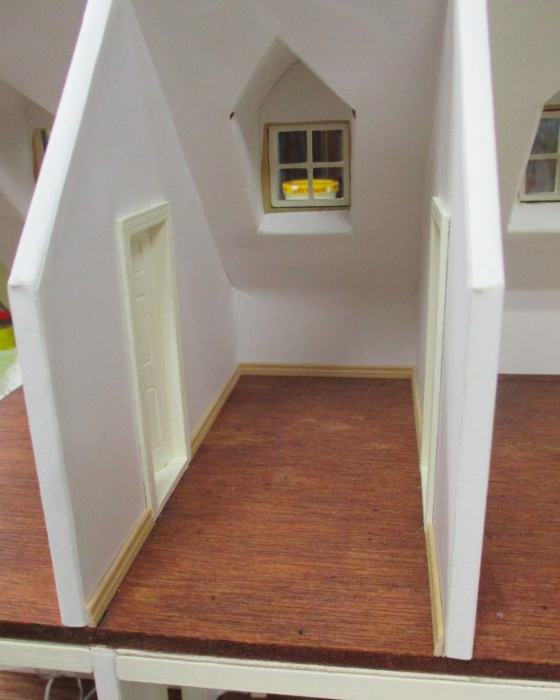
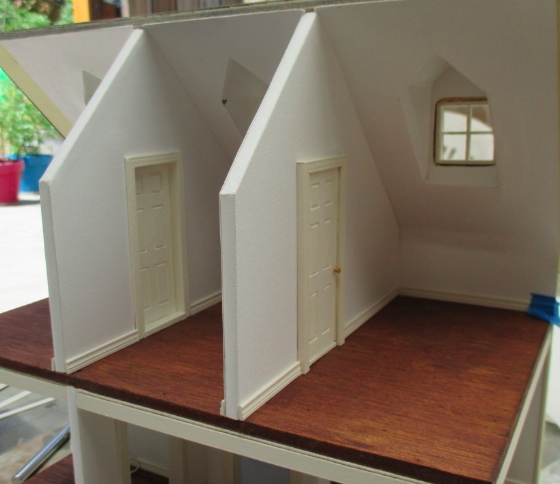
Interior trim: booooring to work on, but exciting to apply since the rooms look so complete once it’s in. It’s also the last task I have to do to finish up the Gull Bay.
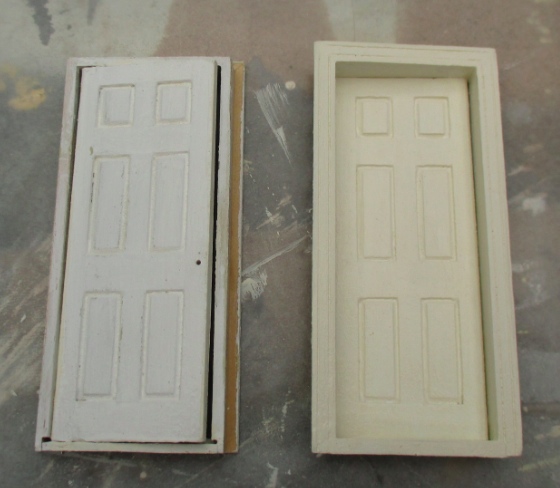
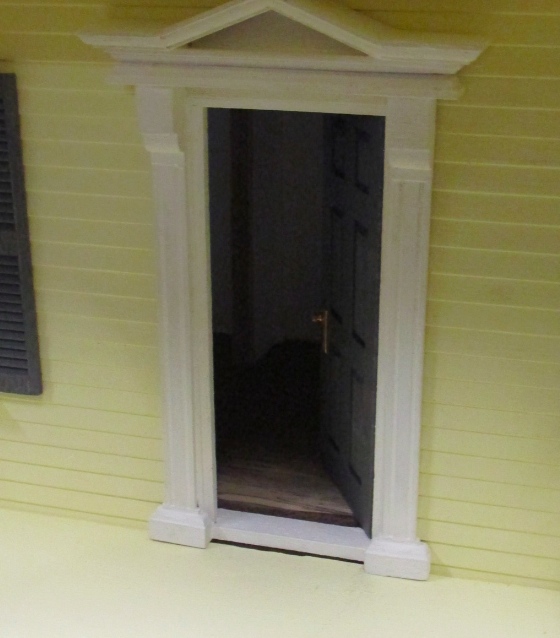
I already posted pictures of the downstairs crown molding and baseboards in my last blog. For the upstairs rooms, I pulled two doors out of my stash that I’d previously painted bright white for the Fairfield, then replaced with stained doors. I sanded a bit first, then repainted with a coat of the Raw Cotton I’m using for all the trim.
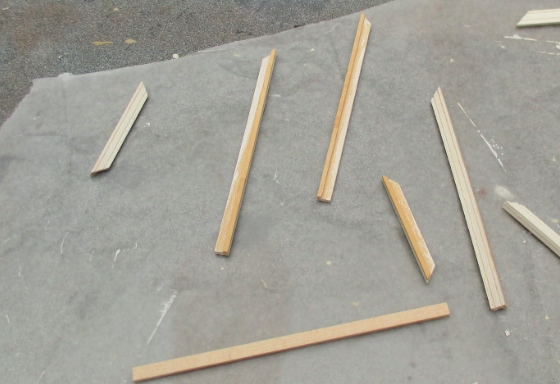
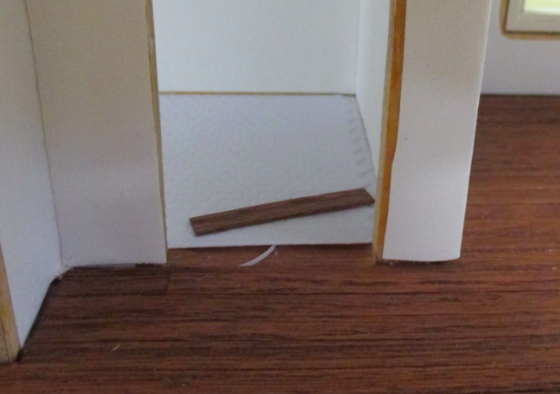
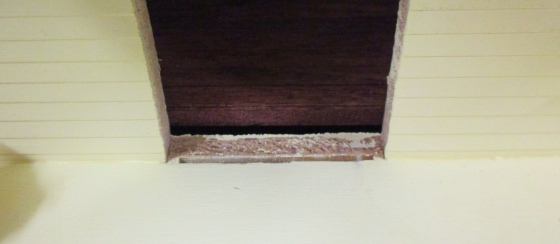
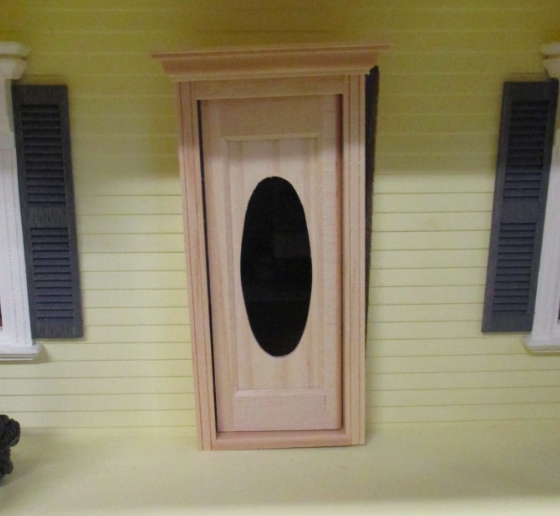
The doors are slightly wider than the wall, so I added leftover mullions to the inner edge of the trim to act as shims.
For both of the doors, this is the side with the built in trim.
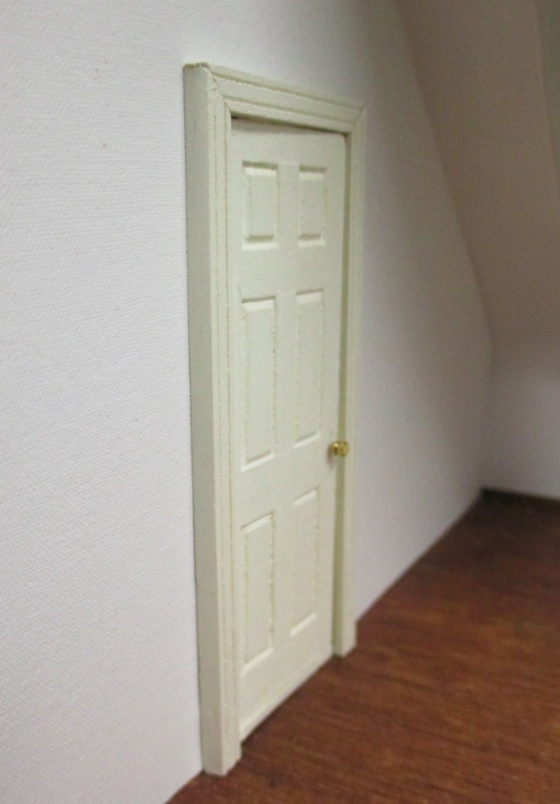
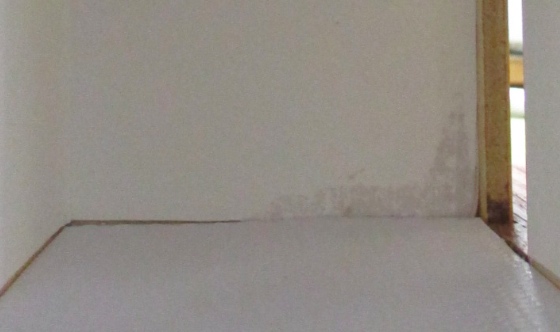
And here’s the opposite, shimmed side. The shim blends right in, you can’t tell it’s been added. I’ve seen posts before from people who are worried about the doors being deeper than the wall — this is a simple solution to the problem!
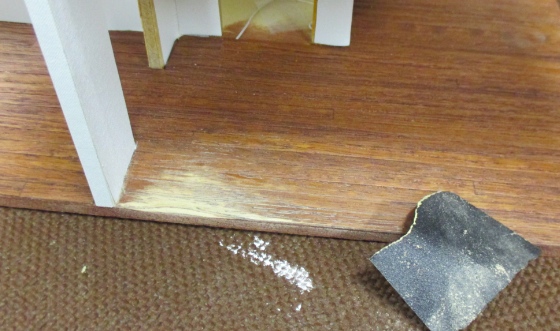
Added baseboards next. No weird angles and with three sides of the house open they were very easy to measure and cut, so this all went pretty quickly.


 Emily is a freelance writer, miniaturist, and adventure game enthusiast.

