These are Sam & Max, the Freelance Police.

Sam & Max are a dog and rabbity-thing who fight crime in their own special way. They’re the creations of artist Steve Purcell, and have starred in comics, video games, and a short-lived animated series. I could write much more about them — but why do that here, when I already have elsewhere? Check out Parts 1, 2, 3, and 4 of The History of Sam & Max, written by yours truly back in 2007.
I first encountered Sam & Max in college, when a guy I was dating gave me a copy of the comic collection Surfin’ the Highway. Though I was a player of adventure games, at the time I had never even heard of their 1993 game Sam & Max Hit the Road. (Maybe because it was made by LucasArts; I was a fan of rival company Sierra.) Sam & Max popped back into my consciousness in the early 2000s when a sequel, Freelance Police, was canceled by LucasArts, and Steve subsequently licensed the game rights to Telltale Games, a company started by people who had been laid off from LucasArts when Freelance Police was cancelled.
When I started working at Telltale in 2006, Sam & Max became a bigger part of my life. (You can read about that here if you’re interested.) I even had Max on my business card.

I worked at Telltale for about three years, during which time we released of two seasons of Sam & Max episodic games and produced a 20th Anniversary edition of Surfin’ the Highway. (More details about the book project are archived in this blog post, sadly without the original art.) I thought about making a roombox of the Freelance Police office, but didn’t have a lot of free time (a job in the game industry will do that to you!) and just never got around to it.
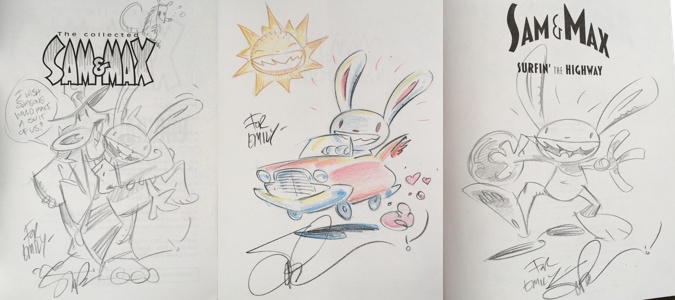
(These are sketches Steve made for me in three different copies of Surfin’ the Highway. The talk bubble in the first one says “I wish someone would make a suit of us!” in reference to the suit we unleashed on San Diego Comic-Con in 2007.)
My latent idea to make a Sam & Max roombox awakened last fall when Telltale went out of business — an unexpected event that hit me hard even though I’d left the company a decade earlier. And then I learned that Boss Fight Studio is making a set of 1:12 scale Sam & Max action figures, and decided the time had come.

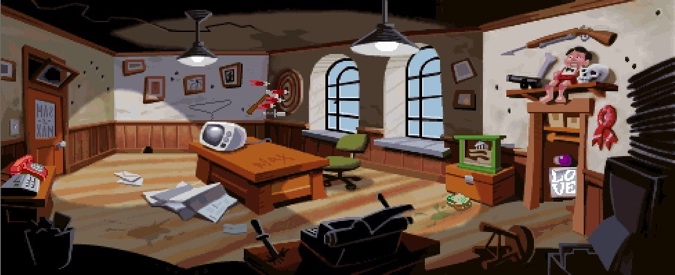
My vision of Sam & Max’s office comes from the video games they’ve been in over the years. Here’s how the office looked in Sam & Max Hit the Road:
And in the never-released Sam & Max: Freelance Police:

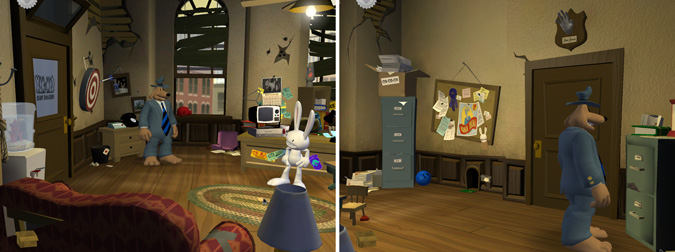
And in Telltale’s games:
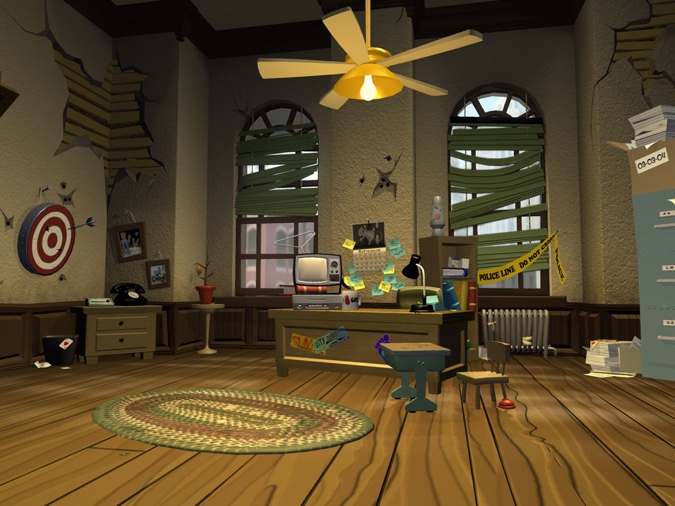
I’ll stick closest to Telltale’s version since that’s the one I know best, but will try to introduce some elements from the other versions as well.
For the box, I’m using a Houseworks Grand Roombox kit. It’s not the same shape as Sam & Max’s (rectangular) office, but I picked it because it’s open at the top, which will keep the scene from being too dark.
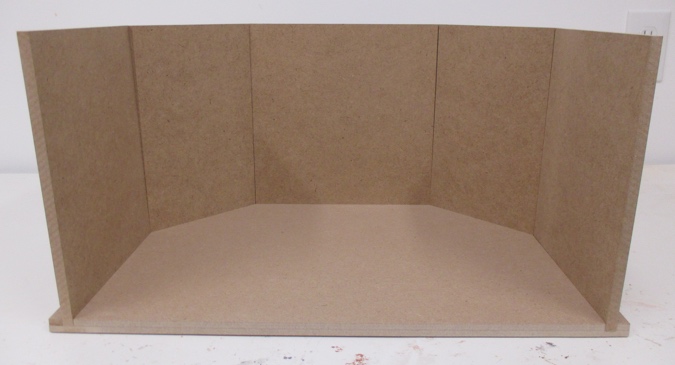
This kit is simple to assemble. I used The Ultimate glue, with just a few pieces of tape to hold the walls in place while the glue dried.
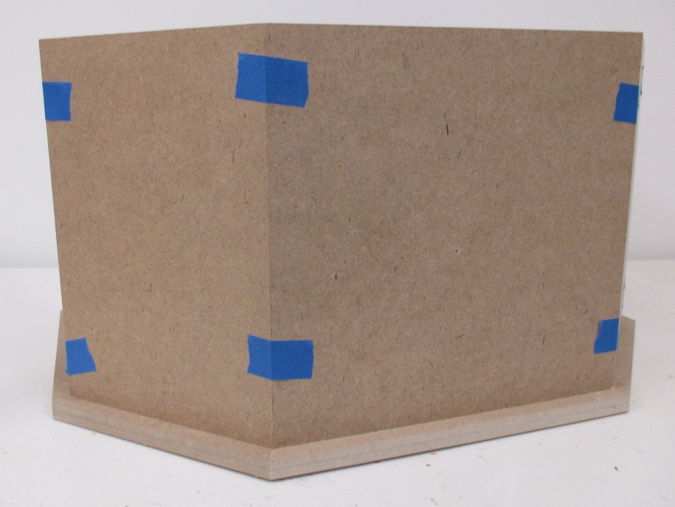
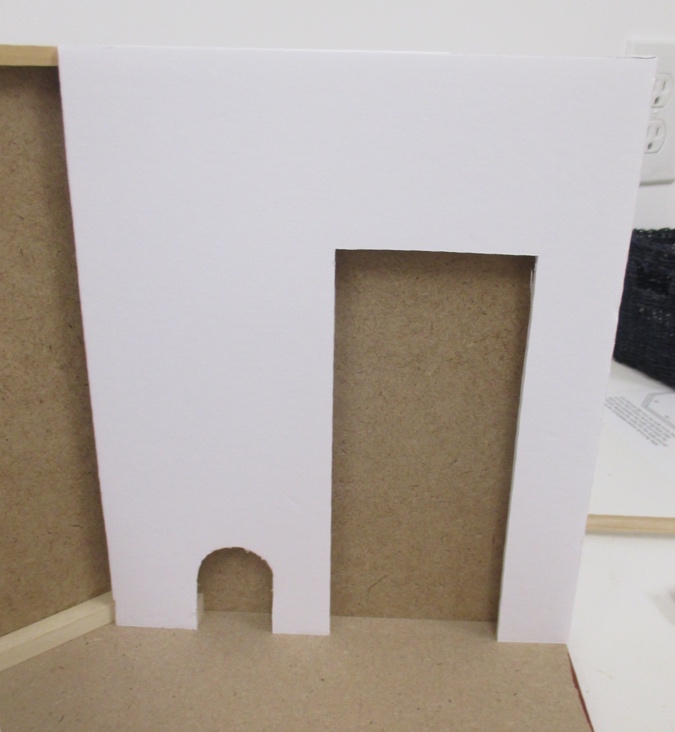
The roombox is made out of MDF and I didn’t want to bother with cutting holes in it for the doors and windows, so I decided instead to add foamcore false walls with door and window holes in them. (I did something similar in my breadbox roombox.) You’ll see some pictures of the false walls farther down.
Here’s are a couple of other views of Telltale’s office, showing the office door on the left and the closet door and rat hole on the right.
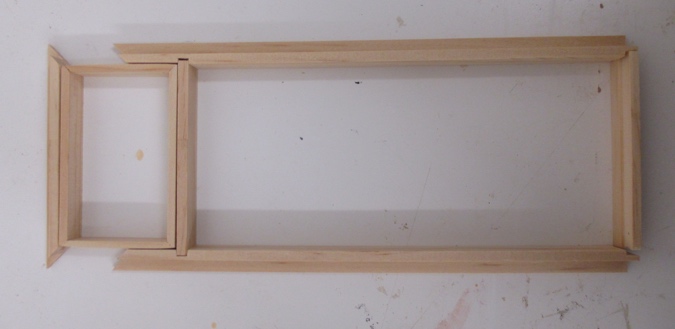
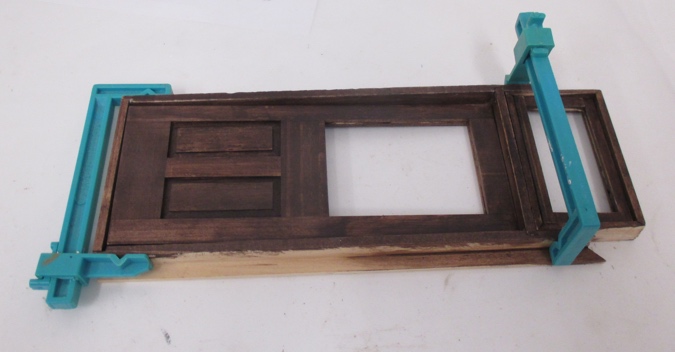
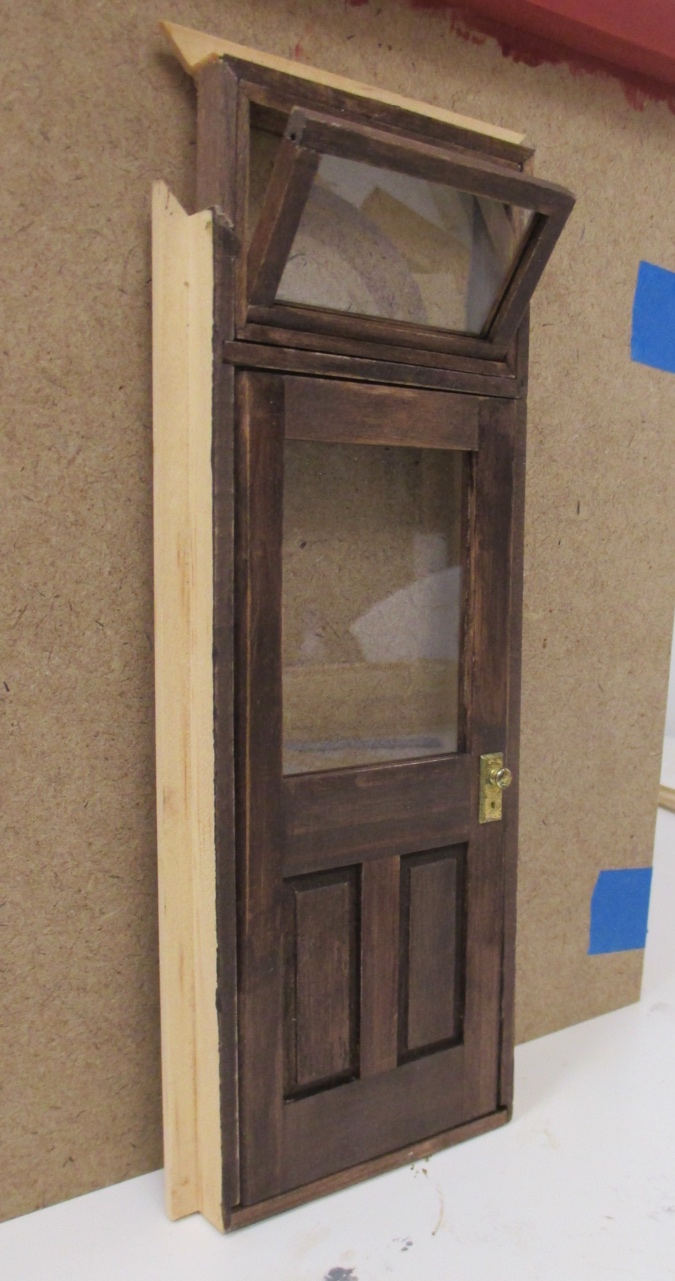
The office door has a transom window over it. There are no dollhouse doors available like this, so I bought a traditional door and a hinged window to make my own.
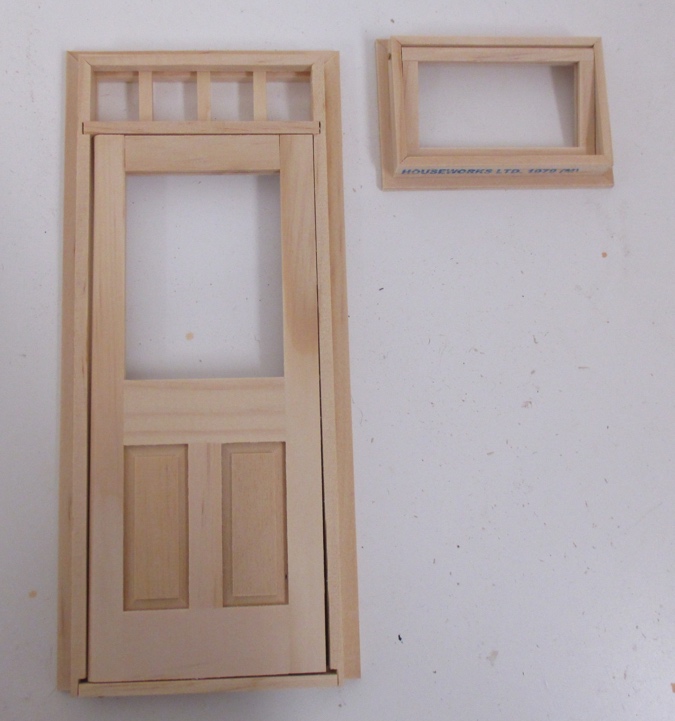
I removed the door from the frame (it’s held in with pins that can be pulled out with needle-nose pliers) and wiggled the frame pieces until they came apart.
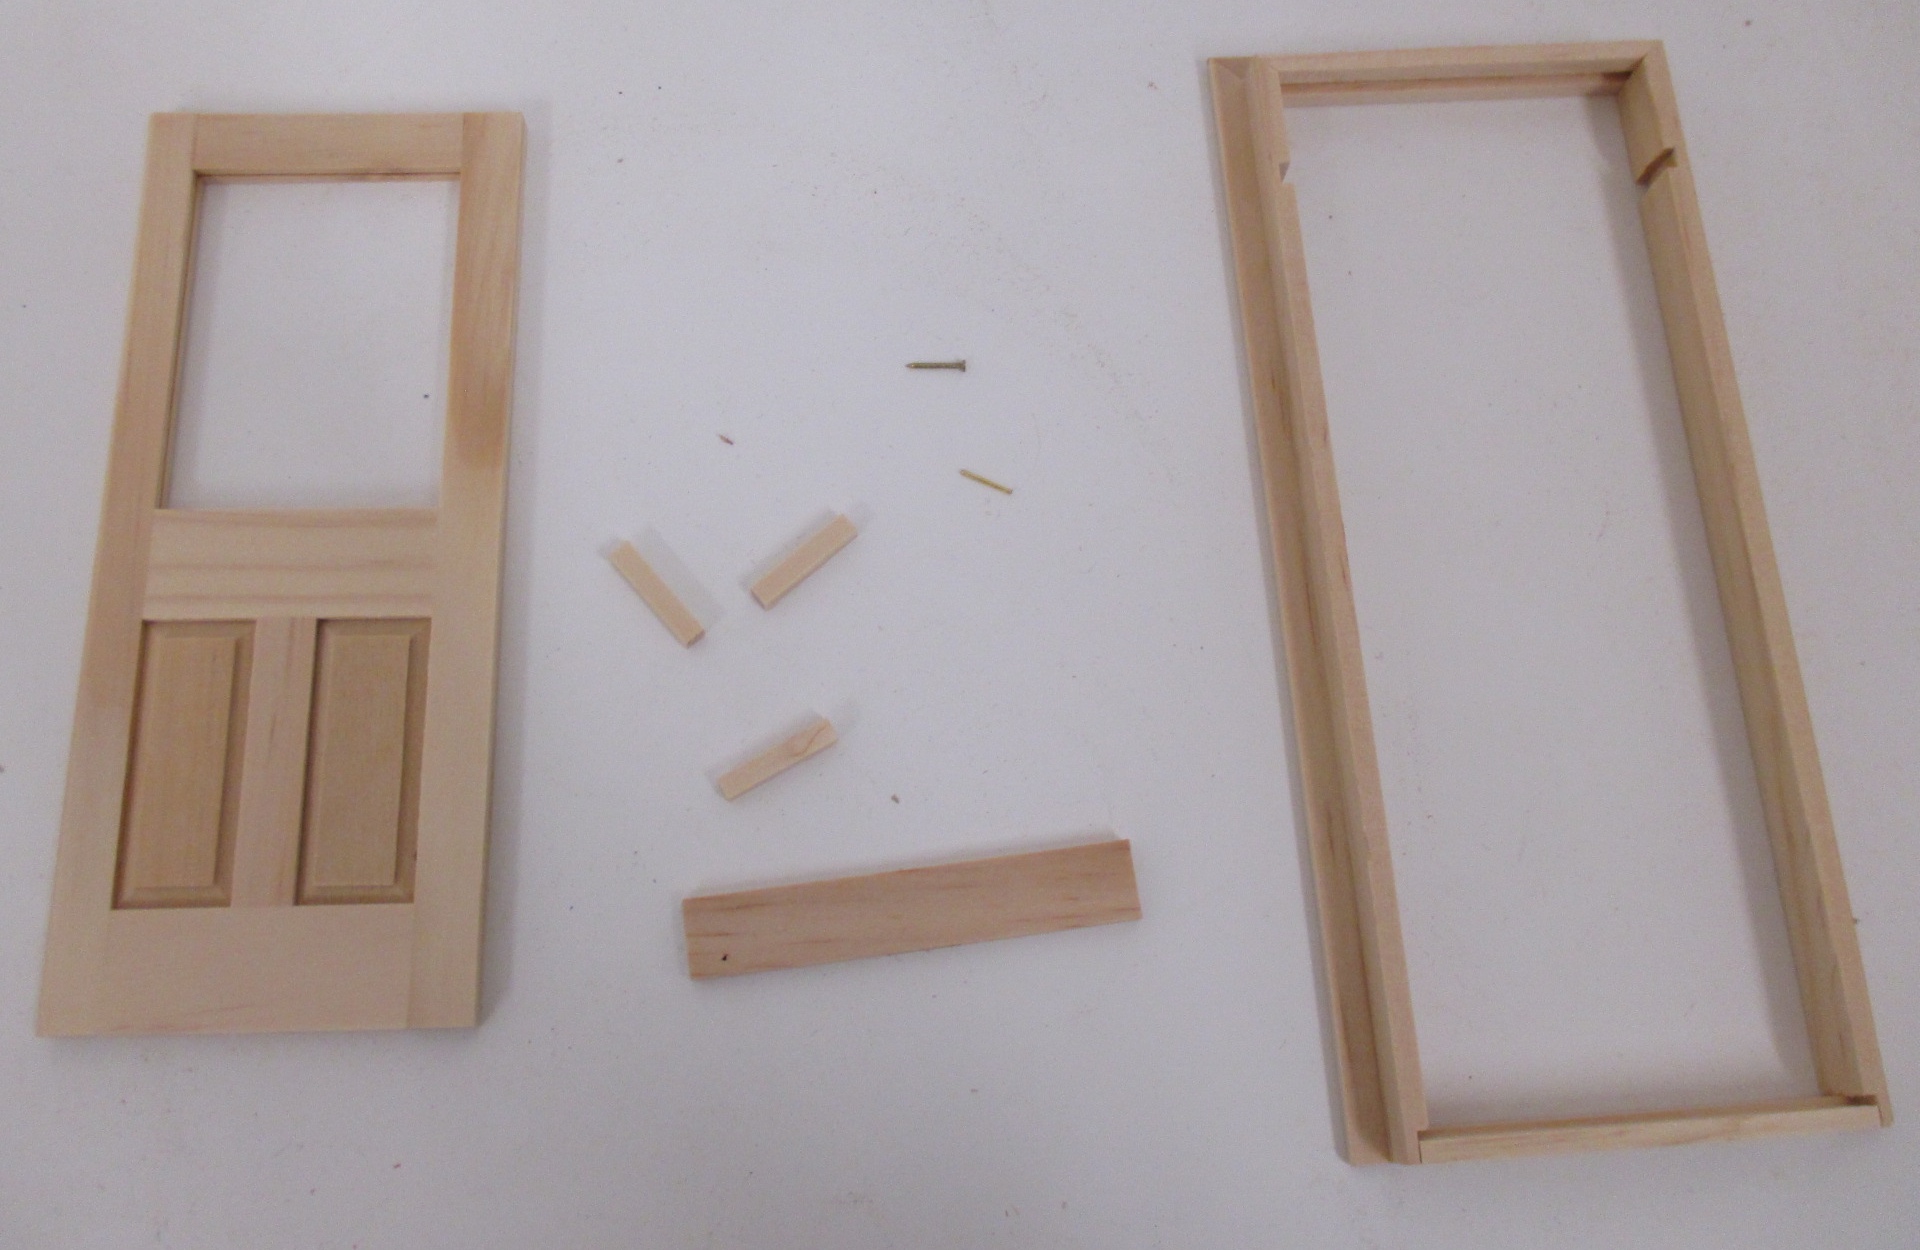
The hinged window was just slightly too wide to fit in the door frame.
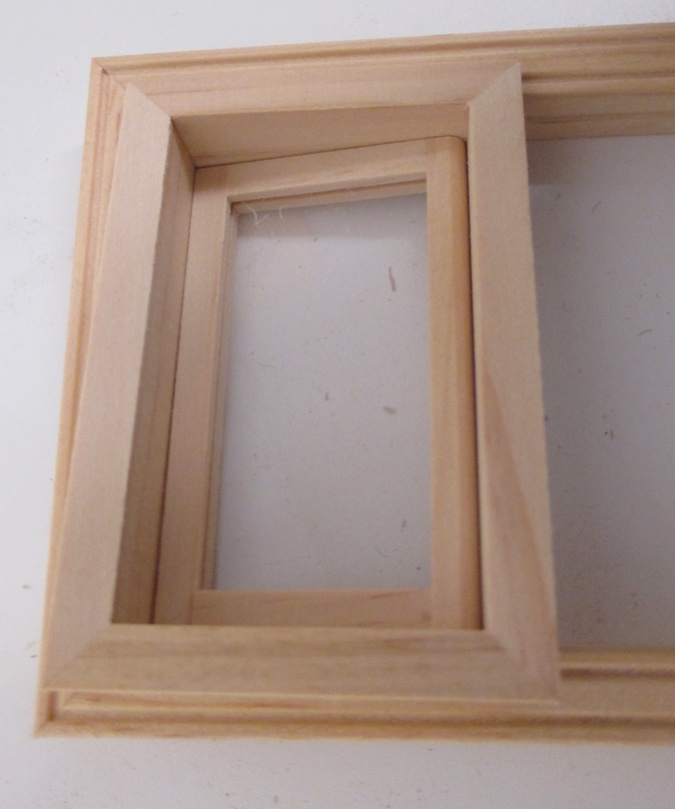
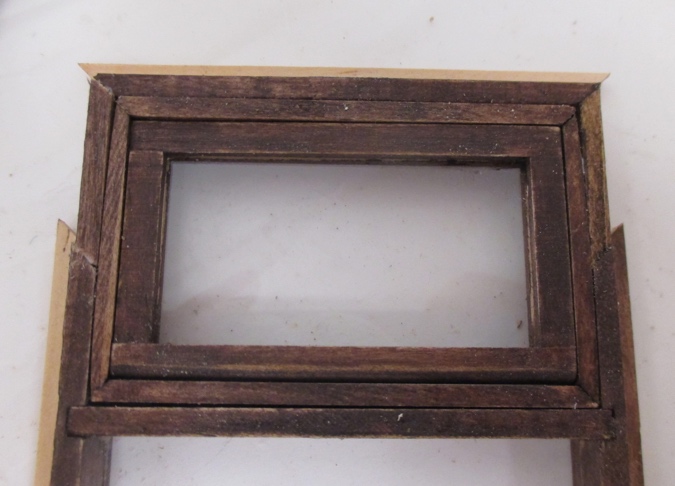
I used a utility knife to cut off the edges of the trim, and then sanded down the sides until the window just fit above the door. With the trim removed the window is the same depth as the door, so it now fits perfectly in this space.
Next I stained all the door pieces. The stain is Minwax Gel Stain in walnut.
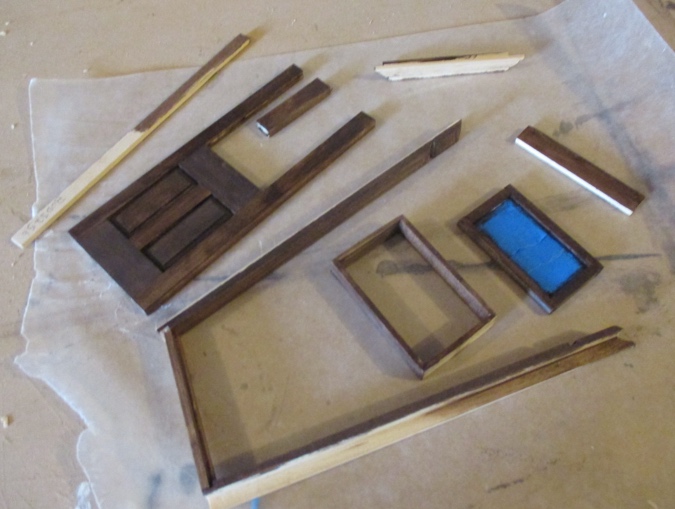
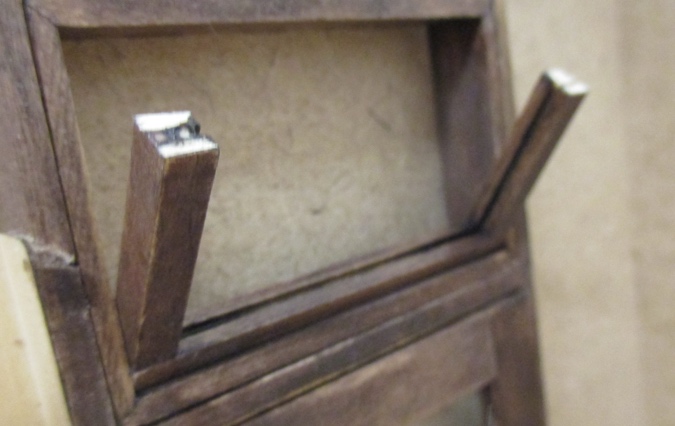
Since I sanded down the sides of the window frame, the pins that hinge the window are now too long. I cut them down with wire cutters.
Then I glued in the assembled window and glued the frame back together.
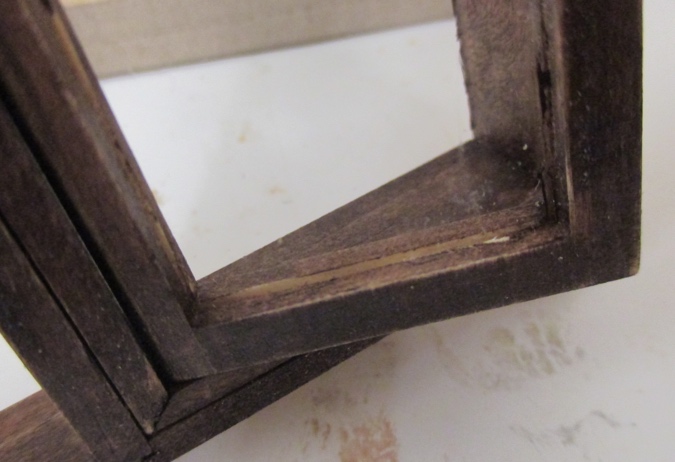
With the window in, the door frame is taller than it was originally. I used strip wood to fill in the gaps at the tops of the side trim pieces. There are still gaps where the exterior trim doesn’t meet up, but that side will be against the back of the foam core, so you won’t see it.
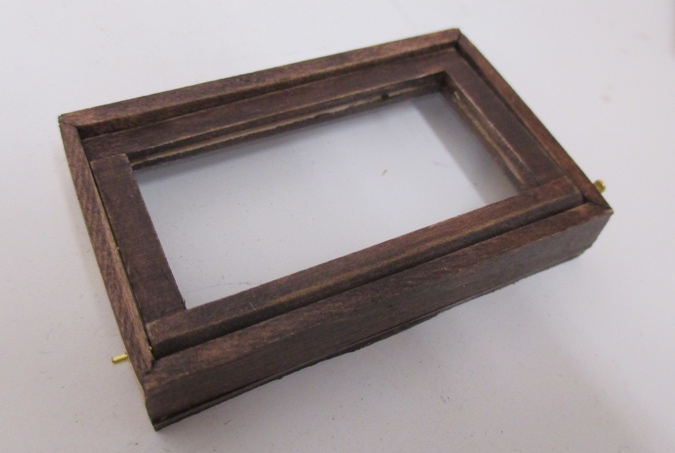
I wasn’t happy with how the stain turned out around the window. I had to put tape over the plexiglass since it’s not removable, and the stain didn’t reach down into the channel that holds the window. I’d hoped it wouldn’t be obvious, but once the door was glued back together, the raw wood was bugging me.
I wiggled the top piece off the window and removed the plexiglass.

This allowed me to get in there with a stain pen and cover up the raw wood, and also to clean some stain off the plexiglass that had sneaked in behind my masking tape. I have four of these same windows to paint for the Victorianna, so I’m glad I know to do this now — taping those and trying to paint around the plastic would have been a pain!
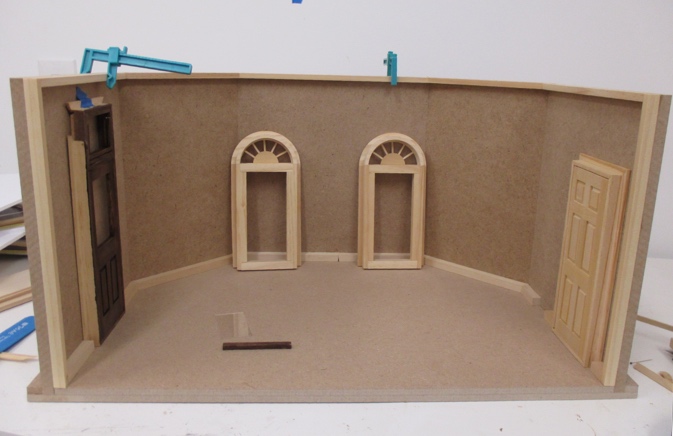
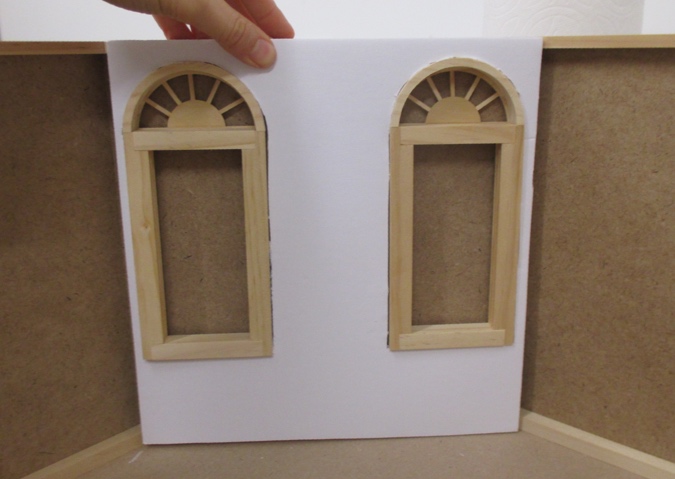
Back to the box (you’ll see the finished door farther down in the post). The back wall will have two Palladian windows, and the side wall will have the closet door and the rat hole. I glued 3/8″ strip wood around the top and bottom of the box to attach the false walls to, leaving openings for the doors and the rat hole.
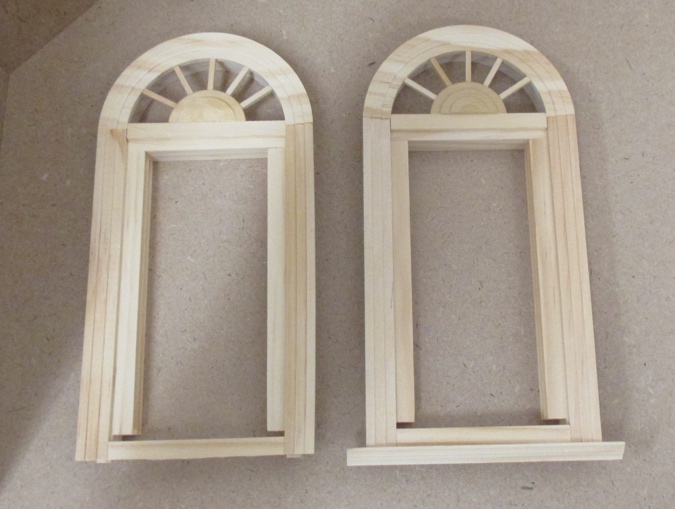
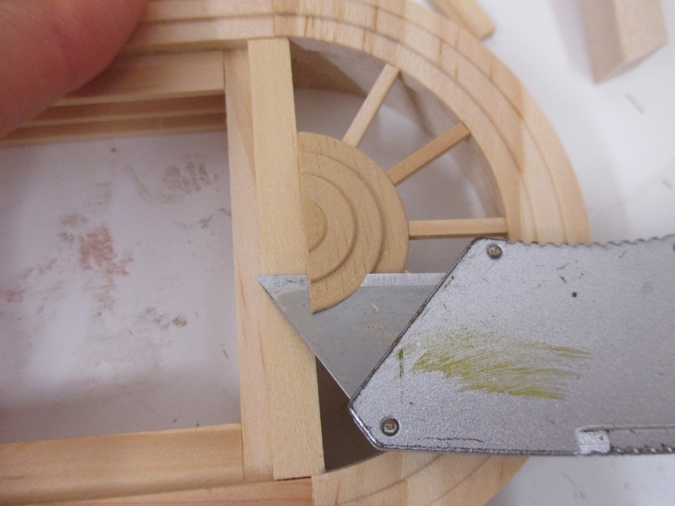
The sill and decorative piece at the center of the sunburst prevent the Palladian windows from sitting flat against the wall of the roombox. I broke off the window sills and used a utility knife to cut off the protruding part of the sunburst piece. (Below, the mangled window is on the left and untouched window on the right.)
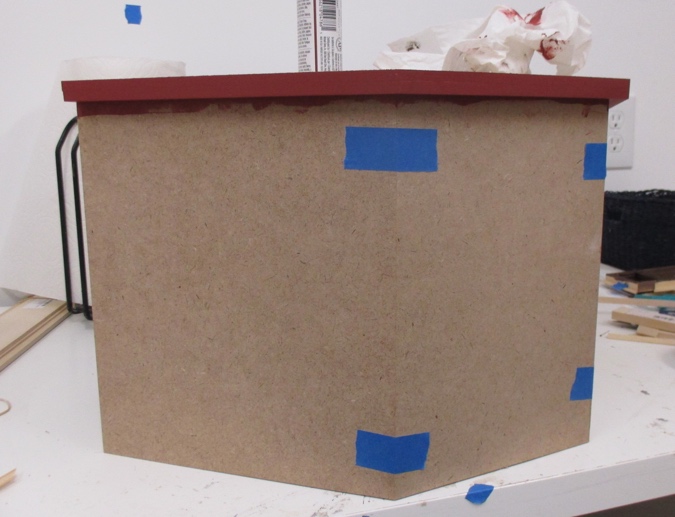
In preparation for putting brick paper around the outside of the box, I flipped over the roombox and painted the base brick red.
Here’s the door once I glued the window back together. The doorknob is old stock that I bought off eBay (Realife brand). I like the proportions better than the Houseworks doorknobs and its age means it’s appropriately beat-up looking.
Next I cut the walls out of foam core.
The doors will sit against the MDF wall, with the front of the frame flush with the front of the foam core wall. I’ll add trim once everything’s assembled.
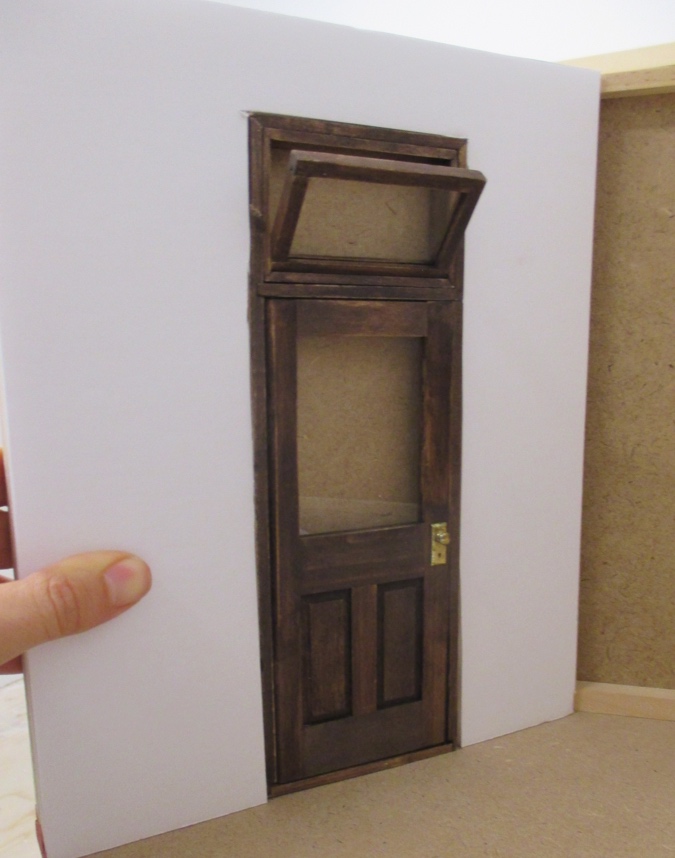
Even with the modifications I made, the windows are a little deeper than the doors, so they protrude through the holes instead of being flush with the foam core. I plan to stucco right up to the windows so these will hopefully look okay without any exterior trim.
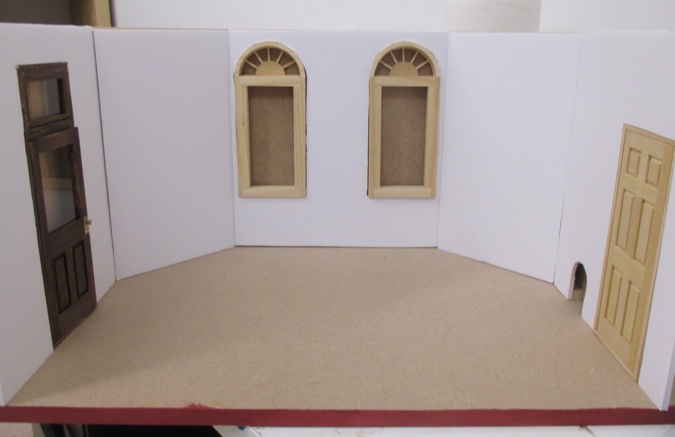
Here’s the overall view. Not much to look at yet, but it’s a start.
 Emily is a freelance writer, miniaturist, and adventure game enthusiast.


Great vision you have! Can’t wait to see the next step.
Fun project. Definitely different than the usual HS but will be interested in seeing how this turns out!
What a cool idea and fun way to preserve those cherished memories from college days! I look forward to seeing this continue to progress.
This looks like it will be so cool. Can’t wait to see how it progresses.
I’ve never heard of Sam and Max before your post but the plans you have to recreating their office sounds like a lot of fun!
This is so interesting. To watch how you convert pieces to make new ones is fascinating. I love the door. This is going to be on cool room box.