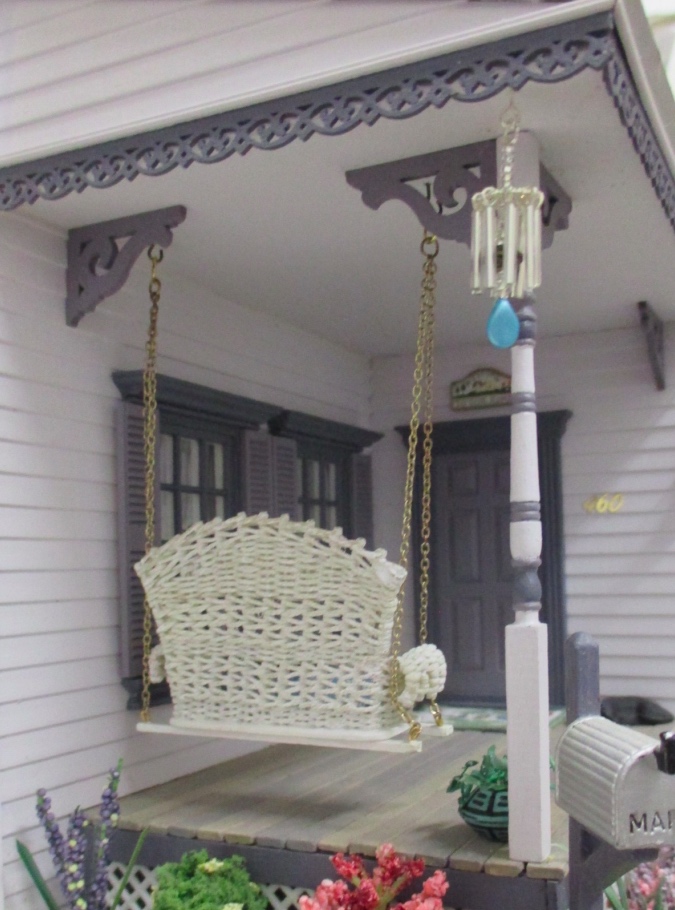
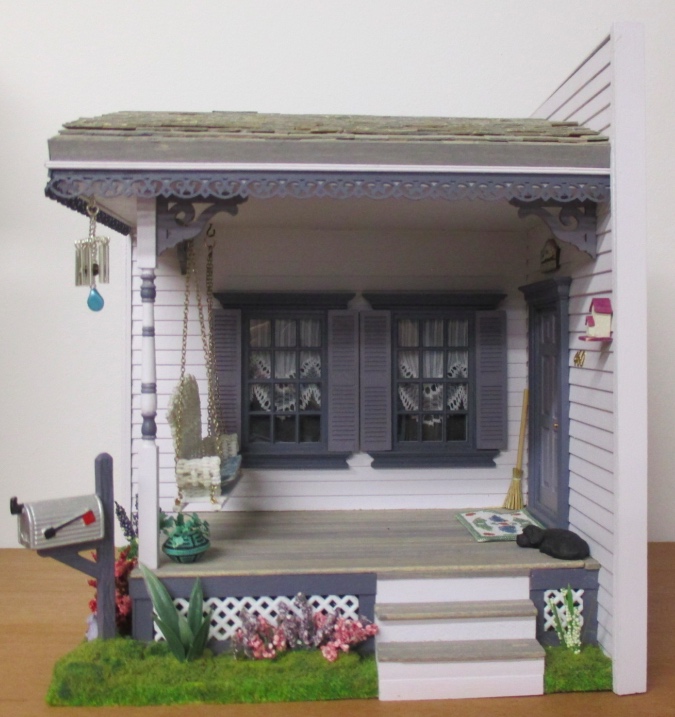
Another year, another swap with the Half Scale Yahoo Group. This year’s theme was “On the Porch” and I made windchimes.
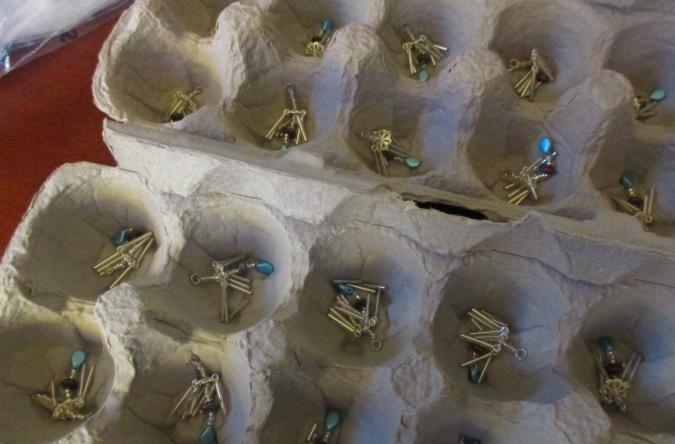
The swap had nearly 40 participants this year and I made the windchimes in an assembly line over Christmas while watching the Double Fine Adventure documentary. My eyes were crossing by the end!
If you want to make your own half scale windchimes, here’s a tutorial. Of course, you can do this project in 1:12 scale simply by increasing the scale of the materials.
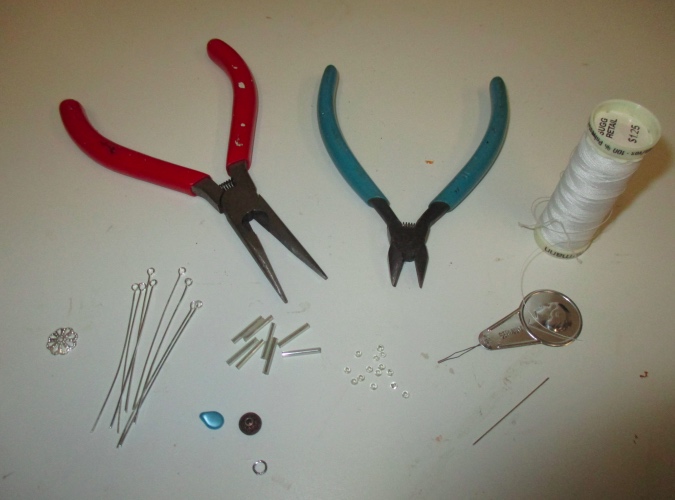
Materials & tools needed:
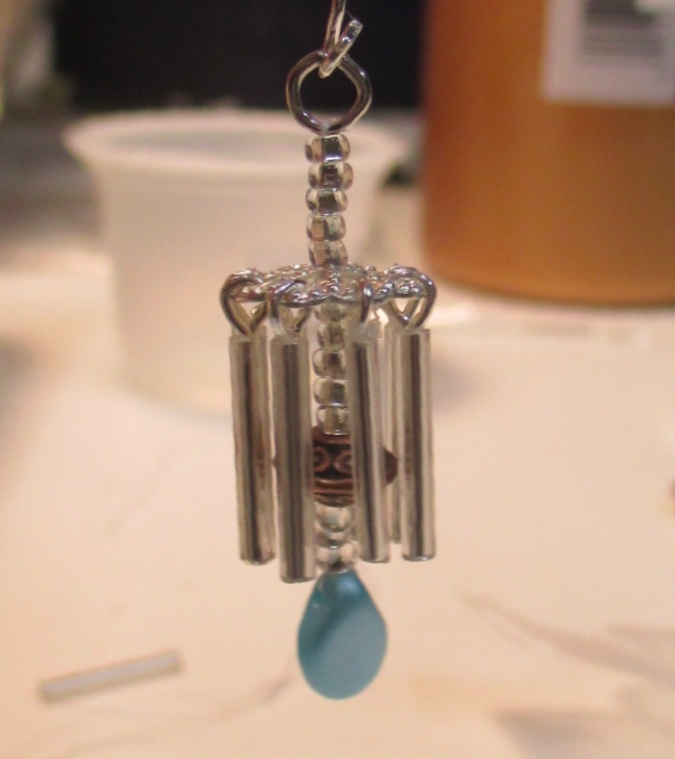
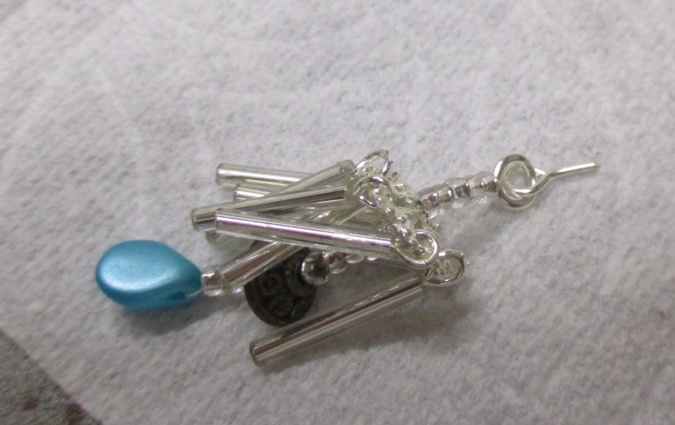
- Bead cap with holes at the edges and in the center (I used Bead Landing Specialty Findings from Michaels, approximately 1/2″ in diameter, that I had left over from the mobile I made for the Victorianna’s little girl’s room)
- Eye pins (length doesn’t matter)
- Bugle beads, 1/2″ long
- Disc-shaped bead for the center of the windchime (I used Michaels carved rondelle beads)
- Flat bead for the bottom of the windchime with holes that will allow it to hang (I used blue pip beads from Etsy)
- Jump ring
- Seed beads
- Needlenose pliers and wire cutters
- Beading needle, thread, needle threader (optional), and sewing scissors
- Tacky or other white glue
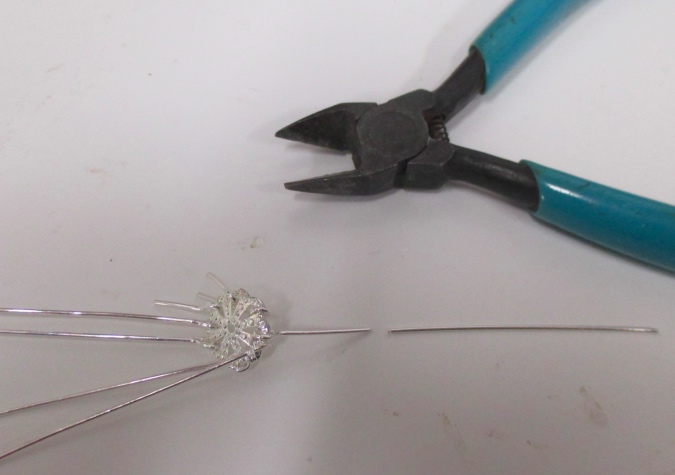
Use needlenose pliers to open the ends of the eye hooks. Slip the eye hooks over the holes in the bead cap and squeeze closed. My bead caps had eight segments, so I did this with eight eye hooks.
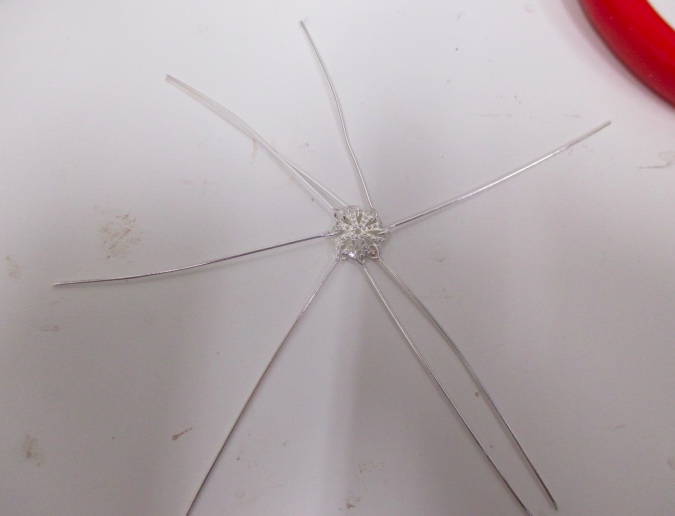
Cut the eye hooks down to slightly less than 1/2″ long (doesn’t have to be exact).
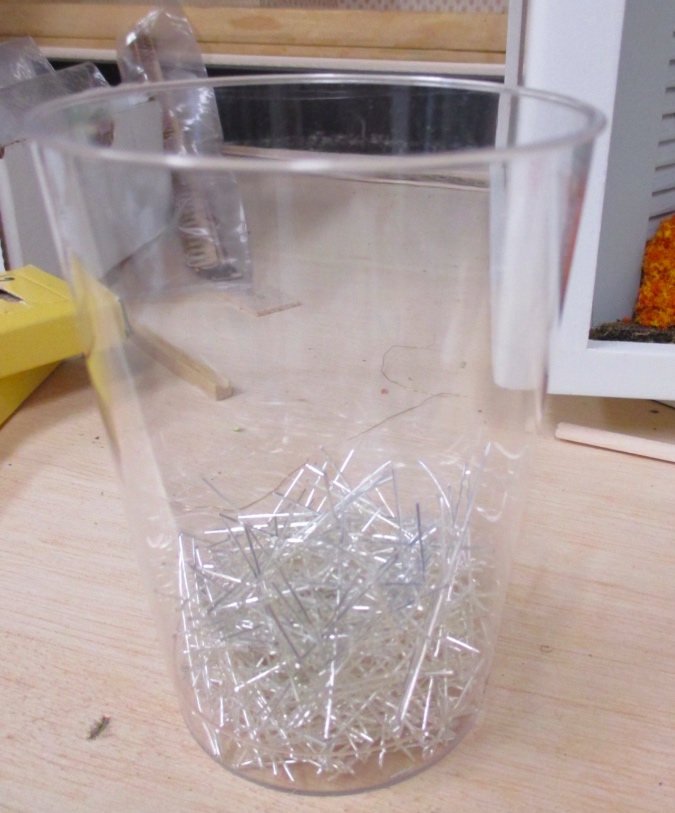
Since I made so many of these for the swap, I ended up a ton of excess wire pieces. I’m sure I’ll find a use for them someday.
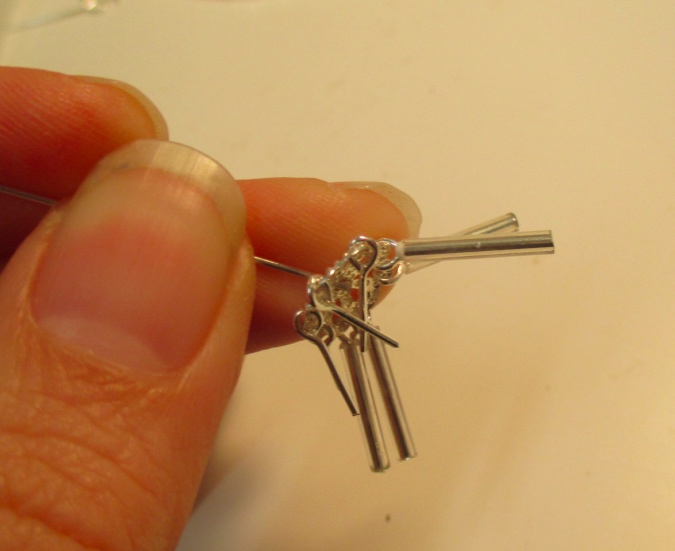
Dip each wire in glue and slide a bugle bead over the wire.
String the beads that form the center of the windchime. To do this, I cut a long length of thread, threaded one end of it through the needle, and ran the thread through the holes at the top of the pip bead. Then I threaded the other end of the thread through the needle and ran both ends of the thread up through three seed beads, the rondelle bead, and six more seed beads.
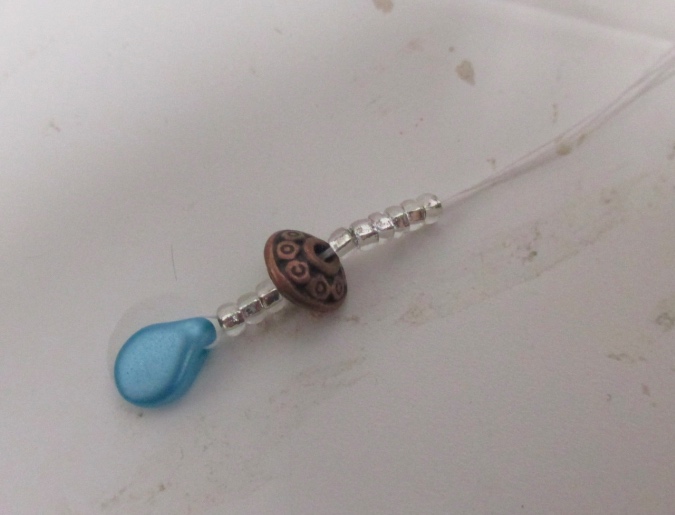
Then I ran the thread up through the hole in the center of the bead cap and added five more seed beads. I tied a double knot around a jump ring and used the sewing scissors to cut off the ends of the thread close to the knot. I added a dab of glue to the knot to make sure it holds.
To hang the windchime from the ceiling of a porch, attach an eye hook to the jump ring and cut down the end.
Poke or drill a hole in the porch roof. Add glue to the cut end of the eye hook and push it into the hole. (Alternatively you can use a small eyelet screw, but you already have a package of eye hooks to do this project, so there’s no need to buy something else…)
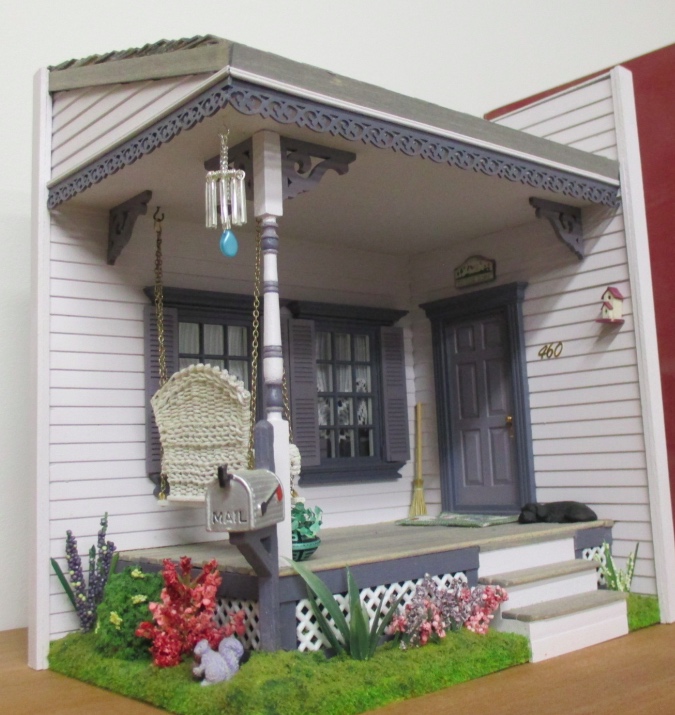
I’ve already added a few goodies from the swap to my twilight porch vignette — the broom, the sign over the door, and the potted plant. Also, I think the birdhouse is from a past year’s swap. I love cluttered porches, so I’m sure the rest of my haul will be put to good use over time. Thank you to everyone who participated!
 Emily is a freelance writer, miniaturist, and adventure game enthusiast.


Thank you for the tutorial! I love wind chimes and loved getting your swap!
Thank you for the tutorial, and also for the windchimes I received in the swap. I was really impressed by the swaps again this year. Glad you found a use for my ‘Welcome’ sign :).
Love this! Your patience is amazing.
With some things it is… :)
Thank you for the tutorial, I plan to use this as a starting point for making a pair of earrings. I like to use ideas from different types of crafting to use in my jewelry making. Thank you once again….