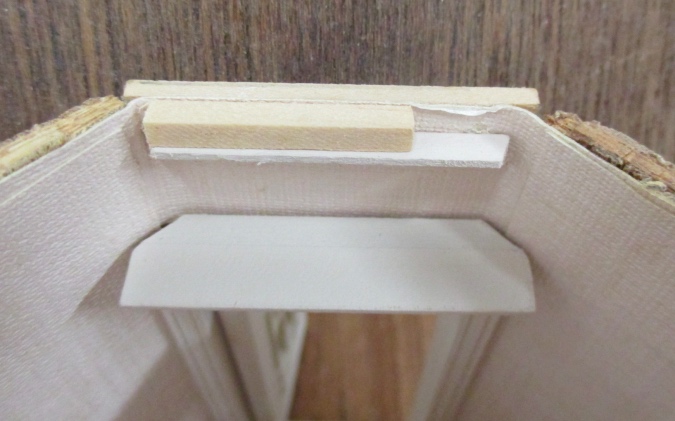
With the 1:48 gazebo bashed beyond recognition and the spiral staircase finished, it’s time to assemble the Victorianna’s cupola. The first step was to glue crown molding around the top for the cupola to sit on. I used a scrap of wood as a spacer to ensure the base would be flush with the tops of the tower walls.
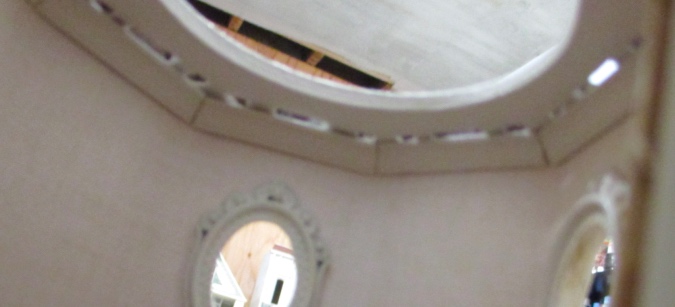
I thought the crown molding would completely hide the holes so you wouldn’t be able to see them from the room underneath.
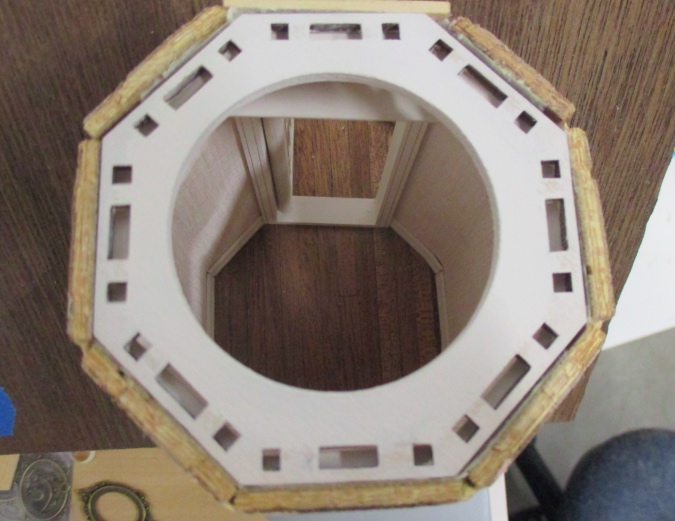
Not so much.
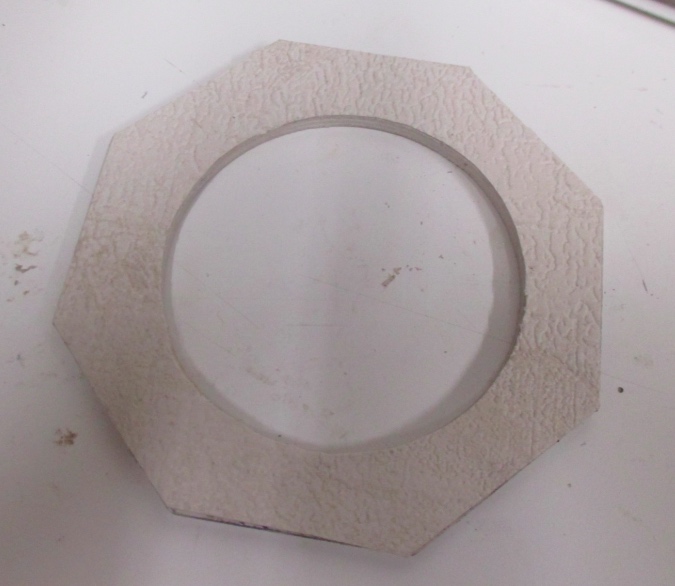
I pondered how to fix this for an embarrassingly long time. I was so fixated on having the entire cupola painted Tuscan Beige to match the house trim, I missed the most obvious solution: cover the bottom side of the base with ceiling paper. (On the bright side, when I realized it would be that easy to fix, I felt really proud of myself!)
Perfect! Well, those crown molding joints aren’t perfect. But considering I glued them in looking down from above, it’s not bad. You’re never going to see it as close up as it is in this picture.

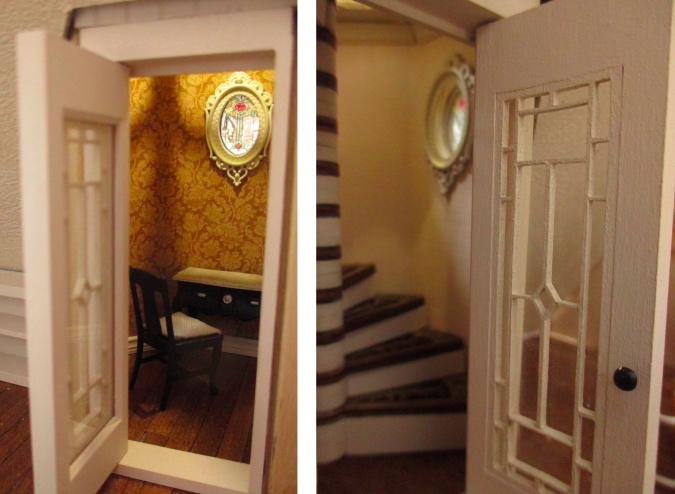
Next it was time to glue in the staircase. (Oh, that reminds me – remember how Luminaris dropped the ball on replacing missing pieces from the staircase kit, and I wouldn’t have been able to use it at all if I hadn’t been bashing it? The last week of October, a full month after my last “where are my replacement pieces?” email to them, a package showed up in the mail. Never got a reply email, and there was no note in the package apologizing for or even acknowledging the delay. If they’d bothered to follow up with me I could have told them I didn’t need the parts anymore…)
I put glue along the edge of the landing, as well as under the staircase’s base and bottom step. Some glue smeared on the floor as I pushed the staircase into position but I was able to wipe it up with a damp paper towel through the door of the tower room.
This room is now impossible to reach into so I hope I never drop anything in there. (Who am I kidding? Of course I’ll drop something in there.)
Despite my best efforts the landing wasn’t flush with the cupola floor. I added wood filler to make the seam less obvious.
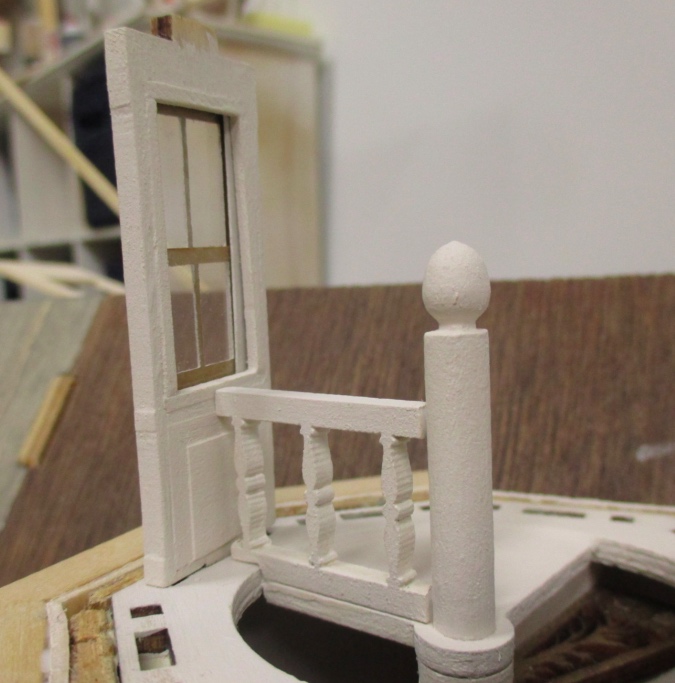
Once that was painted, I added a railing. This is a slightly shorter version of what I’m using on the porch. (It’s actually not railing at all, but a 1:12 spandrel from Victorian Dollhouse Woodworks.) I got this shorter version so it would fit underneath the window. I cut out a notch at the bottom so the railing rests on the landing, which provides more surface area for the glue.
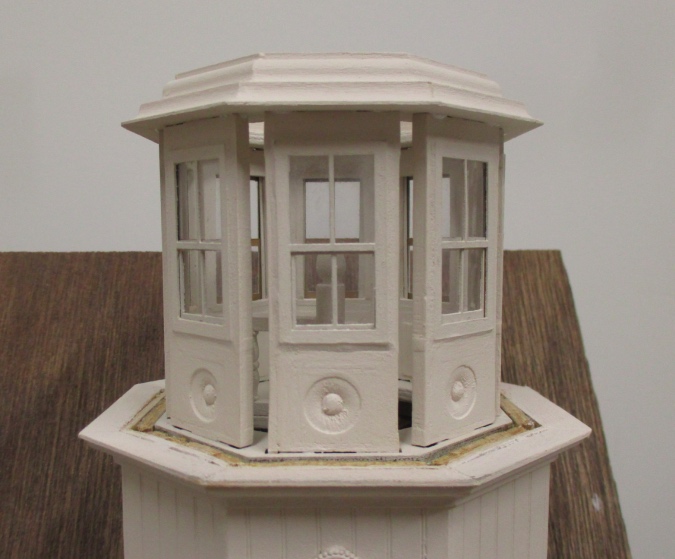
I also added crown molding around the base of the cupola. My original plan was to add a railing here (even though there’s no way for the little people to get out of the cupola and onto the platform) but even the short railing would have obscured the circular panels and it just seemed too busy.
Instead I’ll use this 1:24 running trim, which is also from Victorian Dollhouse Woodworks. (Coincidentally I already bought the 1:12 version of this trim to use as roof trim, so they’ll compliment each other.)
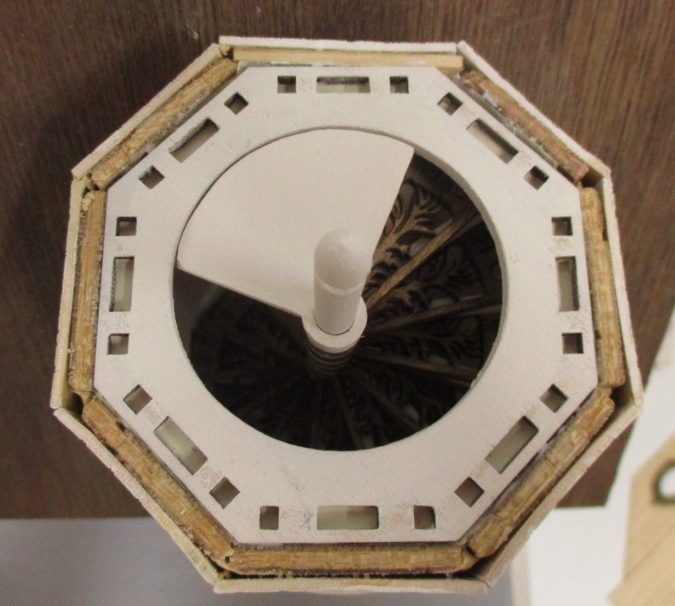
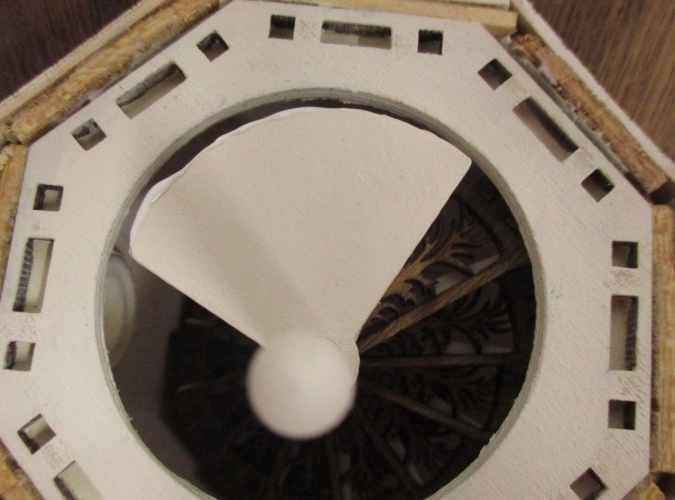
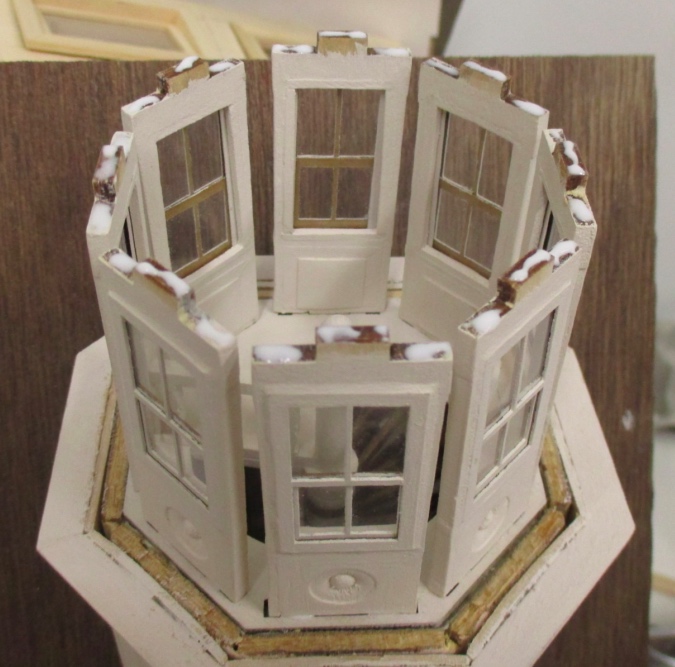
With the landing and railing finished inside the cupola, I can finally put it all together. I started by gluing in all the pieces at the bottom, and adding glue to the tops.
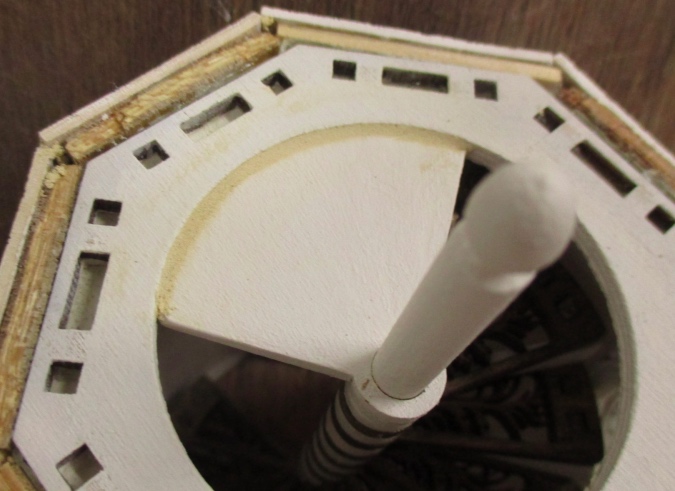
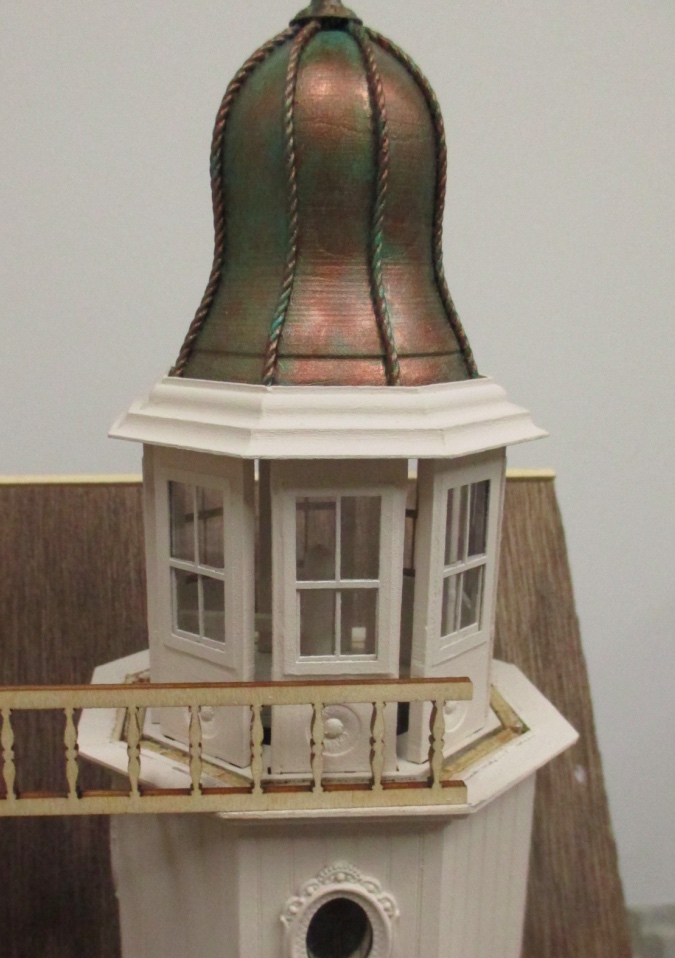
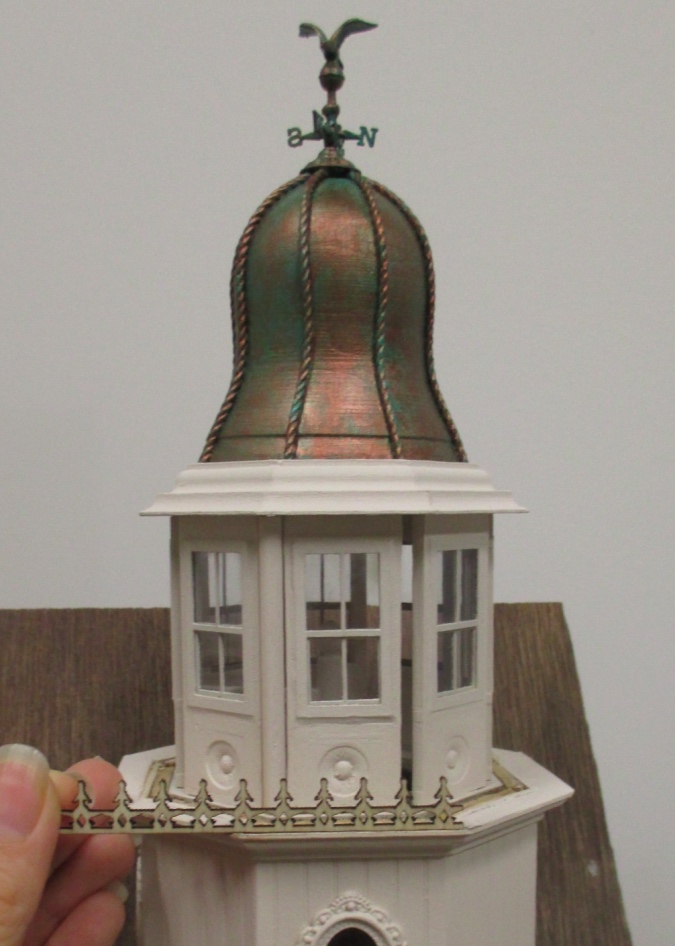
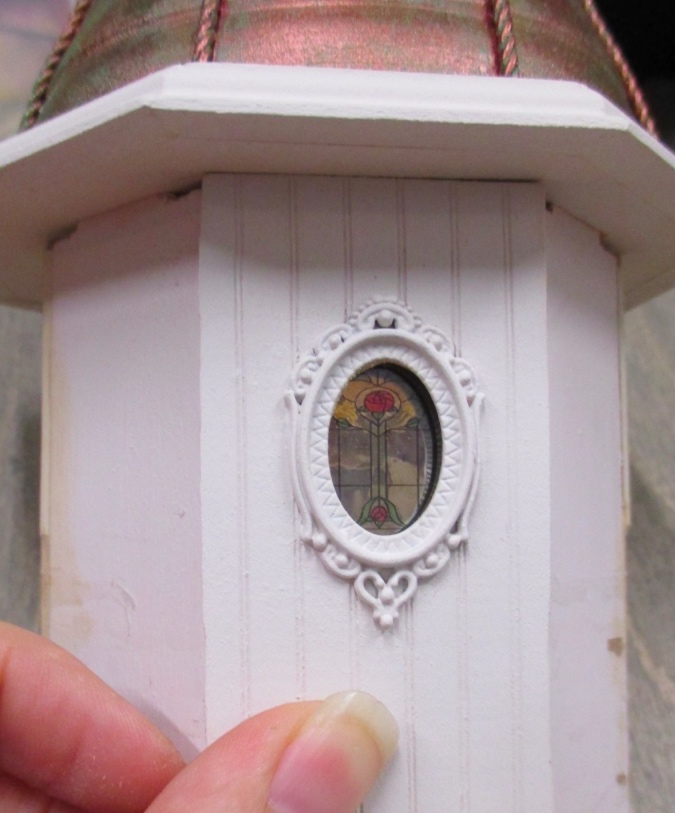
Next I added the top. I’m also going to add dowels between each panel, to fill in those open cracks. I’m planning to use either strip wood or wood filler to cover up the ring of visible plywood around the cupola, and I want to figure that out before I cut and glue in the dowels.
I’m not going to glue in the dome. It’s a snug fit (as you can see from the copper paint that rubbed off!), so I’m not worried about it getting knocked off, and I want it to be removable.

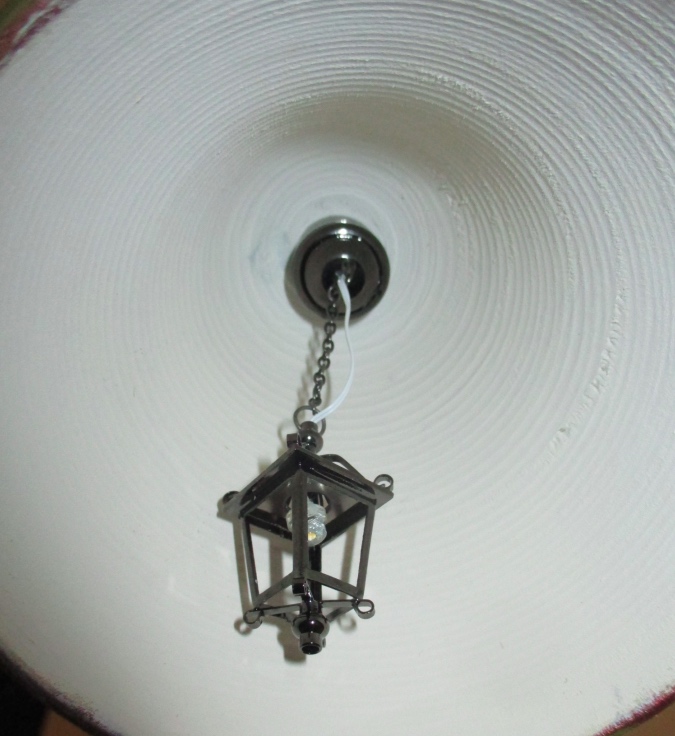
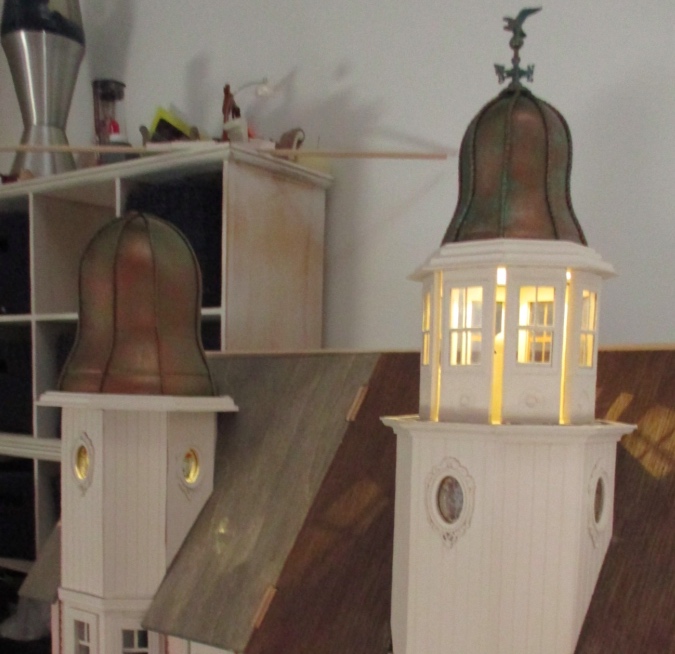
Here’s why: disappointed by how hard it is to see the stained glass, I added battery operated LED lights to the tower roofs. Battery operated dollhouse lights have been around for a while but they’ve only recently become available in half scale, and the few that exist look comically out of scale to me. These lights are well hidden inside the domes so I was able to get away with 1:12 fixtures. The left tower has a hanging lantern and the cupola has a simple “anything light”.
Instead of using the small magnets that came with them, I super glued chunky black magnets into the domes. A light can be removed to turn it on — much easier than fiddling with a little switch on something permanently attached — and then the big magnet makes it easy to put the light back without having to line it up perfectly.
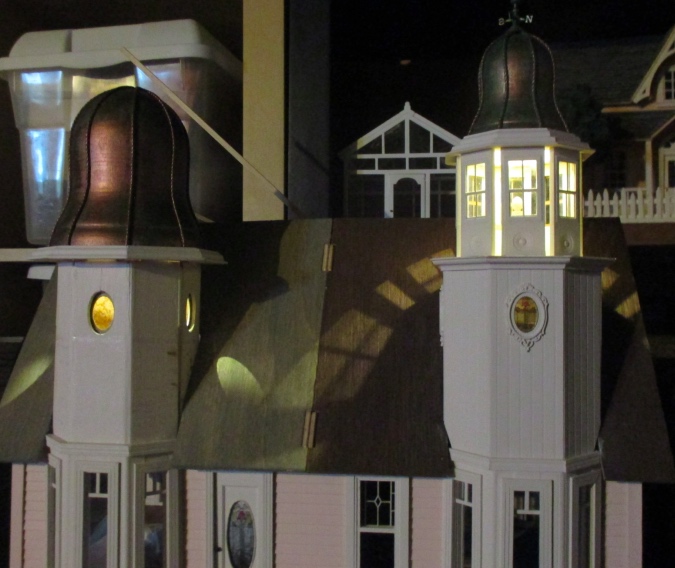
With the light turned on the stained glass design shows up better.
On the cupola side the windows get less light because of to the staircase, but it’s still nice to see the cupola all lit up. (Especially after all that work!)
The lights also help you see the insides of the tower rooms, which would be very dark without them.
 Emily is a freelance writer, miniaturist, and adventure game enthusiast.


Love how it looks so far! So pretty all lit up.
Really looks beautiful! I love how the lights show off your detail work.
You have created a lovely effect with the lights…the finished towers will be worth all the effort that you have put into the build so far. Looking very pretty!
So beautiful! What a load of work you do on each detail!
I love those lights! The glow coming down each stair case it so, so pretty!
Thank you all! :)