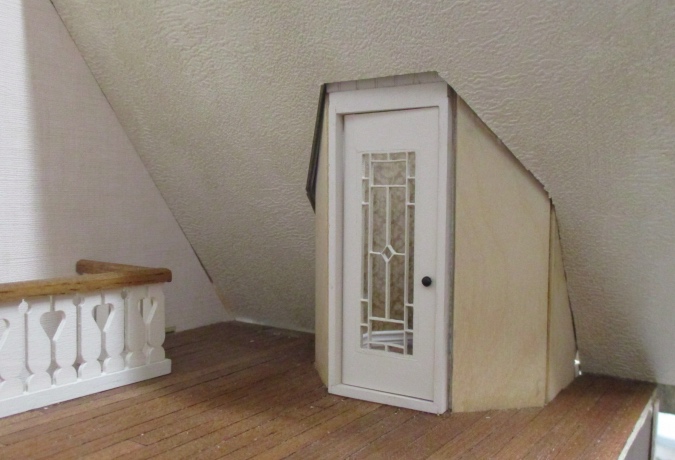
Last week I set out to finish the Victorianna’s master bedroom but only managed to finish the closet. This week I tackled the other side of the room, which has the tower room and two spaces under the sloped ceiling that needed to be filled up.
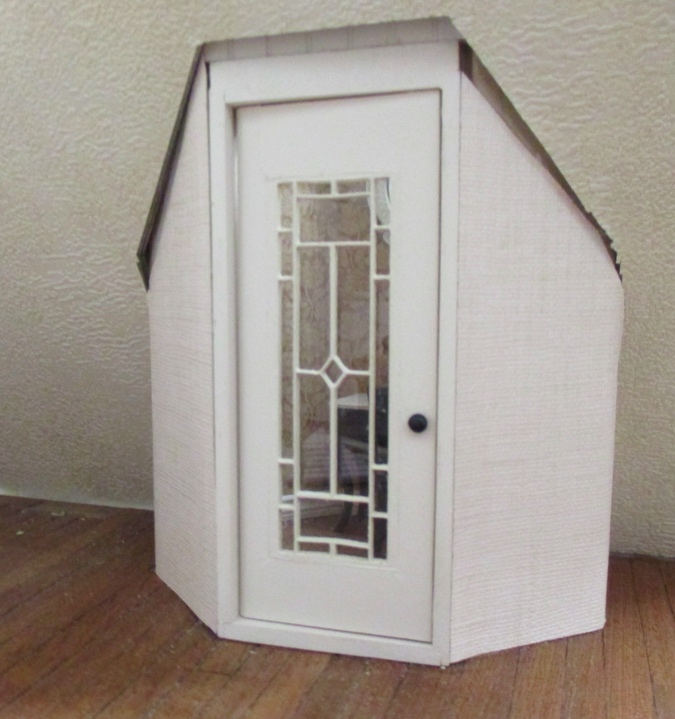
I started by wallpapering the outside of the tower room. I didn’t try too hard to get the paper up under the angled roof because I knew I would be redoing the ceiling, like I did in the nursery.
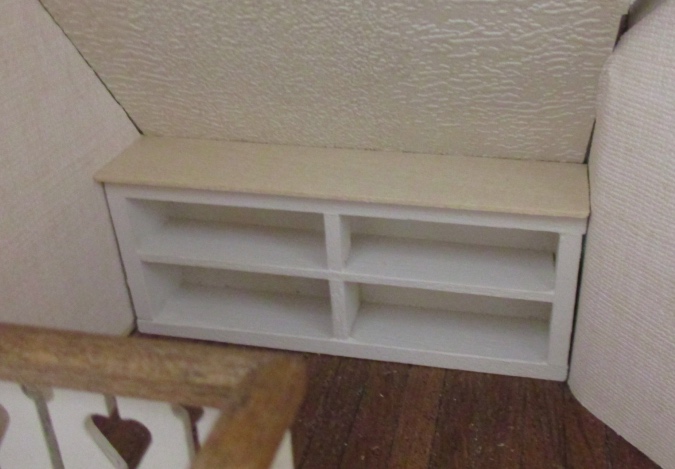
When I first started working on this room last year, I built a shelf to go on the left of the tower room. I took pictures at the time but now I can’t find them. It’s just made from scraps of strip wood, with a piece of luan plywood for the back.
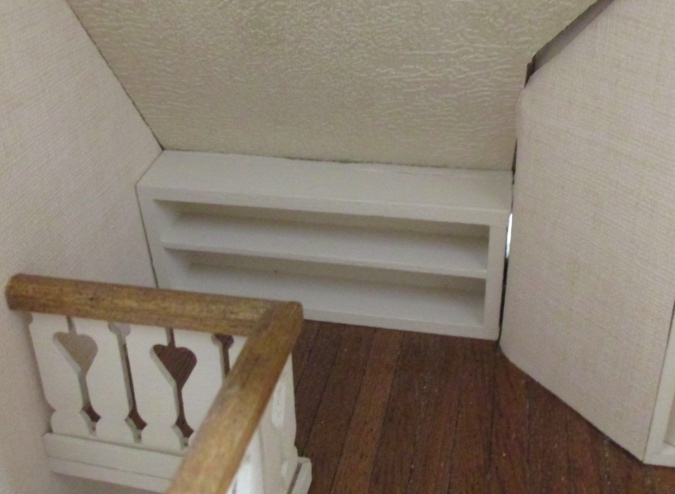
I couldn’t decide what to put on the shelves. I didn’t want to fill them up with books, because that requires making a bunch of books — not hard, but not my favorite thing to do. It was also bothering me that in spite of this being a large room, there’s barely any wall space, so no good place to put a dresser. To solve both problems I decided to turn the built-in shelf into a built-in dresser.
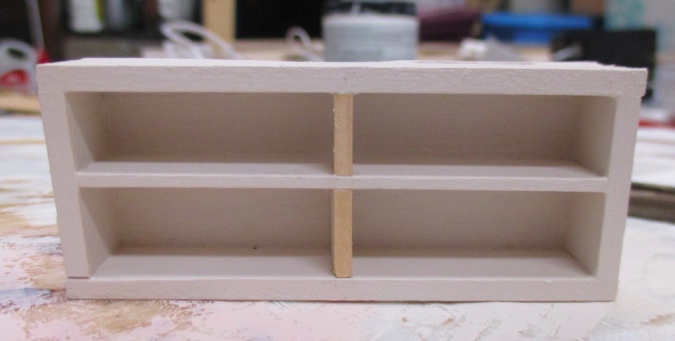
I started by dividing the two shelves into four cubbies.
The top of the unit, where the luan plywood met the basswood, had a visible seam. Rather than spend a lot of time trying to make it look good with wood filler, I cut a piece of thin basswood to go on top.
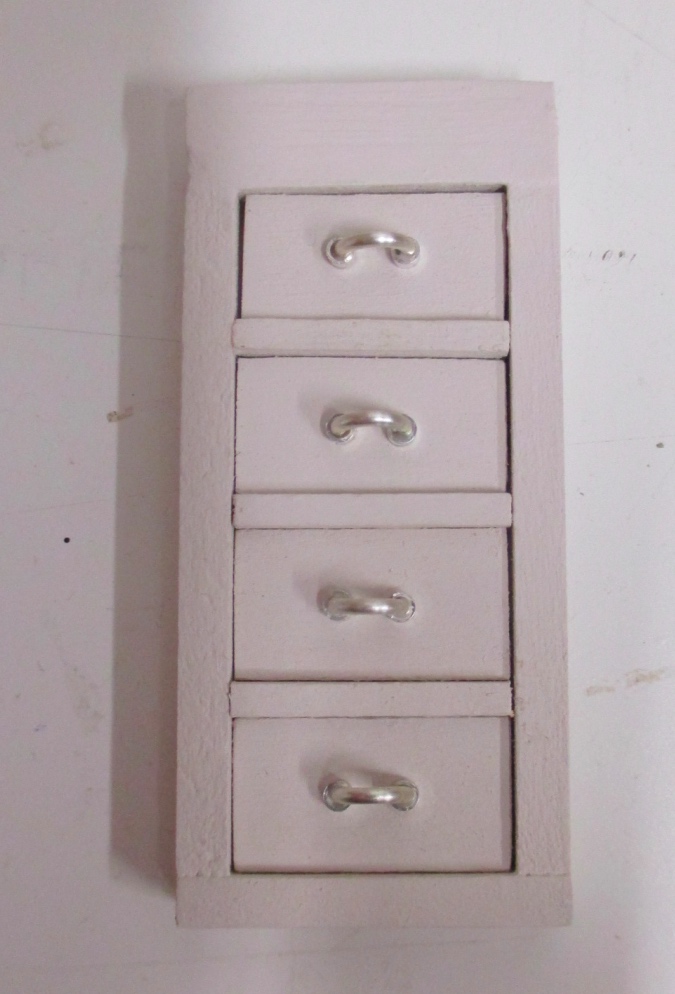
I made four “drawers” that won’t open. The bottom two are made out of 1:12 channel molding, since it happened to be the right size (1/2″ tall). The top two are a piece of 3/8″ square strip wood, which was the right depth but slightly too short, with a correctly sized drawer front glued on.
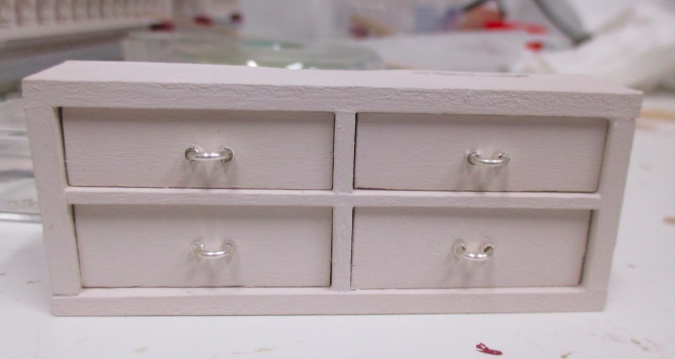
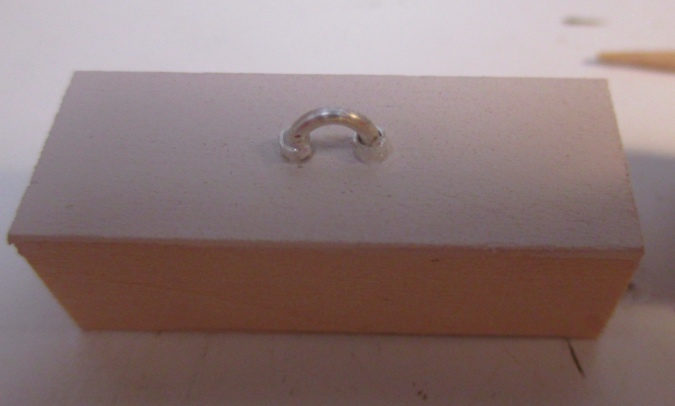
The pulls are made from a cut jump ring with the ends inserted into 2mm x 1mm crimp tubes. These are similar to the pulls I made for the Rowhouse kitchen except those didn’t have the crimp tubes, and as a result are very wiggly. I’m hoping the tubes on each end will make them more stable.
Before gluing in the dresser, I needed to fix the ceiling so it would be flush against the tower walls. I did this by making a paper template (check out the nursery post for more details).
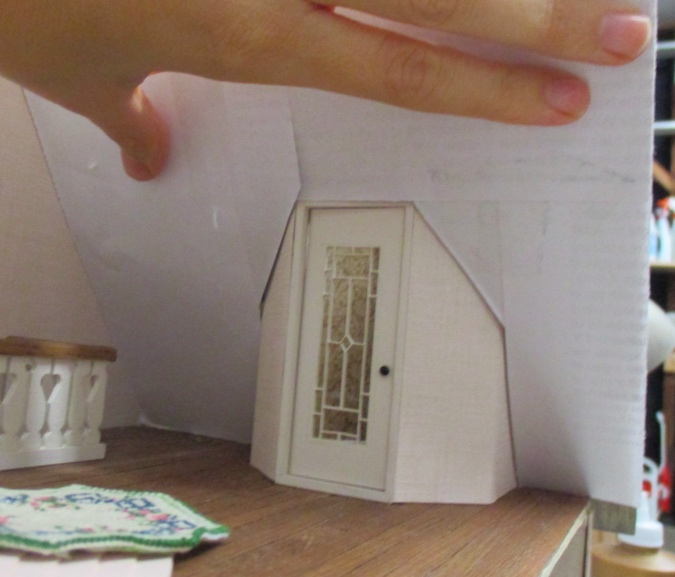
I then traced the template onto stiff paper, covered that with the ceiling paper, and glued it over the original ceiling.
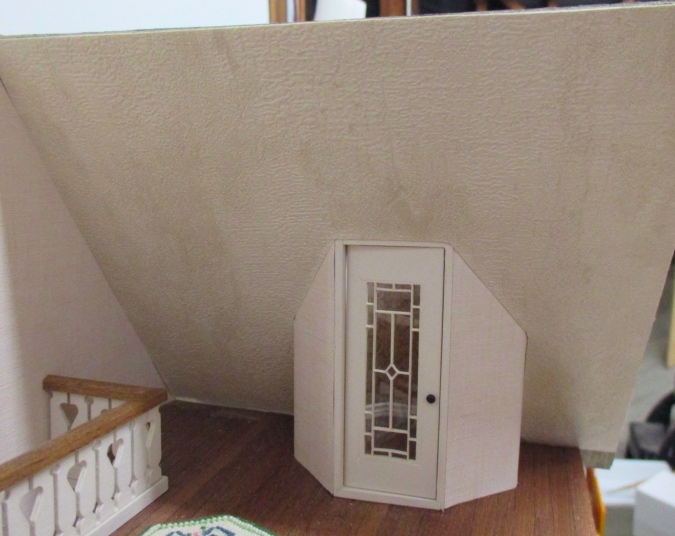
Now I had to decide what to do on the other side of the tower. I’d been planning to build a shelf like I did for the nursery, but I didn’t have the 1/8″ x 1/2″ wood I’d need to make a shelf that matched the dresser, and also didn’t really feel like making another shelf. I thought about just putting a wall there, but it seemed unbalanced and like a wasted opportunity.
As I was staring at it I realized that although I didn’t have the right wood to make a shelf, I did have 1/8″ x 1/8″ strip wood that could be used to create a false drawer unit consistent with the front of the dresser.
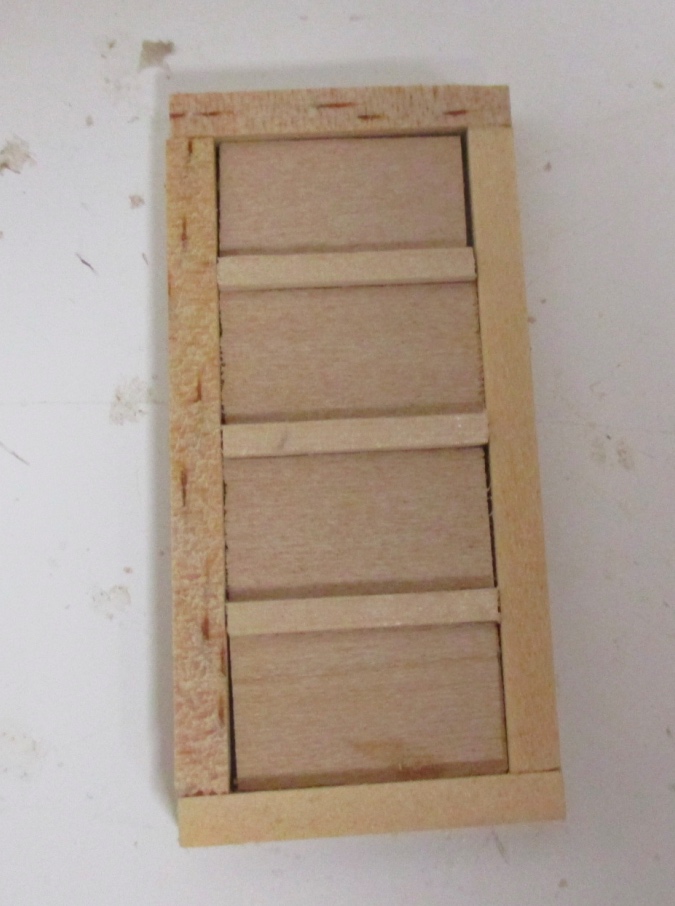
I didn’t think to make this with an angled back, so I ended up with something a little shorter than the piece of siding that will go next to it. They’re flush at the front but not at the top.

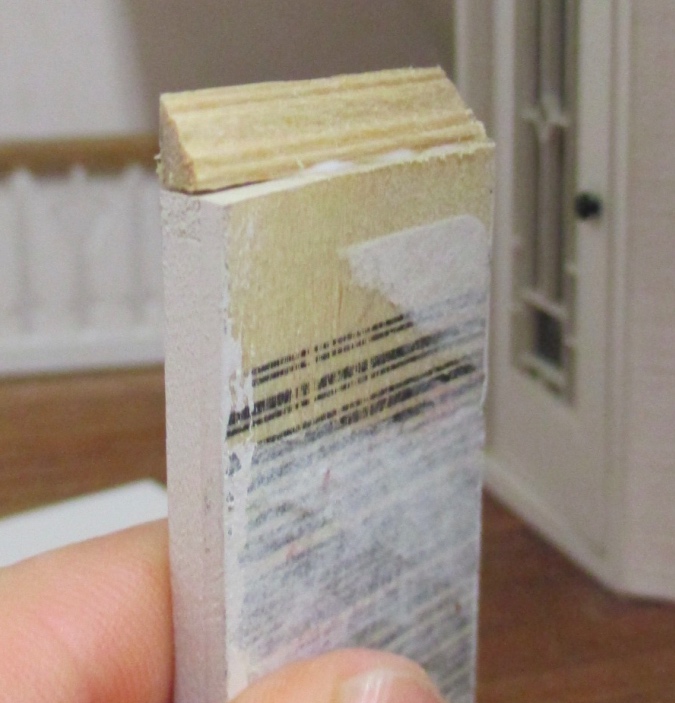
I sanded down the top of the drawer unit with the disc sander, then glued a piece of crown molding to the top.
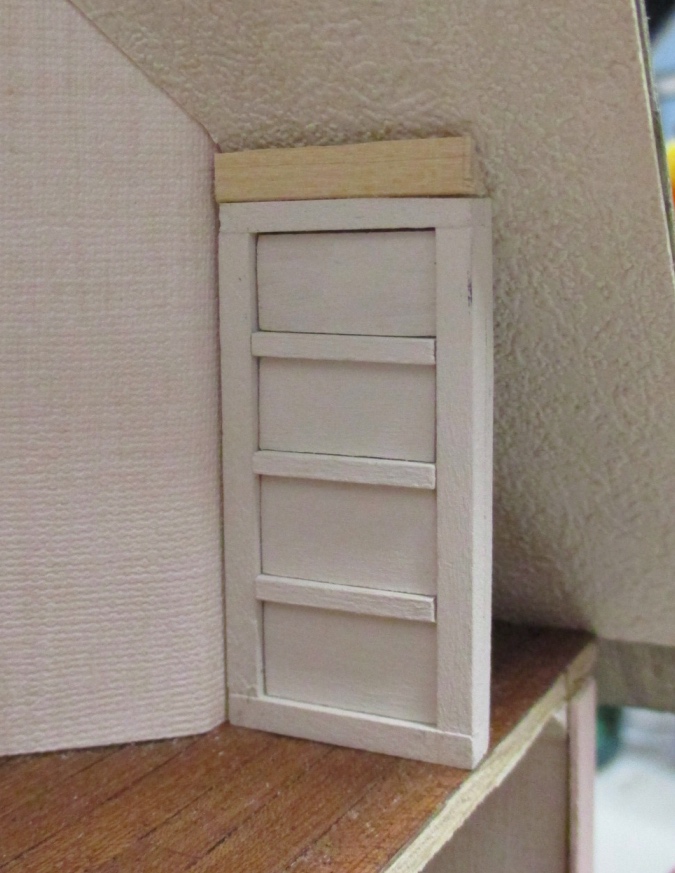
The angled edge of the crown molding fits under the ceiling — the angle isn’t exactly right, but it will be covered up on the side by the siding so you won’t be able to tell. I also had to round the back edge of the unit so it would fit snugly under the ceiling. (I did that after taking this picture.)
Here’s how that looks.
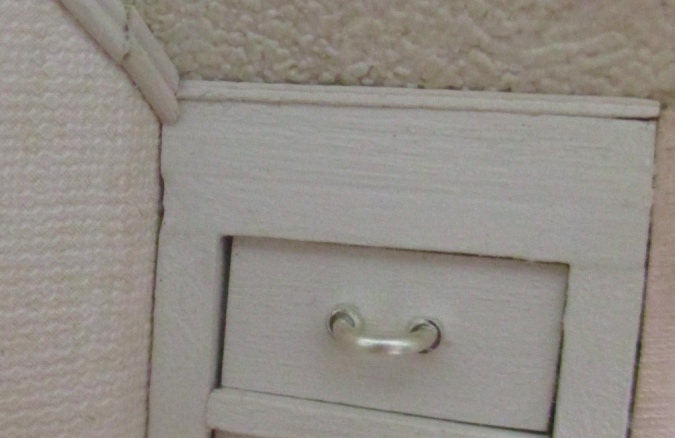
Next I added the drawer pulls.
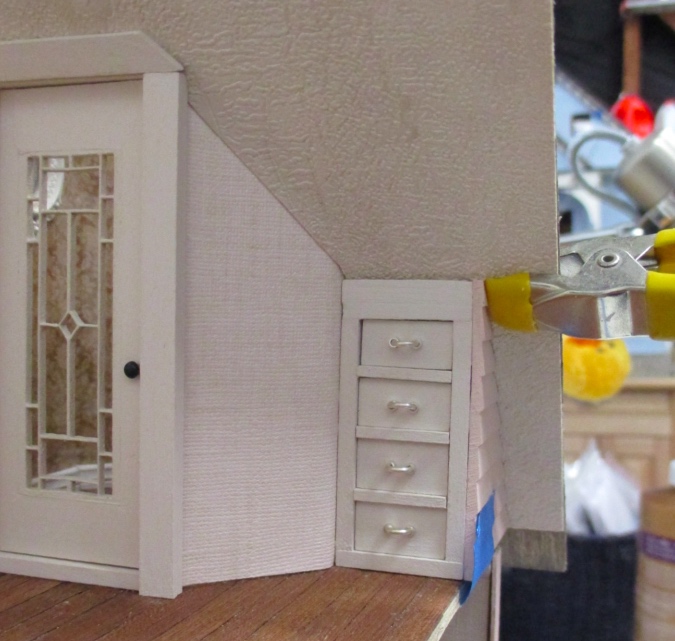
I used some wood scraps to support the false front and provide a surface for the siding to attach to.
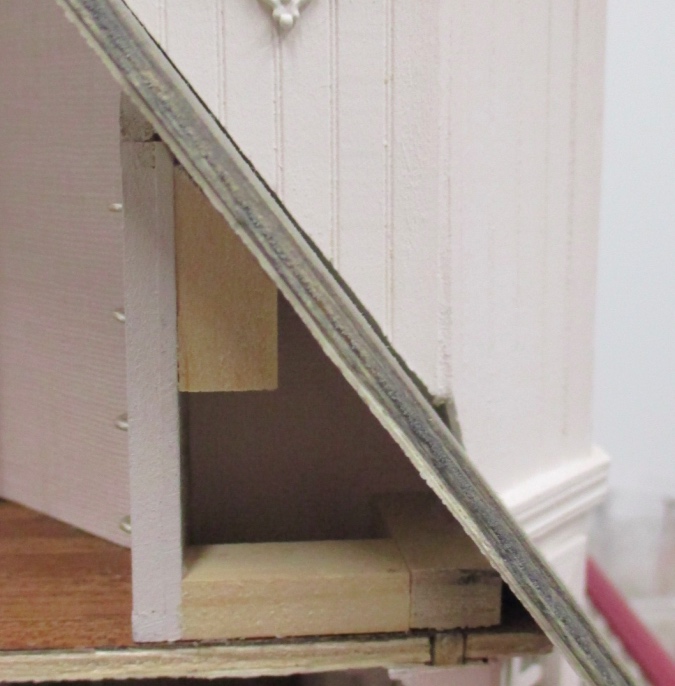
Then I glued in the siding piece. It was warped and the top wanted to curl away, so the clamp held it in place while the glue dried.
Next came the trim. In the nursery I’d cut the end of the baseboard at a 45-degree angle, and it butted up against the shelf and looked fine. I think the drawers in this room are in a slightly different position because if I did it the same way, the baseboard would hang way over the edge of the drawer unit. It looked weird.
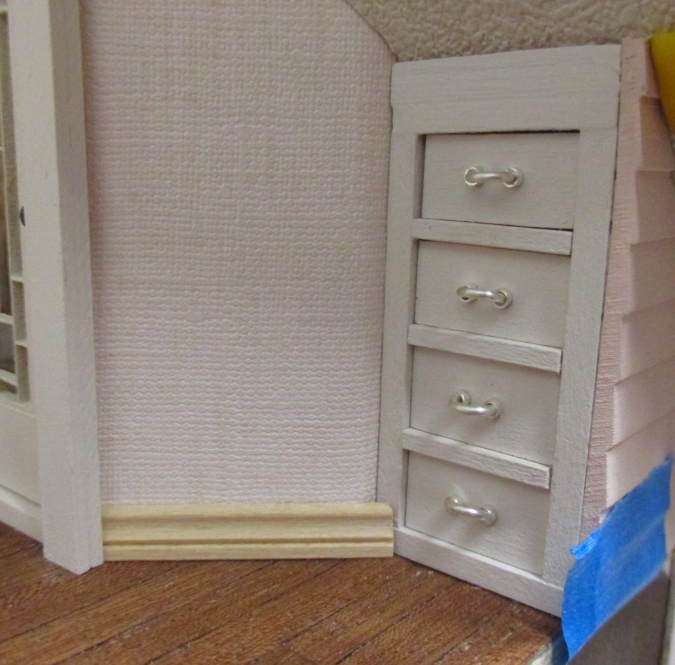
Instead I cut a teeny tiny piece of baseboard for the angled piece to meet up with.
Here’s how it looks with the baseboard and double bead trim installed. I considered leaving the double bead off since there was no gap to cover up where the ceiling met the wall, but I’d used it in the nursery and wanted to be consistent. I also added a piece of very skinny trim to the top of the drawer unit, which wasn’t exactly flush with the ceiling.
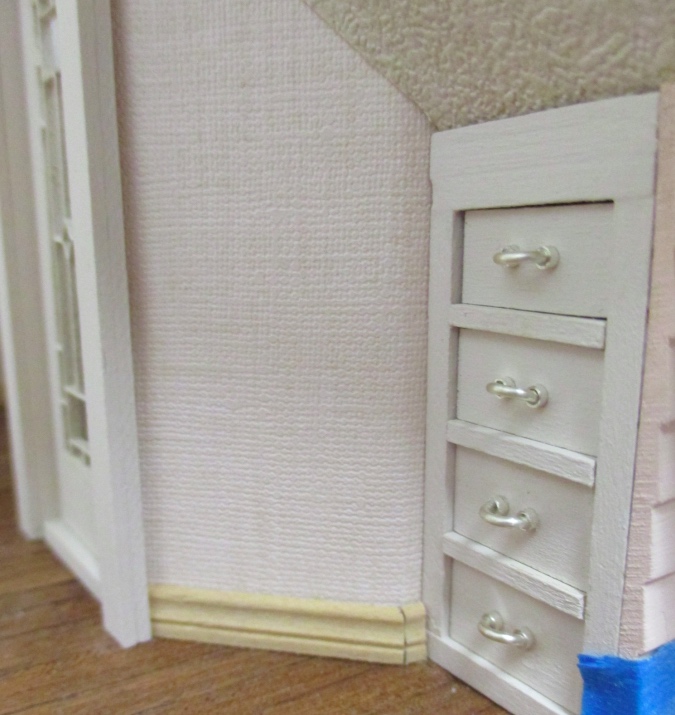
When I stepped back and looked at it, this bothered me — the 1/8″ x 1/8″ strip wood at the top was not exactly flush with the side piece and crown molding, which caused a little gap where it meets the wall.
So I covered that edge up with the skinny trim as well.
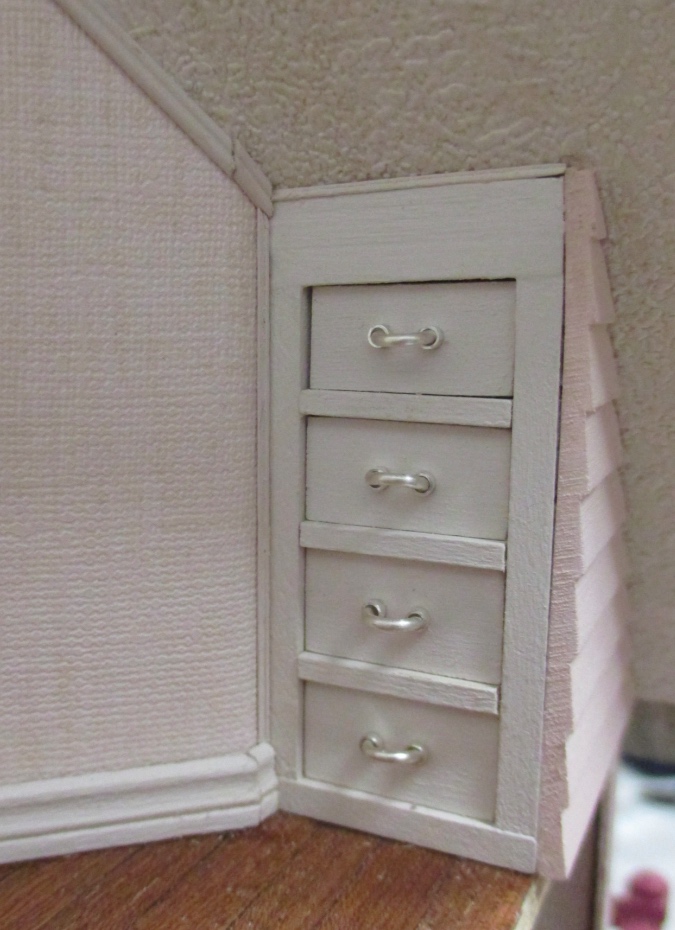
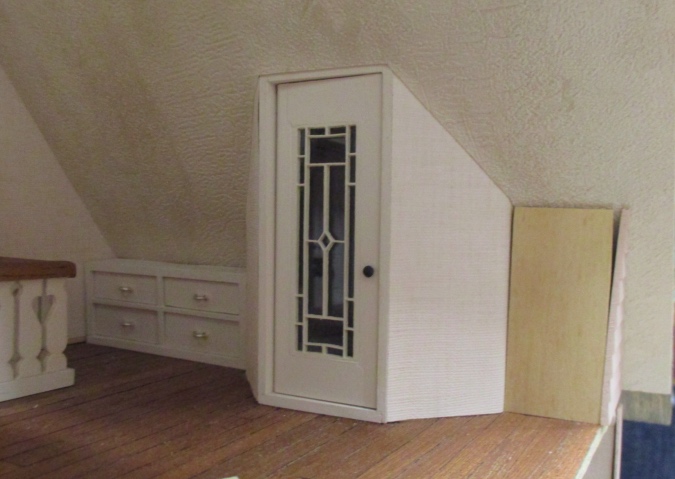
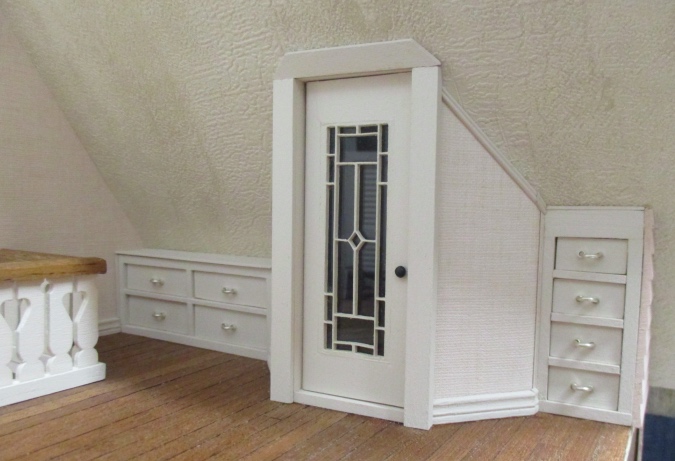
Here’s the dresser after I glued it in — it also had gaps at the sides where it wasn’t exactly flush.
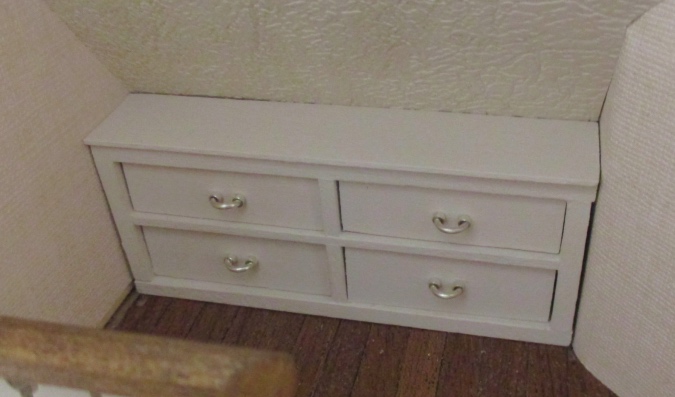
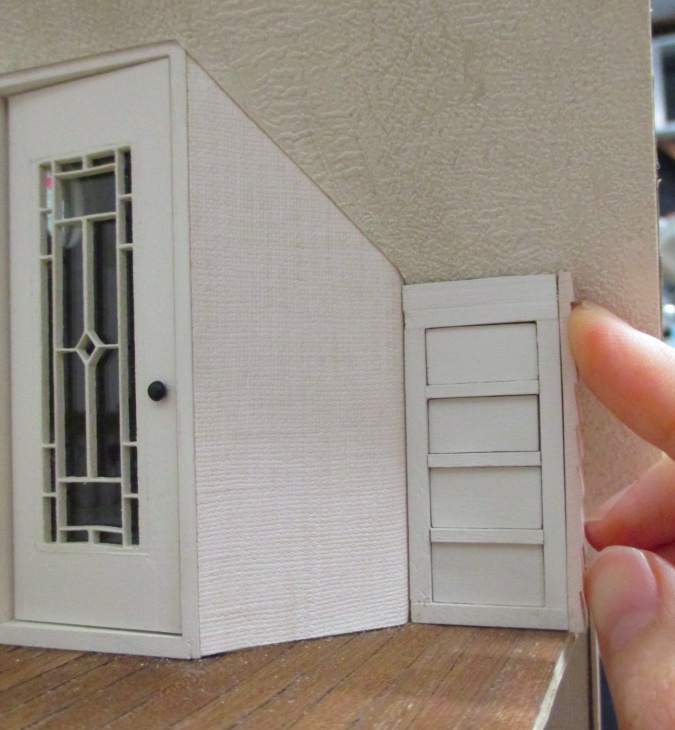
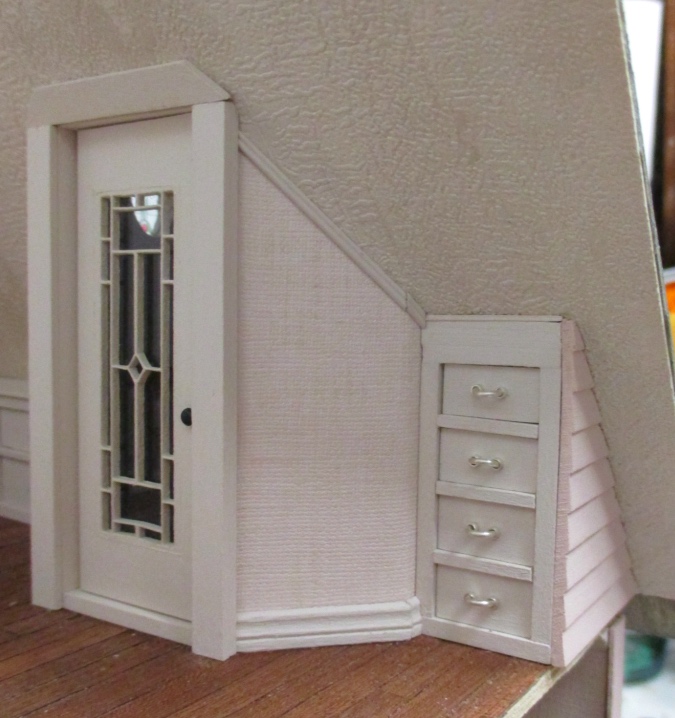
And here it is with trim added.
Built-ins complete!
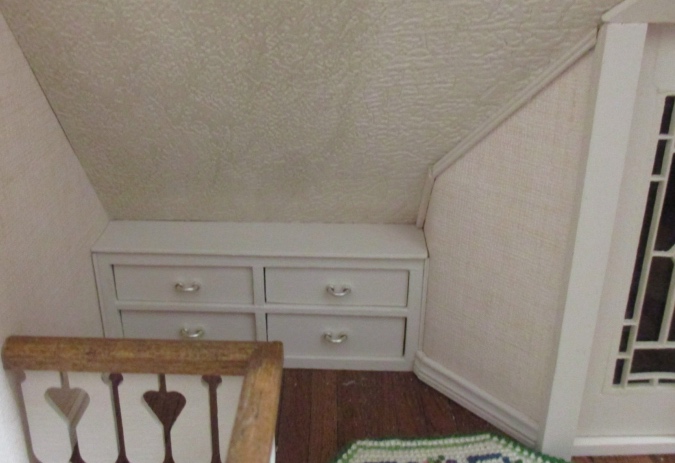
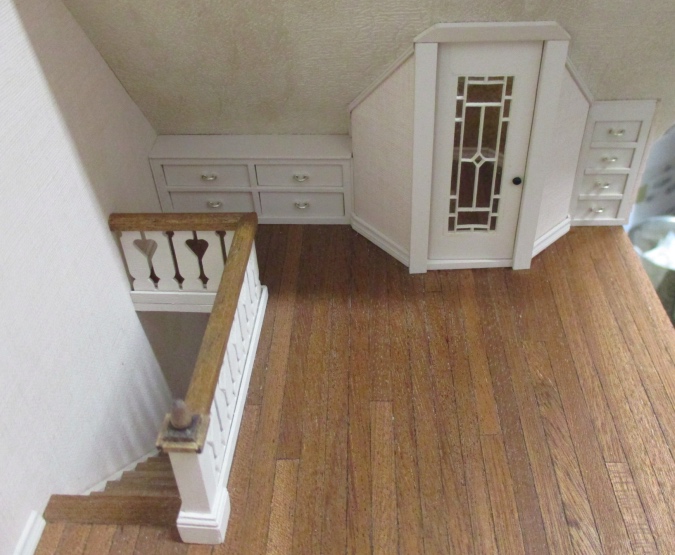
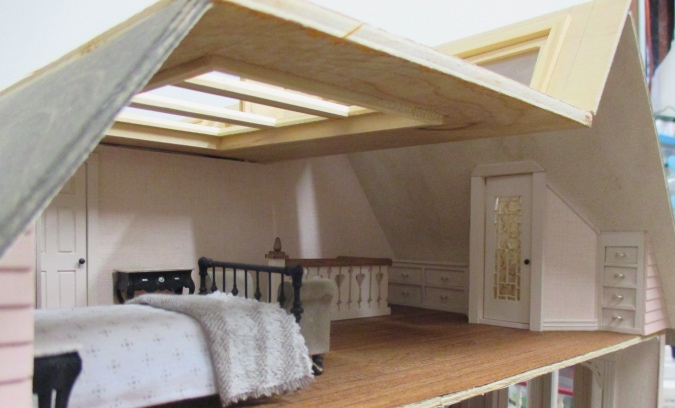
Here’s a birds eye view while it still exists. Once the roof is on you’ll still be able to see the dresser through the skylight, but I probably won’t be able to get a good picture anymore. Ideally I’d like to put some accessories on top of the dresser but it’s pretty hard to reach in there.
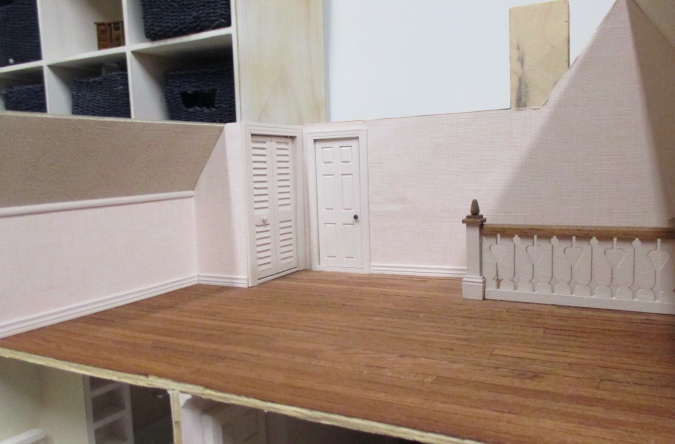
I also added baseboards to the rest of the room. The only one I haven’t done yet is the tiny piece between the closet door and bathroom door, since the closet door isn’t glued in yet.
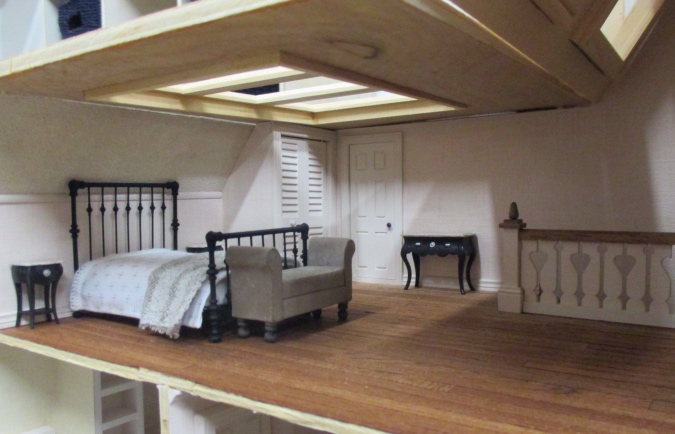
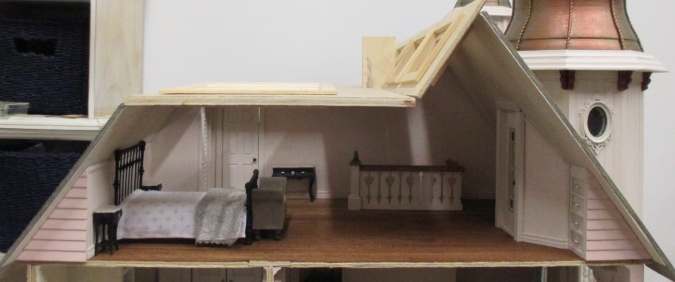
That completes this room! The next big step will be to glue in the ceiling pieces.
 Emily is a freelance writer, miniaturist, and adventure game enthusiast.


I love how the built ins look with the trim in, they look so finished and elegant.
Wow! Looks wonderful!
Looks great!
Everything turned out so well, and I have to remind myself that you’re working in half scale, so it’s twice as marvelous! Have you thought about gluing the accessories for the long built in dresser to a piece of pretty cardstock that you’ve cut to look like a runner? Then you’d only have one piece to place.
I thought about gluing accessories to the top of the dresser before I glued it down, but I didn’t have them ready and I wanted to get it done, so I didn’t do that. Gluing them to a runner is a good idea.
Each of your built-in dressers on either side of the tower, are Excellent Practical solutions to otherwise awkward and dead end spaces, which look entirely original to the house.
The finished bedroom is a quiet airy retreat up up and away from it all- Belissimo!
Love your attention to detail! I’m taking copious mental notes for finishing a house I ‘inherited’. Sadly, it’s already assembled, so I will be reaching in to many tight spaces! LOL
This is what I admire about your work: your ability to cut pieces that fit a space and if they don’t fit, you make them fit and when you are finished it all looks perfect and only those who follow you know the difference and we sigh and say to ourselves, “I wish I was that good.” I love the tower door and such a bedroom would be so much fun to explored
Aw, thank you!
Very nice work and very well presented!
It looks wow!