The Mansard Victorian shell didn’t come with a hole for stairs. I’m not opposed to leaving the stairs out of a dollhouse, but for this one I decided to add a false staircase. I might have gotten the idea from the Bauder Pine Colonial, which has a hidden staircase that runs up behind the fireplace.
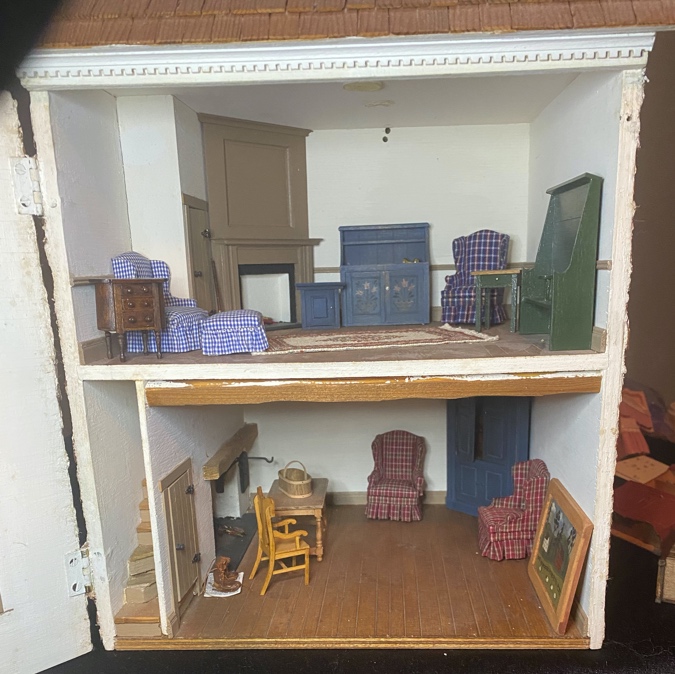
(The Colonial pictured belongs to Cathy Miller-Vaughan of Bauder Pine.)
I think this fireplace was available as a Cassidy Creations kit, but if so it must have been rare — I’ve only seen it once, and I’m not sure if I’m remembering correctly. I built the Cassidy Creations Federal fireplace wall planning to hide a staircase behind it, but that fireplace turned out to be too tall for this house.
When I started arranging furniture to figure out how to divide up the rooms, I grabbed a Petite Properties cupboard staircase kit out of my stash. I bought this years ago knowing I would someday have the perfect use for it. When it comes to minis, I play the long game!
The kit is made from cardstock, with treads made from MDF or chipboard. The cupboard door is scored and swings inward.
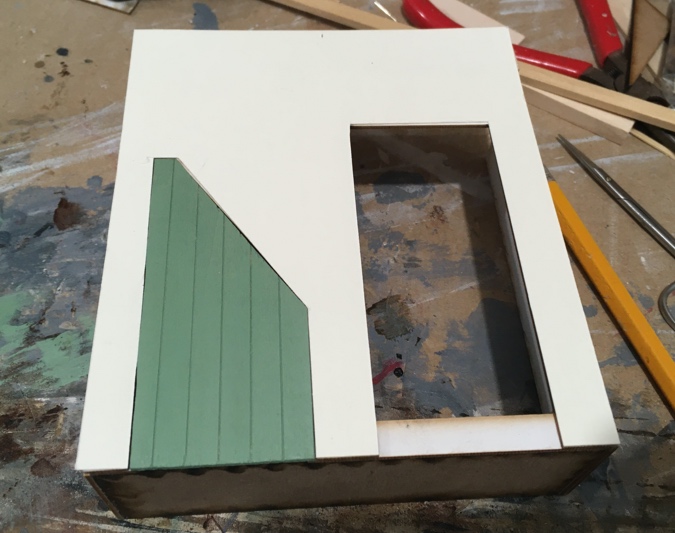
I’m going to hide electrical outlets inside the cupboard, and it will be easier to access those if the door swings out. Plus, I wasn’t sure how convincing a painted cardstock door would look. I decided to cut off the cardstock door and make a new one out of wood. I sized it so it rests against the inner trim pieces, which will prevent it from swinging into the hole.
This is made from a piece of scored wood that came with the Craftsman vignette kit for no apparent reason. The scored wood was used for the porch, but my piece had an extra piece — the universe giving me exactly what I needed. (Thanks, universe!)
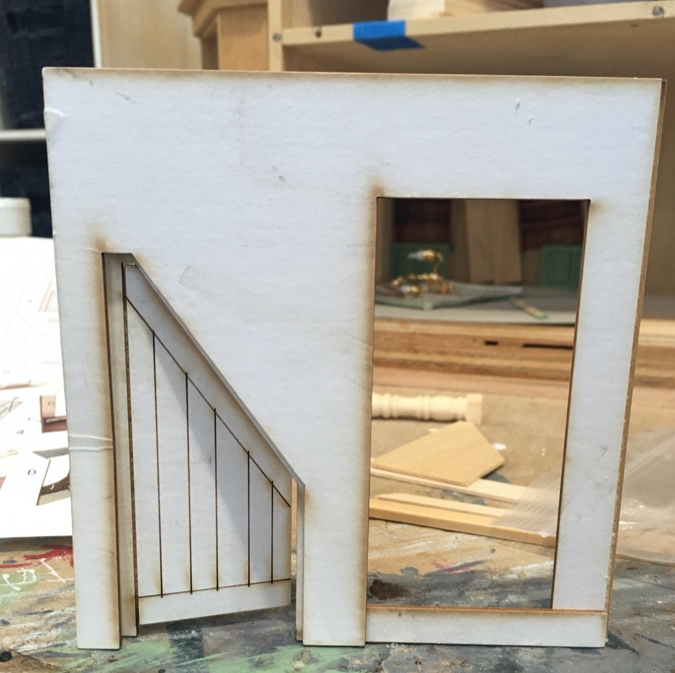
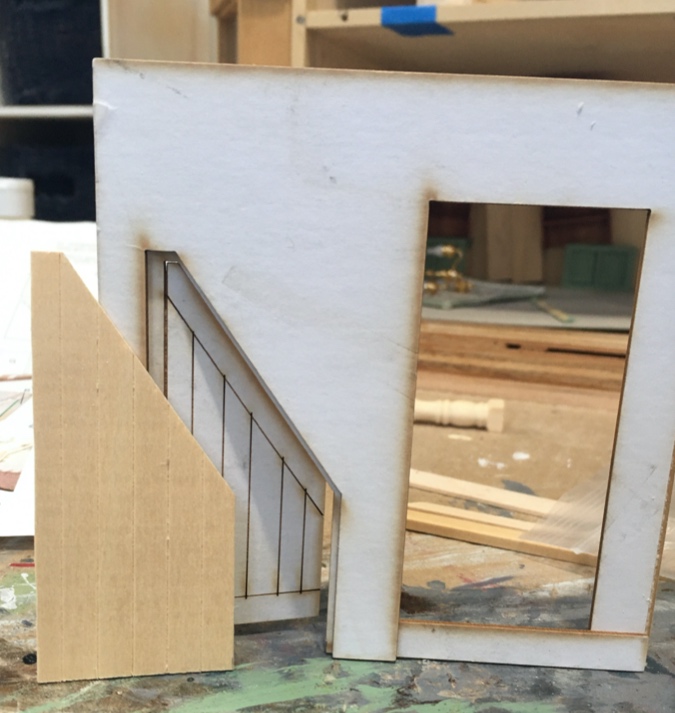
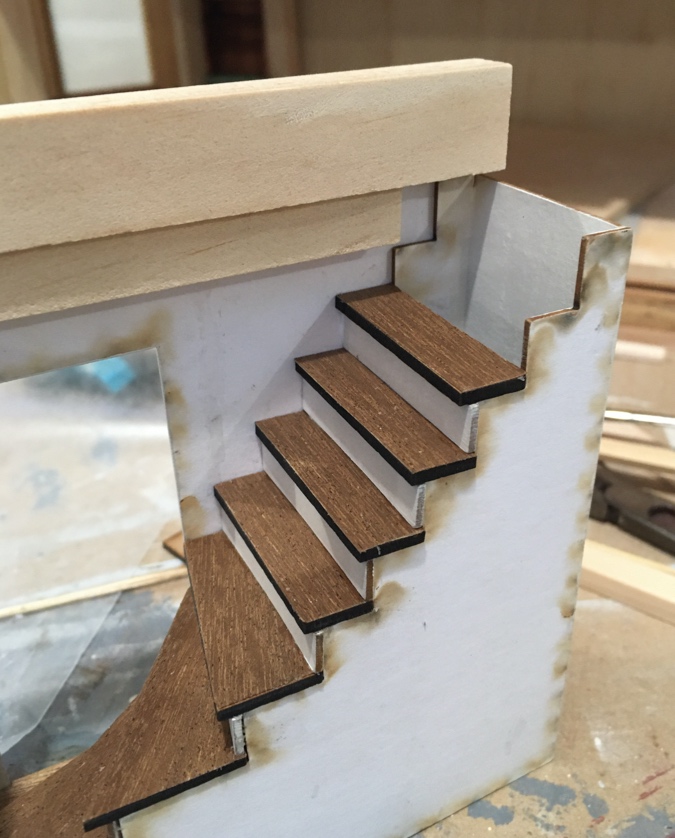
The staircase unit is about 5/8″ too short.
I added a piece of 5/8″ strip wood to the top, supported by another piece of strip wood that I glued to the inside top edge of the staircase box.
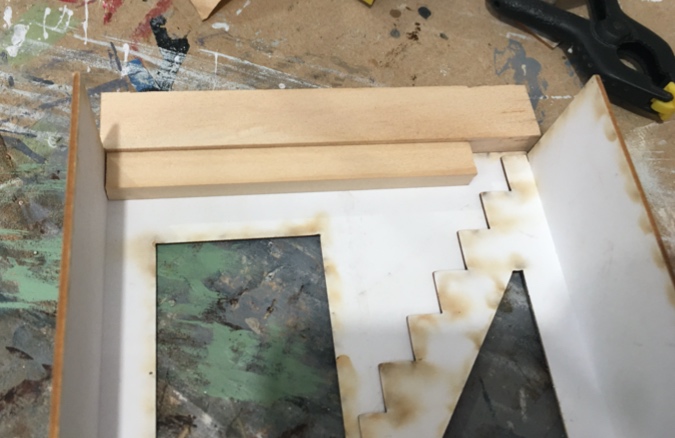
Now it goes up to the ceiling.
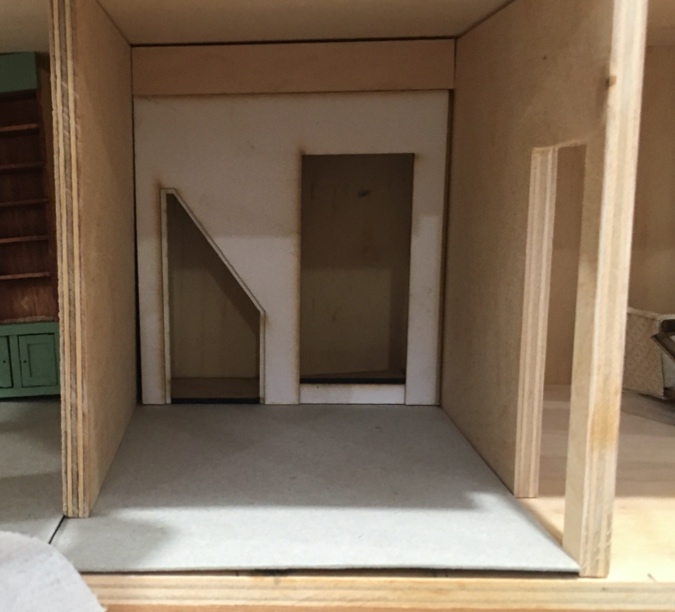
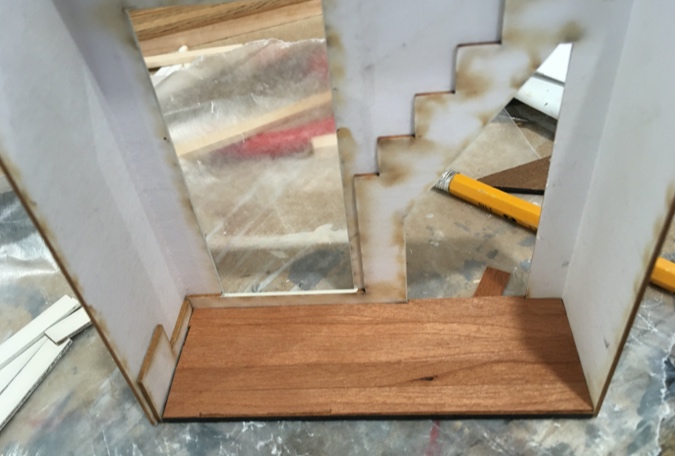
(If you’re wondering why there’s cardboard on the floor, it’s because the floor of the living room addition is about 1/16″ taller than the floor of the house. I’ll lay floorboards on top of the cardboard.)
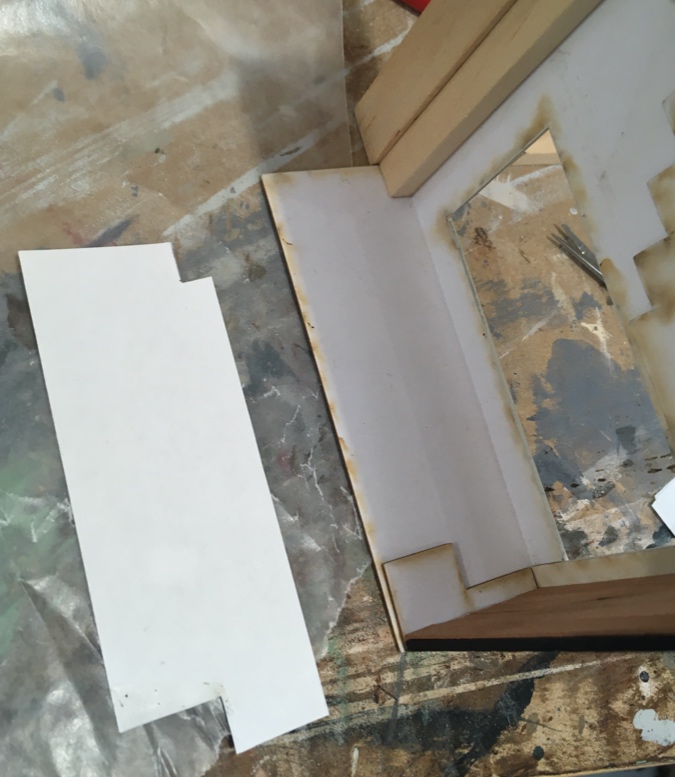
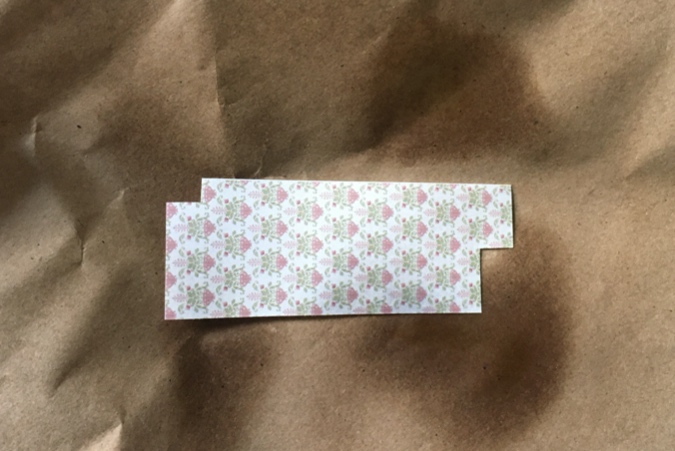
Next I cut a piece of stiff scrapbook paper to cover the front of the unit. It would have been easier to do this before I started gluing pieces together, but c’est la vie.
When the time comes, I’ll glue this to the front and then glue wallpaper on top of it, and the scrapbook paper will (hopefully) prevent a seam from showing through the wallpaper where the cardstock meets the strip wood.
Next I painted the risers and around the doorways with Behr Varnished Ivory. (I’m recording that here so I remember what color I used later!)
I put down floorboards inside. These are LittleWonders Lumber — a vintage product that I love, and have used in the Rosedale and the Queen Anne Rowhouse — in cherry. Last year I scored several packets on eBay and I plan to use it throughout the house.
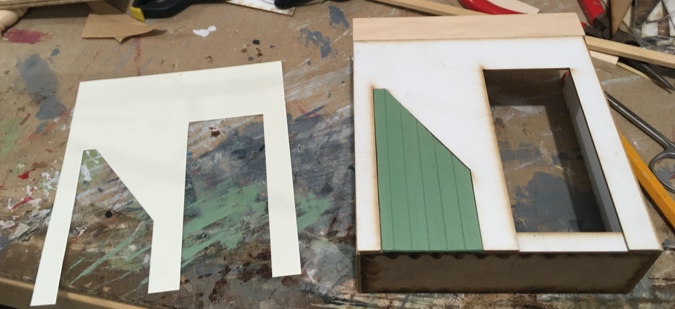
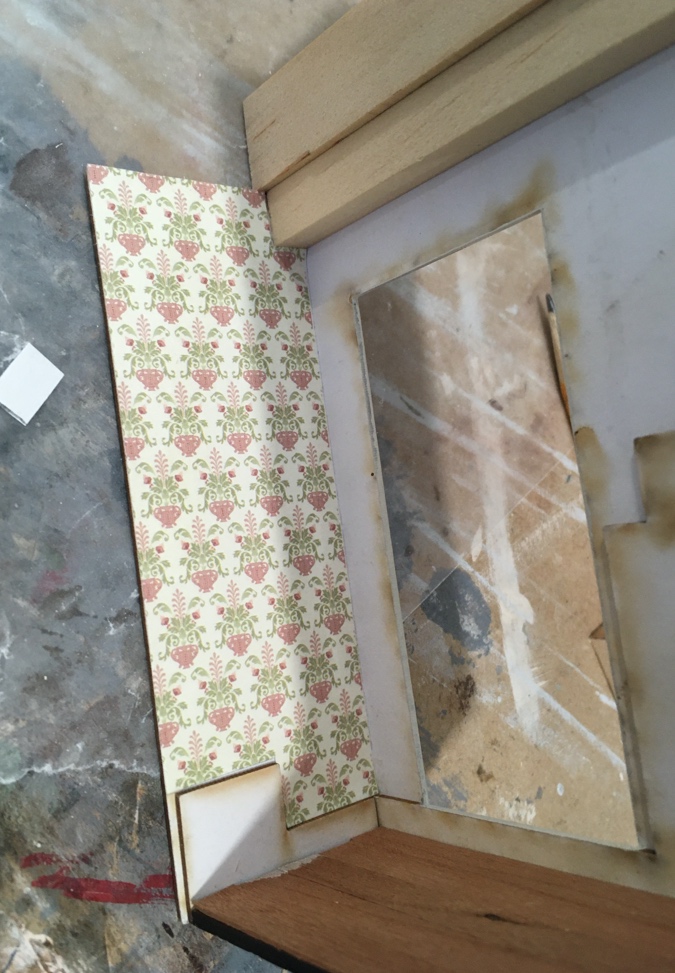
I painted the inside cupboard walls but decided the staircase should be wallpapered to match the rest of the room. I created a template from plain paper and then used this to cut a piece of wallpaper.
Before gluing in the wallpaper, I sprayed it with Krylon UV-resistant sealer. (Visiting that link, I see several bad reviews from people saying it left white streaks or stayed tacky. I’ve never had that problem with it!)
Normally I would let the paper dry for 24 hours before gluing it in, but I wanted to keep moving so I only waited about 20 minutes. It seemed dry. Hopefully I won’t regret it later. I do have a bad track record with difficult to fix stairway wallpaper…
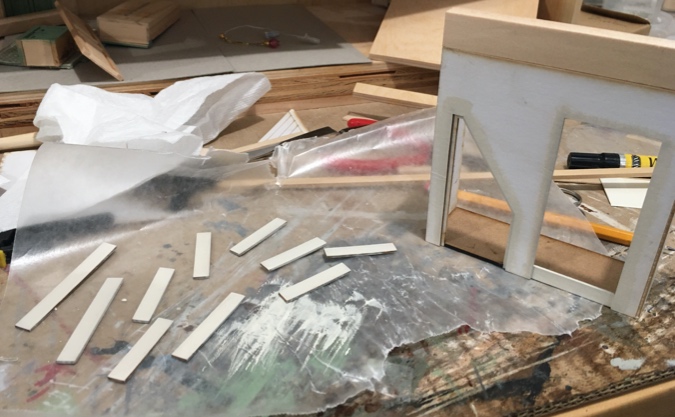
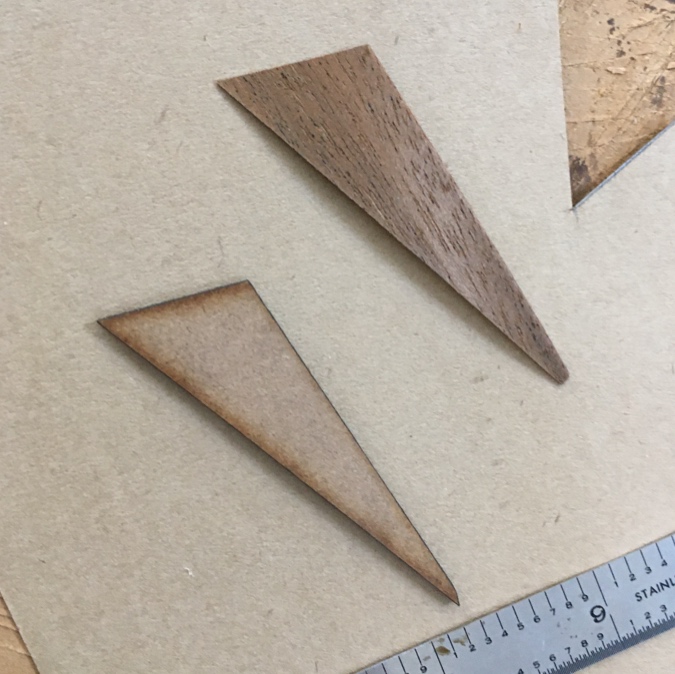
Rather than try to make the treads look like wood, I covered them with self-stick micro veneer.
The last step was to glue in the treads and risers.
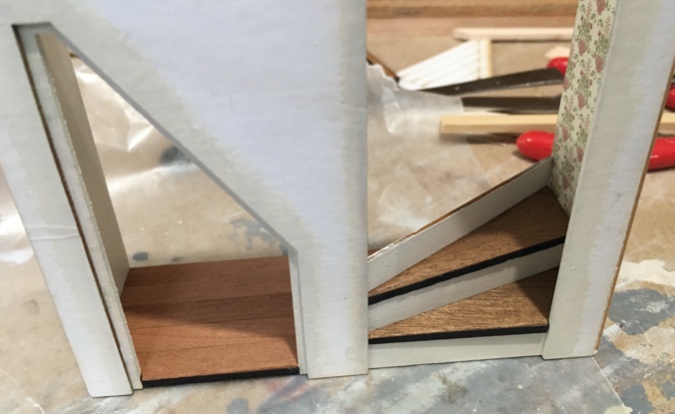
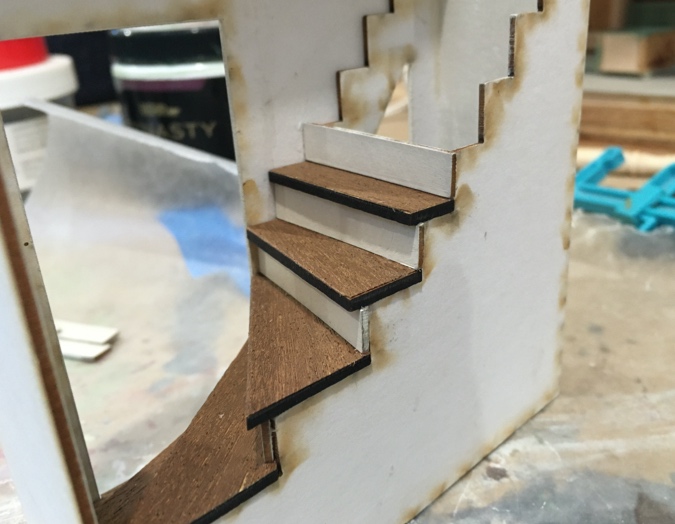
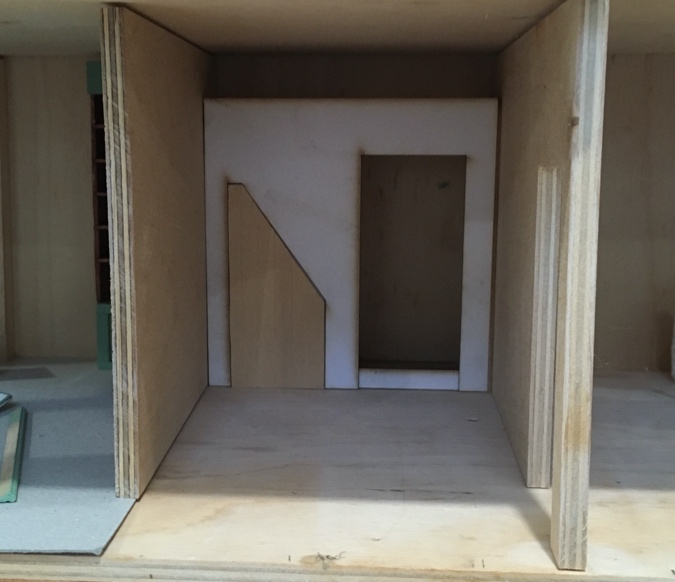
I’m leaving out the top two steps, which you can’t see once the stairs are in place. My plan is to run the cords from the ceiling lights down into the stairway cavity, and then plug them into outlets hidden inside the cupboard.
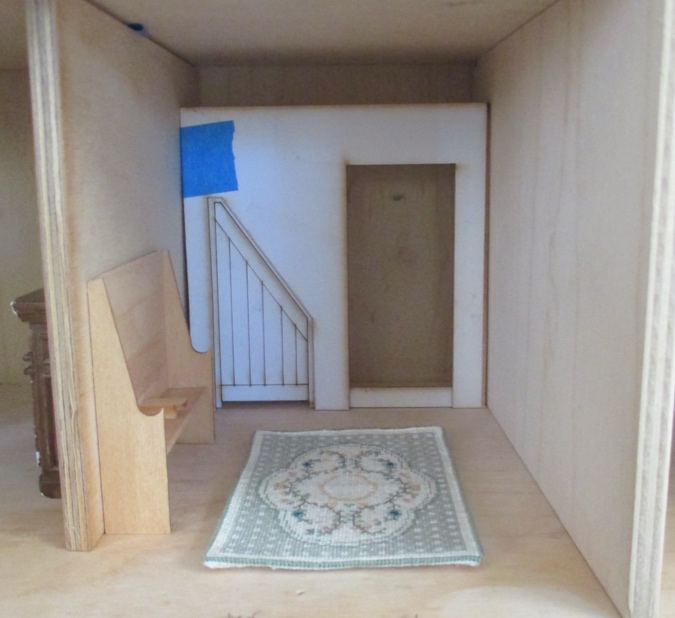
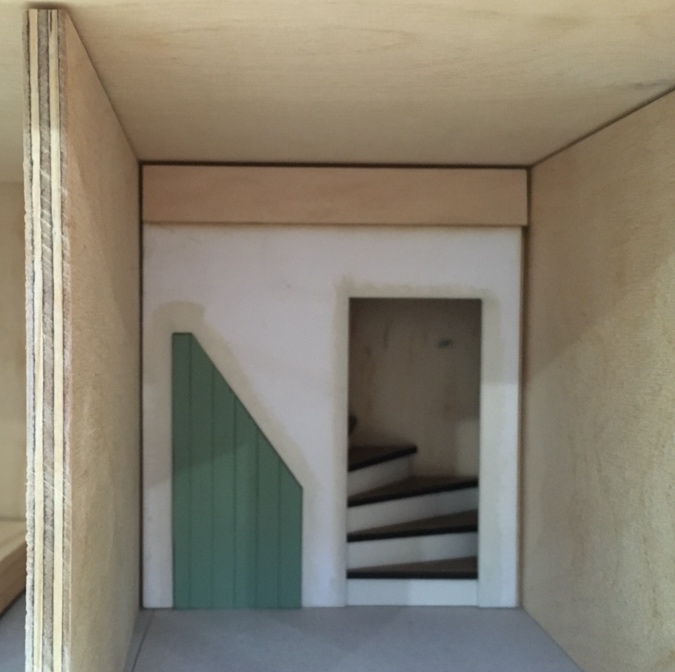
Here’s how it’ll look. I’ll add wallpaper to the back wall, and a light inside the staircase so it’s not so dark. I haven’t decided yet whether to hinge the door or leave it completely removable — it’ll partly depend on how easy it is to access the outlets inside.
 Emily is a freelance writer, miniaturist, and adventure game enthusiast.


That looks good. Wondered how this kit would work. Are you putting a small knob on the door too?
Yep I’ll add a knob (otherwise it’s hard to get the door out of the hole). I haven’t decided yet whether to add trim around it or not, it might depend on how neat the wallpaper is around the cut edge.
Nice work! I love a hidden staircase.
That looks fantastic! Great work!
I find your work to be a great inspiration to me. When I mess up, I think what would Emily do? and I figure it out. Thank you for showing solutions to your doll house builds.
Aw, thank you! There was a mess-up I didn’t mention in this one… I laid the floorboards down and *then* painted the wall that will be visible inside the cupboard. I put down masking tape but still got paint on the floorboards. Luckily the glue wasn’t dry yet so I just removed them and flipped them around, where the paint splotch will be hidden under the stairs. You can see it in the wallpaper picture above.