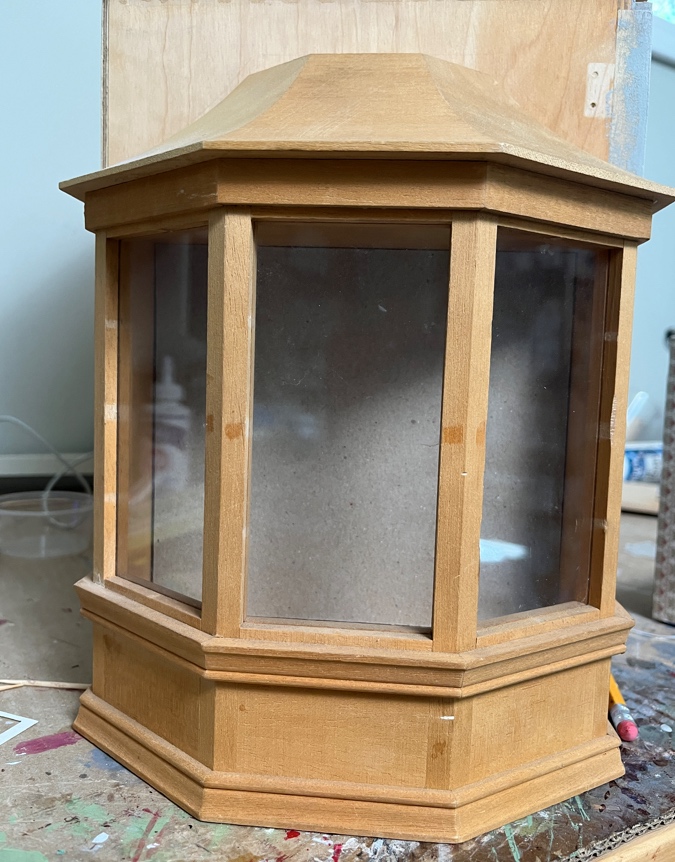
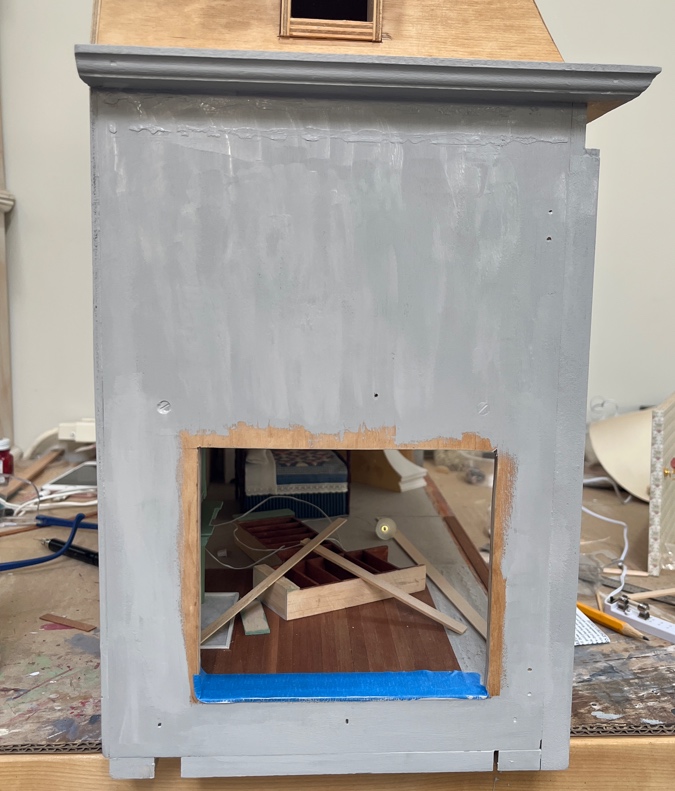
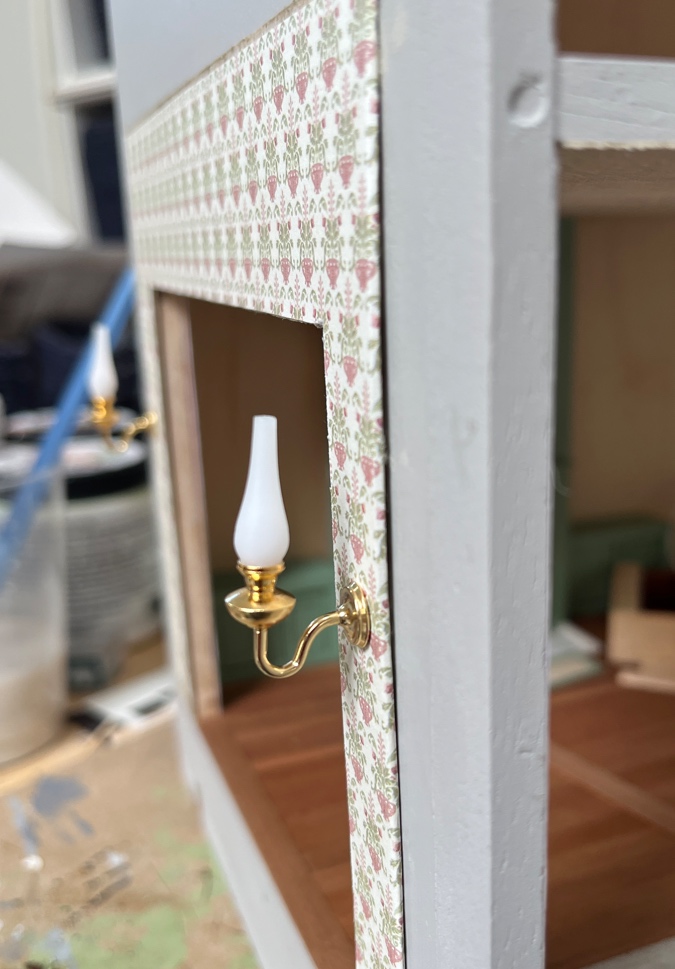
I wasn’t planning to electrify the bay window addition on the Mansard Victorian, but a few weeks ago I nabbed two Clare-Bell sconces on eBay that match the chandelier I’m using in the living room. And hey, you can’t have too many lights, right? (Don’t answer that.)
I already have wallpaper on the other side of the wall, so I can’t feed the wires through to that side. Instead, I’ll hide the sconce wires behind a false wall.
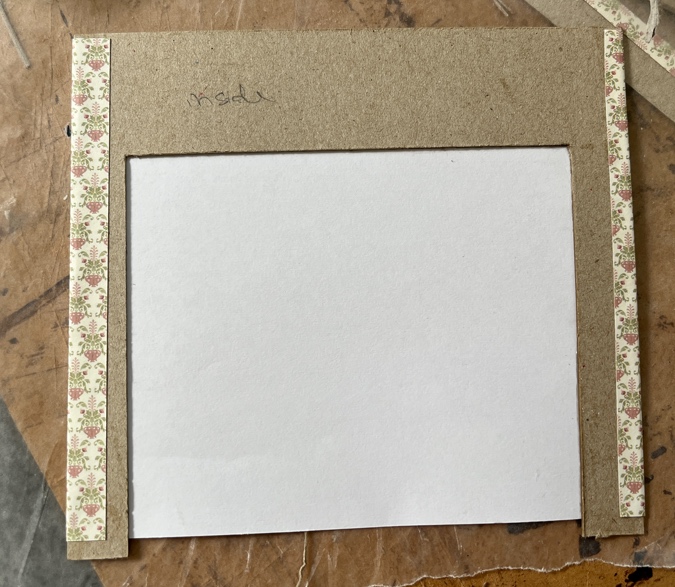
I started by cutting a piece of thin cardboard to fit inside the opening of the addition. This cardboard came off the back of a spiral-bound notebook I was finished with.
I taped this to the wall, with the bottom lined up with the bottom of the doorway.
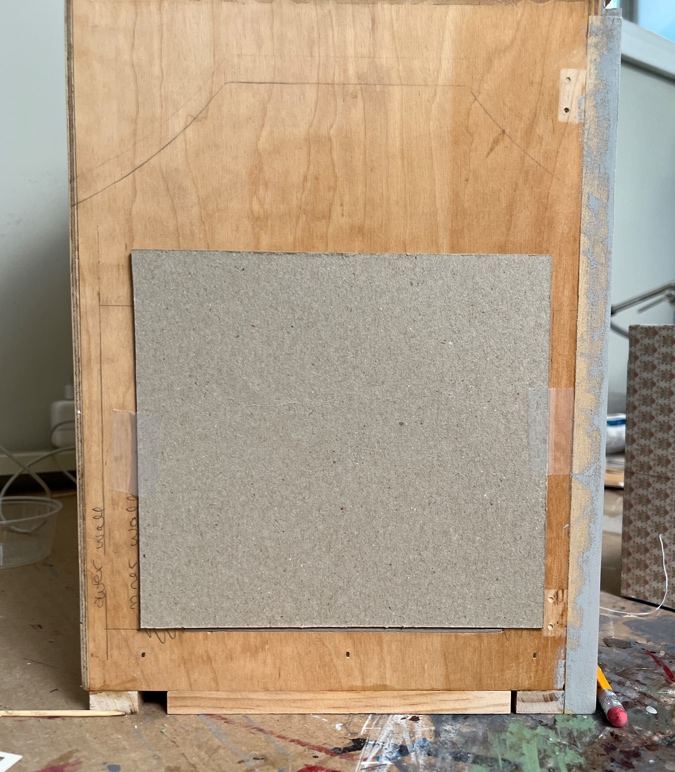
From the other side, I traced the opening, and then cut it out with an Xacto knife.
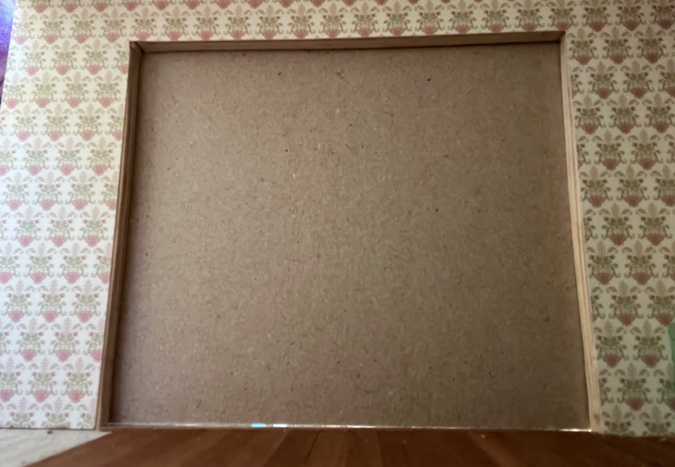
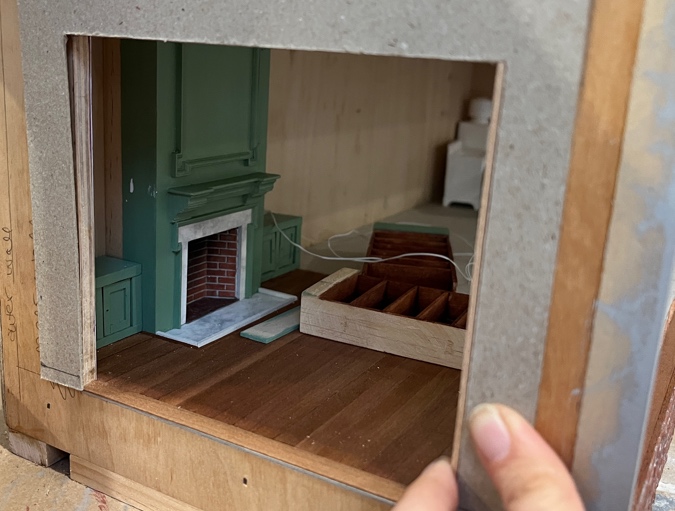
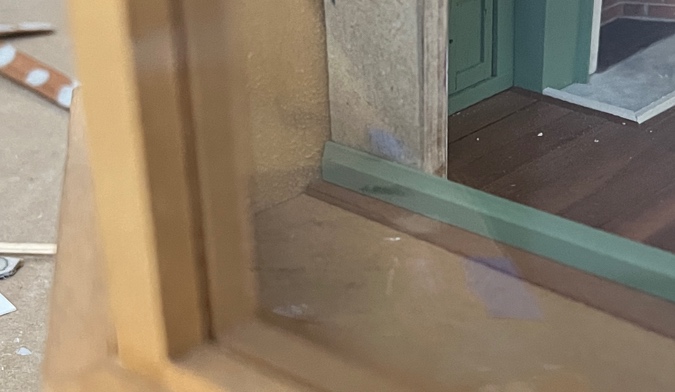
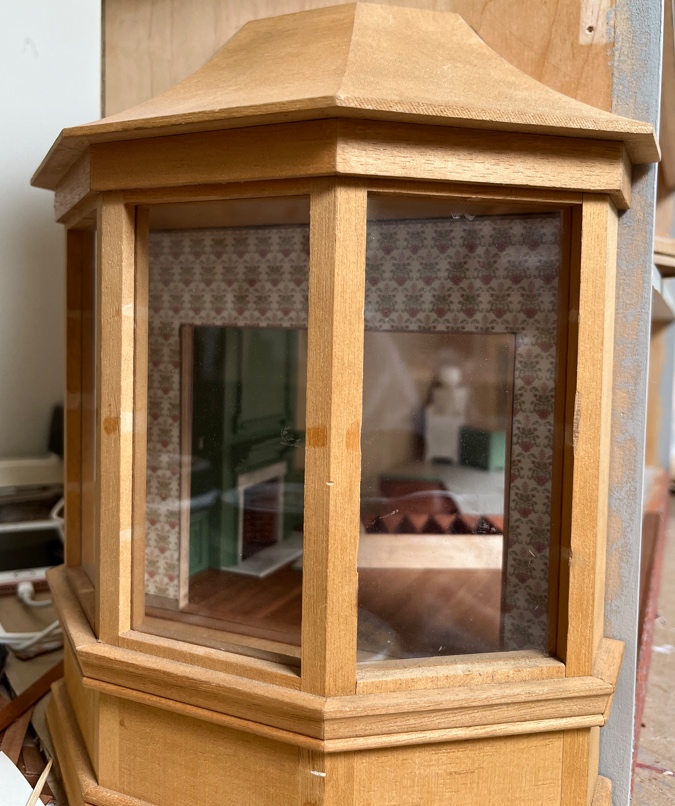
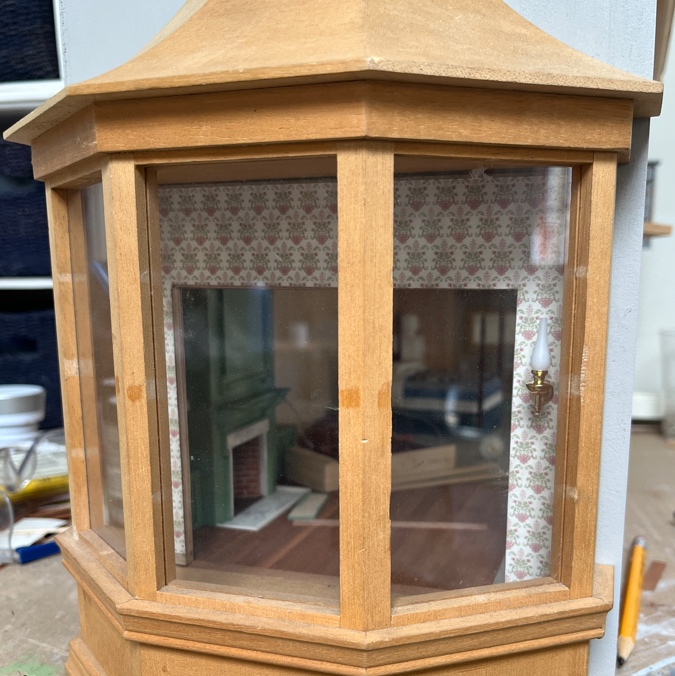
Here’s a view of the false wall through the window.

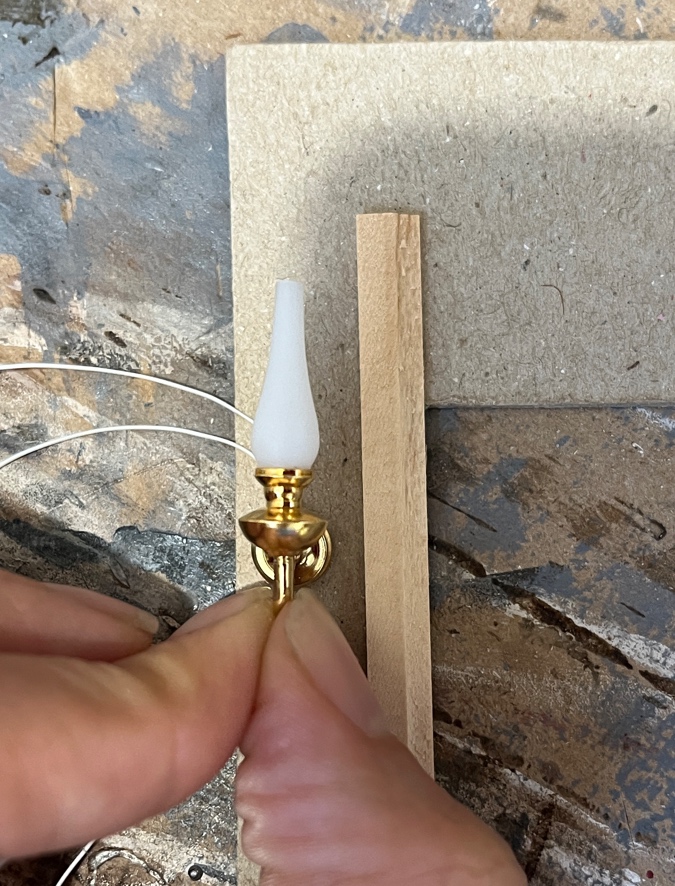
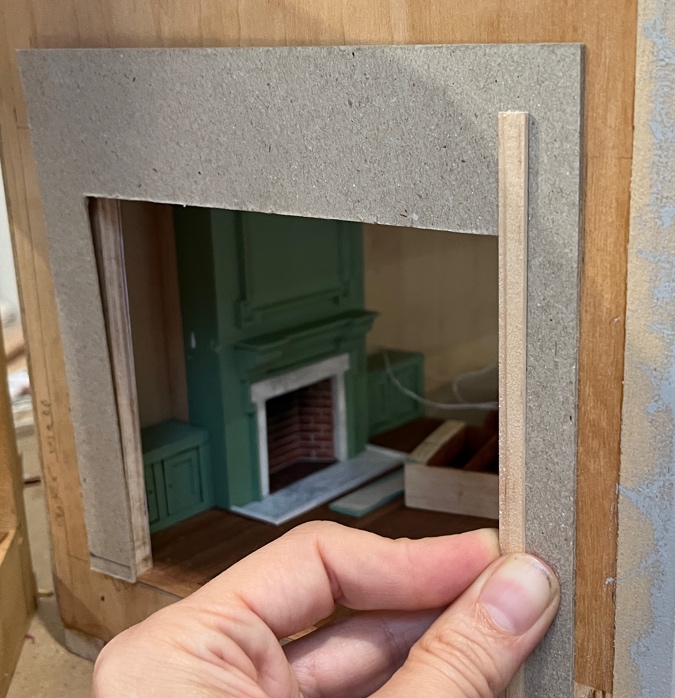
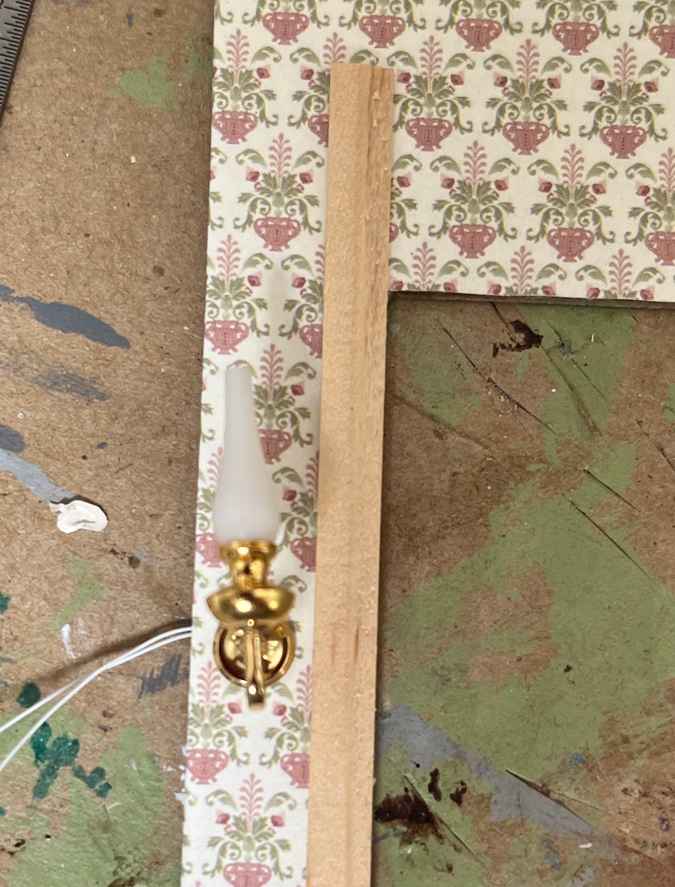
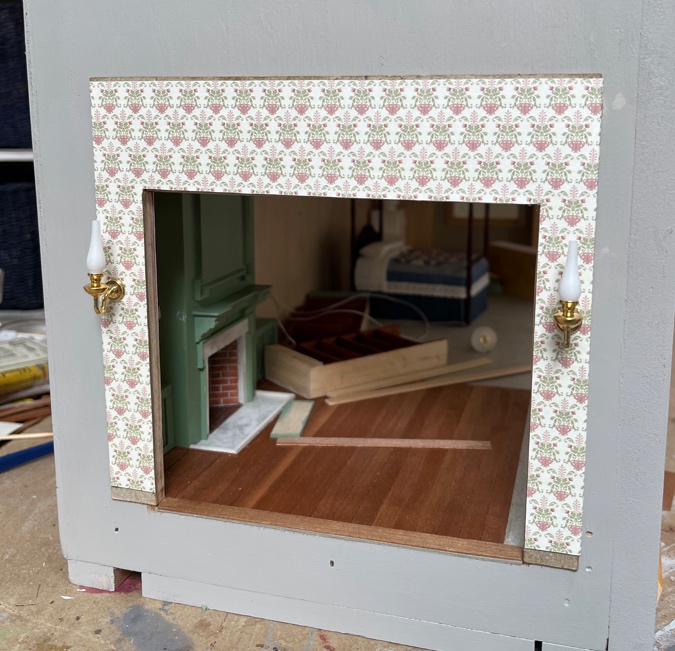
I held a piece of trim up to the side of the doorway to see how the sconce will look. If I’d planned to put sconces here from the beginning, I might have made the doorway a little smaller so there would be more wall here, but the sconce fits.
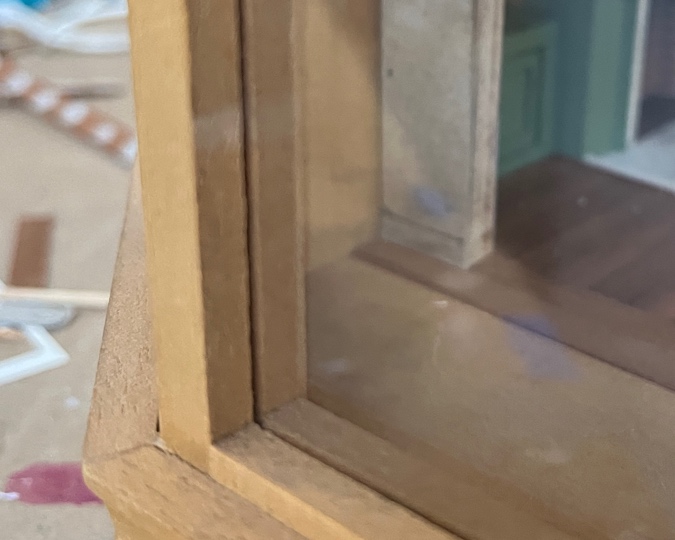
When I cut this opening in the wall, I made it slightly skinnier on the right than the left. Maybe it was so the wall would look centered when you view it from the other side? Maybe it was a mistake? I don’t remember. Anyway, the sconce feels too cramped on this side.
I can make this side match the other side by adding a piece of strip wood inside the doorway.
The trim will cover the added strip wood, so no one will be the wiser. (Except you, because I just told you.)
(Side note: someone once left a comment on my blog asking why I didn’t clean my fingernails before I took pictures. If I stopped after every step to make sure I didn’t have gunk under my nails, I would never get anything done!)
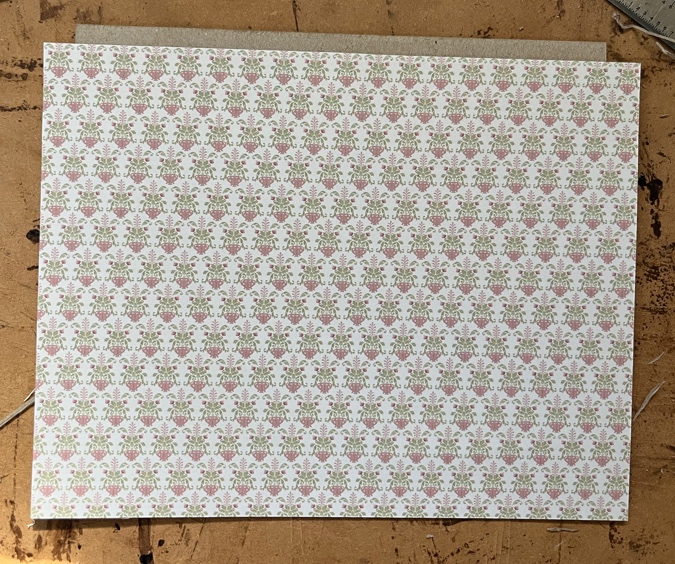
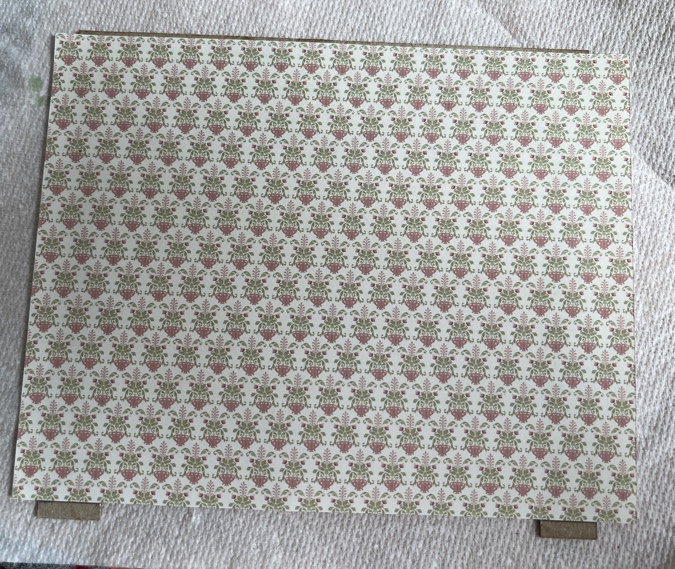
Next I prepared a piece of wallpaper to go over the cardboard. The addition is made from a 1:12 bay window and its ceiling is taller ceiling than a standard 1:24 ceiling. As a result, the wallpaper isn’t tall enough to reach the top.
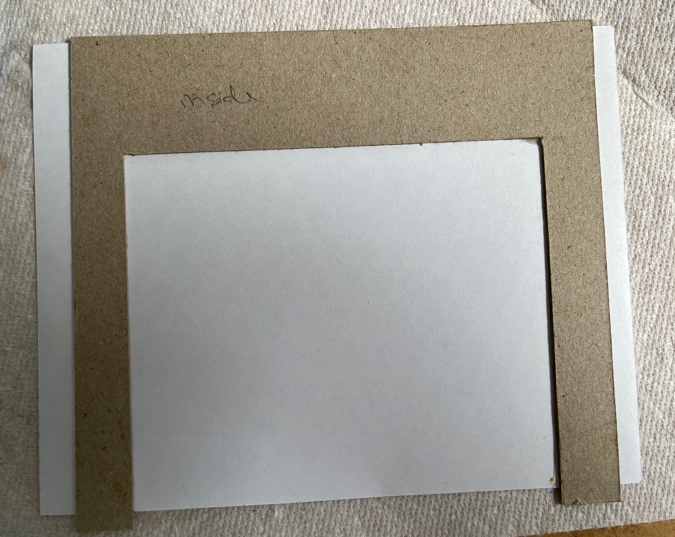
I put a floorboard in place and held a piece of baseboard up to the cardboard to see where the top would be.
I drew a line on the cardboard to mark the top of the baseboard.
With the paper just overlapping the line at the bottom, the wallpaper almost reaches the top. The remaining sliver of cardboard will get covered up with crown molding.
Next I glued the wallpaper to the cardboard. (Note my “inside” label to ensure I didn’t accidentally flip the cardboard around and glue the paper to the wrong side!)
I decided to wrap the wallpaper around the edges, so you won’t see the edge of the cardboard when the addition is removed. Then I ran an Xacto blade around the opening to remove the paper there.
Here’s how that looks.
Starting on the slightly wider left side, I measured up three inches and poked a hole in the cardboard using the pilot hole tool.

The sconce will be centered on this piece of wall.
I measured the distance from the left edge of the wall to the hole, and then repeated this spacing on the (slightly narrower) right side to ensure both sconces would be an equal distance from the addition wall. Right now the one on the left looks off-center, but once the trim is added (along with that extra piece of strip wood on the right), these will look balanced.

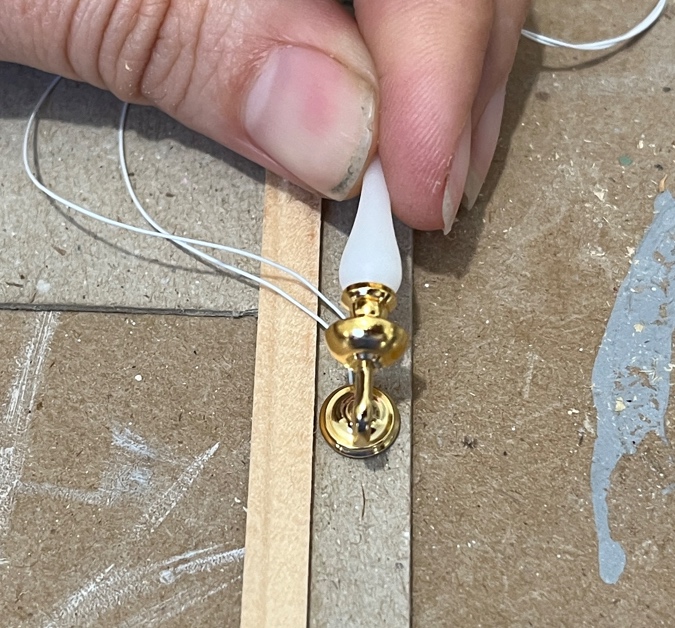
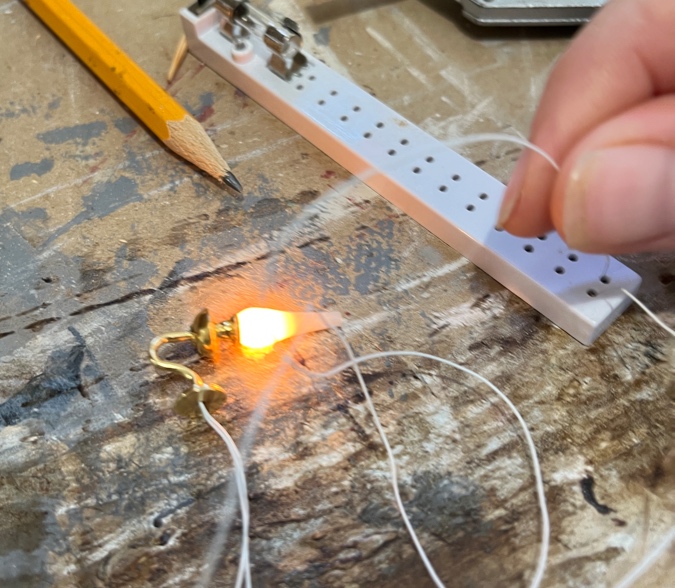
Before gluing the sconces to the false wall, I tested them to make sure they worked. They didn’t come with plugs, so I did this by poking the bare wires into a socket.
I’ll be adding bricks to the part of the wall that’s not covered by the addition, but I didn’t want to have to paint around the false wall and maybe get paint on the wallpaper, so I painted it before gluing on the false wall. The black dot above the doorway is the hole I drilled to feed the wires into the house.
I glued in the sconces and taped the wires to the back of the cardboard.
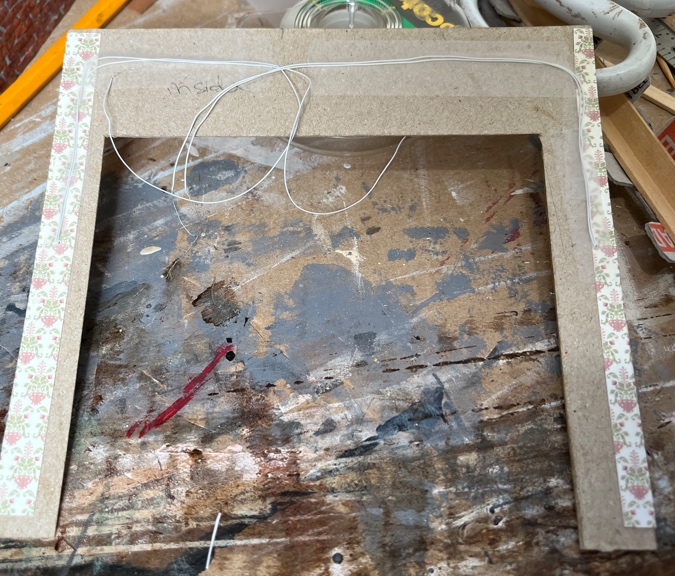
This part was a little tricky — I had to add glue to the back of the cardboard, then feed the wires through the hole. I was careful not to get glue on the wires. Even though they’re covered with tape, I don’t want the glue to damage them.

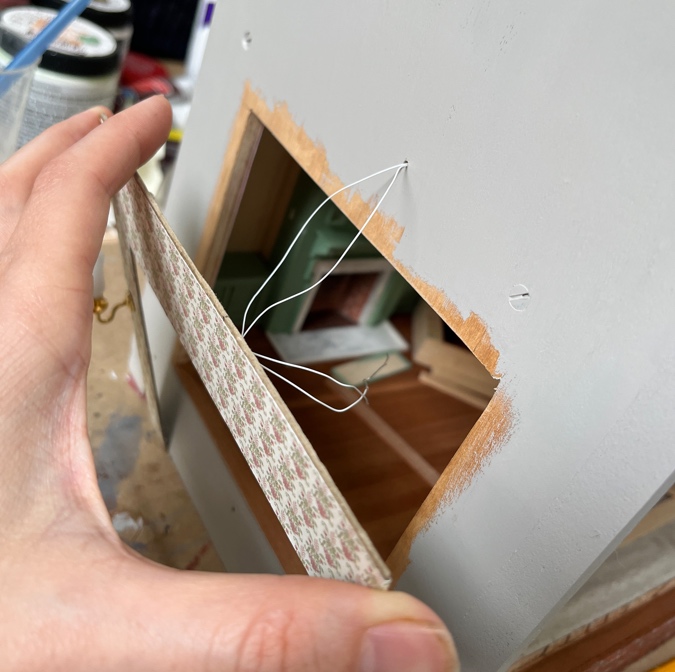
Here’s the false wall glued on.
Unfortunately the bulky wires behind the cardboard prevented it from sitting flat. I added a few strategic squirts of super glue to hold it while the tacky glue dried. There’s still a bit of a gap, but you won’t see this when the addition is in place.
The wires stick into an upstairs bedroom. The brown wires coming up through the floor are for the chandelier.
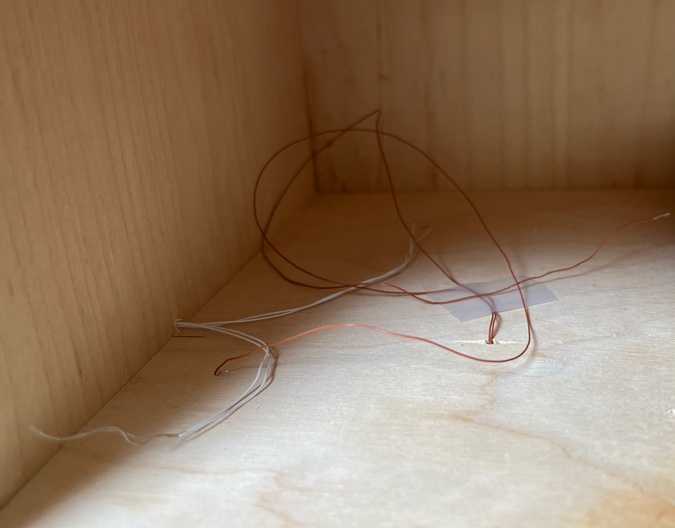
All of these will plug into outlets that I’ll hide under the bed.

I haven’t added the plugs yet, so I’ll save the “let there be light!” moment for a future post.
 Emily is a freelance writer, miniaturist, and adventure game enthusiast.


This is messy work–we are lucky to have fingernails :). You have done a fine job accommodating the sconces. Those walls can be tricky ones.
I so enjoy your sharing your projects! Your foresight, planning, and skills are amazing, and your accomplishments are incredible! Thank you!
Thank you! :)
That is tricky work! It is going to look beautiful once the house is all lit up!
Nice job!
Don’t worry, glue won’t damage wire insulation unless it contains some exotic, super solvent and even then it is not likely unless the insulation is soy-based. Automotive soy-based insulation is the reason that rodents damage vehicle wiring, as I think you have experienced.
Dad
I have! But I didn’t know it had anything to do with soy. Interesting.
My worry about the glue is that if I ever need to remove the false wall and there was glue over the wires, it would break them or pull off the protective coating when I removed the wall. My experience with the Queen Anne Rowhouse’s stair rooms has me thinking ten steps ahead.
This is coming along so nicely! I love the wallpaper on the false wall. All of your electrical work is so amazing to me!!
Thank you! What will really be amazing will be if it all still works when the house is finished. :)
Lovely, Emily!
Hugs,
Sharon