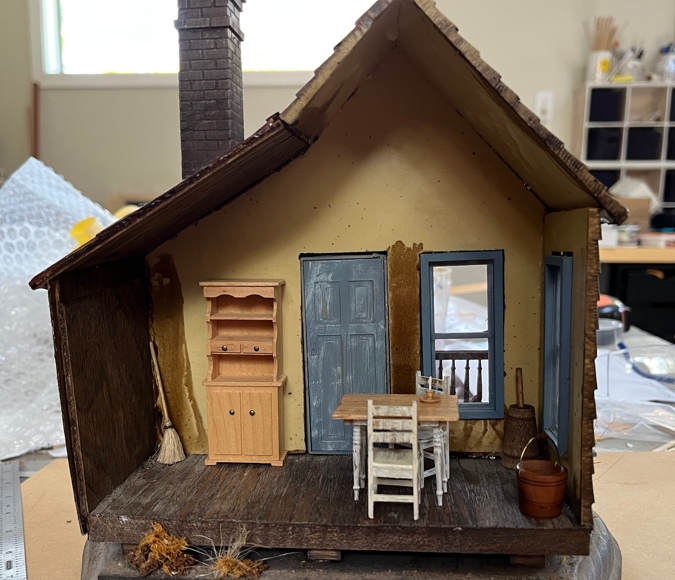
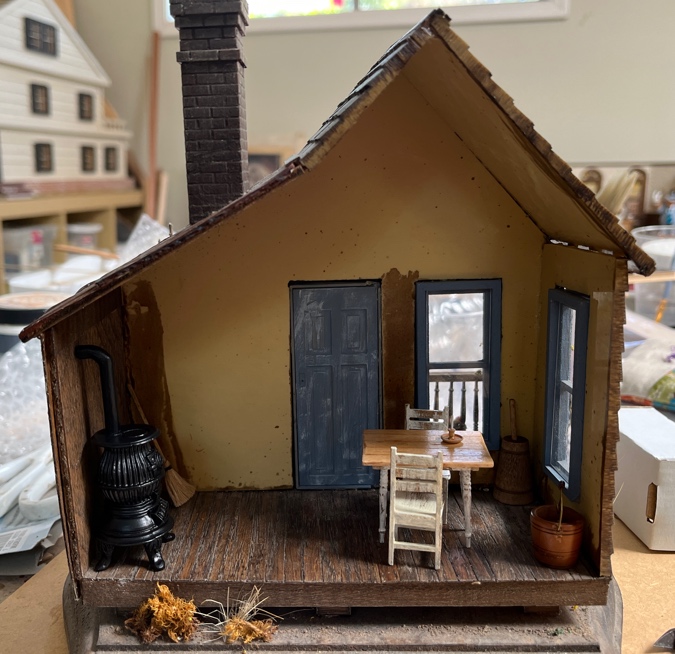
I bought this little half scale house a few weeks ago. From the base, the chimney, and the Grandt Line doors, I recognized it as a Bill Lankford design. The seller confirmed that she’d built it in one of his classes.
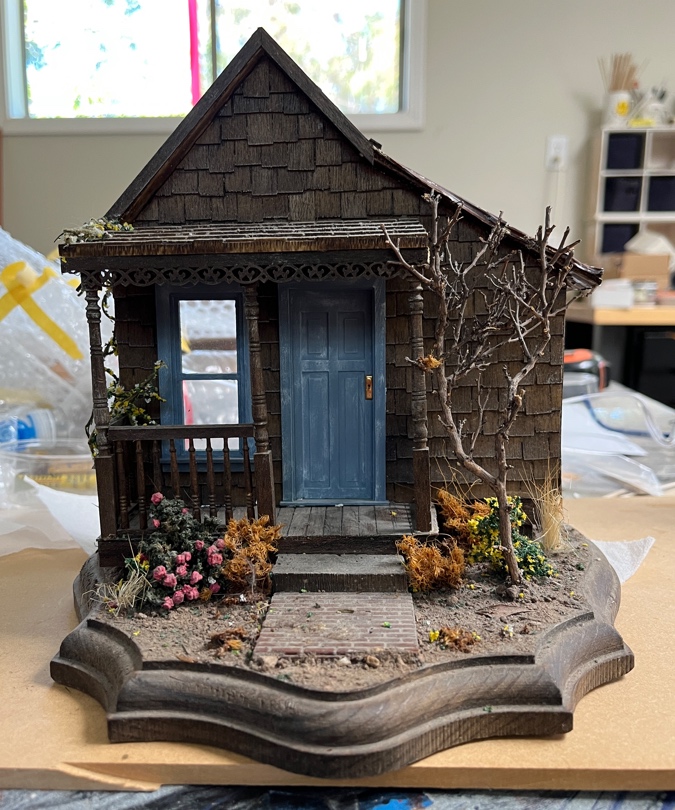
It’s a shallow house, just under three inches deep. It’s supposed to be a bookend.
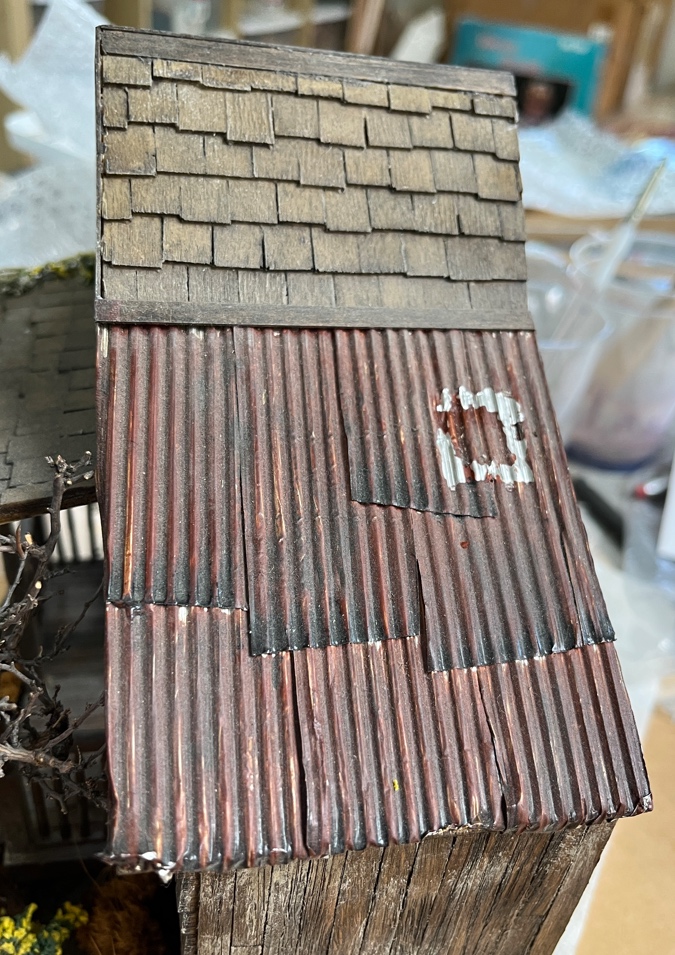
The roof is partially shingled and partially covered with corrugated metal that’s been painted. The chimney was loose when I unpacked it.
An easy fix with some super glue.

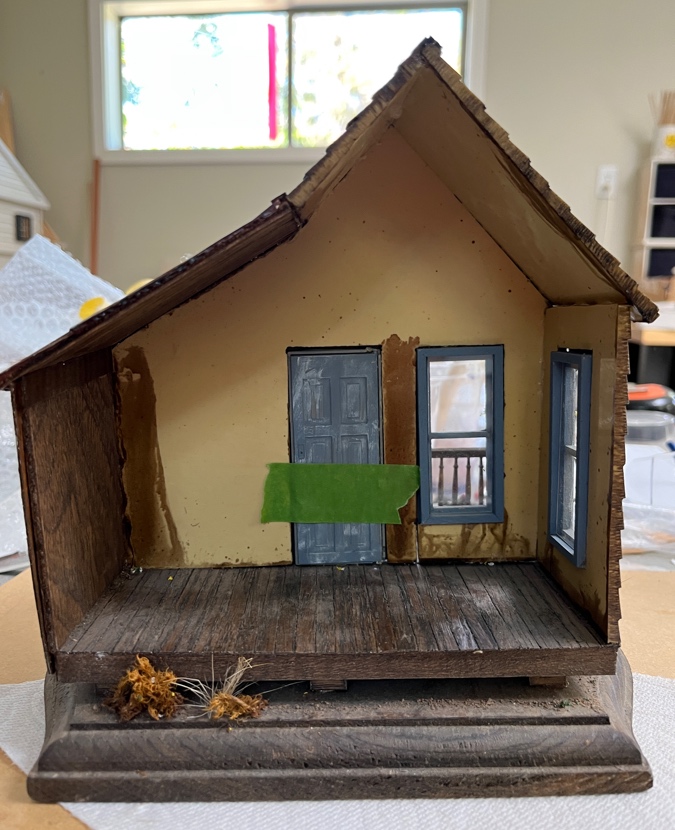
The roof is a little crooked on this side. I can’t tell if that happened in transit or if it was always like that.
I can push up on the corner to straighten it, but I can’t just add glue and make it stay this way. I have an idea for how to fix this, but I’ll keep you in suspense for now.
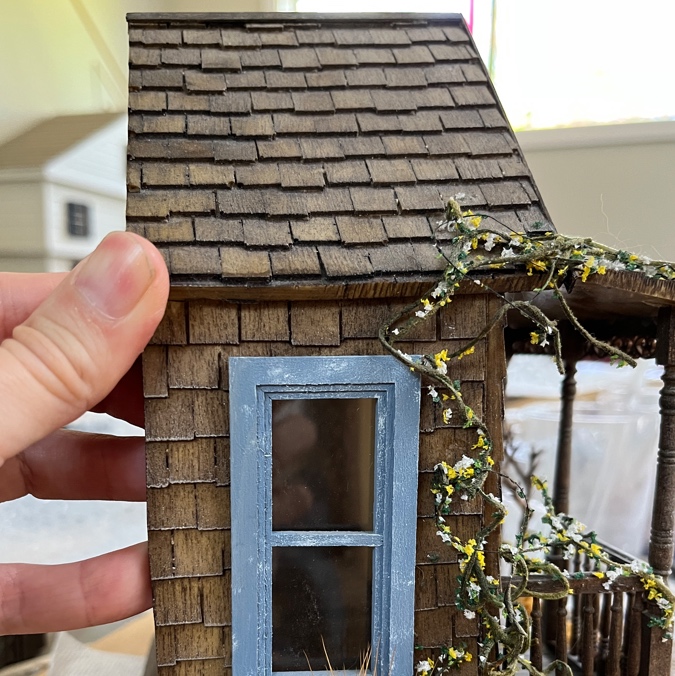
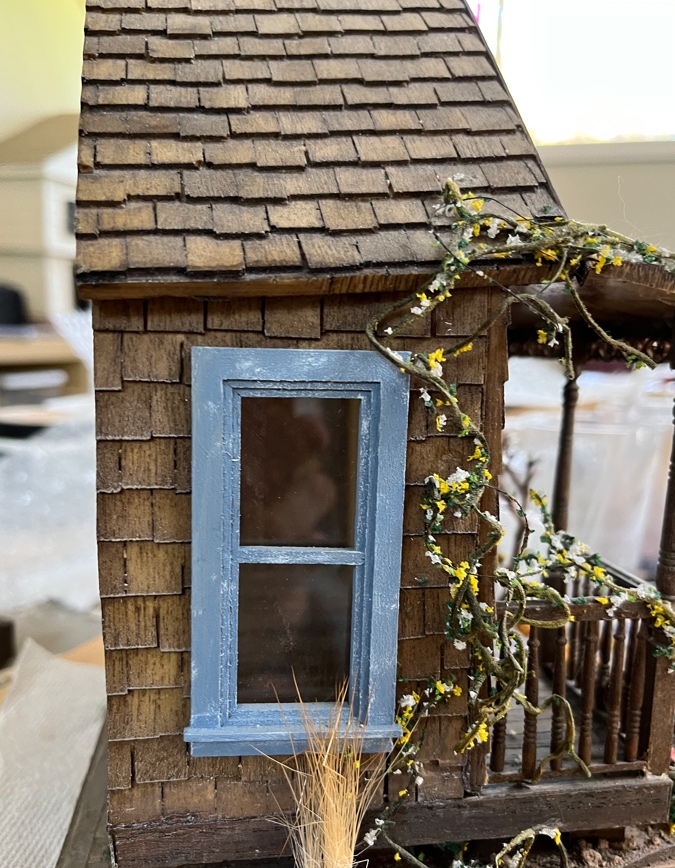
I’m not crazy about the blue door and window trim, but I fiddled with them a little and they don’t want to pop out, so they’re most likely staying. I also think the paneled door looks a little too fancy for this rundown house.
I’m not a big fan of Grandt Line doors in general — they’re thin, annoying to paint, and I don’t like the plastic pin hinges — but because I’m not a fan of them, I fortuitously have several stashed away that I removed from my other Bill Lankford houses.
Here’s another option:
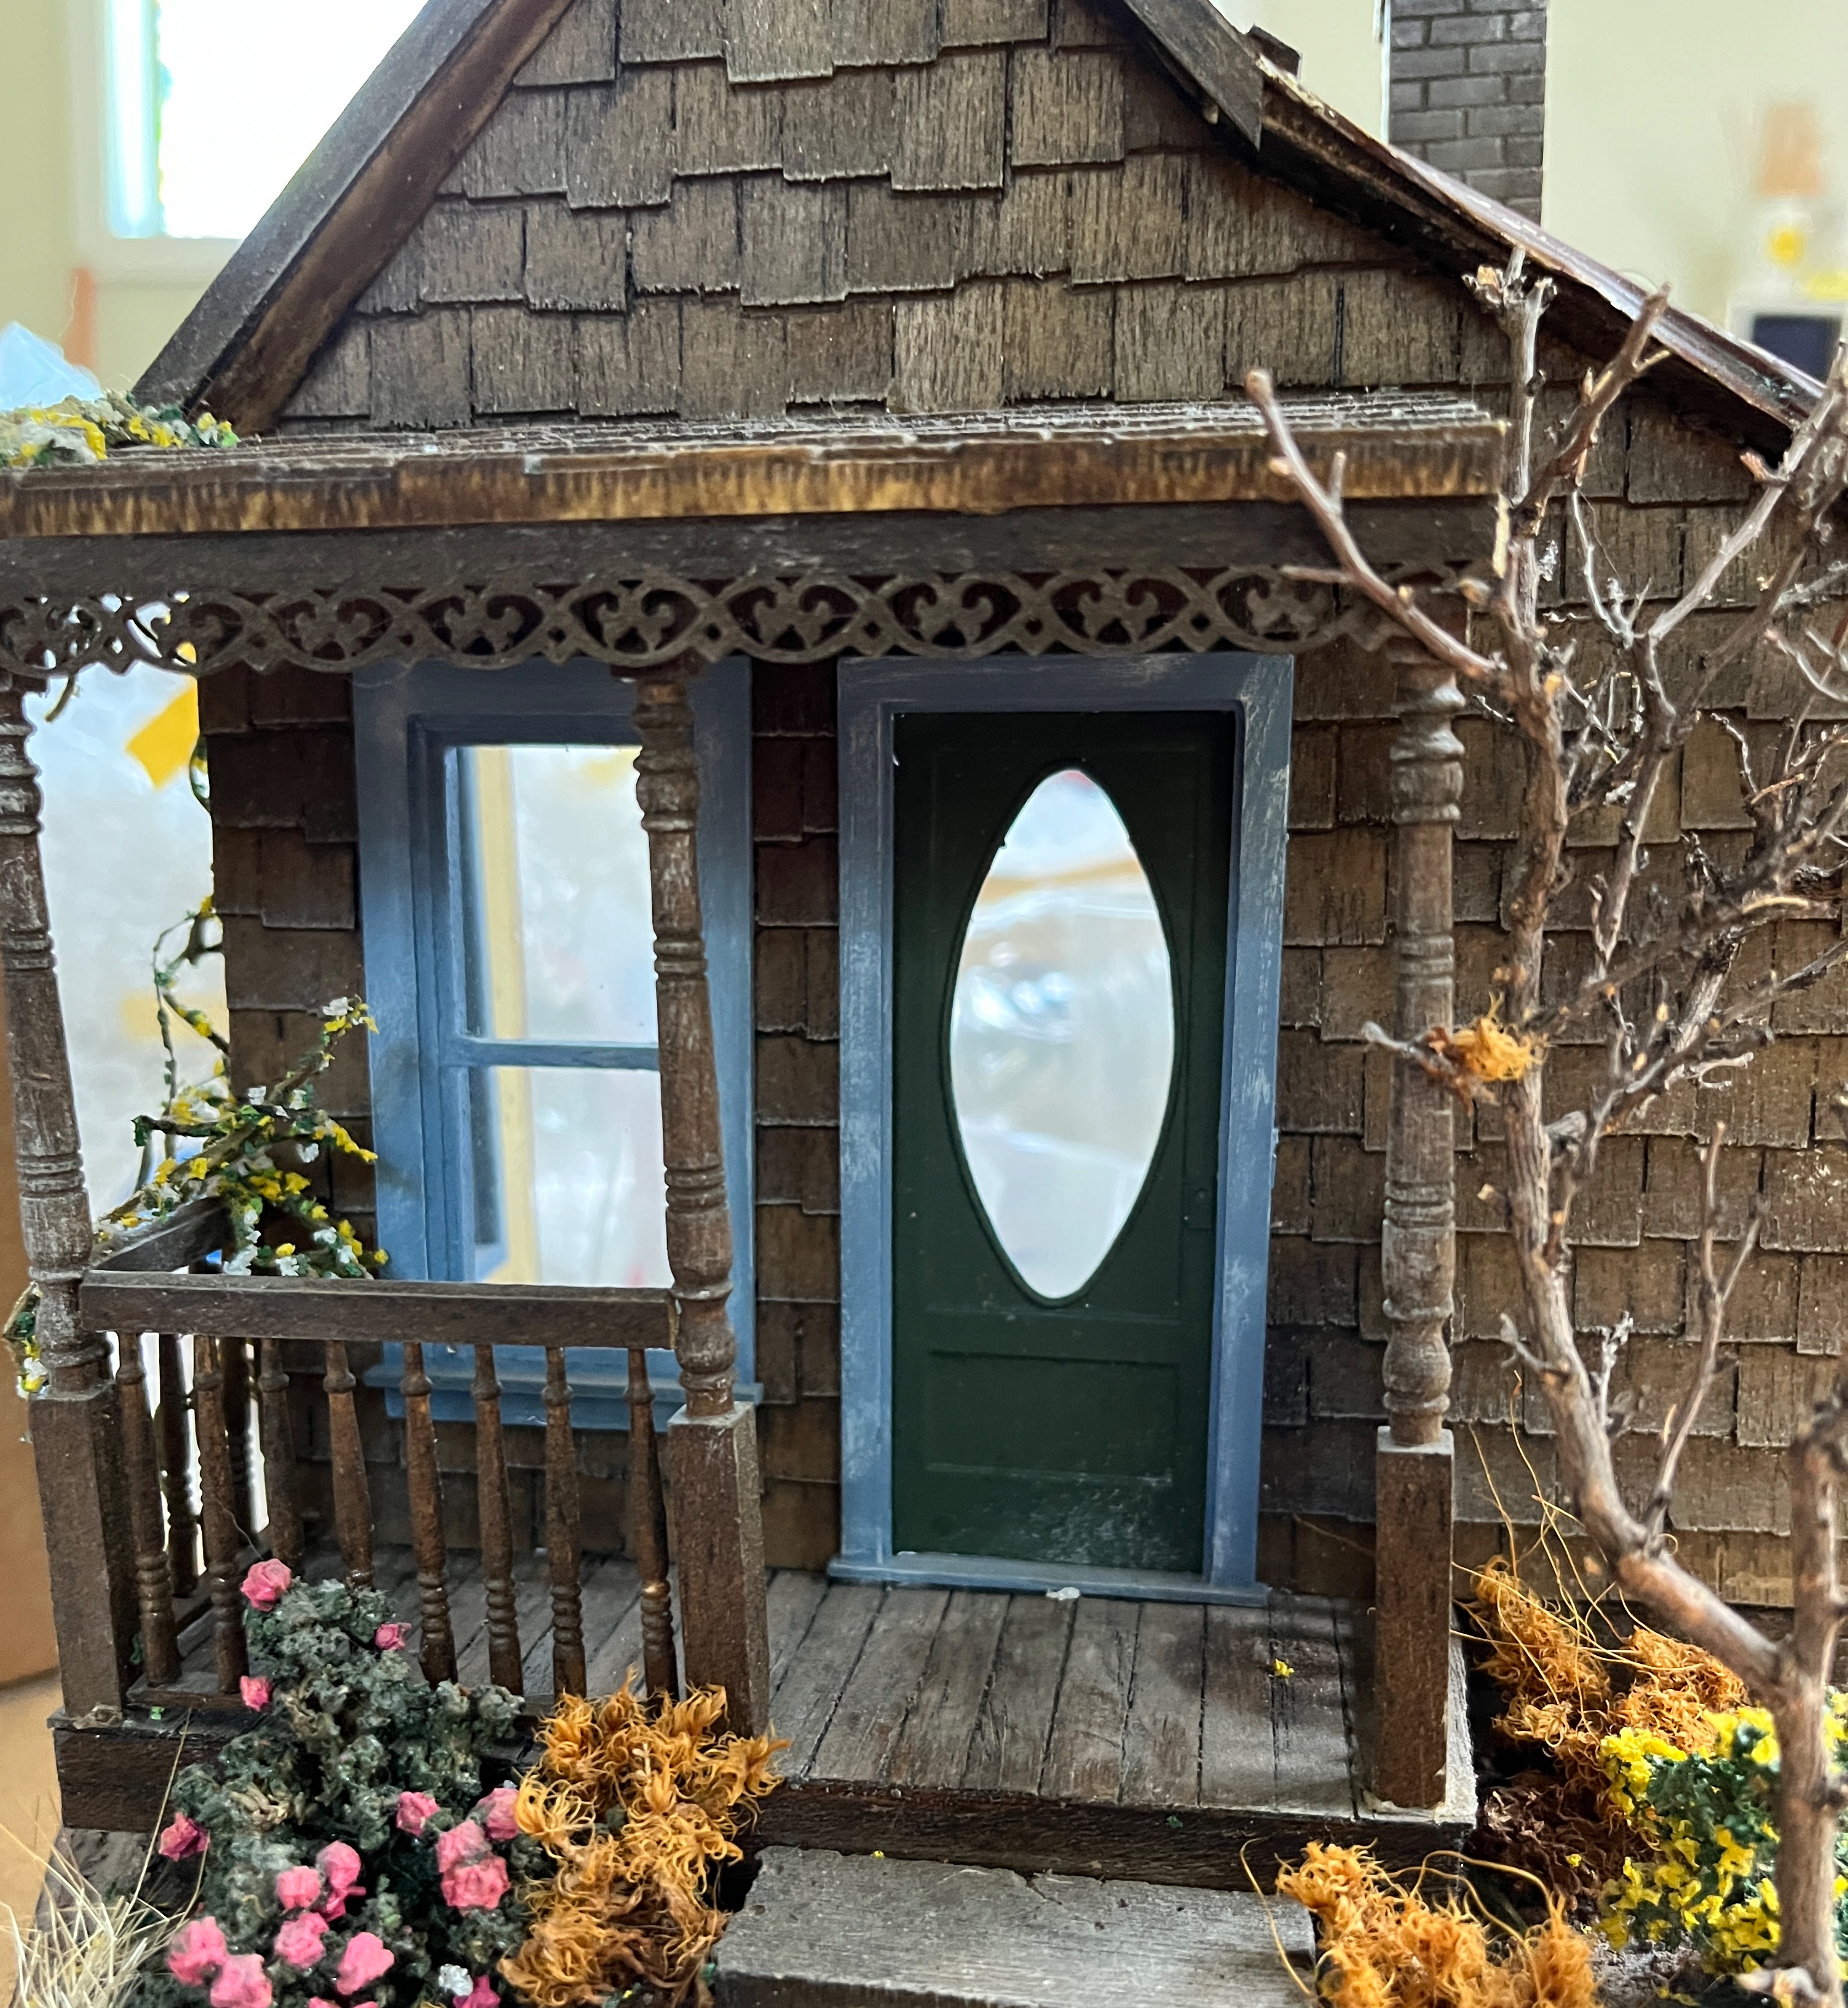
And one more:
Both of these also look too nice. Initially I preferred the one with the oval window, but now I’m waffling. I’ll table this decision for another day.
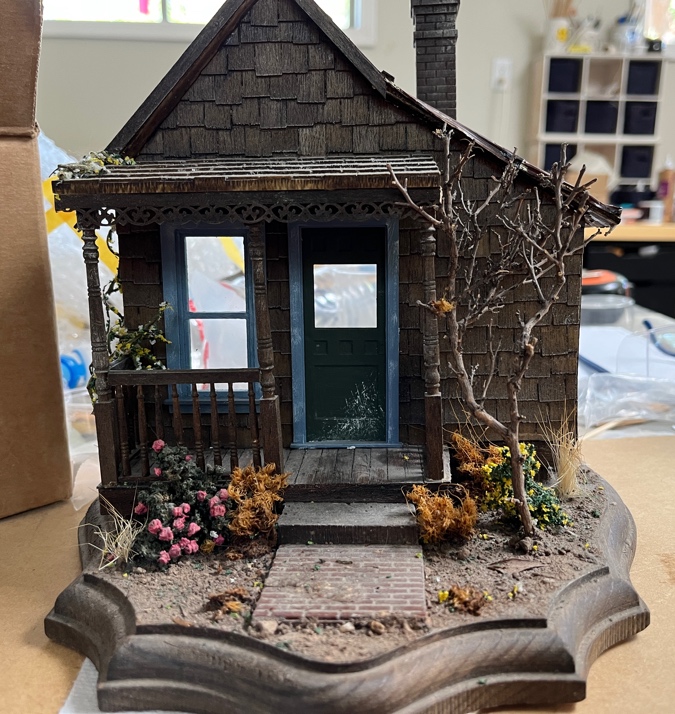
So, what to do with this little bookend house? I already have a log cabin that I based on Laura Ingalls Wilder’s Little House in the Big Woods. This one seems more like what those books would call a shanty, which Merriam-Webster defines as “a small crudely built dwelling or shelter usually of wood.” Sounds about right!
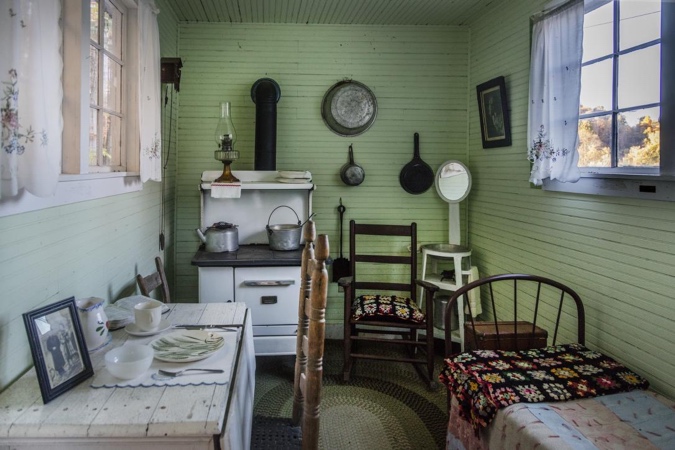
I did some googling and ended up on this picture of a reproduction miner’s shanty in West Virginia (image source). It doesn’t look much bigger than my little building.
I dug around in my stash to find appropriate furniture and accessories. The hutch is just for placement — I’ll put something there, but not that.
The distressed table and chairs are perfect. I bought these a few years ago thinking the table was scratch built and the chairs were from a kit. The table legs are 1:24 Houseworks spindles.
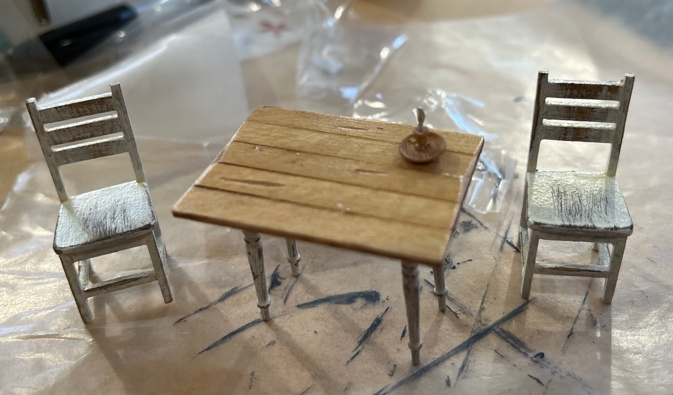
Coincidentally, I recently saw a half scale lot on eBay that had the exact same table and chairs, with the same distressed finish. And just now I noticed a very similar set on My Favorite Dollhouse, attributed to Taylor Jade. So maybe that’s who made these? They’re not signed.
Speaking of My Favorite Dollhouse, that’s where I bought a pot belly stove. This came as two pieces, the stove and the stovepipe. The stovetop had a hole in it and the pipe had a nub that fit snugly into the hole. Both pieces are resin.
I stuck the stovepipe into the hole, twisted slightly to straighten it, and… this happened.
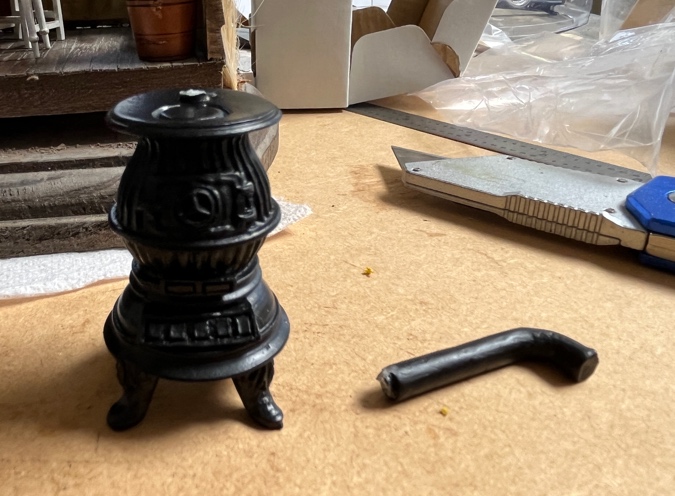
The nub was stuck inside the hole. I tried super gluing it back together, which more or less worked, but the stovepipe was still crooked. When I positioned it with the top of the pipe against the wall, the stove pointed to the left, making it hard to see the detail on the front. It wasn’t horrible, but it annoyed me.
I broke the pipe off again and used the disc sander to sand down the bottom and make it flat. I didn’t want to sand the stovetop and mess up the finish, so I used a blade to slice off as much of the protruding nub as I could. (Sorry for the blurry picture, my phone refused to focus on the stove.)
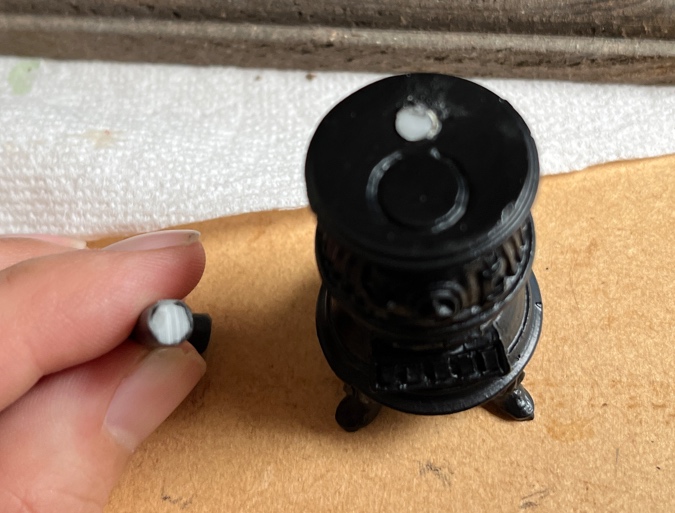
I tried again — very unsuccessfully — to glue on the pipe. My “flat” nub wasn’t flat enough and the pipe just wouldn’t stay put. After a few botched attempts (each one gunking up the pipe bottom and stovetop a bit more), I got out my micro drill and made a hole in the flattened nub. Into this, I inserted a cut piece of a pin.

Then I put the stove in the shanty against the wall, positioned the stovepipe over the stove where it needed to be, and pushed it down on the pin piece. This made a little indentation on the stovepipe that showed me where to make another hole.
I applied glue, positioned the stovepipe with the hole I’d drilled over the pin, and pressed it down into place. The pin held it in place well enough for the glue to dry.
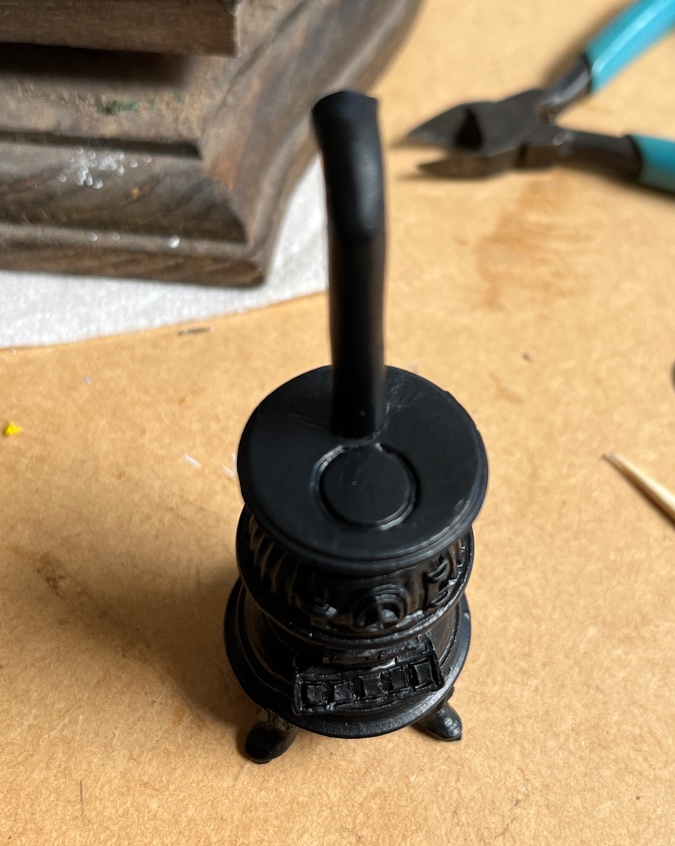
The last thing I did to this was touch up the stovetop and the newly glued seam with black paint. This covered up some scratches and glue schmutz resulting from my attempted fixes.
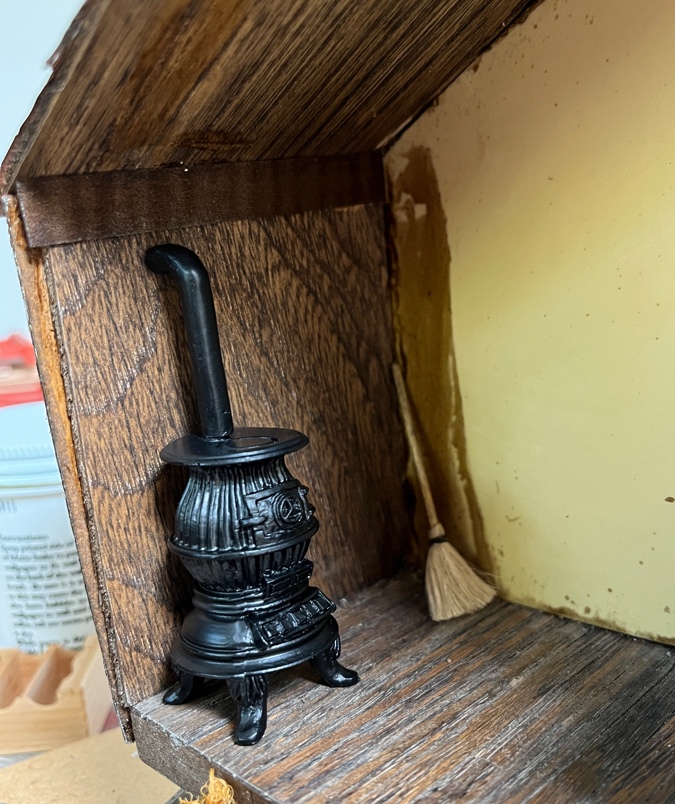
And there it is in the house. Not bad for something I broke less than a minute after I opened the package…
 Emily is a freelance writer, miniaturist, and adventure game enthusiast.


You’ve pretty much nailed it! May add a cot?
Maybe there would be room along the back wall if I moved the table into the corner under the windows. I can try it and see if it blocks off too much of the room.
You rock, Emily!!!!!!!!!!
Aww, thanks! :)
Very cute. Great job fixing the stove!
Thanks!
Yeah, but…
(family joke)
The stove pipe and the chimney don’t relate! (Too much detail???)
Dad
Yabbut?!
Yeah, I know. Let’s pretend they do.
That little stove is perfect, and very resourceful of you to repair it! It was fun to see this wonderful bookend house!