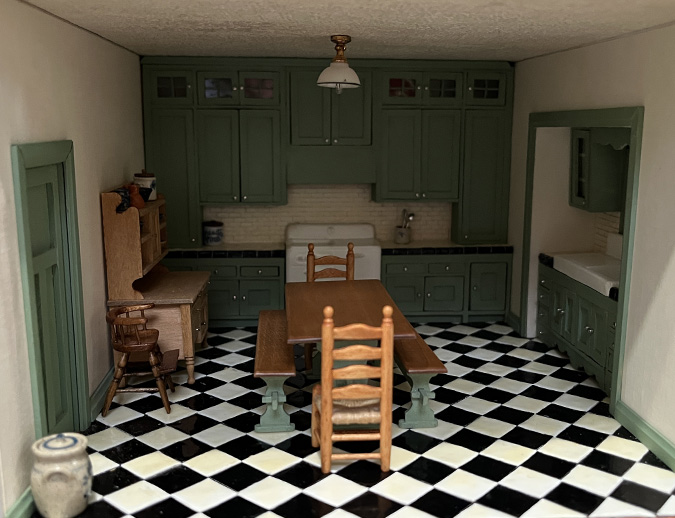
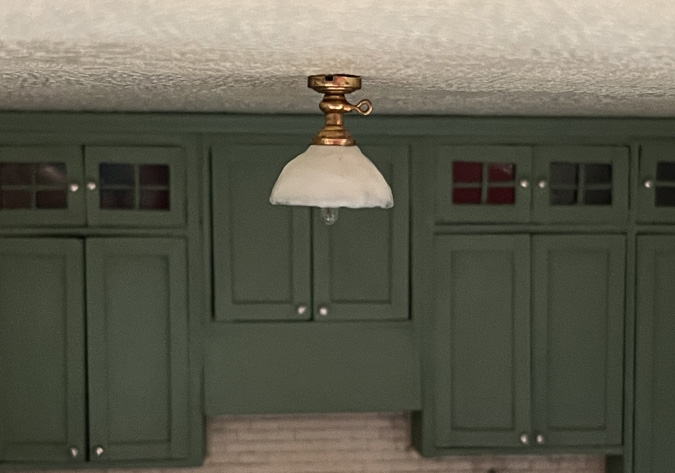
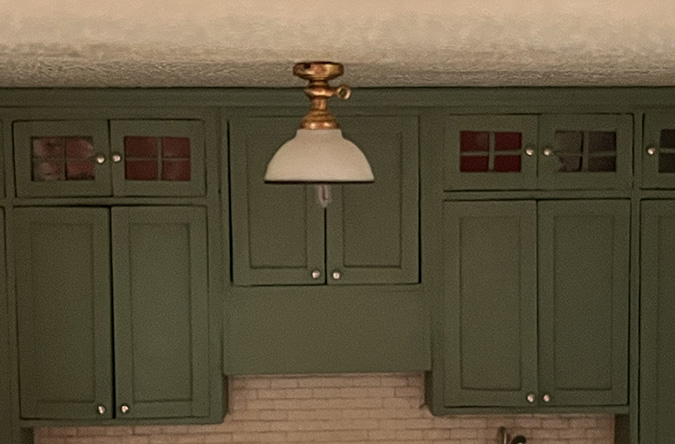
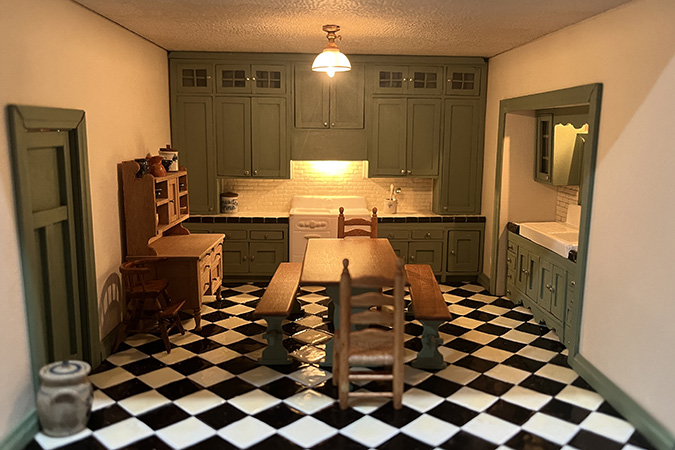
Before I move on to the Mansard Victorian’s nursery, here’s a quick post to show how I finished the electrical in the kitchen. There are three lights in here: a ceiling fixture, a bulb in the hood, and a bulb over the sink.
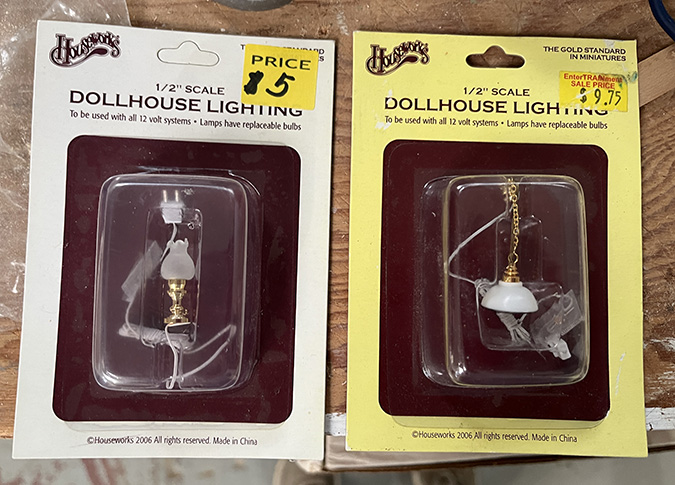
I made the ceiling fixture by combining the base of a table lamp and the shade of a hanging lamp. The ones in the picture below aren’t the ones I used — I had these pieces lying around after using the table lamp shade in the Queen Anne Rowhouse, and after the hanging lamp broke in the Gull Bay Cottage. (Proof, yet again, that nothing should be thrown away, ever… even if it’s broken!)
I painted the base with metallic paints to make it less shiny and more antique looking. If I took pictures at the time, I can’t find them now, but it’s the same paint I used to de-shine the bathroom light.
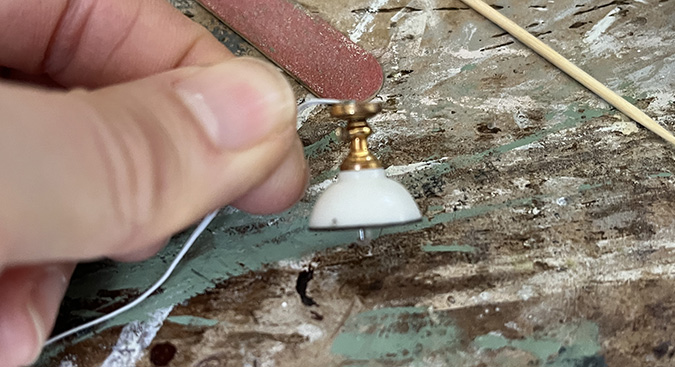
The shade had a little black dot on it that unfortunately faced front with the light positioned so you can see the little key sticking out of the base (which I wanted to be able to see). Also I wondered if I could make it look more like milk glass by painting it with white Gallery Glass paint.
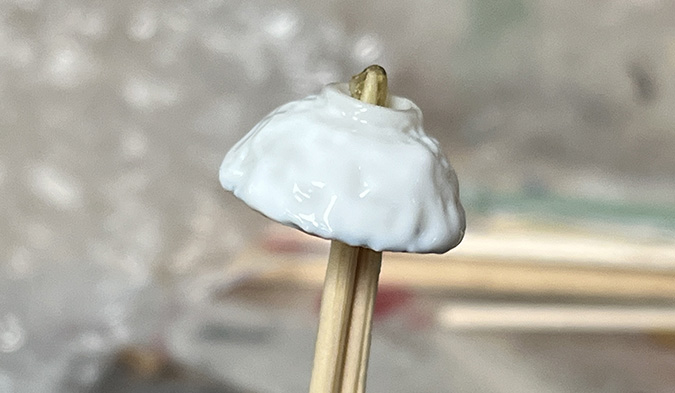
As it turns out: no, I could not. Wayyy too gloppy.
Fortuitously I’d recently purchased two more of these hanging lamps on eBay. Clear Gallery Glass might have worked better than the white, but I didn’t want to ruin another shade experimenting with it, so I coated the new one with gloss varnish instead.
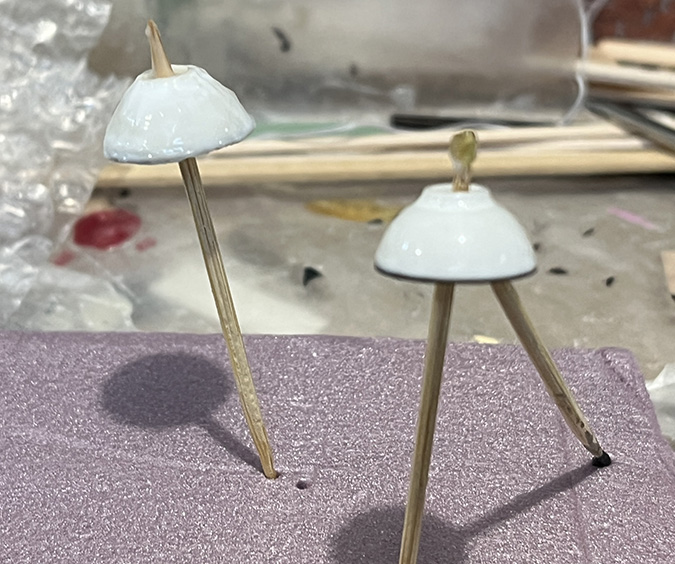
Here’s the gloppy one. Not great.
And here’s the gloss varnish version. It’s not very shiny, but it looks clean and doesn’t have that black dot on it, so I’ll take it.
(And no, of course I’m not going to throw the gloppy one away! What if I need it for something ten years from now?)
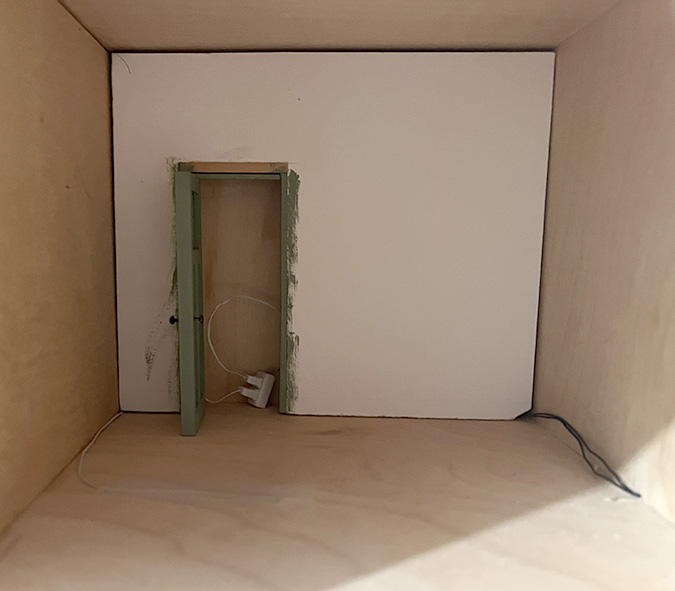
The wire for this light goes up into the nursery, where I will run it over to the wall and then hide it under the baseboard. The plug will be at the back of the room, behind a false wall. So the cord on this light is much longer than it needs to be.
When I was hooking up the ceiling light in the bathroom (made by Lighting Bug), I discovered the hard/frustrating way that the wires in those lights are too thick to play nicely with the little half scale plugs. For these I need to use shrink tubing to attach a plug that’s already connected to a wire.
Here’s another example of why throwing things away is bad: over the years I’ve snipped *many* plugs off of lights that I either hard wired or replaced with 1:12 plugs, and I tossed them thinking I’d never be able to use them. What a fool I was.
Anyway, I cut the long wire and put aside the piece attached to the plug, to use it elsewhere. Then I attached a new plug to the cut end. This is done by removing the metal posts with needle-nose pliers, stripping the wires, and then inserting the wires into the holes and pushing the posts back in.
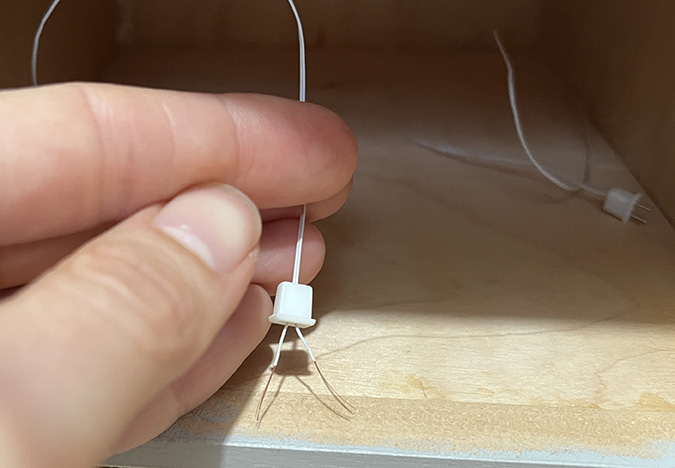
(For some reason I’ve never managed to do this with a plug that was removed from a light, possibly because little bits of wire or glue are stuck in the holes. That’s why I always threw them away.)
The fixtures in the hood and over the sink have thicker wires, so I used shrink tubing for these. The hood wire sticks out the back of the house, which is also where the power strip is located. Since this wire didn’t need to be very long, I attached a plug to a small piece of wire cut off from the ceiling fixture.
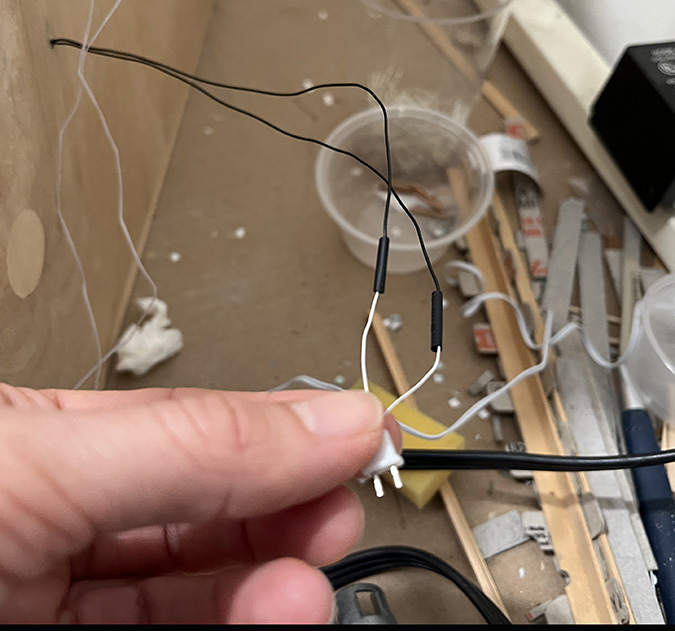
The wires for the sink light go up the exterior wall and then poke into the nursery. I attached these to the plug I’d cut off from the ceiling light, also with shrink tubing. So I was able to use the too-long wire on that ceiling light for all three of these fixtures.
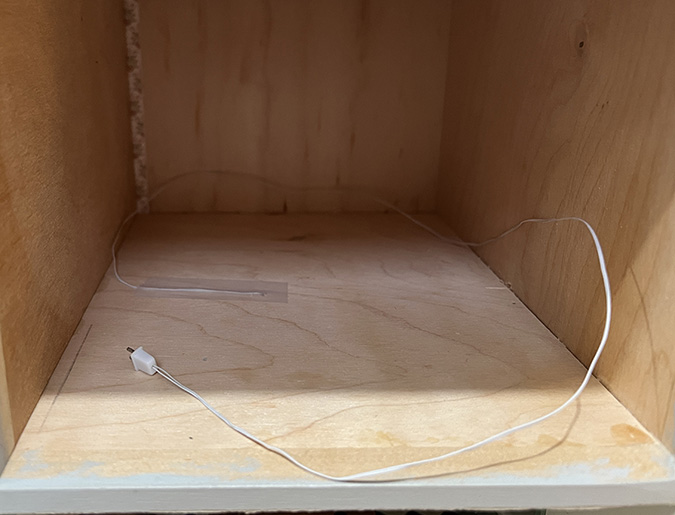
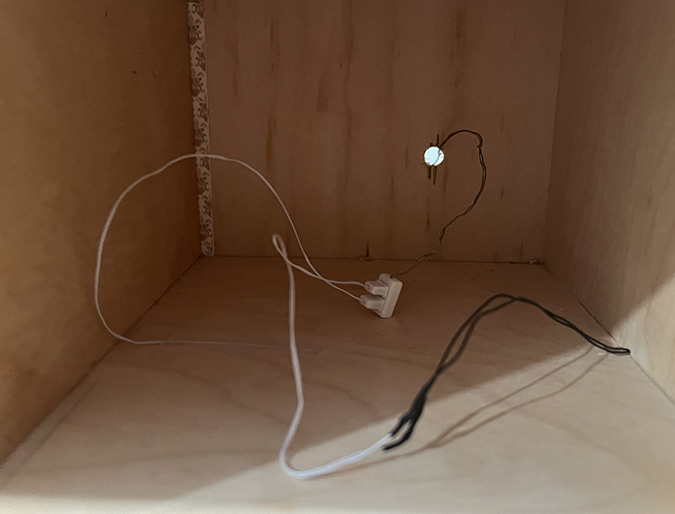
I drilled a hole in the back wall big enough for a plug to fit through, and inserted the outlet through that. The outlet is plugged into the power strip behind the house.
The reason for drilling such a big hole is so I wouldn’t have to remove and re-attach another plug… although, now that I know I can snip off an already-attached plug and reuse it with the thicker-wire fixtures, I realize that’s what I should have done. Oh well! Lesson learned for the next house.
The outlet (and the big hole) will be hidden behind the false wall, with the outlet accessible behind the door. I’m not planning to finish the area behind the door like I did in the bathroom, since it’s a shallower space.
Success! Yay!
 Emily is a freelance writer, miniaturist, and adventure game enthusiast.


The kitchen is lovely!!! Can’t wait to see the nursery.
I love your comment about not throwing away the gloppy one! Sounds familiar, lol. Kitchen looks great.
Really great work – looks wonderful!
Lighting always makes a room come to life…very nicely finished and lit kitchen. Looking forward to seeing what you do with the nursery! Glad to know I am not the only one that keeps ‘mistakes’ as they may someday come in for using in another project.
Another great room. Really like this one. Funny how even after years we all still learn new things… And how we all have to be packrats because…. you might need it one day!