Work has stalled on the Queen Anne Rowhouse lately. The electricity’s still driving me crazy as I slowly install the Houseworks lights that I bought to replace the Cir-Kit lights that broke my heart. Two weeks ago I got one into the attic but the second attic fixture was broken. Not sure what the problem was… it worked fine when I tested it, and then I removed the bulb to paint the fixture and when I went to put the bulb back I couldn’t get it in. There was something wrong with the holes that the two wires fit into, it was like they were blocked or squished or something so I couldn’t fit the bulb in as far as it needed to go. I broke the wires off two bulbs trying to cram them in and finally quit with the realization that any bulb I managed to shove in there would fall right out when I turned the light upside down to install it. So frustrating!
So, I put off electricity again and moved onto wallpaper—which turned out to be equally frustrating. This is going to be a modern house with some traditional Victorian decor. I see the owners as San Francisco yuppies who have spent a lot of money to restore their Victorian to its original glory. I’ve been playing around with sample images from Bradbury & Bradbury (which is theoretically where my San Francisco yuppies would buy their wallpaper!), trying to keep the color schemes basically the same within the house and consistent with the details on the outside of the house.
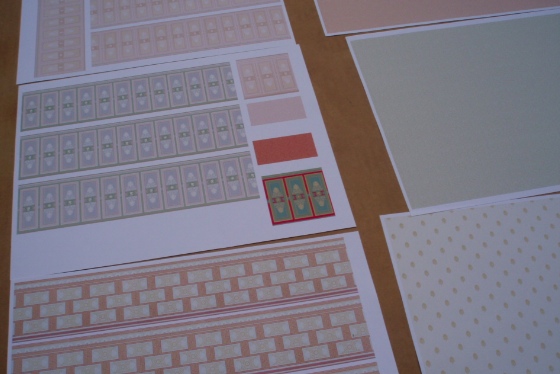
Here are some papers I printed out for the attic. After printing I spray them with matte sealer to protect them.
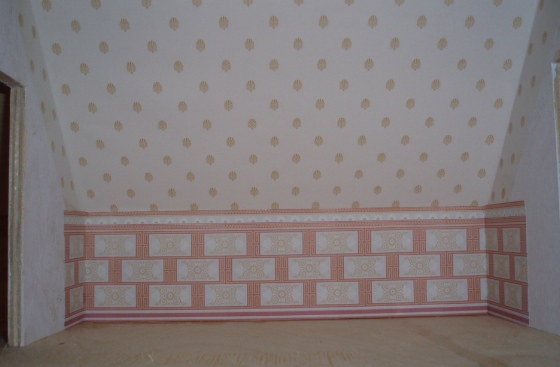
I started with the big attic room. My original plan was to use papers with muted greens throughout the house, to match the green trim outside. But in this room I plan to put a pool table (which has a bright green surface) and maybe also the rug I recently finished cross stitching, which also has bright colors. So I came up with this combination, which seemed to go better with those two items than everything else I tried.
Liking it, I moved onto the smaller room. I thought I’d really like this, but once I saw it in place I was not so thrilled with it. Also, I got glue on the paper, so I had to pull it out anyway.
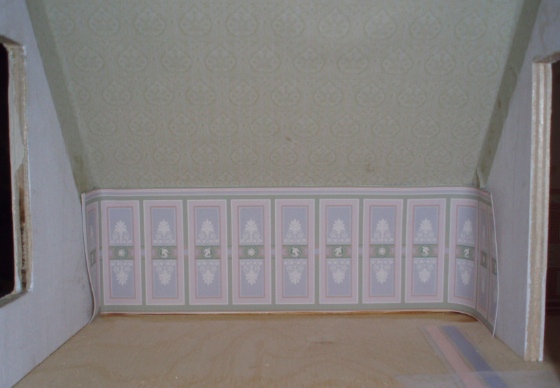
Here’s where the aforementioned frustration came in… I’m not sure what the problem was, maybe just a bad luck weekend, but I got glue on the paper REPEATEDLY. I tried doing the little room three or four different times before giving up. It’s not that the space is too tiny to get my hands into, I just kept making a mess. Might be that glue spots show up more on this printed paper than if I were using dollhouse wallpaper with a coating.
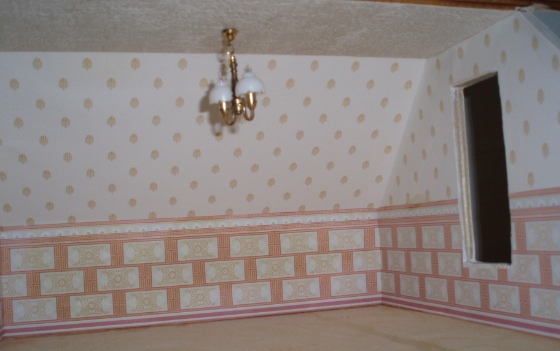
I did manage to get the second wall done on the larger room before my frustration got the better of me. (Had to do this one twice, too!) I haven’t done the third wall yet because there will be a wire coming in from the little room that’ll need to be covered up. Well, that was the original plan, but now that the ceiling fixture’s busted, maybe not. I can’t paper until I decide, though, so once again electricity stands in the way of progress. I wish I’d never decided to electrify this house.
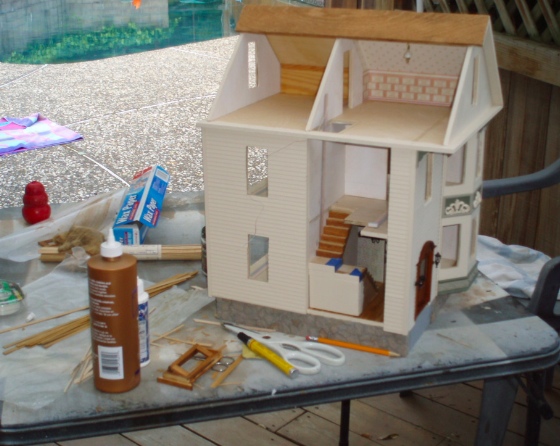
The messed up light fixture and repeated wallpaper failures were two weekends ago. Last weekend I didn’t even touch the house. This weekend we made up, but I decided to work on something else: hardwood floors.
I recently won an eBay auction for Little Wonders oak flooring strips. My first experience with this brand came when I got a package for $2 at Peg’s Dollhouses, a store that carries a lot of old stock. (I used them on my Rosedale and Little House cabin.) An eBay seller had five or six different types up for auction (mahogany, cherry, etc.) and I was hoping to get a few of them, but one auction after another went too rich for my blood in the last few minutes. These flooring strips are cool, but not $10-$15 cool! The oak was the last auction to close and miraculously no one bid against me – I won for $3.25 (plus $3 shipping). And the oak was the only type I really wanted, anyway. Karma!
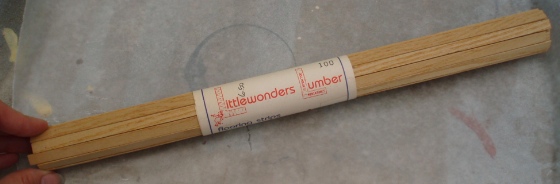
These are 1/4-inch wide, which equates to 6-inch floorboards in real life — a little bit big for half scale, but they’ll do. (In my own house, the newer floors have 2-inch planks, but the floors original to the house vary from 3 inches to 5 inches to 7 inches. Of course, my house was built in the 1960s… I don’t know what size a San Francisco Victorian built in the 1920s would have.) The package of flooring is supposed to cover 300 square inches, which will probably be enough for the whole house and then some. Unlike skinny sticks or coffee stirrers, they’re thin enough to cut with scissors.
I started by pulling just a handful out of the pack, sanding them, and staining with Minwax Golden Oak.
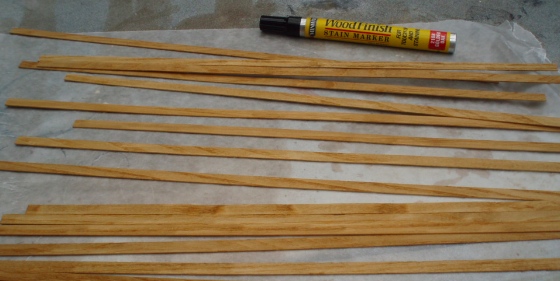
The weather was nice today, so I was doing all of this in my “outdoor workshop”!
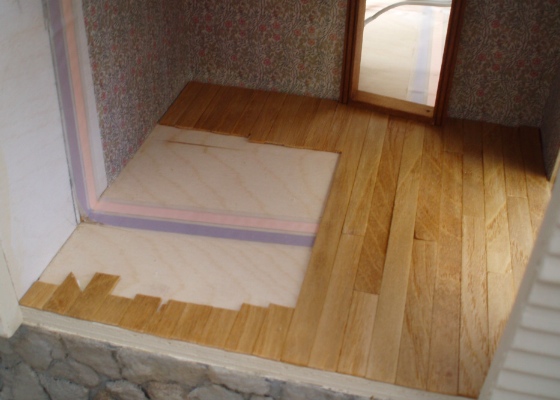
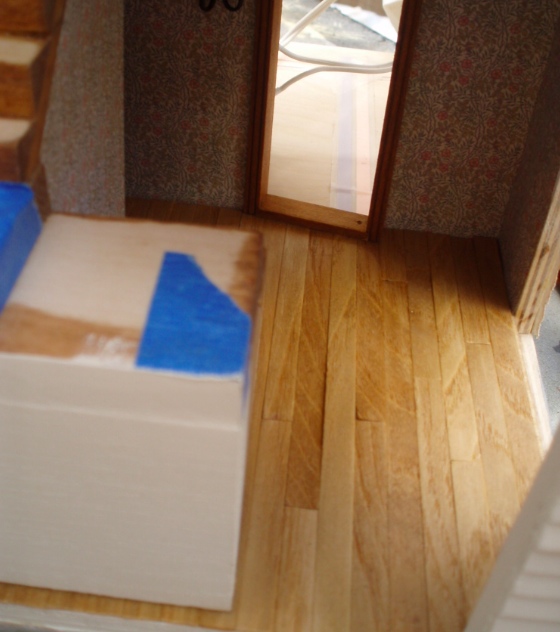
I planned to do something fancy in the entry, with a border framing the room and a smaller dark stripe inside of the border, but I was having a hard time making it work. In the interest of NOT giving up in frustration this time, I punted that and did the floors the regular way. I’m still planning to run wires through the floor in here, so I didn’t bother flooring the area under the stairs.
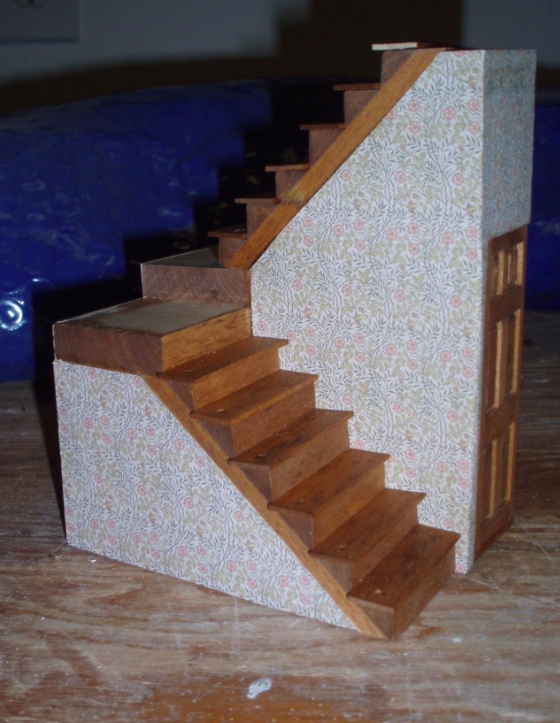
Here’s with the stairs in place. Initially the stairs were tight in the space and I tried cutting a floorboard to fit around them but that failed miserably. I ended up sanding off a smidge of the front stair wall so I could set the stairs on top of a floorboard.
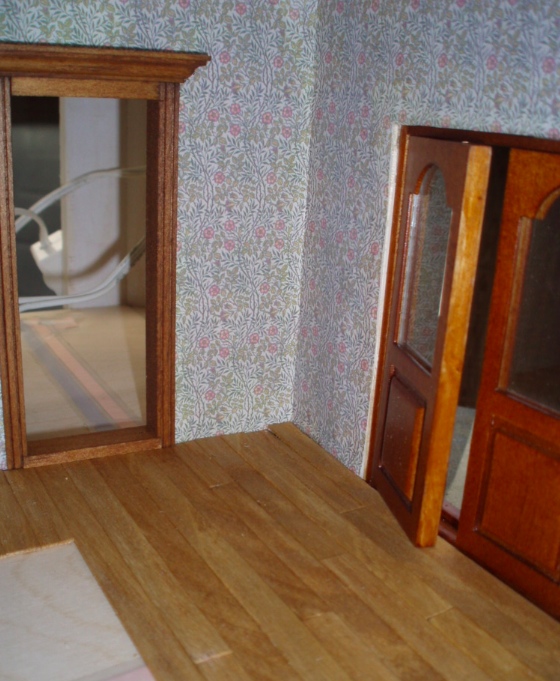
These flooring strips are pretty thin, so the door passes over them just fine. The coffee stirrers I would have used if I hadn’t won these would have required enlarging the door hole, which I wasn’t looking forward to…
There’s a bit of a hump in the middle of the floor. There’s a tape wire junction underneath and the brads stuck up enough that the floor wouldn’t glue down flat. I easily could have done something to level out the “subfloor’ or notch out the bottom of the floorboard to accommodate the brads, but I thought “How bad could it be?” Um, bad, apparently.
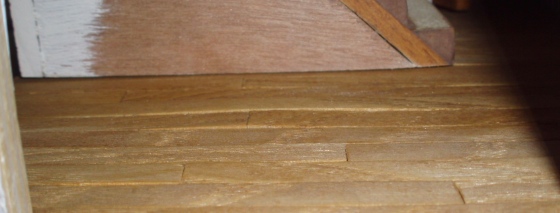
Hand sanding didn’t fix it so I might try to fit the Mouse sander in there to smooth it out. Or maybe that’s a disaster waiting to happen… maybe I should just put a rug over it instead!
Here’s what you can see of the little closet area. Doing the flooring before the stairs were glued in was definitely the right move, getting my hands in there would have been a nightmare otherwise!
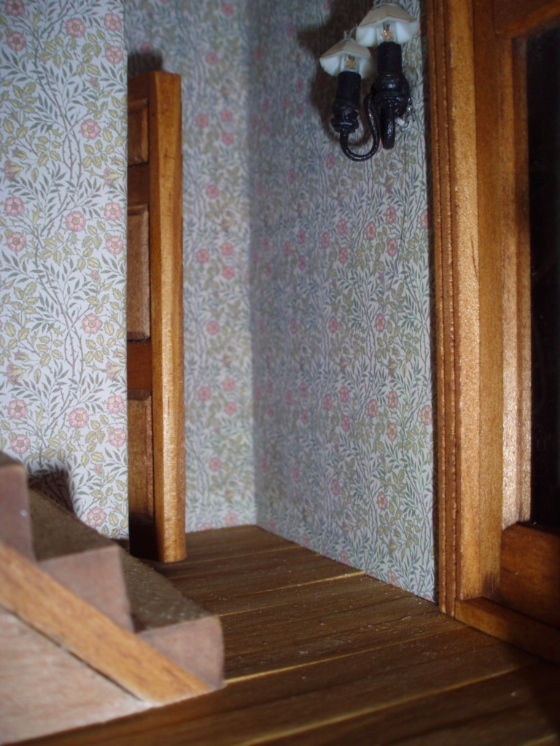
With the floor finished, I finished up the wallpaper on the front of the stairs (no glue mess this time, thankfully!) and added the risers. The top one needed to be sanded a little bit to fit inside the stair hole. I bought some wood to make risers for the landing steps but haven’t made them yet.
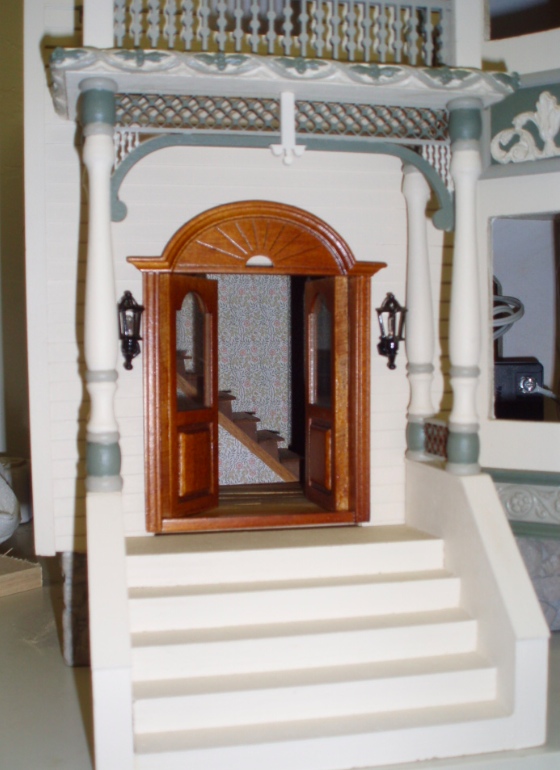
It’s really hard to get good pictures of this room, but here’s a glimpse through the front door…
 Emily is a freelance writer, miniaturist, and adventure game enthusiast.


Hi Em,
What you are calling risers are actually called treads. The risers are the vertical faces of the steps. Just letting you know in case any of your followers are confused. The work looks great.
Dad
Looks good with the flooring and the treads done.