This is kind of a boring topic but I feel like I skipped over a step in documenting my final days on the Rosedale. Over the last month or so I got in all the windows and added some trim below the wallpaper borders that I think makes a big difference. So, here are those pictures. You’ve been warned.
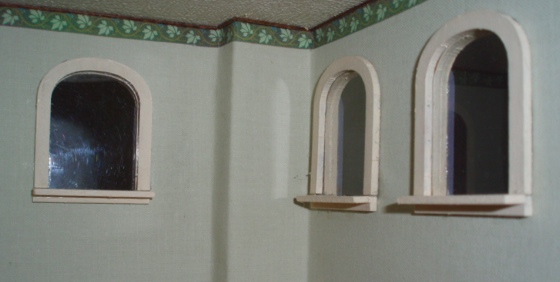
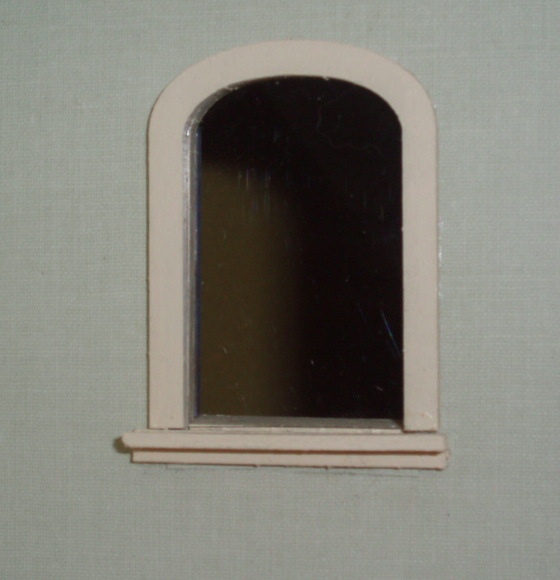
I don’t know what it is about this house… maybe after working on the Rowhouse with its Houseworks components I’m out of practice with the smaller, more delicate pieces of a Greenleaf laser cut kit… but I had a terrible time getting these windows in. First I had to cut out acetate and glue it to the frames without getting glue all over the windows, which is something I’ve never been good at. (I didn’t use the acetate that came with the kit because I wanted clear windows without the decorative design.) I added little pieces of strip wood below the sills, and it was easy enough to glue these pieces of wood together but for whatever reason, the window frames didn’t want to stick to the walls. With ceiling heights less than 5″ tall and no window hole to stick your hand through for leverage (because it’s now covered up with acetate), this was not an easy job.
When cutting the wallpaper for the 2nd story family room, I apparently got over zealous and cut too long of a hole on one of the windows. The sill didn’t entirely cover it so I patched this with a small piece of leftover wallpaper.
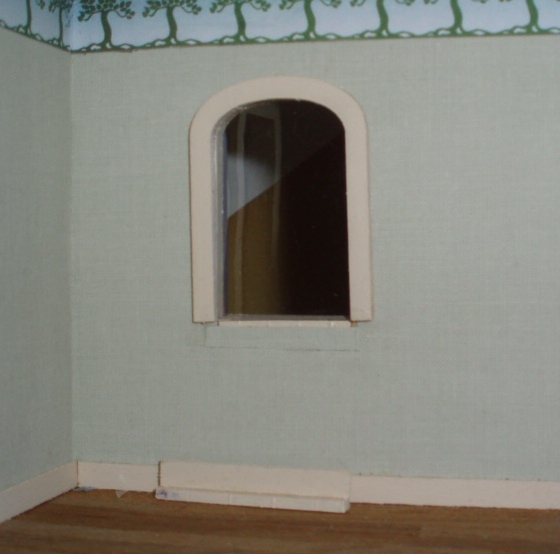
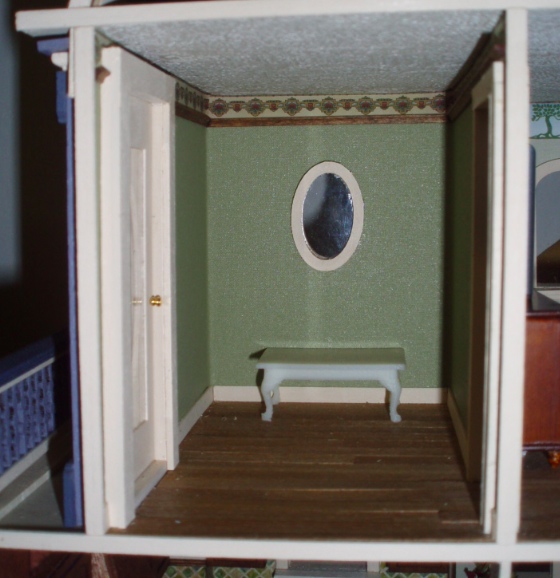
Here’s how it looks with the window sill up. You’d never notice it unless you knew to look for it, but it was driving me crazy at the time. Then I totally forgot about it until I saw these pictures, so mission accomplished I guess.
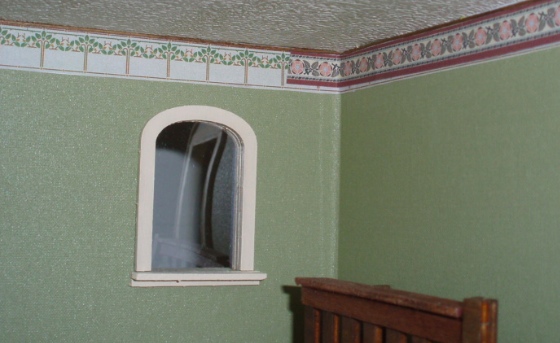
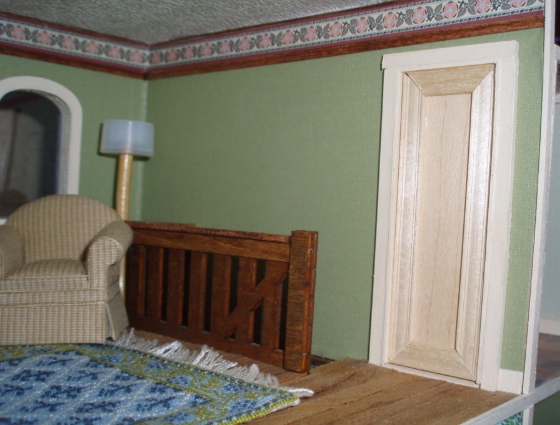
With the windows in, I turned my attention to the border in the master bedroom, which I’ve disliked ever since I put it up. I had some floral border left over from the Rosedale stairwell that went well color-wise with the green paper in the master bedroom, so I used that to cover up the border I didn’t like.
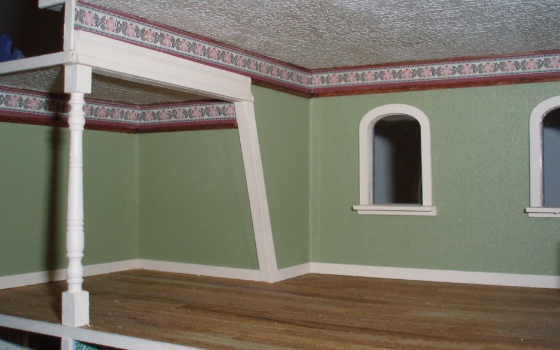
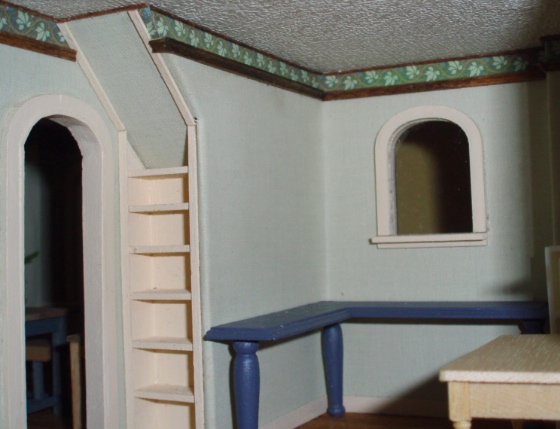
One of my reasons for doing this was so the trim over the opening to the alcove where the bed is would be less obviously crooked (which it is because the room isn’t square). I also didn’t like how the wallpaper borders ended abruptly and decided to add a small cove molding at the bottom. In the master bedroom, this covers up where the new border doesn’t entirely overlap the old one, and I think the transition from the alcove trim looks neater than it did before.
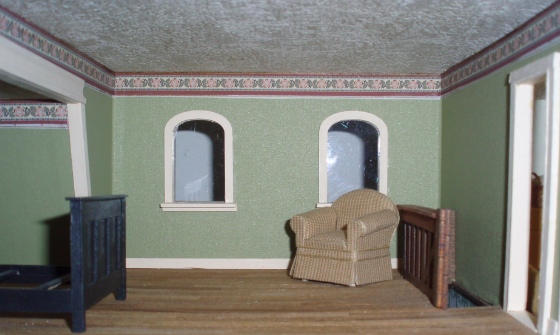
I added cove molding in the other rooms as well. (In this one, the window is a little crooked — oops — but I plan to build a Z scale “dollhouse for the dollhouse” to go on this table, and that should hide the crooked window nicely.)
The reason I put in wallpaper borders in the first place was that it seemed like an easier solution than crown molding in this house with so many funky corners. Well, I had to deal with the funky corners anyway when adding the cove molding. The hardest pieces to get in were the ones in the stairwell, but I managed. (Not without a lot of jaw clenching and swearing.)
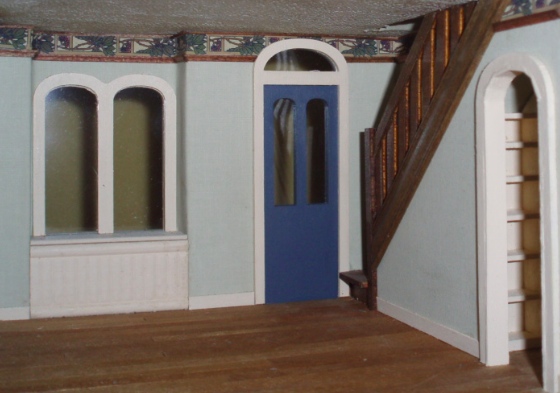
In the office, I still need to figure out something to do with that area above the shelving, which just looks funny. Some kind of decorative panel painted to match the trim, I’m thinking.
With the Rosedale pretty much done, I sorted through the remaining kit pieces and came across two doors that I’d labeled Bathroom Door A and Bathroom Door B. (There should have also been a door for the doorway that leads into the “dollhouse room” but it wasn’t there, and that’s fine because I didn’t want to add a door there, anyway. Not sure what happened to it, though…) Because I’d added trim to the insides of the doorways and especially because the third floor bathroom (which has morphed into a laundry room) is shorter than it was supposed to be in the original kit, I had to cut the doors down to size.
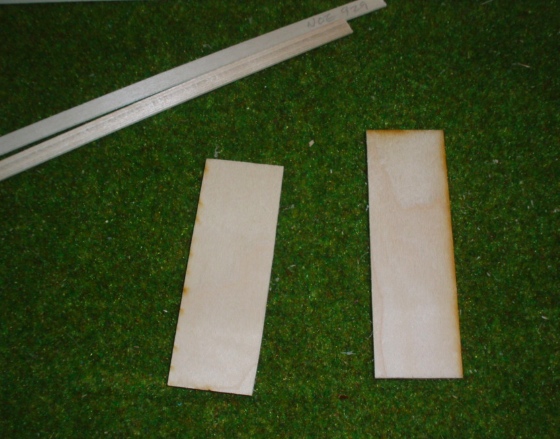
Here’s how they would look. Booooring.
I cut some window/door casing to dress up the doors. This is the same stuff I used for baseboards throughout the Queen Anne Rowhouse.
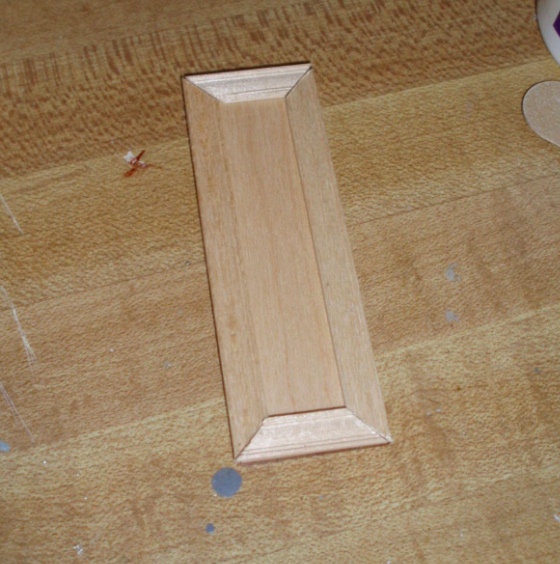
Much classier!
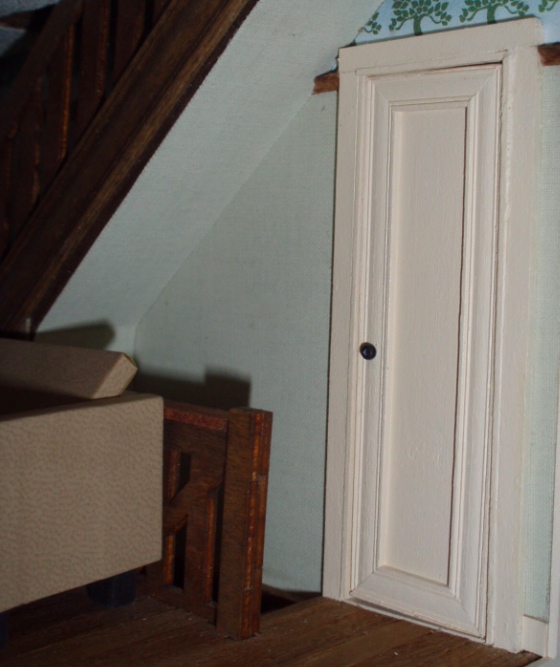
I painted the doors with two coats of Glidden Sandy Feet. Then I added doorknobs. I would have used regular Houseworks knobs, which stick into the door with a pin, but the doors are too thin to have two of those back to back, and gold hardware didn’t really work with my decor anyway. Instead I used black seed beads. In this photo the hole in the bead is super obvious but in person it’s pretty much obscured by shadow. I might add a dab of black paint to minimize it even more but not sure that’ll be necessary.

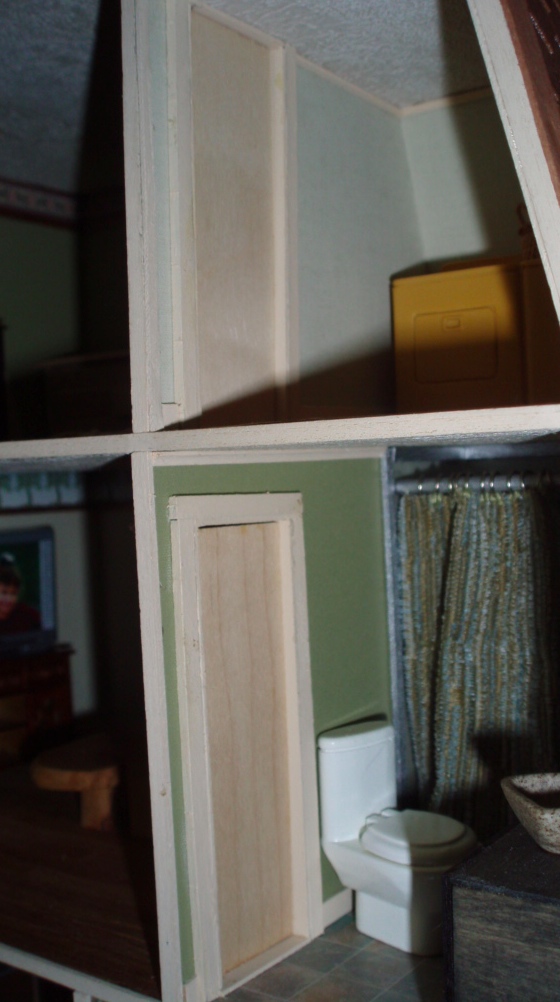
Voila. For now this is just sitting in place but I might glue it in permanently. (It leads into the bathroom and even mini people need their privacy!) I’ll probably glue the laundry room door in, too, but have that one be ajar.
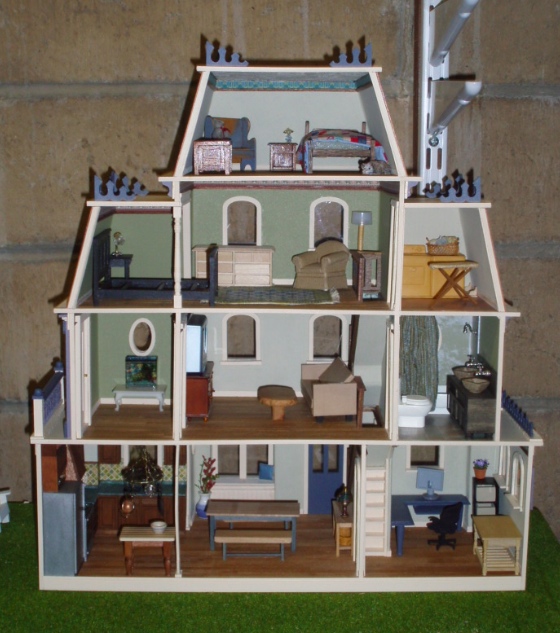
Not quite finished, but so close! Here’s a view of the overall house. I’ll take better room by room pictures as I finish decorating each of them.
 Emily is a freelance writer, miniaturist, and adventure game enthusiast.


Leave a Reply