With the book roombox’s wainscot finished, I moved to the upstairs. I didn’t like the clunkiness of the piece of wood anchoring the top of the staircase, so I used fan pieces to make a decorative cover for it.
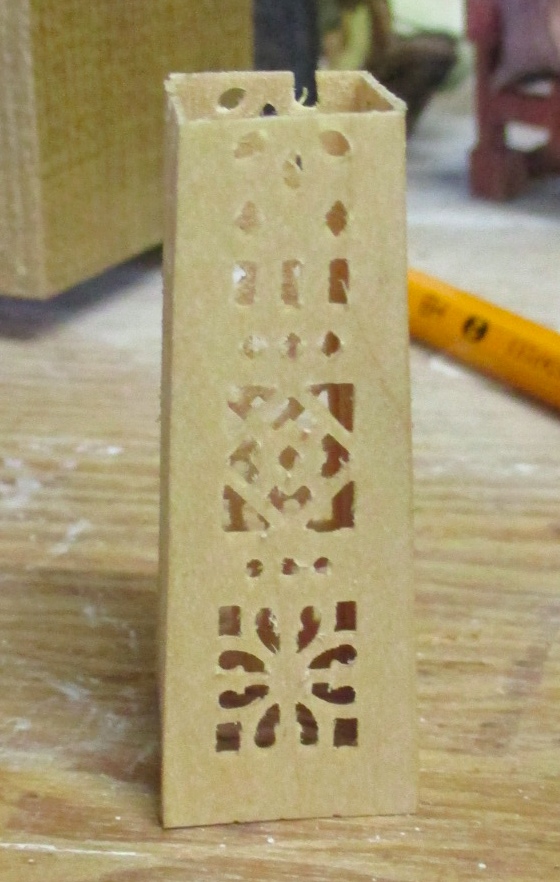
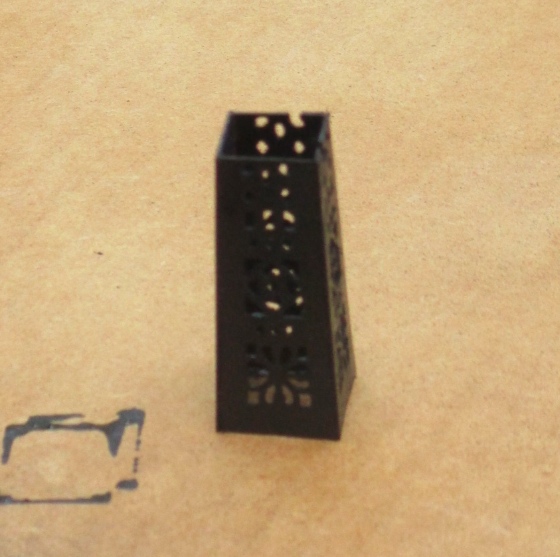
Sprayed this with semi-gloss black to match the stairs. Geoff wasn’t around so I did it myself this time, with uneven results. After the paint dried I ended up sanding it and repainting it by hand with my matte black acrylic paint.
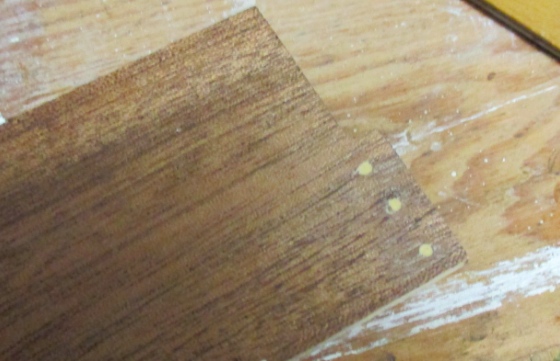
We’re getting close to the “putting it all together” stage. Since this floor is like a loft and it’s open on the left side, I thought about adding a railing to keep the little people from falling off. I used my micro drill to make three holes that would accommodate toothpick spindles.
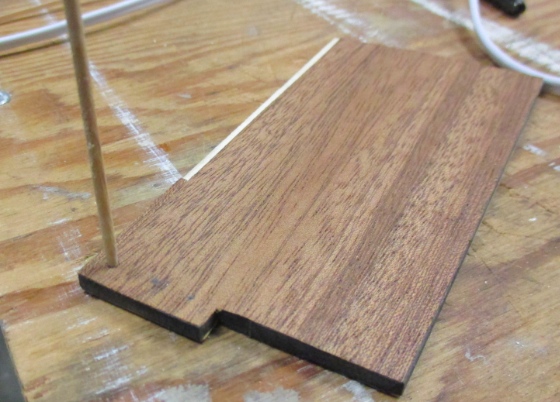
Here’s how that would have looked.
After I’d gone and made the holes, I realized that adding a railing there meant there wouldn’t be enough room for the resin pedestal I’d been planning to put to the side of the bookcase, and I really wanted to use that. So I filled the holes back in.
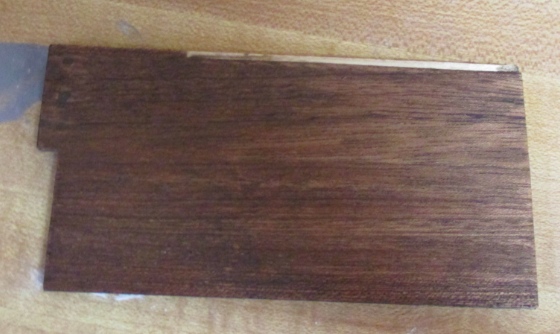
Wood filler was not the right way to do this. I tried staining the holes with a stain I thought would match the rest of the floor, but it only resulted in a dark space around the holes (the woodfiller itself didn’t “take” the stain at all) and then I had to stain the rest of the floor to match, making it darker.
After doing all this I remembered the trick my dad taught me for filling nail holes in stained wood with a wax stain pencil. I ended up doing this to fill the holes and it looks better now, but I still have a darker floor. I stained the bottom floor to match it, but if I had a rewind button I’d go back to those lighter floors. Oh well.
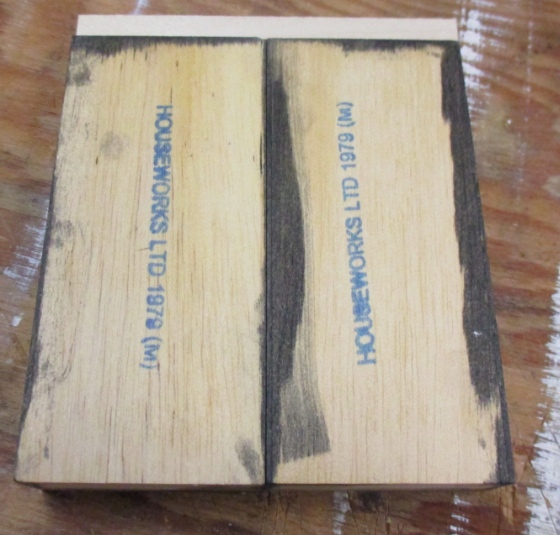
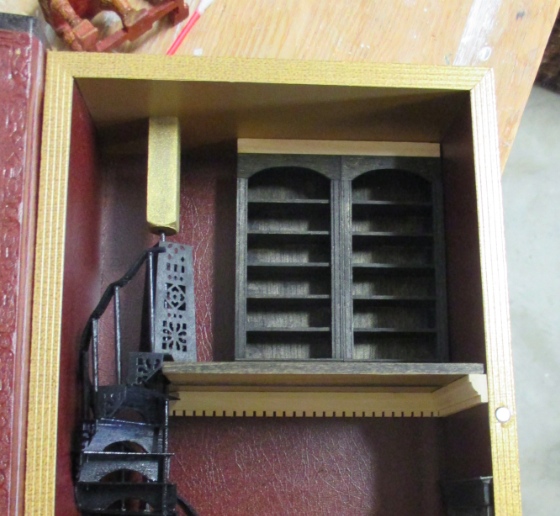
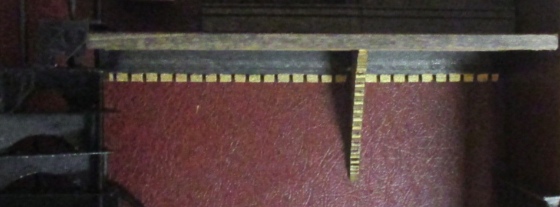
Anyway. Next I added a spacer to the top of the bookcases so they would go all the way up to the ceiling. This will make it easier to attach crown molding, and also to make sure the floor gets glued in exactly right.
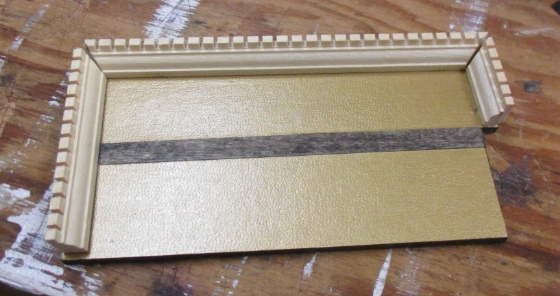
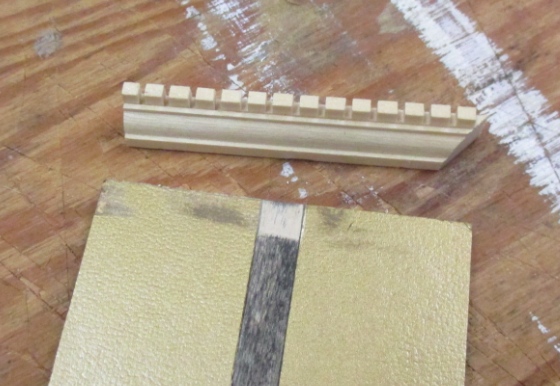
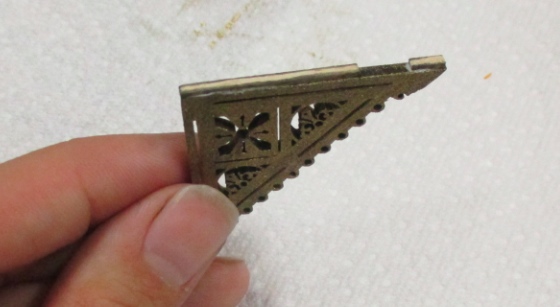
I wanted molding that would cover up the spacer completely. The stuff I used in the Gull Bay would have worked, but I only had a little piece left and the dollhouse store was all out. I ended up getting slightly larger dentil molding, which I’ve never used before. It has to be cut carefully or the “teeth” at the corners fall out. (I guess that’s why it’s called dentil molding…?)
On the edge of the first floor ceiling, I sanded down the “beam” with an emery board so the molding would sit flush. This made a little mess to the left and right of the beam, but no worries, that will also be covered up.
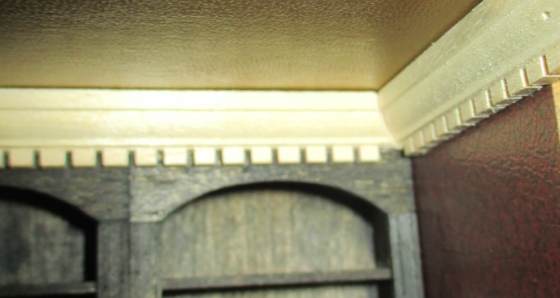
The molding is 1:12 and a bit large for my 1:24 setting, but it’s visually interesting and gives the room a grand feel.
Here’s an example of what it looks like when you lose a tooth. Luckily I had enough extra that I was able to cut a new piece to fix this.
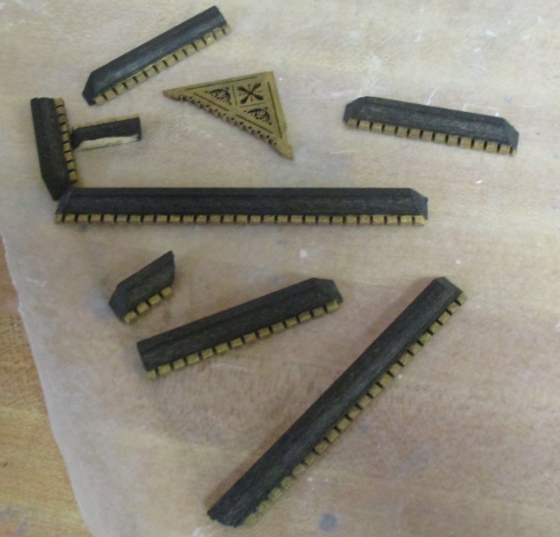
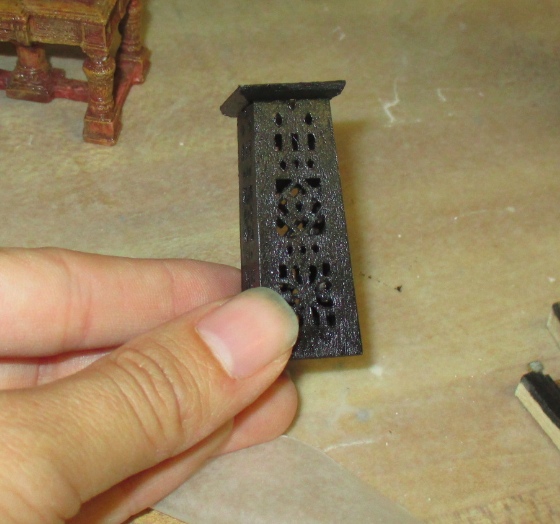
I stained the crown molding with Minwax ebony, then painted the teeth gold for a little extra bling. I also stained and then painted a bracket to go under the loft ceiling. This is actually 1/2″ apex trim that I got on eBay a while ago with no immediate use for it. The cutouts are reminiscent of the other parts made from fan pieces.
Since the fake beam keeps the ceiling from being flat, I added strip wood to the top of the bracket around where the beam will be.
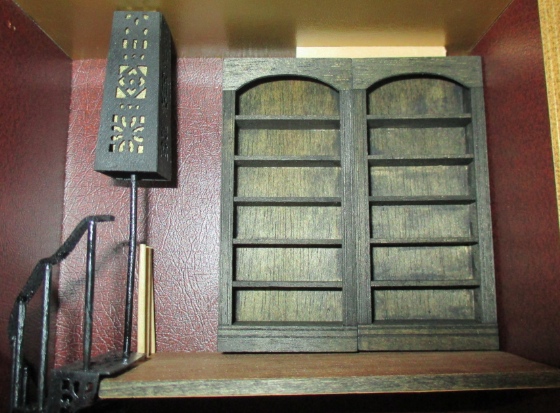
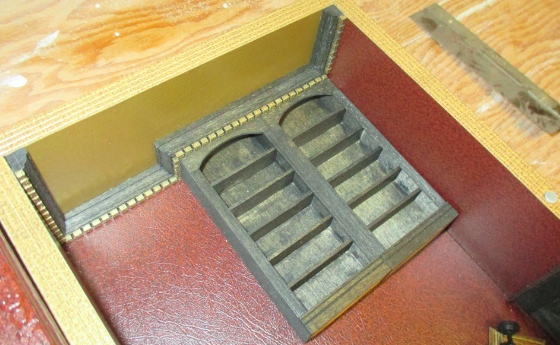
Here’s how the crown molding looks upstairs, around the bookcase.
And downstairs, with the bracket.
Now I just had to finish the covering for the top of the stair post, and I could glue everything in. Since the top of my decorative covering was a little crooked and needed more surface area to be glued to the ceiling, framed the top part with quarter round.

This is a bad picture, but the basic idea here is that I painted the quarter round black, and then covered the whole thing with a coat of gloss varnish. That stuff doesn’t work too well but it’s sort of, kind of glossy now.
Now, finally, the remaining pieces could be glued in! I did the upstairs crown molding first, then the stairs, then the loft ceiling, and finally the downstairs crown molding. The loft ceiling is glued to the bottom of the bookshelves, with the crown molding helping to hold it in straight. If I had just glued the narrow edges of the ceiling piece to the sides of the box, I don’t think it would have worked too well.
Here’s the finished, empty roombox.
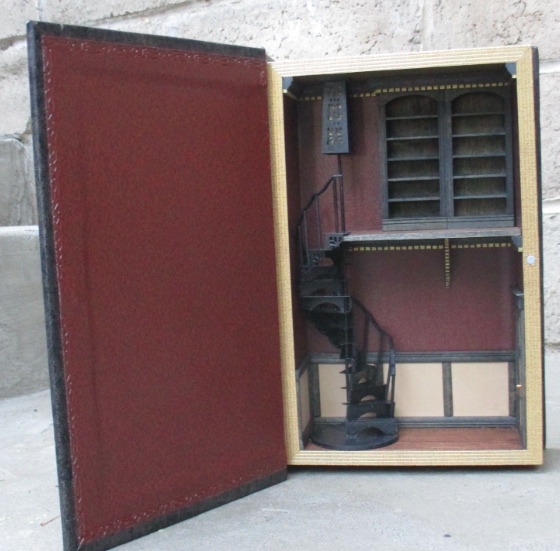
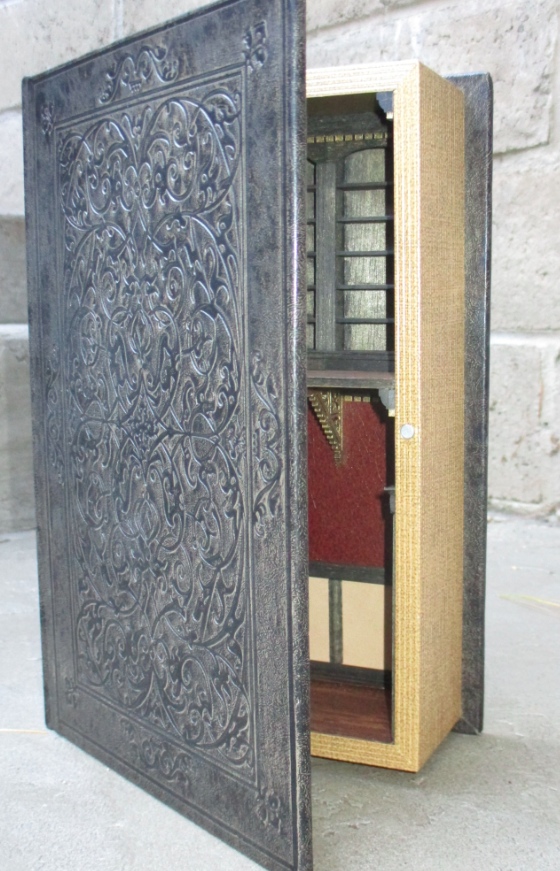
A peek inside with the cover almost closed. I love the embossing on the cover! Too bad, when the roombox is open, you don’t really see it.
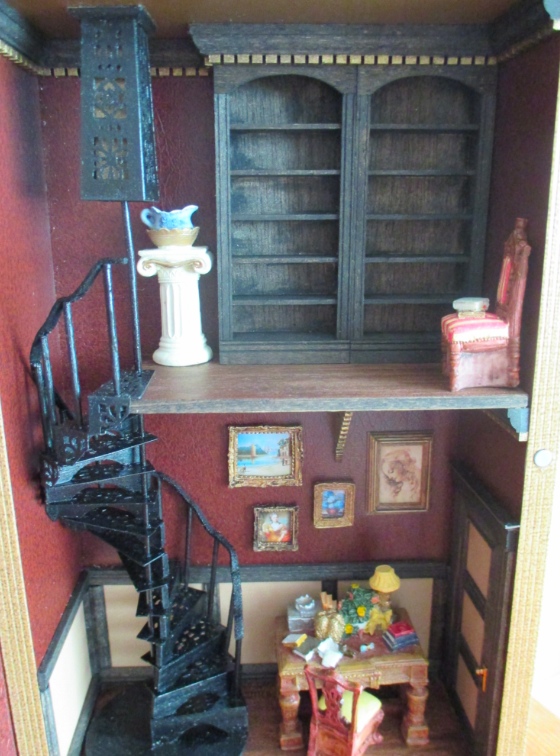
And here it is filled up. This is all resin Popular Imports furniture. Obviously I still need to make books for the shelves (lots and lots of books…) The fancy art on the wall came from last year’s half scale Yahoo group swap.
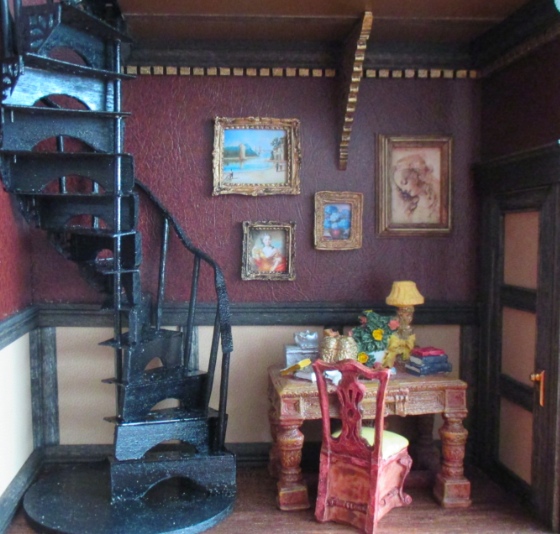
And one last gratuitous close-up. The table seems a bit big now that I put that door in there… even if the door opens outward, there wouldn’t be much space to get around the desk and into the room. But hey, this is a room inside a book — realism doesn’t apply!
 Emily is a freelance writer, miniaturist, and adventure game enthusiast.


Leave a Reply