I’ve been messing around with my Victorianna dry fit to figure out where holes need to be cut before I start gluing anything. While doing this I discovered that the Victorianna is twice as deep as its 1:12 cousin, the McKinley. (Actually, it’s roughly the same depth, but since the Victorianna is half scale, the depth would need to be halved for it to be consistent with the McKinley.) No wonder the dry fit looks so much bigger than I envisioned.
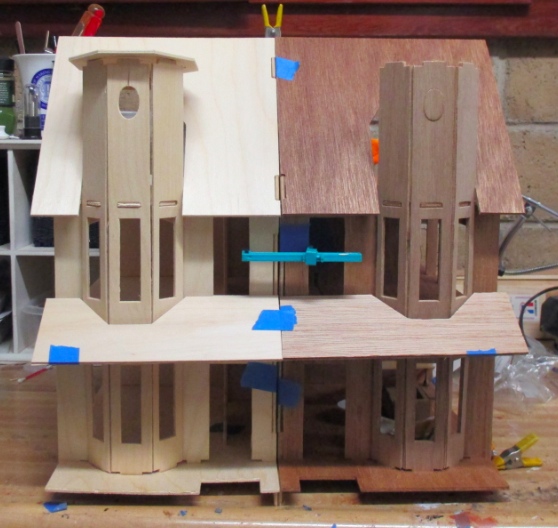
This isn’t a terrible thing, because the McKinley has fairly shallow rooms that can be hard to arrange furniture in. But it means that the room I was planning to use for the bathroom is pretty huge, so I started thinking about what I could do to use up some of that extra space.
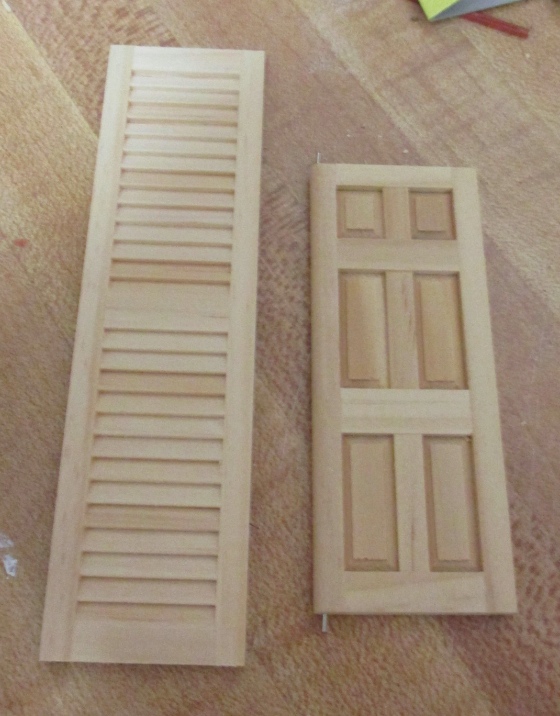
I have an Acme washer and dryer lying around, and got the idea to build a closet into the back of the bathroom to with the washer and dryer inside. I used half scale shutters to make pantry doors in the Fairfield, but they wouldn’t be wide enough to accommodate both the washer and dryer. Plus, I wanted more modern looking doors, with bigger slats.
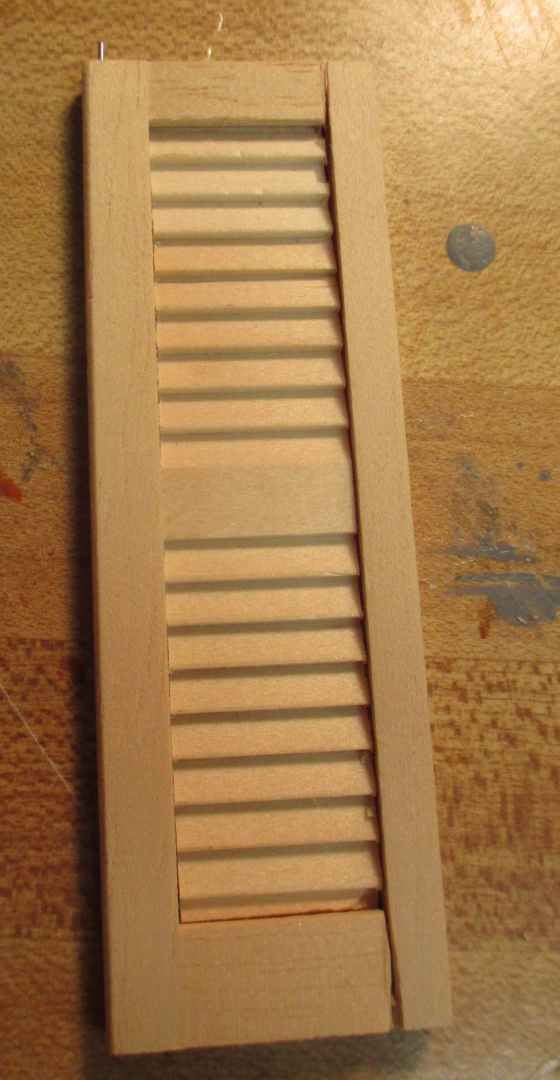
Unfortunately, even the small Houseworks shutters are about two inches too tall.
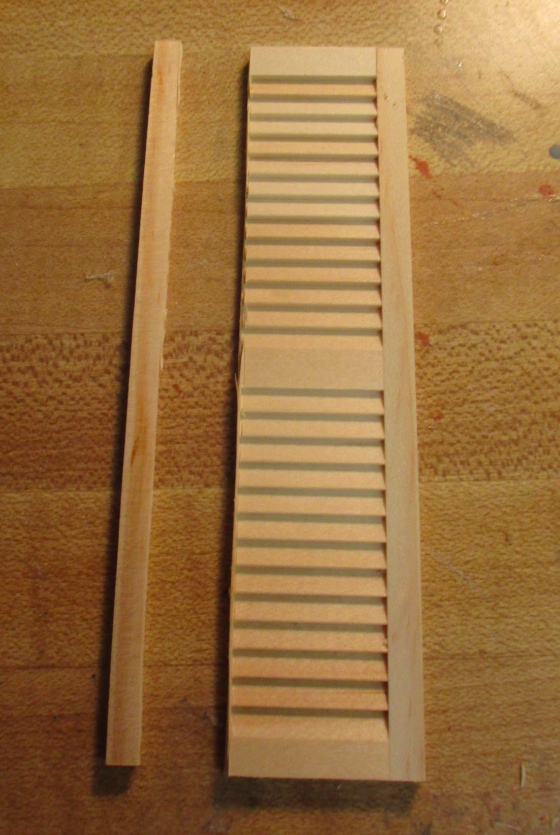
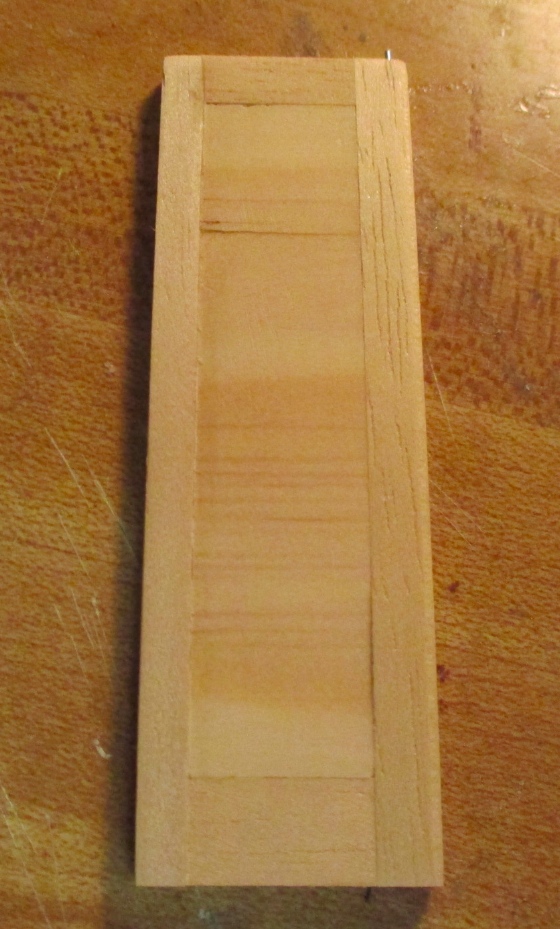
Here’s how the shutter compares to a half scale door.
I spent an hour or so searching online for smaller shutters before it occurred to me that I could cut them down and fit them into the frames of a half scale French door. Added bonus: this way I don’t have to build my own door frame and deal with hinges.

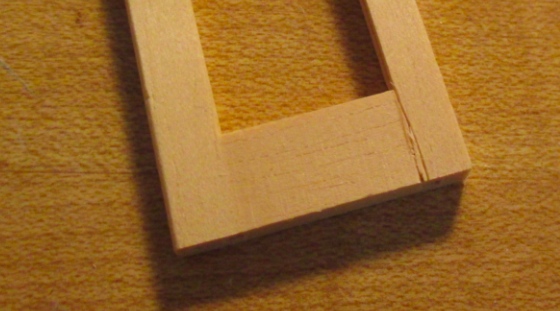
The plexiglass doesn’t pop out of the French doors, so the first thing I did was carefully cut the seams where the non-pin-hinged vertical piece meets the horizontal pieces. With that removed I was able to pull out the plexiglass.
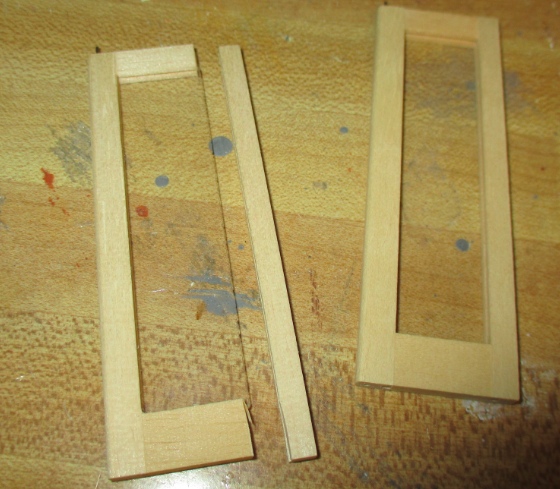
I didn’t do a perfect job with this, but it’s nothing a little wood filler won’t fix.
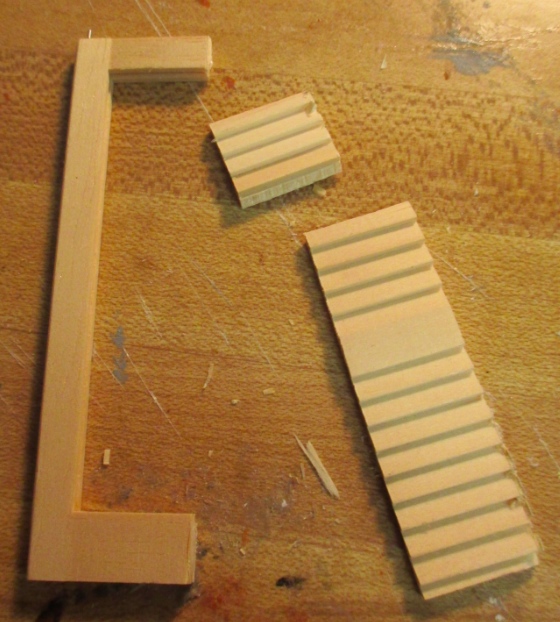
Next I removed a side piece from one of the shutters.
I lay the door piece on top of it and marked where I needed to cut off the top and bottom of the shutter. I had it in my head that the thick piece that breaks the louvers into two sections should be centered on the door. Later, looking the closet door in my bathroom, I realized that the thick piece typically goes a bit below center, where it lines up with the doorknob. Oops. Too late for me, but it’s something to keep in mind if you try this.
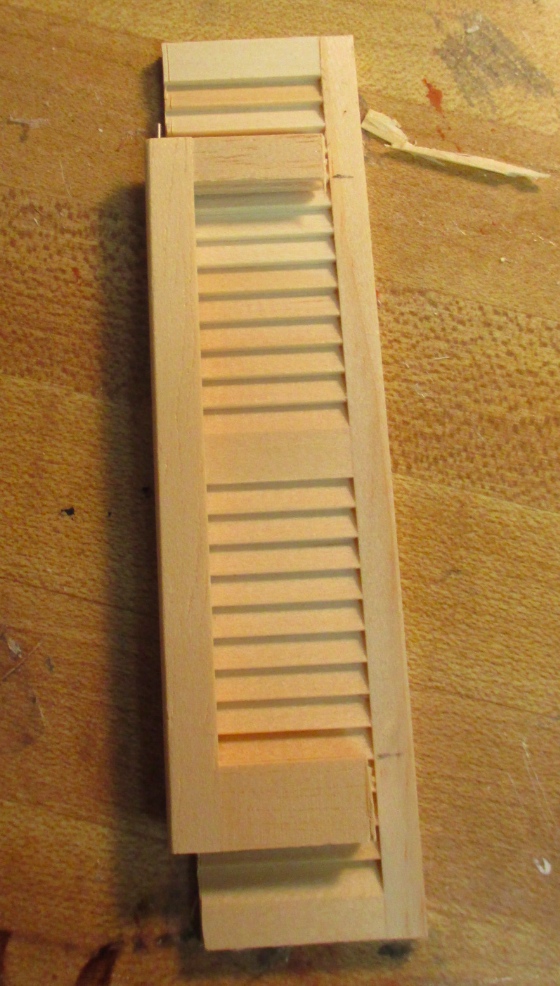
I cut off the top and bottom of the shutter and used the disc sander to sand it down for a snug fit.
Cutting off the other side, I managed to snap the shutter into two pieces. Luckily it’s a clean break, so not a deal breaker.
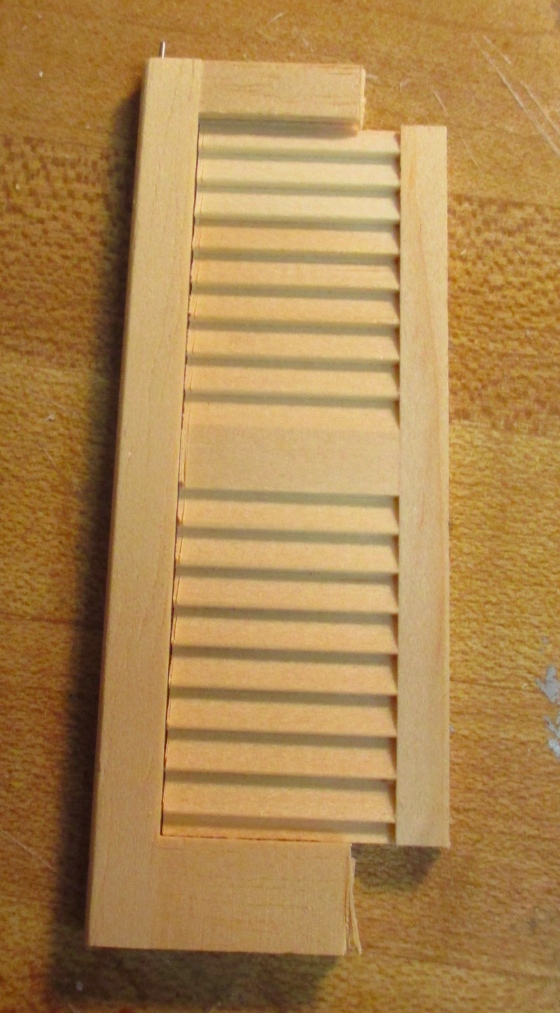
I sanded the vertical edges with the disc sander until all the pieces fit together nicely. (Once glued, that big gap at the bottom isn’t as bad as it looks in this picture!)
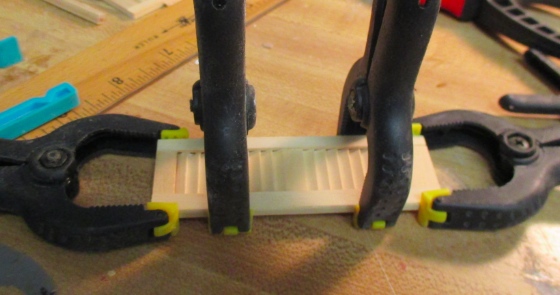
I glued all the pieces together with Tacky glue and clamped the door for a tight fit.
Here’s the finished door. I think if I use a handle like this one (a 1:12 window pull), it’ll be less obvious that thick piece that separates the two sections of louvers is a bit higher than it should be.
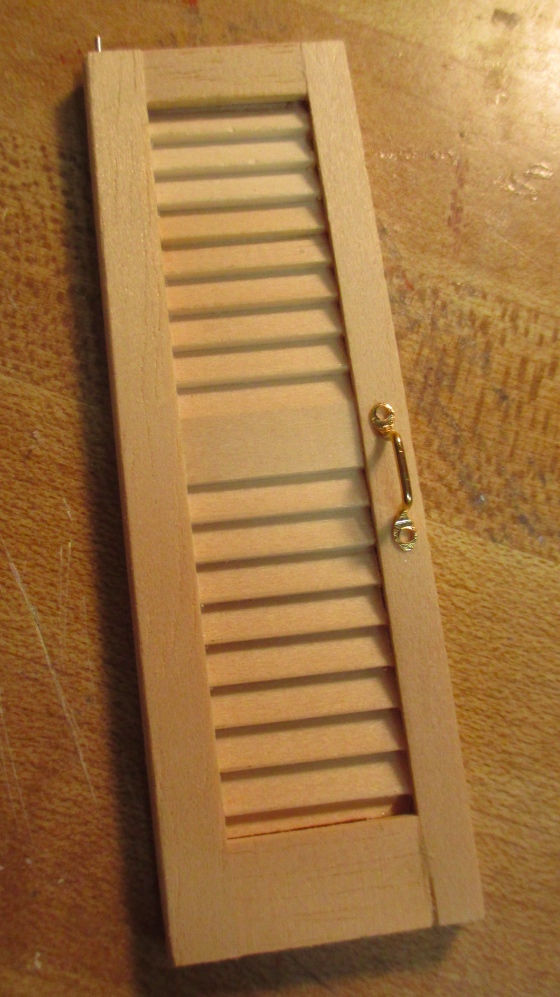
The back of the door isn’t louvered, which isn’t how it works in real life, but c’est la vie.
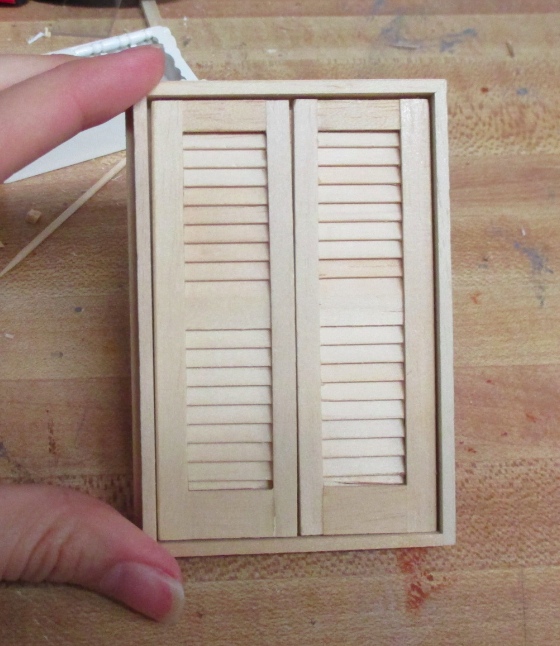
And here are the two doors back in the frame. Both bottom louvers are a little crookedy but hopefully that won’t be so obvious once they’re painted. I haven’t decided what paint I’ll use for trim in this house yet, so I’ll hold off on painting them for now.
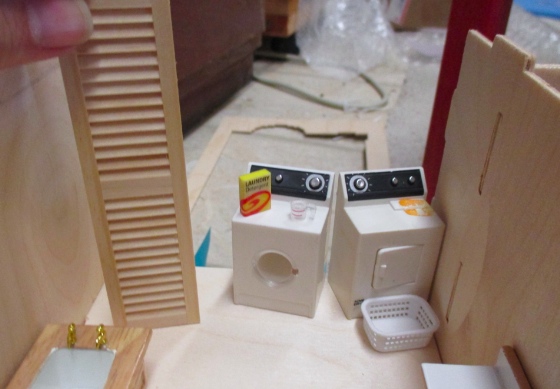
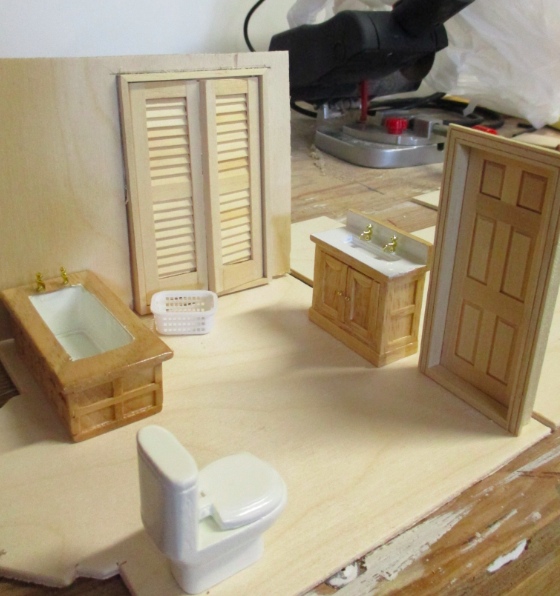
Here’s the basic layout of the bathroom. These fixtures are just for placement, I have some more modern pieces coming in the mail.
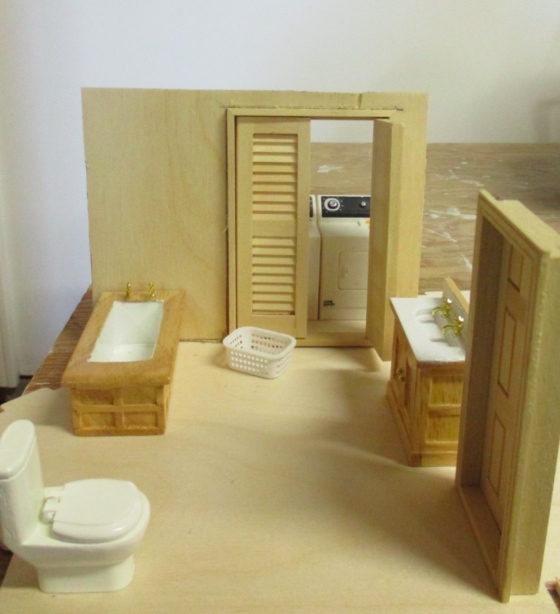
You’ll be able to see the washer and dryer through the closet doors. Maybe I’ll build in some shelving above the washer and dryer. Since the space to the left of the washer and dryer will be inaccessible, I’m going to add a wall there and cut a hole in the back wall to make that part of the bedroom on the other side (the mirror image of this room).
Another way of doing these doors would be to remove the pin hinges from one of them and hinge them together in the center as bi-fold doors. That would make the flat backs almost impossible to see. (Edit from the future: I ended up doing this! You can read about it here.)
 Emily is a freelance writer, miniaturist, and adventure game enthusiast.


This is such a genius idea…..I may borrow it. Enjoying watching your progress. Thank you for sharing.
That worked out well. You can always wallpaper the back side of the doors… or cheat… take a photo of the front, print it out and glue to the back. :)
That’s a clever solution to a too-large bathroom, and a way of including often-neglected but necessary items in a house. I love realism and having a washer and dryer really adds to that. Too often we go to great lengths to include lots of realistic details but leave rather obvious things out. Well done!