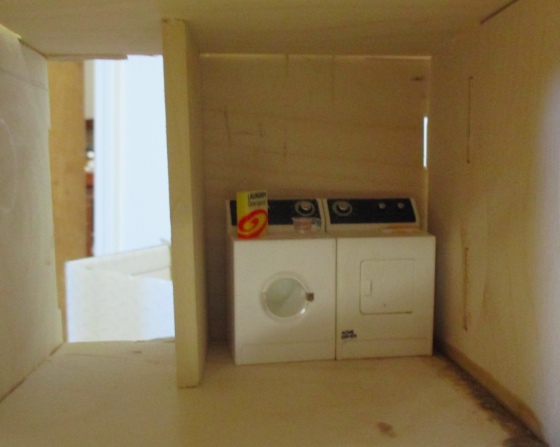
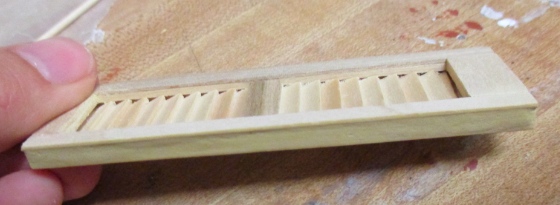
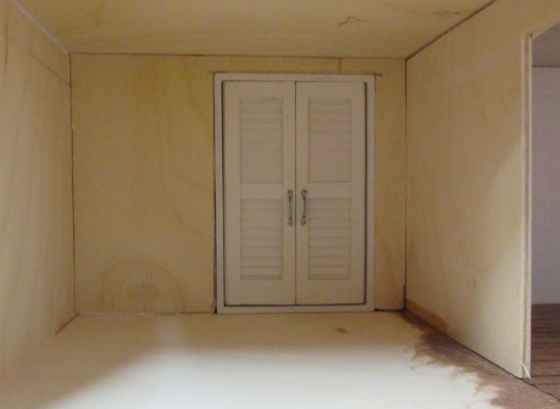
Because the Victorianna is fairly deep, I’m adding a closet to the bathroom so the room won’t be quite so massive. A couple of months ago I made a set of louvered closet doors using a 1:24 French door and a pair of 1:12 shutters. I’m getting close to gluing in the third floor and back of the house, and need to get the closet glued in while I still have access through the back.
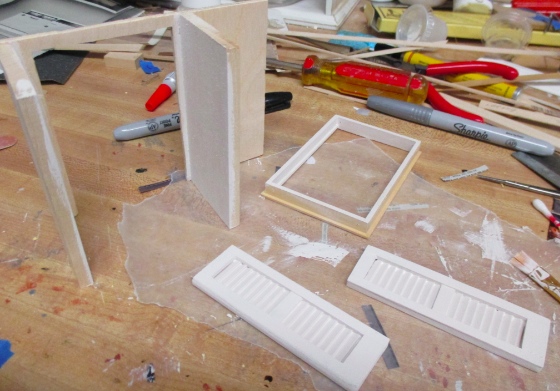
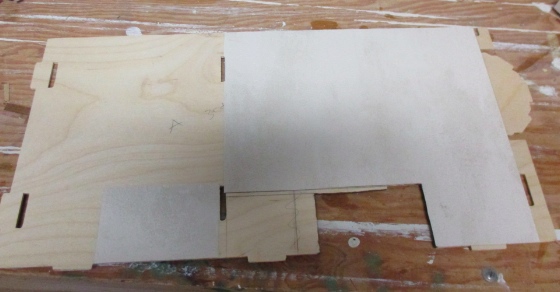
Here’s how the closet will look. The wall is cut from the wall that would have closed off what’s normally the master bedroom, which I’m keeping open to accommodate the staircase.
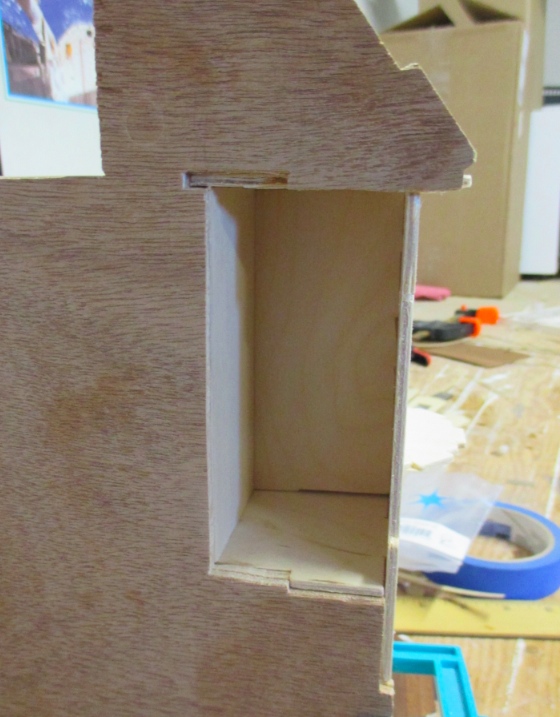
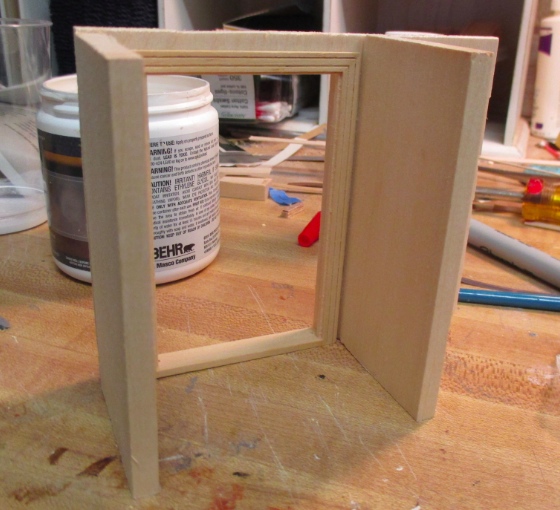
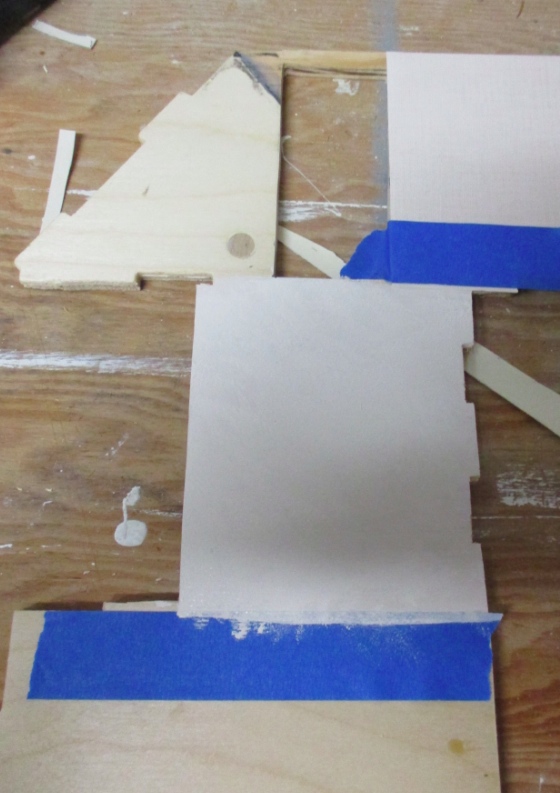
The wall runs all the way across this room but the closet doesn’t need to be that wide to fit the washer and dryer. Earlier I cut a hole in the back wall so that the area behind the bathtub will be part of the bedroom behind this. Now, to close it off, I cut a piece of basswood to make a side wall. Because the closet wall is kind of flimsy (and because I happened to have this wood lying around) I used a 1/4″ thickness so it will be nice and sturdy.
Here’s how it looks from the other side. This will be a closet or alcove in the teenager’s bedroom.
I had enough space to add a side wall on the other side, too. This wasn’t entirely necessary but it will give the closet more stability (bigger surfaces to glue) and will also cover up a potential gap where the side wall and back wall aren’t meeting snugly.
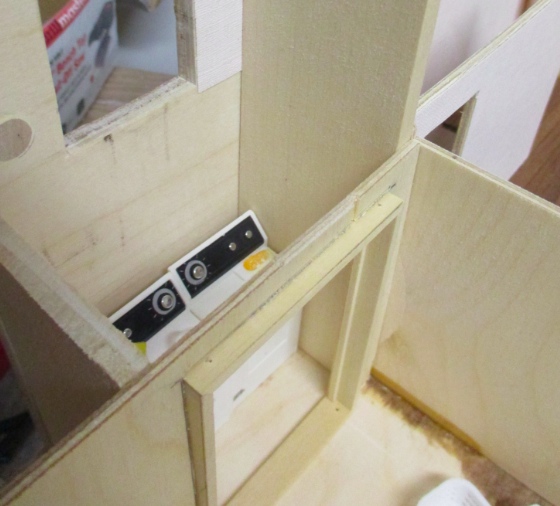
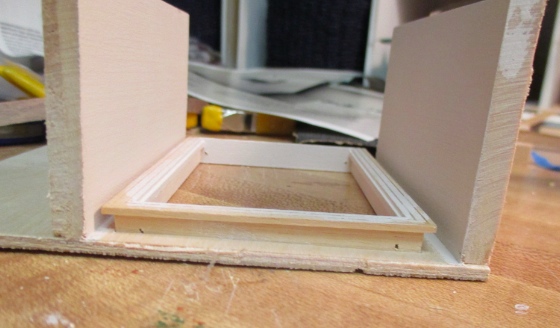
I glued the two sides to the closet wall, putting the back and third floor in place while they dried to make sure they were in the right position. Here’s how it ended up.
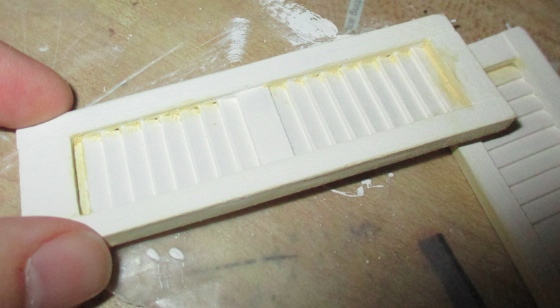
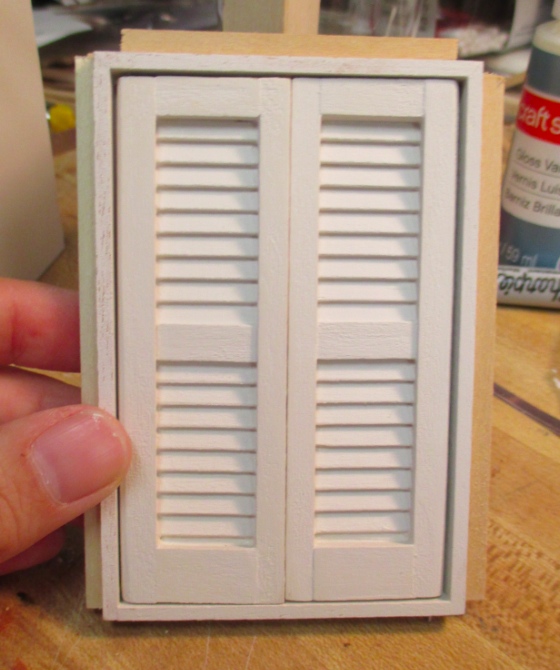
Meanwhile, I messed up my doors! They were rubbing slightly and I tried to sand them down but ended up with a big uneven gap at the top. (It all started because the louvers in one of the doors were slightly wider than they should have been, causing the middle area to bow out.)
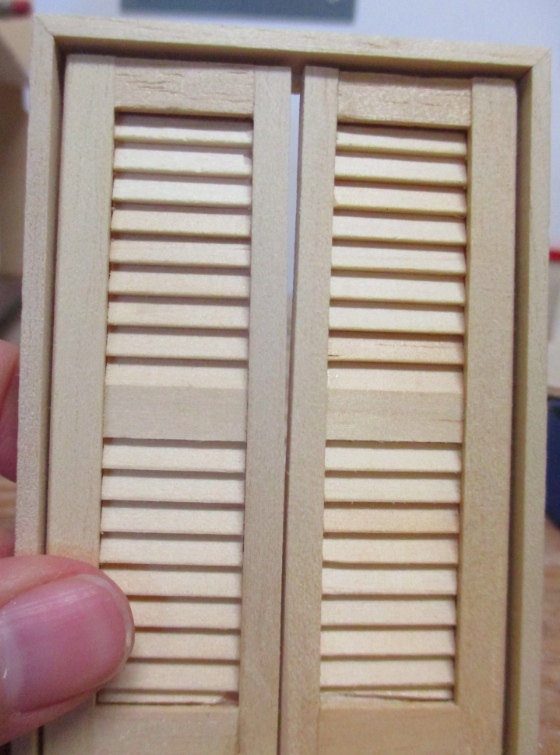
I scrounged up some thin strip wood to see if I could fake a straight line between the two doors.
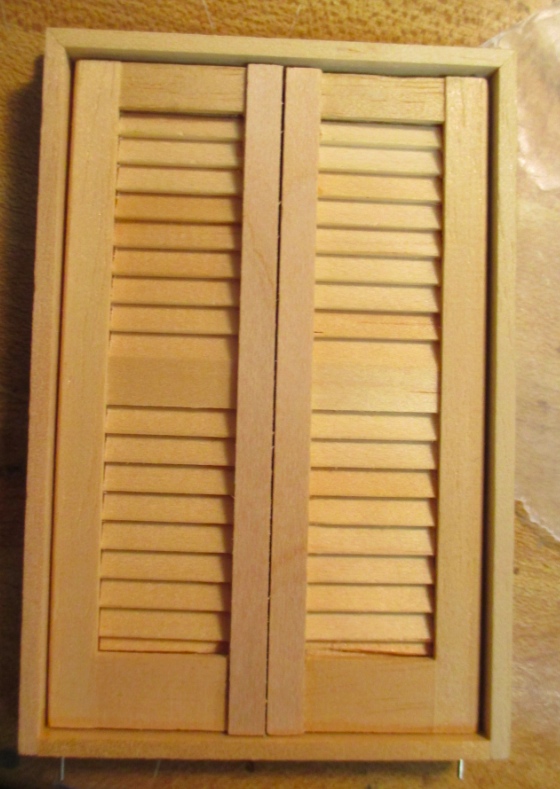
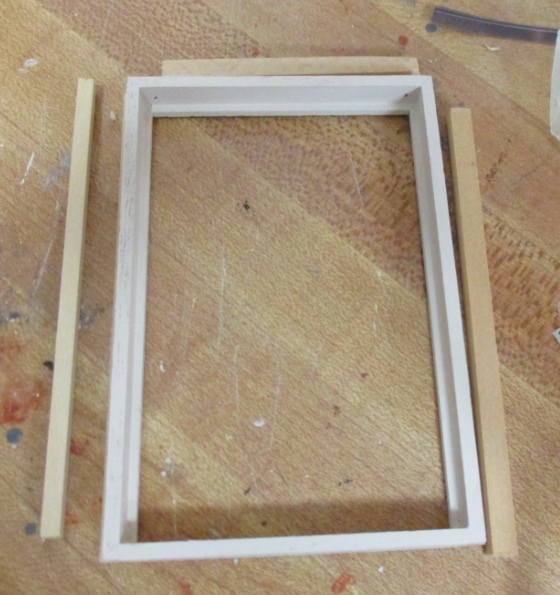
Convinced this would work, I trimmed out the rest of the door. I had all the sizes I needed in my wood pile so didn’t even need to go to the store — the best kind of solution.
When the door is open you can see the lip where the strip wood hangs over the edge of the door.
I added wood filler to make the lip less obvious.
First coat of paint. Since it’s such a tight space and I’m not sure how I’m going to decorate the rest of the room, I decided to paint the inside of the closet instead of wallpapering.
I also painted the portion on the back wall that forms the back of the closet.
The doors had a lot of gaps that couldn’t be filled in with paint alone, so I went over those with wood filler before painting the second coat.
In anticipation of gluing in the third floor, I added ceiling paper over the closet area, as well as over the stair area. The rest of the bathroom shouldn’t be too hard to do after assembly, and the other portions (bedroom alcove to the left of the closet ceiling and hallway to the right of the closet ceiling) need to wait until the other side of the house is attached.
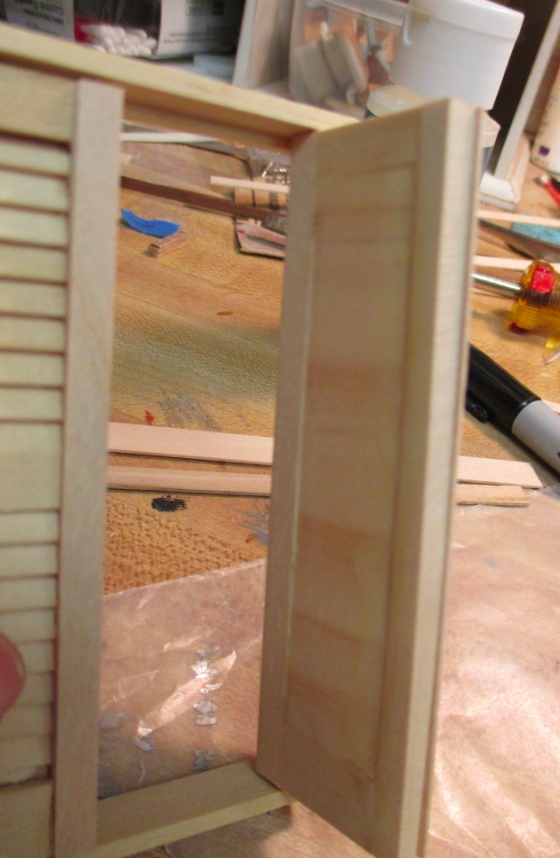
Houseworks doors are deeper than kit plywood, so they always need shims. (This post shows how I do it on regular doors.) For the louvered doors to open out, the door trim needs to go in backwards, with the pre-trimmed side facing into the closet. I want the doorway to be flush with the visible side; here you can see how much of a gap that leaves between the edge of the wall and the door trim.
Since the inside of the door trim will be impossible to see once the closet is in, I made some sloppy shims out of scrap wood.
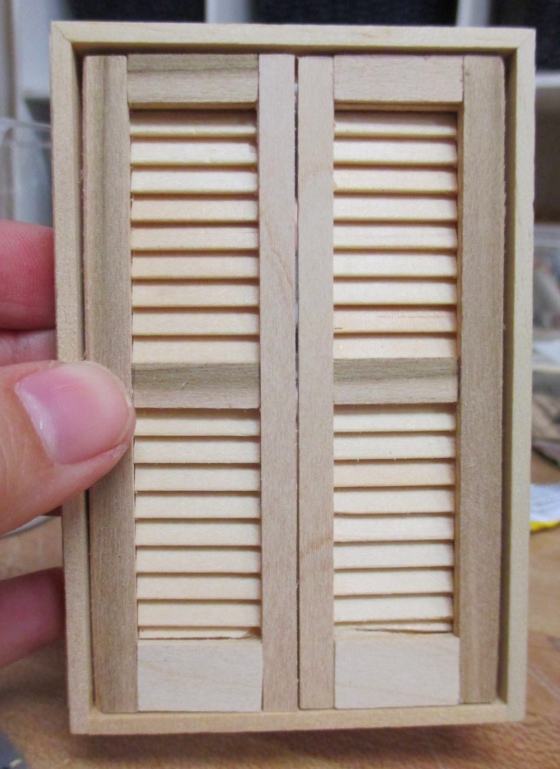
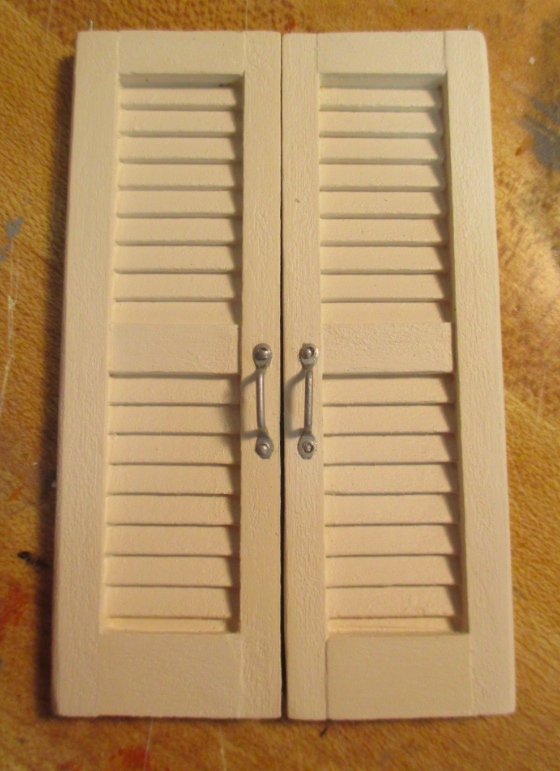
With those glued on I did one more test to make sure the doors fit well. I’m so glad I fixed them, they look much neater now. Also the wood filler did a decent job of filling in the imperfections, especially the bottom louvers that didn’t meet the trim cleanly.
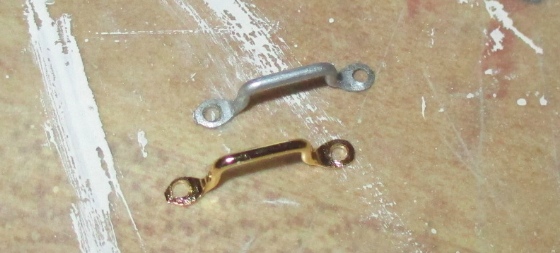
Last step before gluing everything in was to add the door handles. These are 1:12 window pulls I had left over from the casement window on the Christmas breadbox, with help from my new best friend Silver Sharpie. In the past I’ve had trouble painting over these shiny brass finishes — the paint flakes right off. The Sharpie worked out much better.
I scratched up the handle with an emery board first. Not sure if that was necessary but it only took a minute. Then I colored over the handle with Sharpie, let it dry a few minutes, and rubbed to see if the color would come off. Nope! When they say permanent, they mean it.
I attached these with brads and a dab of glue. After putting them in, I colored in the top of each brad with the Sharpie.
When I made these doors, I realized too late that the center panel should have been farther down (to line up with the doorknob), but I positioned the handles so the low end is around where a doorknob should be (1.5″ from the floor, which equates to 36″ in half scale).
I inserted the doors into the frame for the last time, glued the closet door to the wall, and then glued in the whole closet assembly. It’s only glued to the bathroom floor and side walls for now, but I again put the back wall and third floor in place to make sure everything was positioned right while the glue dried.
I still need to add flooring inside the closet there before I permanently attach the back wall. I think I’ll also add a magnet strip to the back wall that lines up with the magnets on the backs of the washer and dryer. (Maybe I haven’t mentioned — these are fridge magnets!) Because the space is so tight, it’s a little clumsy to get the appliances lined up in there, and that will help keep them from getting bumped around.
I’m also thinking about how to add shelving above the washer and dryer. I might want to glue that to the back wall before the back wall is attached, rather than trying to reach in through the door hole to do it later.

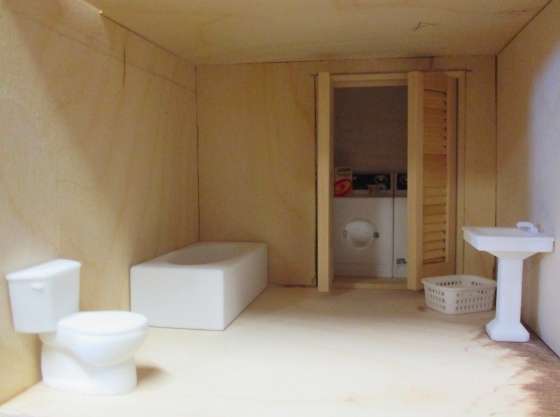
I’m not sure about the bathroom furniture in the photo above, which is 3D printed stuff from Shapeways. I love that they’re modern but the sink and toilet seem small. (Look at the sink height compared to the top of the washer and dryer.) For the sink, I could build it into a (taller) vanity, so you only see the basin and the pedestal is hidden by the cabinet. The toilet, I might decide to use in the upstairs bathroom instead, which has a lower ceiling.
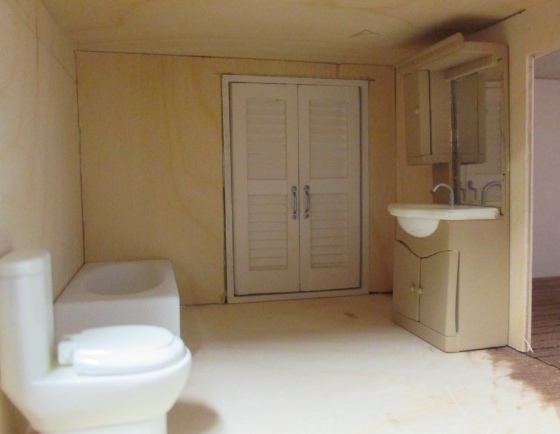
As a basis for comparison, here’s how it looks with the toilet and vanity from the Queen Anne Rowhouse. I wouldn’t use these here but they do look more true to scale.
 Emily is a freelance writer, miniaturist, and adventure game enthusiast.


Great job on those doors! You’ve created the perfect spot for a tiny laundry room!
The laundry has worked out perfectly. A shelf above the washer and dryer will be the finishing touch. I see what you mean about the size of the vanity and the toilet – how odd that they are so out of scale.