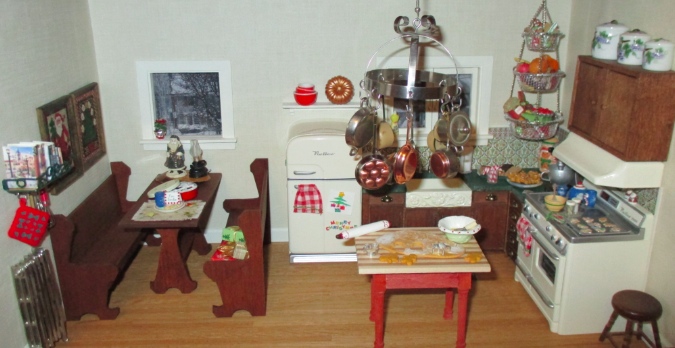
I didn’t get these done in time for Christmas, but I cross stitched three designs from Prairie Schooler’s Folk Art Christmas to go in my breadbox roombox.
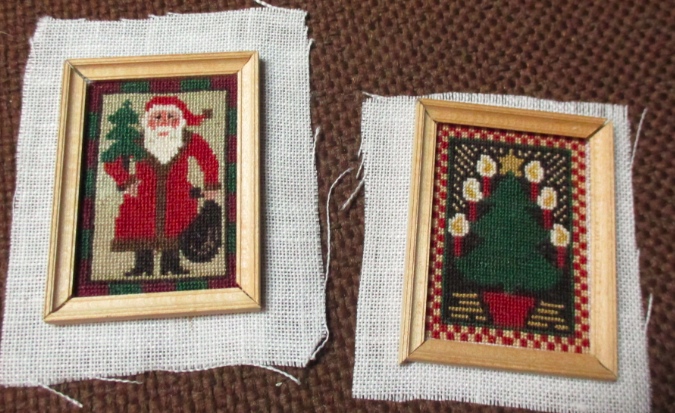
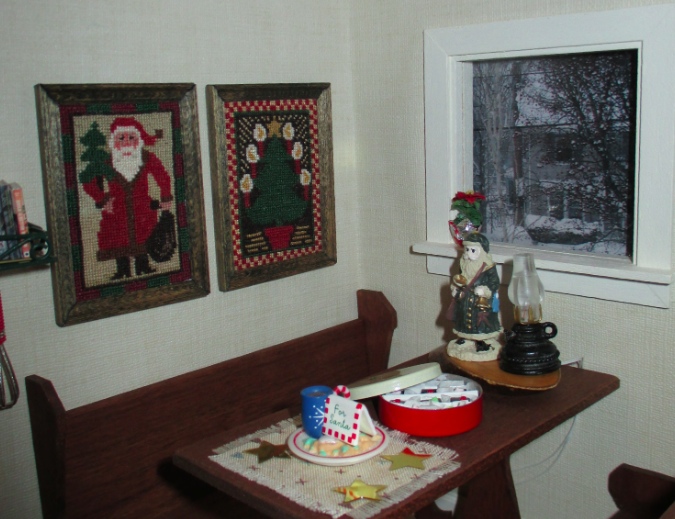
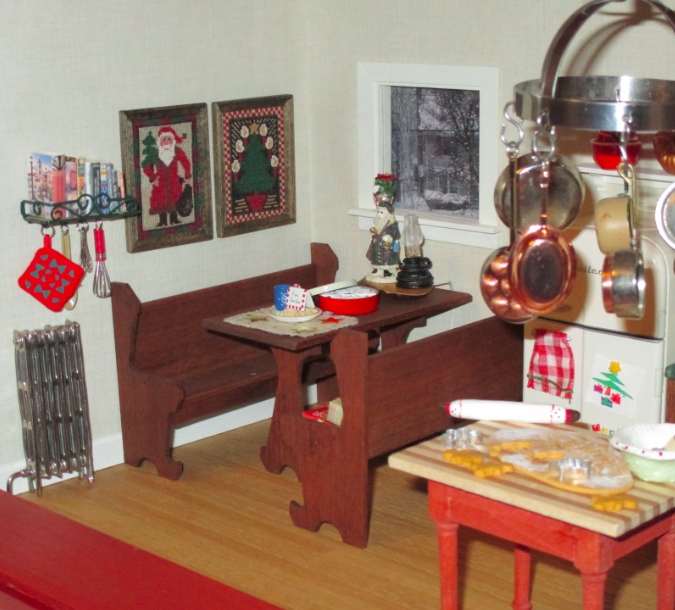
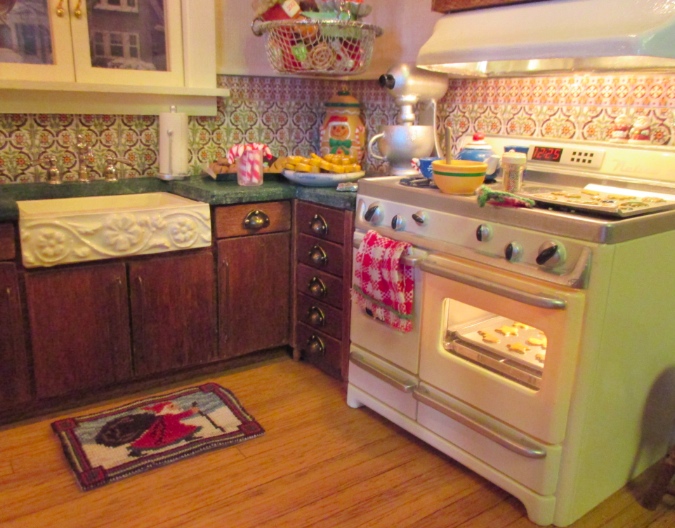
Here are the stitched designs. They’re stitched over-one on 36 count linen, for finished sizes of approx. 1-5/16 by 1-7/8. I started with the horizontal one, planning to put it on the blank wall next to the table, but then I wanted to do more so I decided to make the horizontal one a rug near the sink and stitched the two vertical ones for the wall.

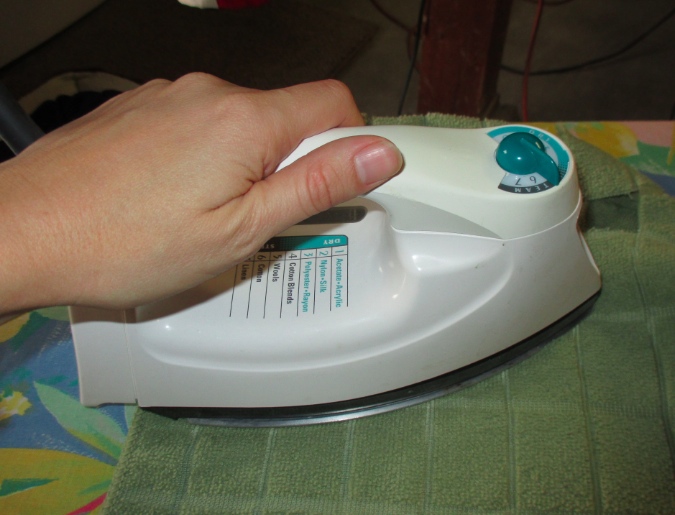
I used fusible interfacing to finish them. I’m not sure if I’ve posted about this stuff on the blog before, but I’ve used it a few times now and it works well. You start by cutting a piece to fit over the back of the design.
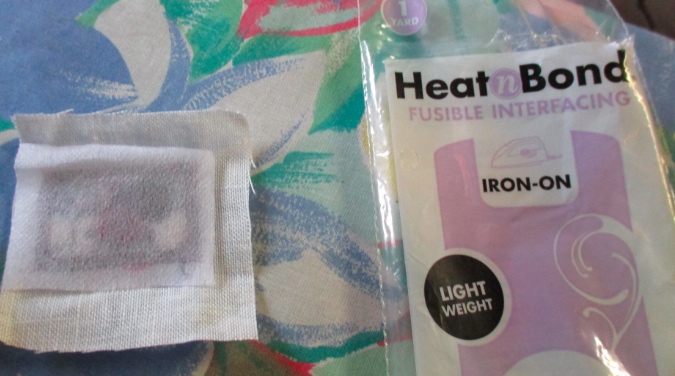
Then iron with steam (and a cloth in between) for about 15 seconds.
With the backing on, I was able to cut right up to the edges of the rug. Usually I finish a rug by leaving the third-to-last row unstitched, and then turning the fabric over and stitching over the turned part for that row, to secure it. It works well to prevent the piece from unraveling, but it makes the rug bulky.
Using the interfacing makes the rug lie flatter, but you can see the little white threads at the edge where I cut it. So, not perfect, but no one’s going to be staring at it that closely!
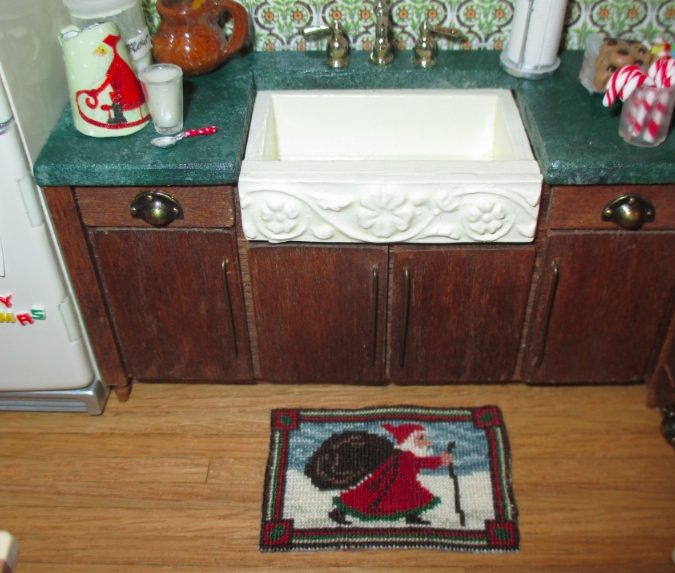
If I’d planned ahead to make this a rug, I might have stitched it on lower count fabric to make it a little bigger, but it works at this size.
For the two wall pieces, I also ironed on the backing, then made frames out of some picture frame trim from my stash.
I stained the trim pieces with Minwax Ebony and glued them together with tacky glue. The bond was pretty flimsy (probably related to my 45-degree angles not being perfect – my miter box is on its last legs!) But it stuck enough for the frame to hold its shape while I did the next step.
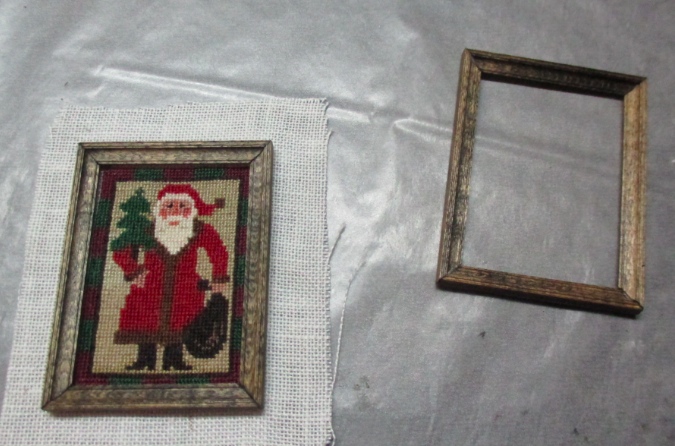
The picture frame trim has a lip on the underside so you can nestle the art inside of the frame (sorry I didn’t take a photo). I cut the cross stitch leaving a couple of rows on the edges – just enough for it to fit snugly within the lip. Then I cut cardboard the same size.
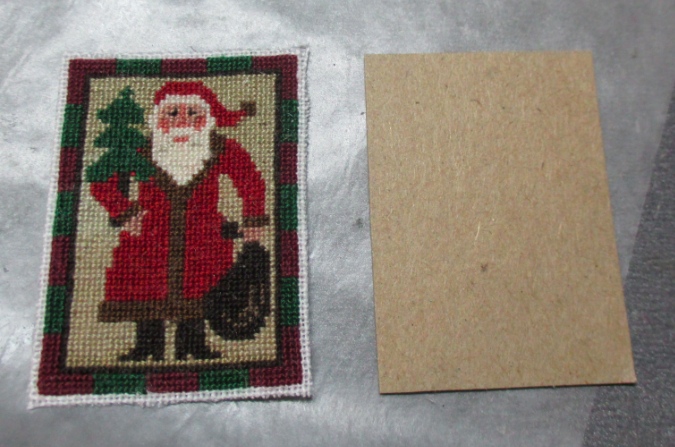
I glued the cross stitch to the cardboard, then glued the assembled piece into the frame.
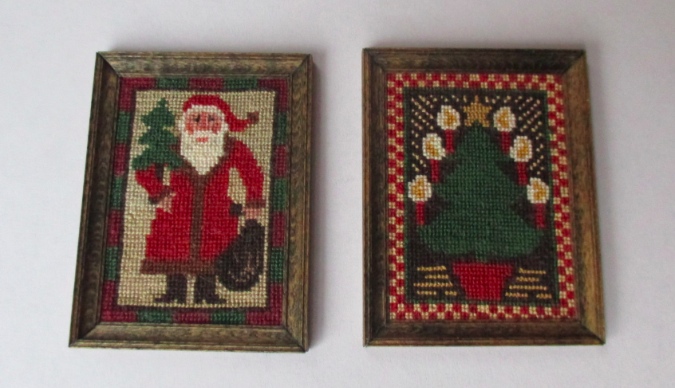
Here’s how they look from the back.
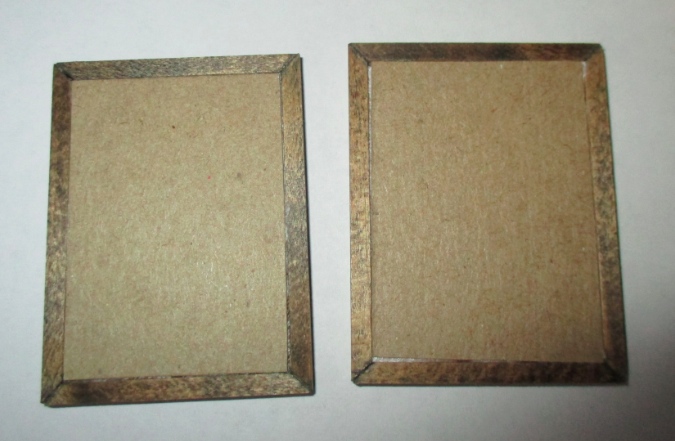
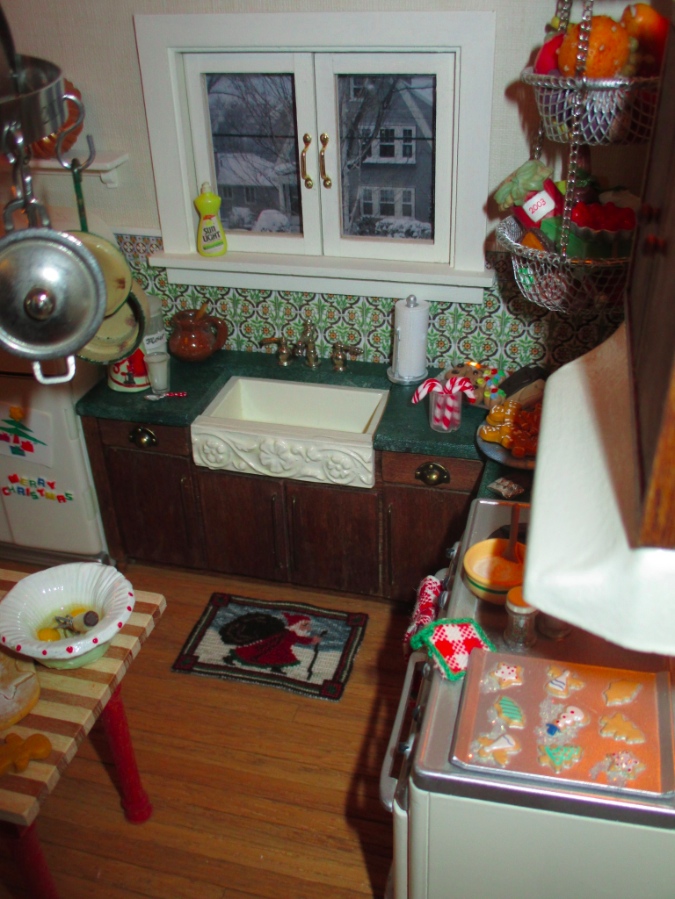
Even once the glue dried, the frames are a bit twisty… I could break them if I tried! But, hanging on the wall, that’s not likely to happen. The poinsettia on the window sill was handmade by Debora (Dalesq) on the Greenleaf forum.
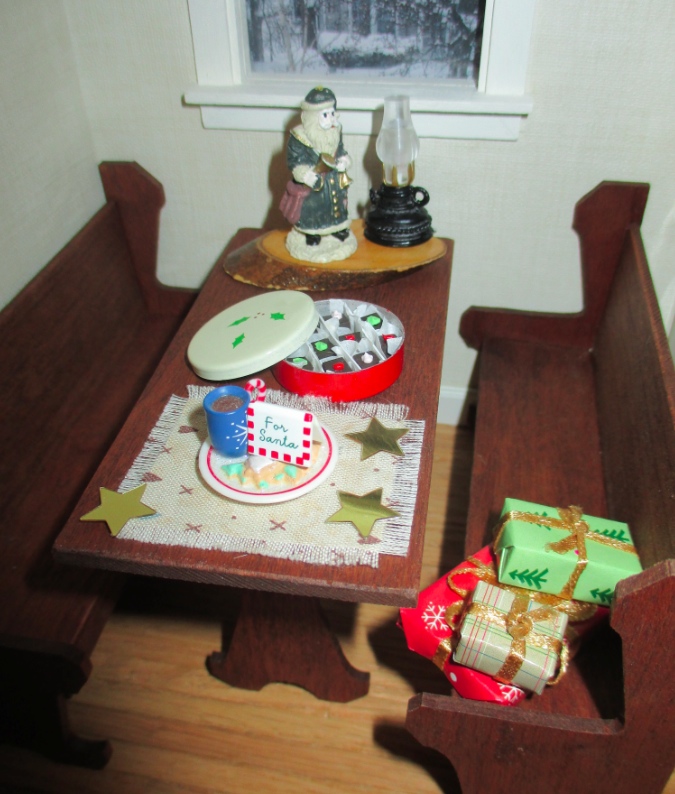
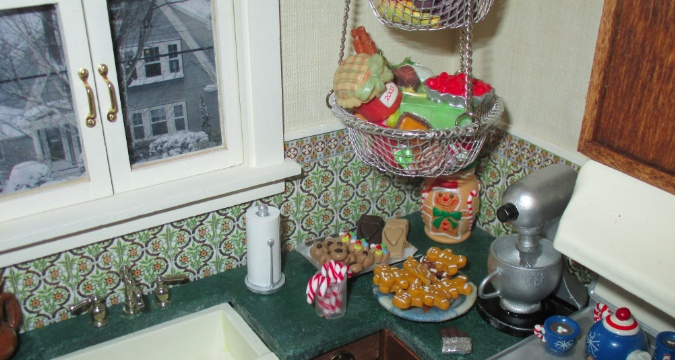
Here are a few other additions courtesy of Michaels. When I went shopping for supplies for the faux gingerbread houses I also bought a few minis to put in the breadbox. They were really nice and cheap – only a few dollars a piece. I could have bought more if only the roombox had more counter space.
Tin of chocolates and wrapped presents:
Rectangular tray of cookies:
Like the gingerbread supplies, these minis were sold out by mid-December, so if you want to try to find this stuff next year, go shopping early.
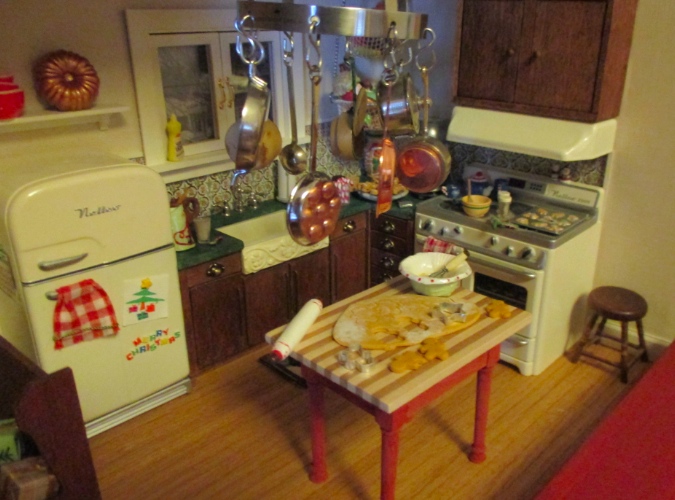
And finally, a few more pics of the finished breadbox with all its new goodies, just because I love looking at it!
 Emily is a freelance writer, miniaturist, and adventure game enthusiast.


I love the breadbox! So many adorable things to gaze at! The frames look really good! Better than a lot of mass produced ones! The cross stitches turned out so nice! Wish I could see everything in person!
Very cute! I found some great stuff like a small TV last time at Michael’s. Yes, it goes fast!
Beautifully done and a nice touch to the roombox.
I would love to see a picture of the whole scene of the entire breadbox.
I just finished a breadbox kitchen one on my blog.
It’s a retro/ modern kitchen.
I just got the Hallmark fridge today and plan on another scene please post a picture of the whole scene :) on your site TY
I think you found it already, but just in case the full scene can be seen here: http://www.emilymorganti.com/blog/?p=7879