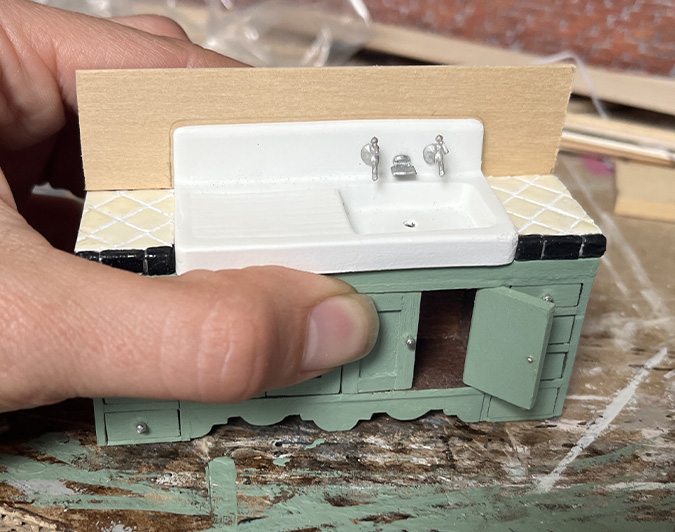
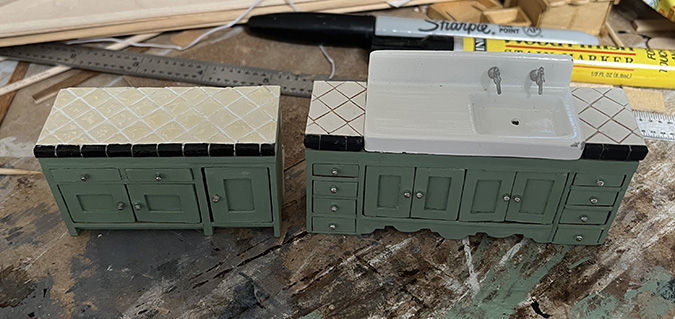
I’ve slowly been making progress on the cabinets around the sink. It’s been frustrating, hence the very long delay in getting this post up.
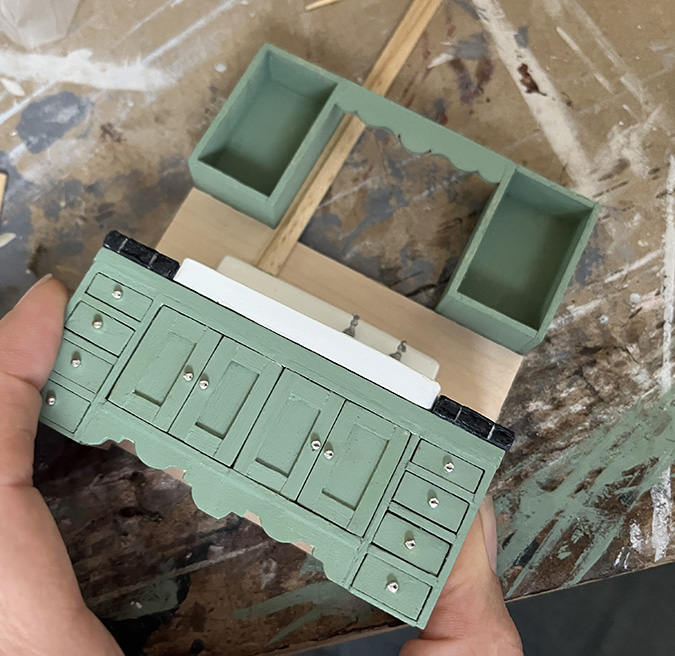
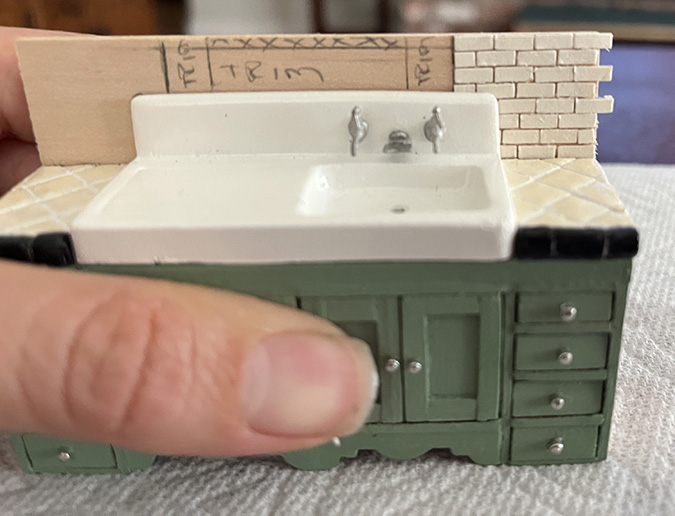
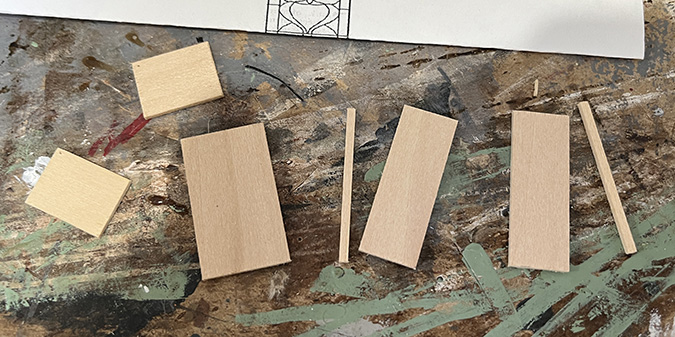
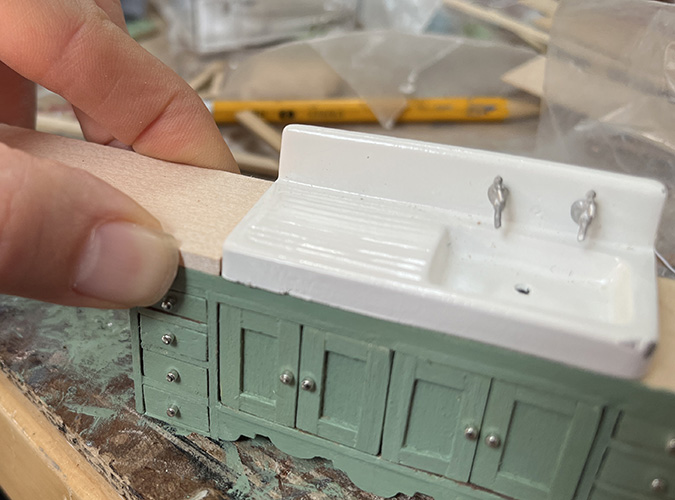
Since the bump-out is hard to see and reach into, I decided to glue the backsplash tiles onto a piece of wood that “stands up” behind the cabinet — this way I don’t have to worry about trying to glue in two separate backsplash pieces in exactly the right spot to make them level.
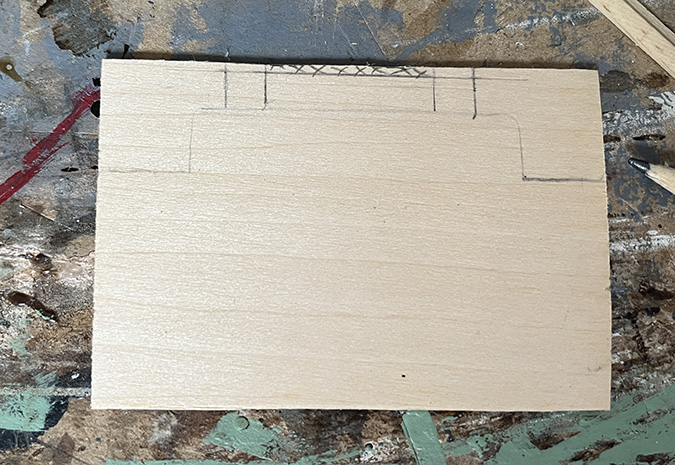
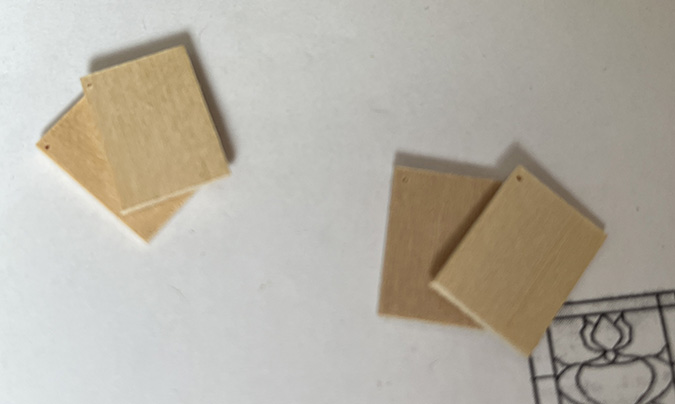
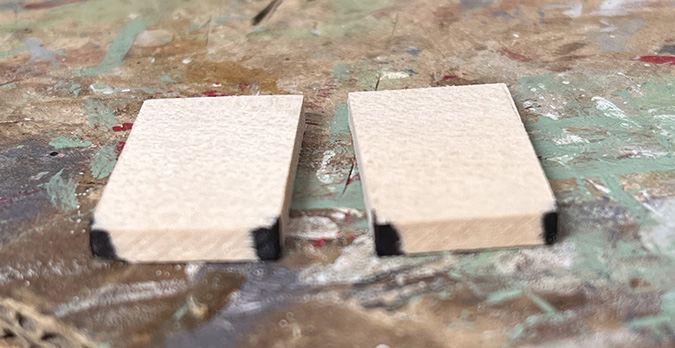
I started by tracing around the top of the sink.
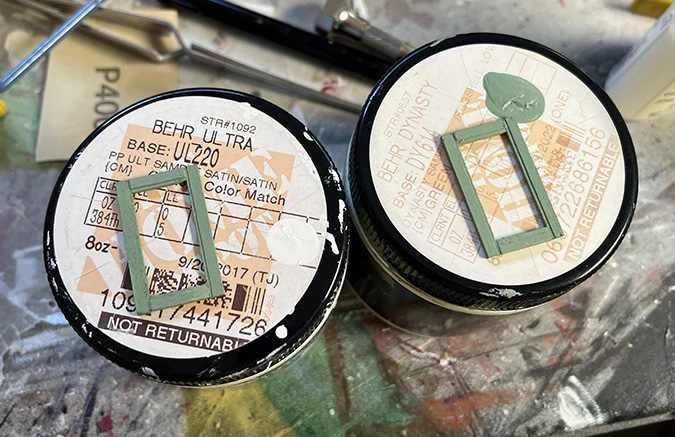
Then I drew lines to indicate where the window trim would go.
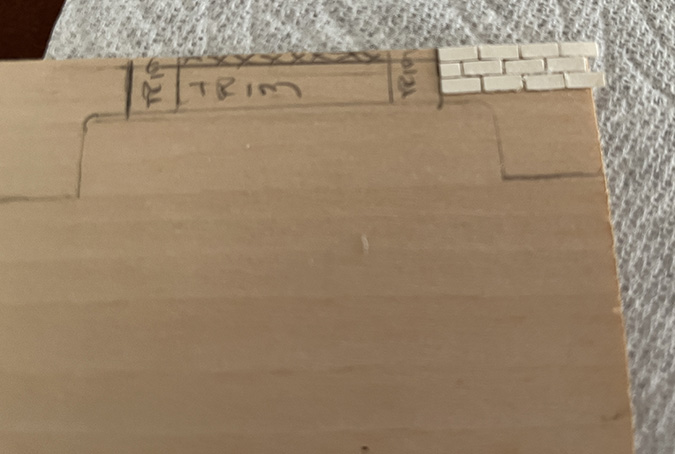
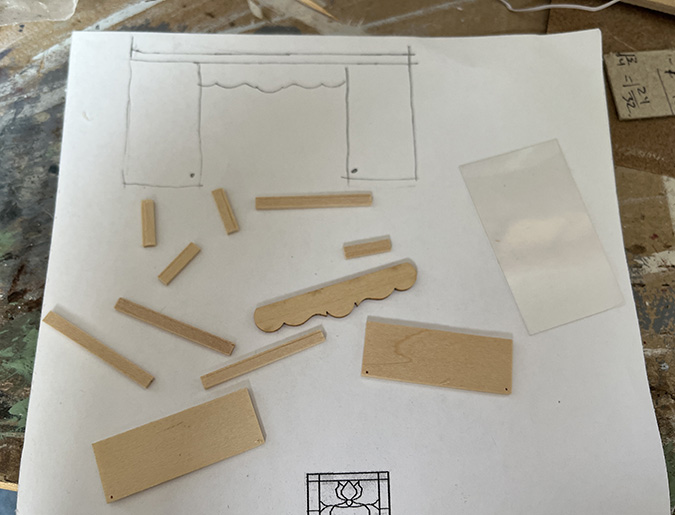
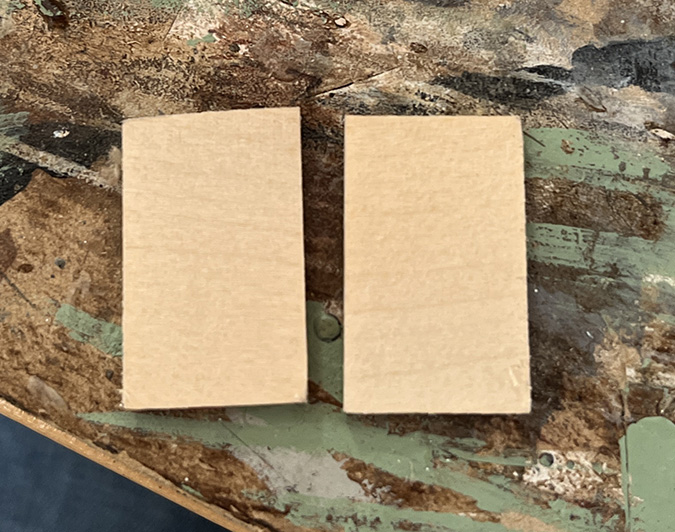
Here’s what I ended up with. I thought it would be easier to glue the trim to this piece of wood than to the wall. The XXX part is a sliver that will need to be cut out above the bottom piece of trim.
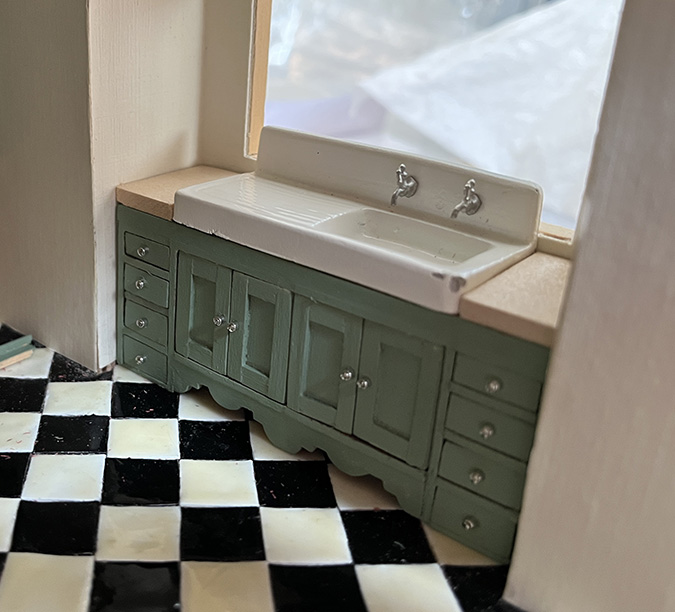
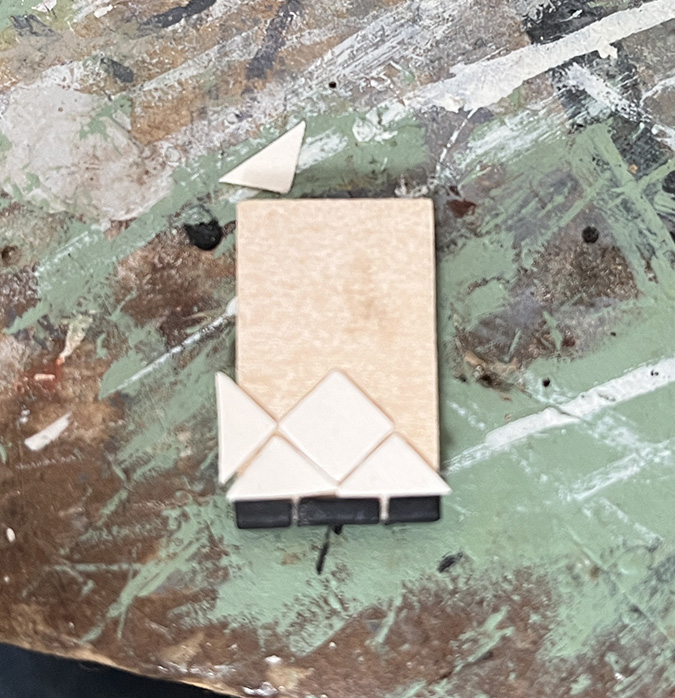
I started at the top edge so I wouldn’t end up with slivers under the cabinets. These tiles are made from scrapbook paper cut with a 1/4″ x 1/8″ punch (read more about it here).
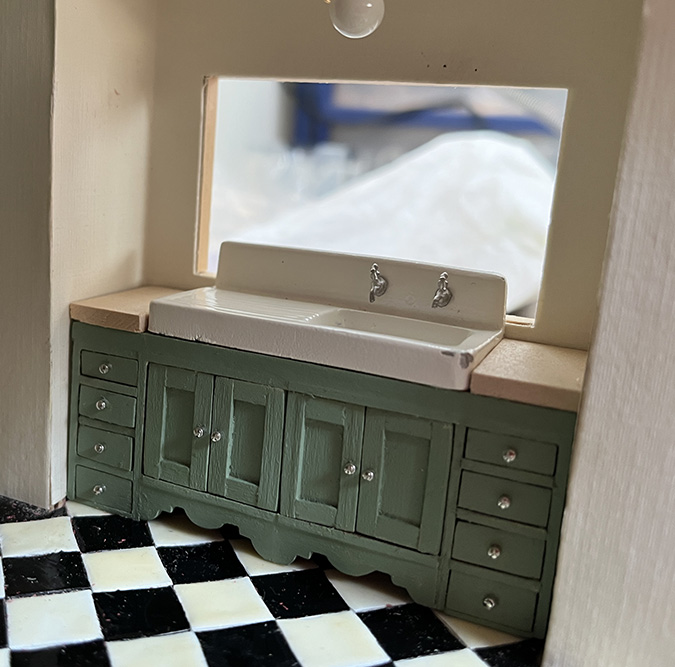
Since this piece of wood goes behind the cabinet and sink, the tiles run behind the sink corner and the countertop, so there’s a neat transition.
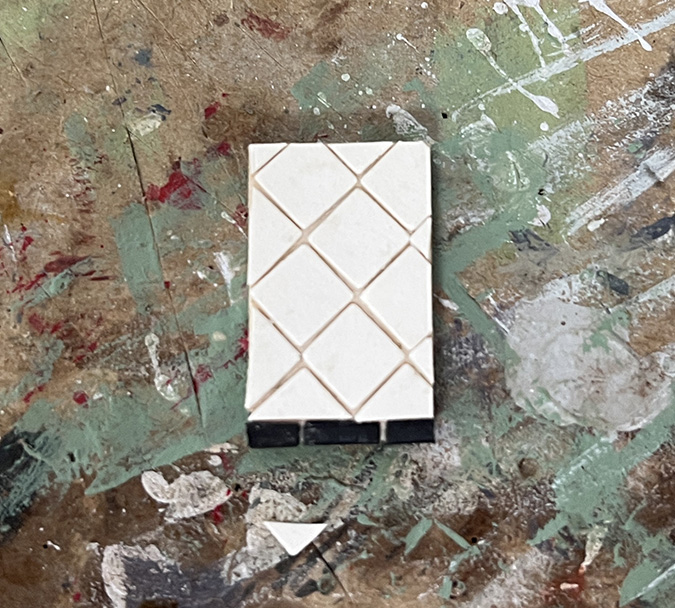
And here are both sides finished. I trimmed the tiles hanging over the edges with nail scissors.

 Emily is a freelance writer, miniaturist, and adventure game enthusiast.

