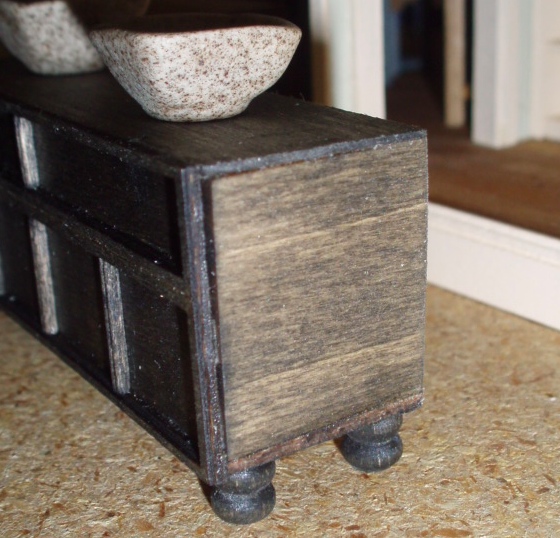
I’ve been working on the Rosedale’s bathroom, starting with building a vanity out of basswood. I glued square pieces on the inside corners to support the corners. The stain is Minwax ebony.
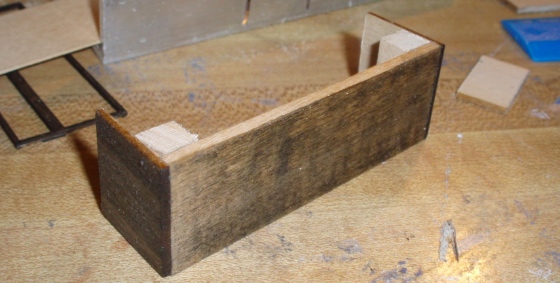
I got the idea to make this vanity from a leftover piece from rowhouse kitchen kit. This was supposed to be the front of the refrigerator. I turned it on its side.

I hate the “above ground” sinks that are popular now, but the lady who lives in this dollhouse is trendy! These are 1:12 bowls I got from Miniatures.com a few years ago.
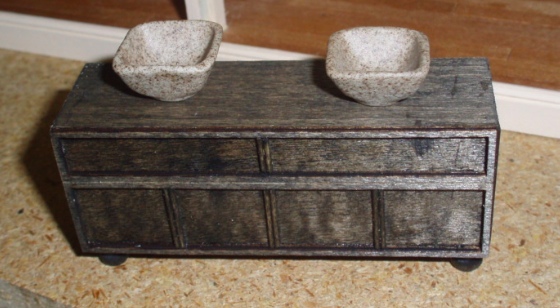
The feet are pieces removed from 1:12 porch spindles. (I used other parts of the spindles for another project I haven’t posted about yet…)
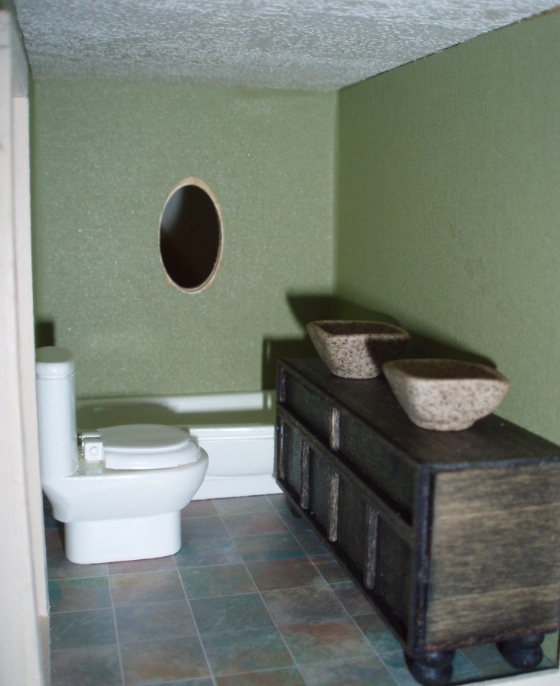
The vanity fits with just enough space for a bathtub behind it. The toilet and tub are from one of the funky bathroom sets I bought from Cascade Miniatures last fall.
 Emily is a freelance writer, miniaturist, and adventure game enthusiast.

