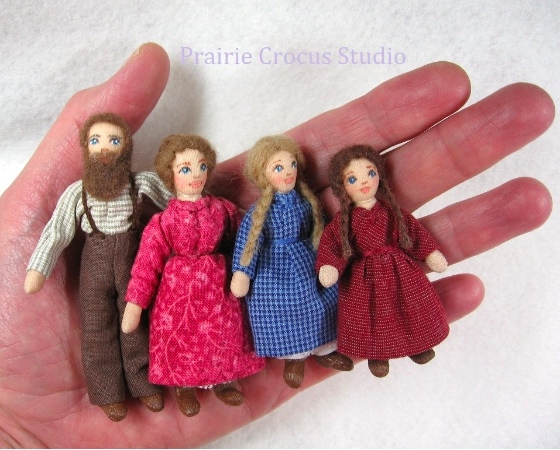
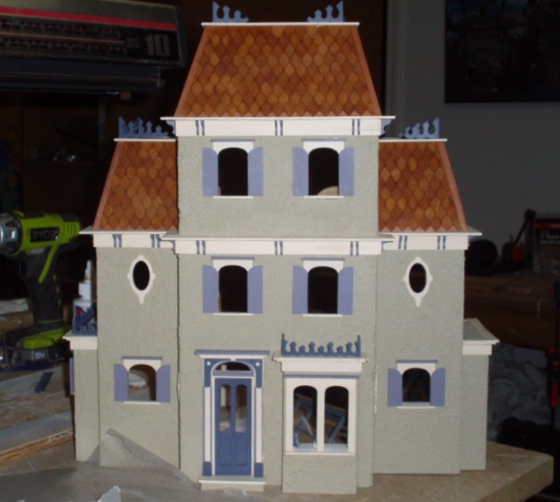
Back in October, I ordered a custom set of Ingalls family dolls from Prairie Crocus Studio on Etsy. These are for my half scale Little House in the Big Woods cabin, and the family came with beautifully detailed Ma, Pa, Laura, and Mary dolls… no Carrie, but I figured a half scale baby would be easy enough to find.
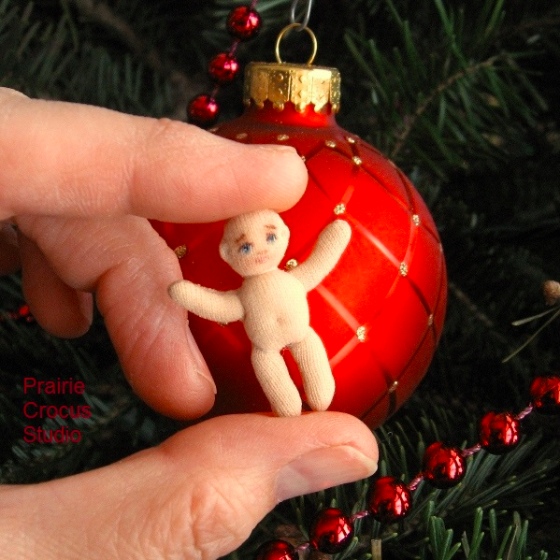
Lucky me, I was recently browsing Etsy and saw that the same seller now has a half scale baby available. The doll comes totally naked but Laurie was nice enough to add a face for me. Here’s the picture she sent me before shipping.
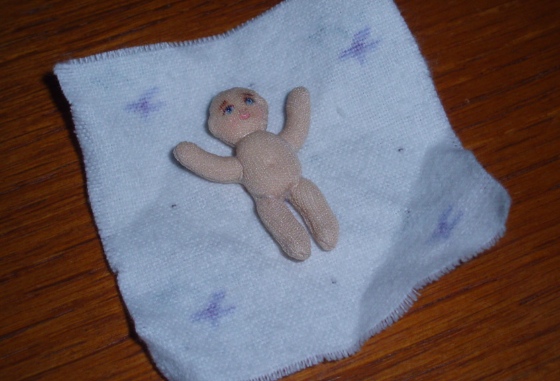
Baby Carrie arrived from Canada today, neatly wrapped in a blanket. She got in through the mail slot but I think there might have been a stork involved at some point during the journey.
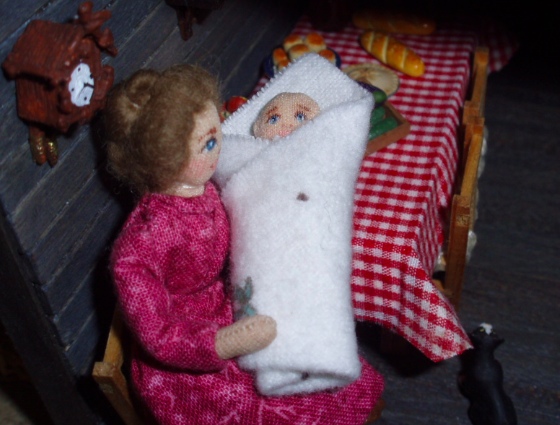
I never actually posted pics of the dolls in the cabin, so here we go! First, here’s Ma snuggling with the new arrival.

 Emily is a freelance writer, miniaturist, and adventure game enthusiast.

