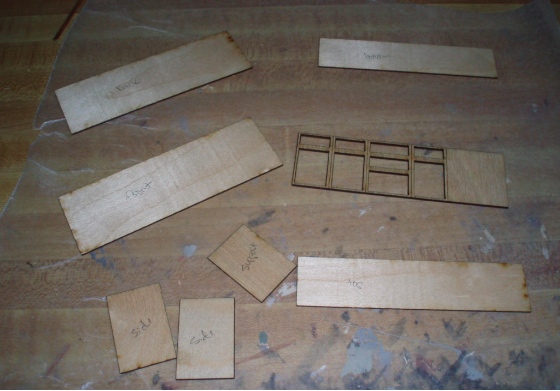
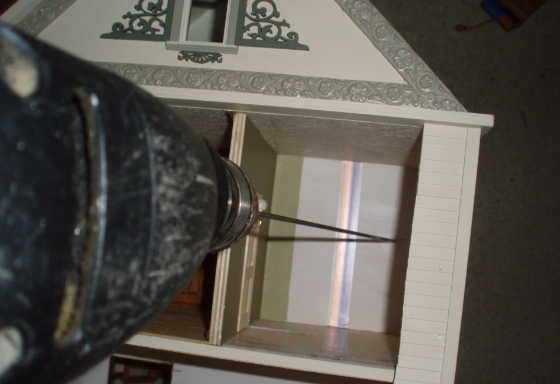
When I first started working on the rowhouse last fall, I bought a modern kitchen kit from SDK Miniatures with the plan of bashing it a bit. Here were my early ideas. I started working on the kit today.
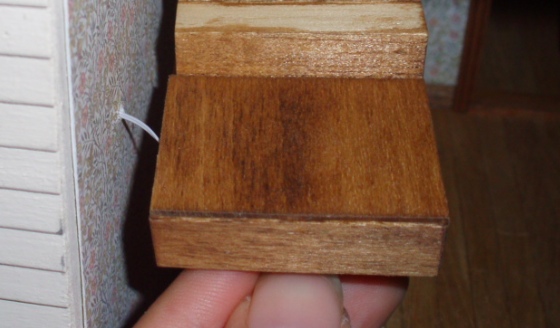
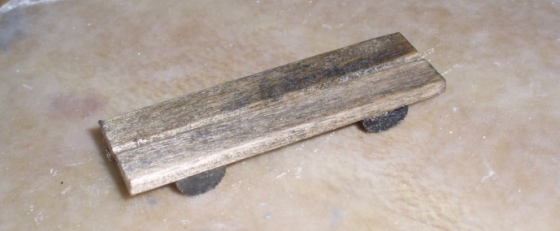
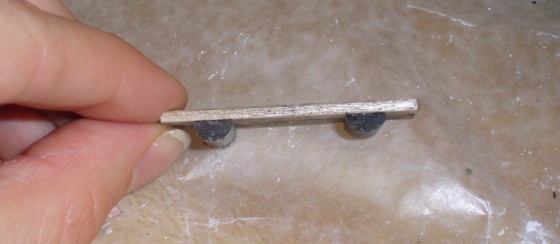
The cabinets are made from wooden boxes with trim pieces laid on the fronts to give the illusion of cabinet doors and drawers. This means the doors and drawers don’t open, which is fine with me!
Here’s the basic layout. The L-shaped counter is exactly how it comes in the kit — no bashing there. But the tall piece on the left originally had three segments – an oven/microwave unit, a pantry, and a tall and skinny fridge that I didn’t like. I removed the fridge portion.
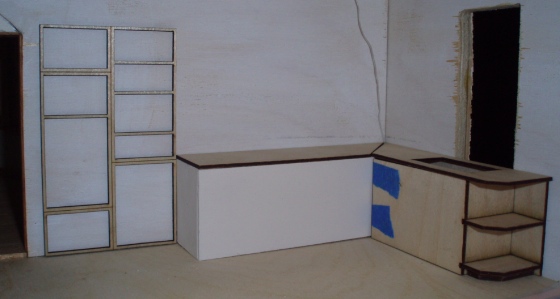
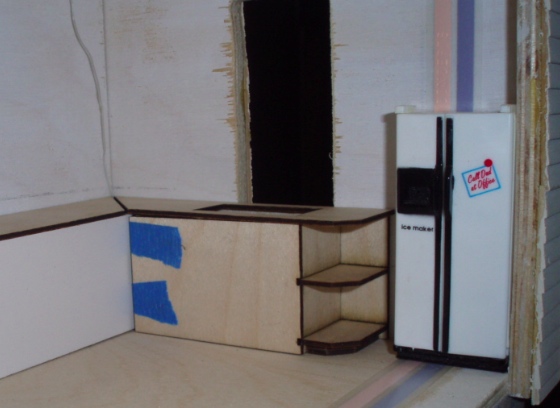
Instead, I’ll use a magnet fridge (but i might try painting it “stainless”…)
Since the L-shaped cabinet is going together as designed, I breezed through its assembly pretty quickly today. I painted them with a Behr color named “Tuscan Beige” which is essentially off-white.

The kit is designed to have decorative paper placed behind the trim piece. I’d been planning to use this wallpaper from Itsy Bitsy Mini. It looked neat in theory.
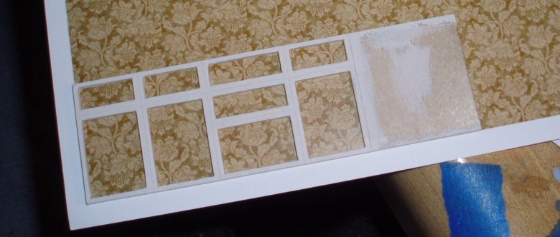
But I didn’t like it in practice. I think the decorative paper is a neat idea and it would work well in a shabby chic house, but maybe a little too kitchy for my Victorian.
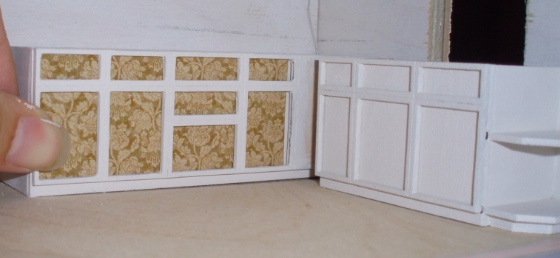
Instead, I painted the cabinet base with the same Olivewood paint I’m using for exterior trim.
I like the idea of this but am not totally sold on it yet. I feel like the white part should be wider, or the doors should have some sort of detail, or something. Might still play around with it.

 Emily is a freelance writer, miniaturist, and adventure game enthusiast.

