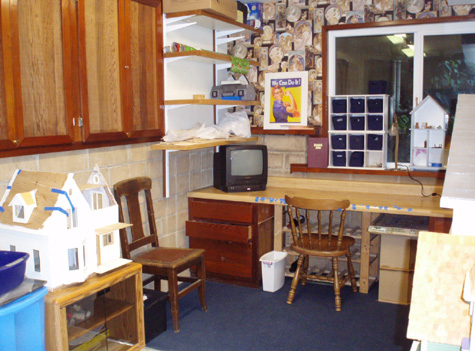
In January 2009, Geoff and I moved into a new house that has a basement room perfect for a dollhouse workshop. In fact, the very first time we saw the house, I was envisioning my minis in there! It was a bit of a mess for the first several months after we moved in, but we recently cleaned it up, and I took some pictures before I had a chance to mess it up again. Here’s what it looks like (and what I’m working on) as of June 2009.
Built-in desk with a nice big workspace, and plenty of storage:
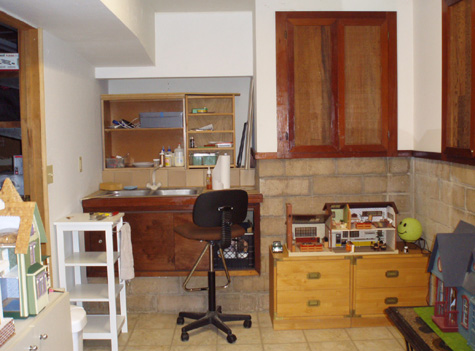
The workshop has a sink! Which is good, because I make lots of messes…
 Emily is a freelance writer, miniaturist, and adventure game enthusiast.

