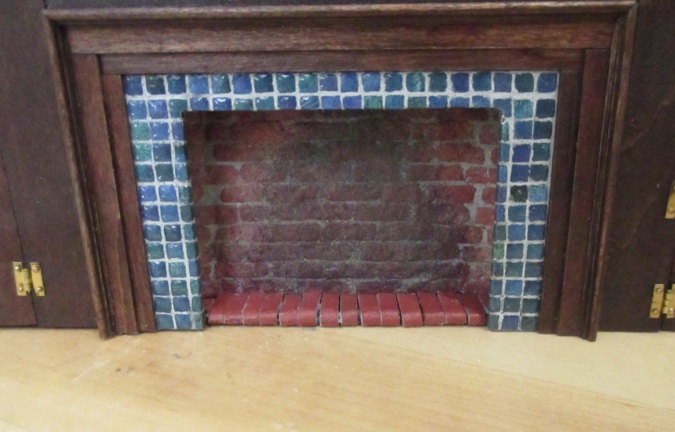
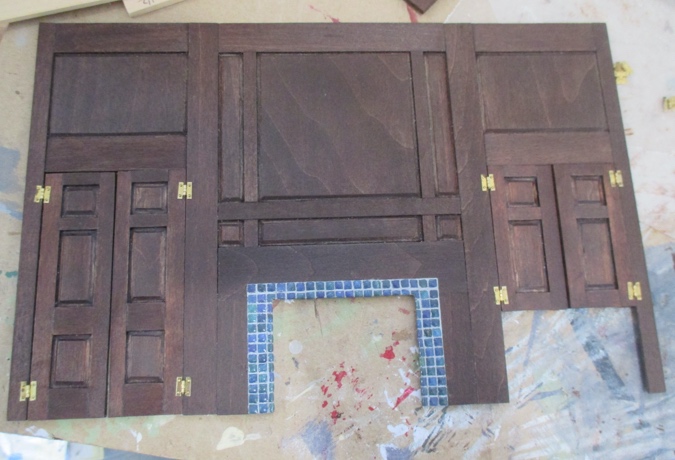
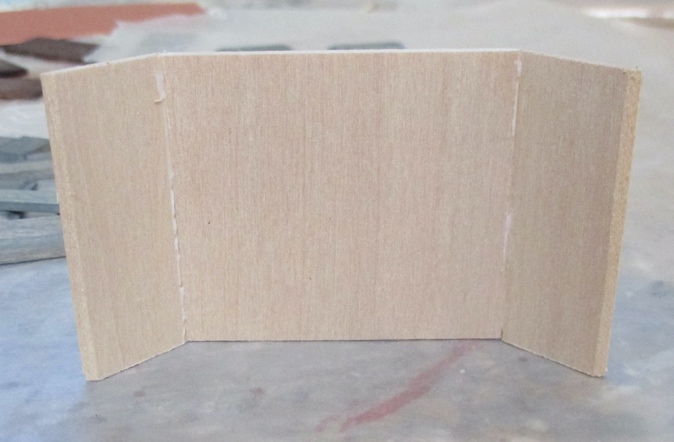
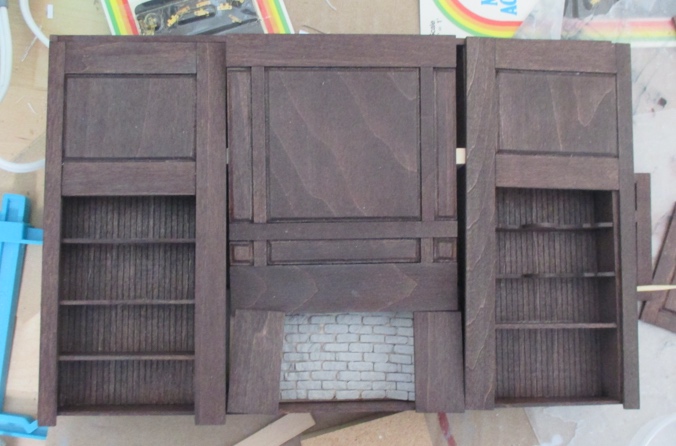
As I mentioned at the end of my last post, I was mostly happy with how the Cassidy Creations Federal fireplace wall turned out, but there were three things I wanted to fix: add more doorknobs so each cabinet door has one, straighten the hinge on the bottom left small door, and add bricks to the floor of the fireplace.

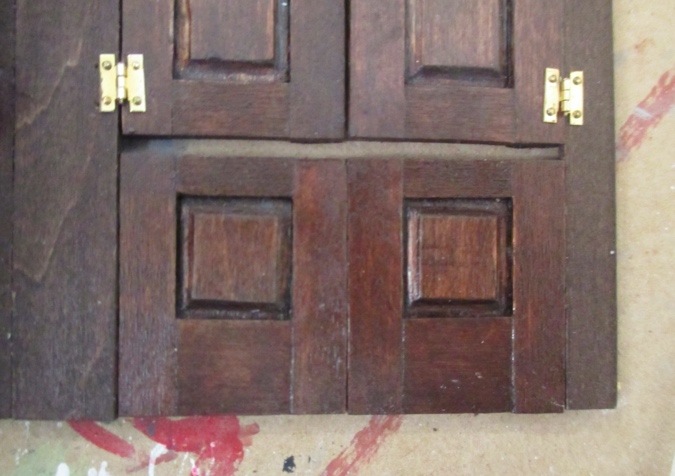
Adding another set of doorknobs was easy. Fixing the hinge, not so much. When I hinged these the first time, I hadn’t glued the front facade to the back piece yet, so the door was flat on the desk. This time, the door ended up pushed slightly farther back than the piece it’s hinged to, which can cause the hinges to twist a little and the nails on both the top and bottom hinges to pop out after several openings and closings.
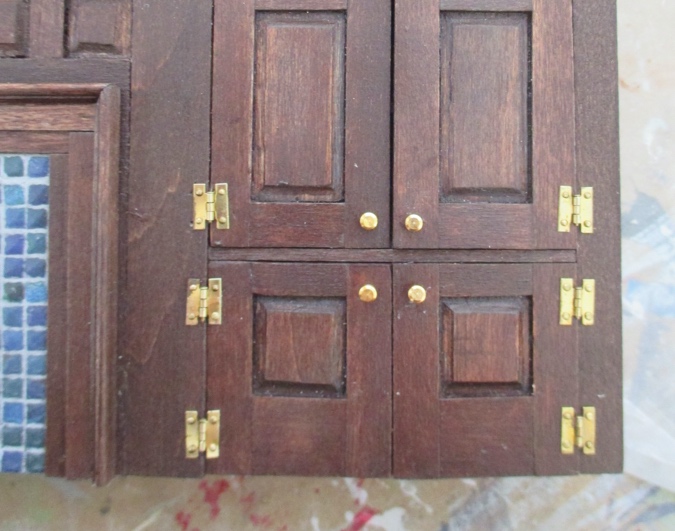
I tried putting a dot of glue on the tips of the nails before pushing them in, but it didn’t seem to matter. If they come loose, they can be pushed back in, but I imagine the holes are getting a little bigger each time, and eventually the nails won’t want to stay. Also, popped-out mails will be hard to fix if the fireplace wall is permanently installed in a house. I’ll just have to remember not to open and close that door too much…
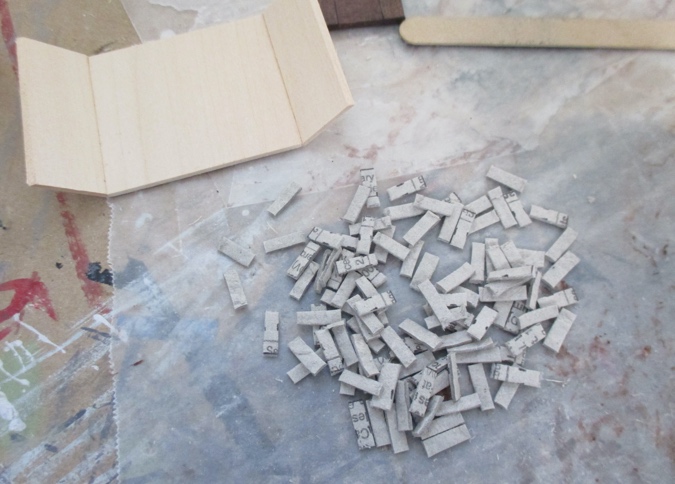
Of course, the bricks would have been much easier to do before everything was glued together. To reduce the chances of getting paint on the wood, I painted a 3/8″ wide piece of egg carton material before cutting it into individual bricks.
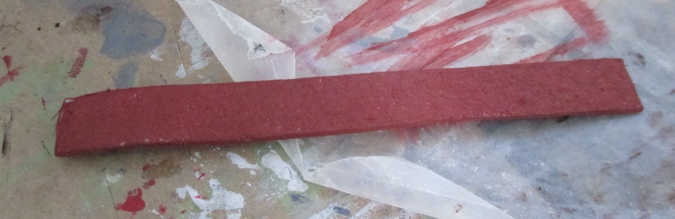
You can’t really see it in this picture, but I scored the back side of the egg carton piece about 1/16″ from the edge and folded it over. That edge will cover the front of the wood.

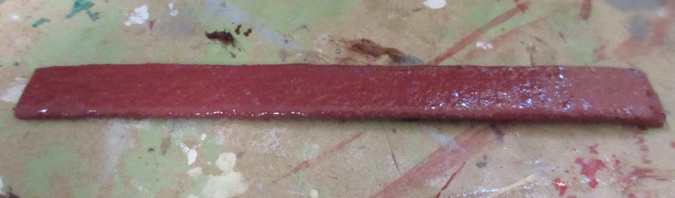
Then I coated it with matte sealer.
When the sealer was dry, I cut 1/8″ bricks and glued them in. Rather than try to wedge funny-shaped little pieces of brick into the corners that you’ll barely be able to see, I cut larger triangular pieces to fit there.
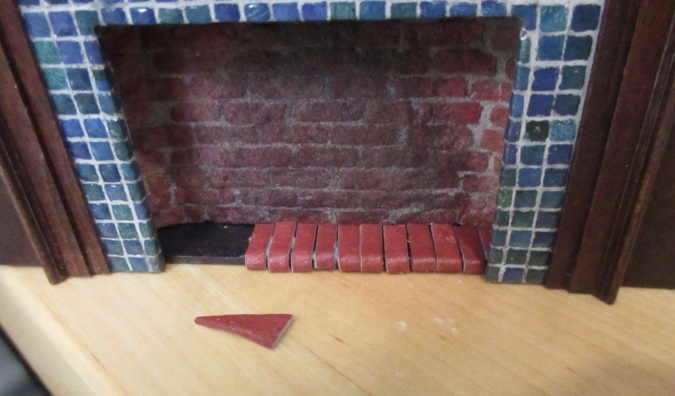
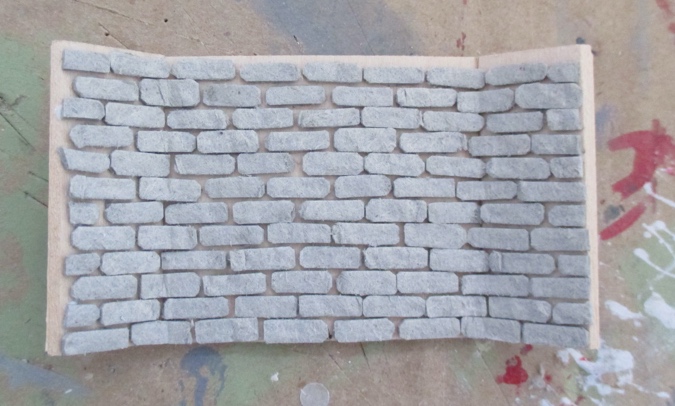
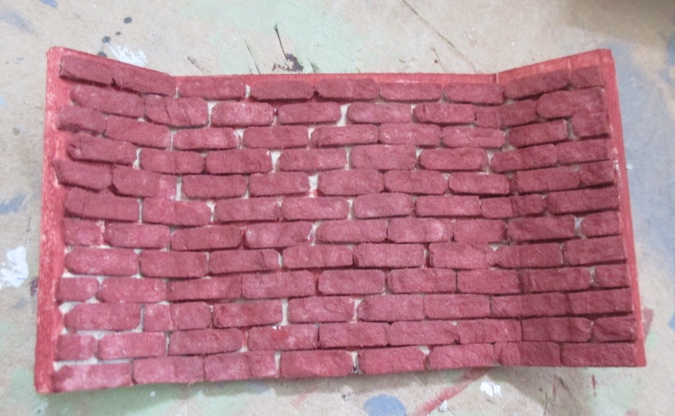
Here’s how it looks with all the bricks glued in. Normally I would have snipped the corners off each brick to make them look more bricklike, but I didn’t bother this time since they’re all the way at the back.


 Emily is a freelance writer, miniaturist, and adventure game enthusiast.

