The other day I posted a bunch of pictures of the finished Fairfield garden looking all nice and pretty. Now I’ll show you how it got that way.
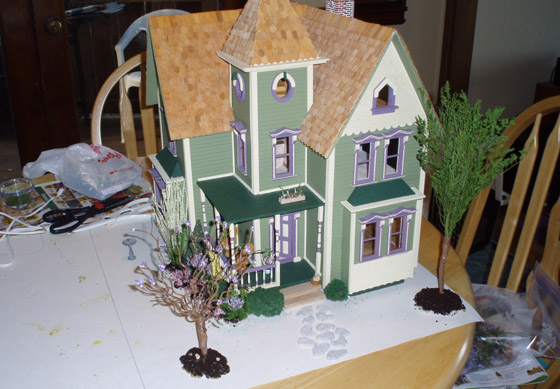
Most of the supplies my mom and I used to landscape the Fairfield were fake flowers that came from Michael’s, with a few previous Dollar Tree purchases thrown in. The flower selection at Michael’s changes regularly—in fact, all but one of the ones I bought there were on clearance—so it’s unlikely that anyone who makes a trip over there looking for landscaping supplies will find exactly the same flowers I got. The trick is to look for flowers and leaves that will work on a small scale.
Our selection included pink and purple Queen Anne clusters, grass shoots with little white balls on them, a “coral” flower with vine-like leaves, and caspia basil. (I later learned from a Google search that caspia basil is also used in model railroad landscaping. It’s quite leafy and realistic, but it’s also the most fragile since it’s a dried plant, not plastic.) Shopping at Michael’s saved us a lot of money—dollhouse garden supplies are pricey! The most expensive plant was the caspia basil at $4.99; everything else was between $1.50 and $3.50 (albeit on clearance for 50% off). I also bought a two pound bag of “decor stones” for $3.99, to use for the path and flowerbed borders, and I have a ton left over for future projects…
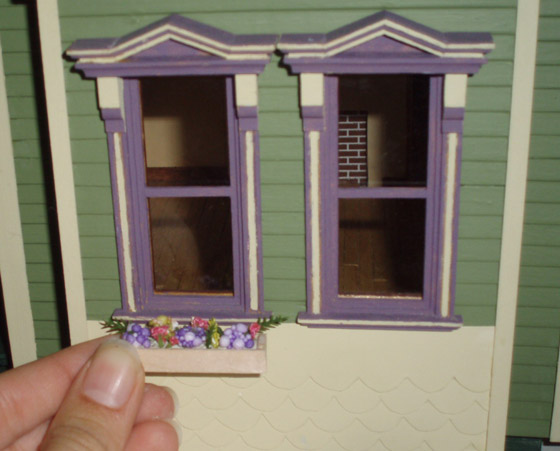
We warmed up with window boxes. These were made using skinny sticks. We used some of the same flowers as in the landscaping, and some different ones, to make them complementary but also unique. This one was a prototype that we made just to make sure the size would be right. The rest of them were painted before assembly. (My mom ended up taking the prototype home to use in her half scale conservatory.)
To make the plants, we stuck pieces of the fake flowers into lumps of air drying clay then coated the surface of the clay with glue, followed by coffee grounds. We made a bunch of different plants, playing around with the layout as we went along.

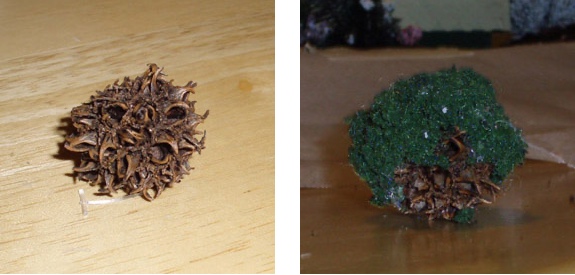
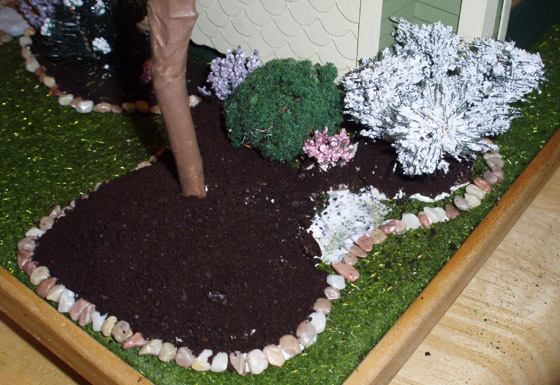
The bushes are made out of foliage fiber clusters intended for model train layouts, and these little spiky balls that have been falling out of a tree in front of my house and littering the driveway all winter. I never imagined they’d turn out to be useful!
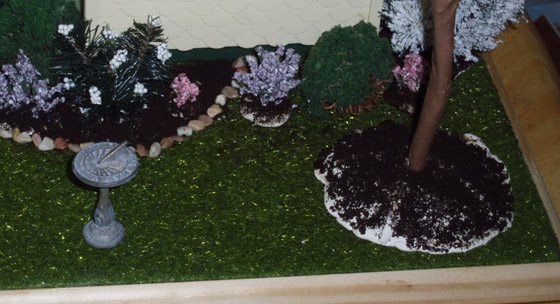
A few of the plants were created by taking apart a snow-covered tree from the Dollar Tree—it was part of their Cobblestone Corners village. I didn’t take a picture of the tree before it was destroyed, but you can see it here—it’s the only non-pine of the bunch. The white bush is made from a few branches of that tree. The green bush with the white flowers is from the same tree—the snow was removed by soaking it in warm water. The white flowers, which came off a Dollar Tree plant, were then attached with hot glue.

Once we had plenty of plants to go around, we decided how to arrange them, glued them down, and filled in the flower beds.
Step 1: After deciding how to arrange the plants, glue them down using Quick Grip.
Step 2: Apply a line of Tacky Glue around the border of the flower bed and glue in rocks. Use glue that dries clear so it won’t show through the border.
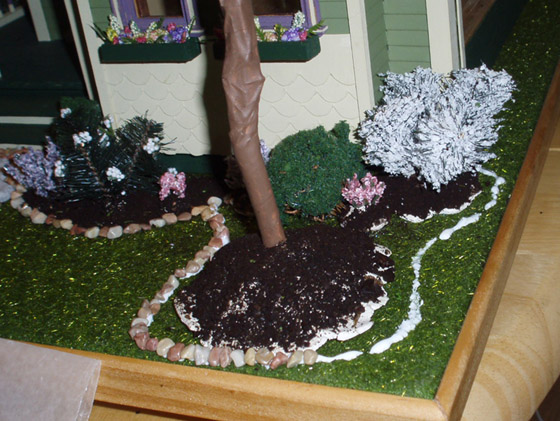
Step 3: Brush the area between the rocks and the plants with glue and sprinkle in coffee grounds. I used Mod Podge because it comes in a tub, making it easy to dip a brush into. (On the downside, my Mod Podge is now full of coffee grounds.) Touch up the soil on the plant bases if necessary.
Step 4: Voila! A freshly-planted flowerbed that smells less and less like coffee with each passing day.
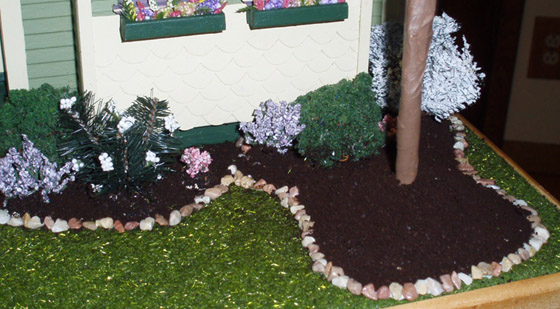
I tried to be neat with the coffee, but by the end of the project there were grounds clumped around the rock borders and spread out all over the grass. I cleaned these up the best I could by brushing them off the base with a toothbrush. There are still a few grounds stuck in the grass but I think it adds realism. I’m also thinking of adding a few dandelions from SDK Miniatures to the yard, because even the most beautiful garden sometimes has to play host to a dandelion or two.
Photos of the finished garden can be viewed here.
 Emily is a freelance writer, miniaturist, and adventure game enthusiast.


Amazing!!! This has inspired me to finish my dollhouse landscaping!! With your tips ~~~ I can do it beautifully and affordable!! Outstanding job!! THANK YOU for sharing!! :)
I don’t know how I can convince my mom to get me the supplies, but it would totally be worth it for extra chores.