The Rosedale is shingled! I used Greenleaf’s diamond shaped speed strips. I needed about two and a half packages. I stained them with Cabot semi-transparent Mission Brown stain that we had a sample jar of (Geoff bought it for a house project and didn’t like it).
My first step was to cut strip wood to run along the bottom of the roof edges. In theory I could have stained the bottom of the roof, but it already had paint on it from when I did the trim around the bottom of the roof and there were also some gaps that needed to be covered.
The Cabot stain is water-based, and the strips curled up as I stained them. They more or less flattened out when dry, though, and I didn’t have any problem gluing them onto the roof. A few times I had to tape the strips down while the glue dried but in general this wasn’t an issue.
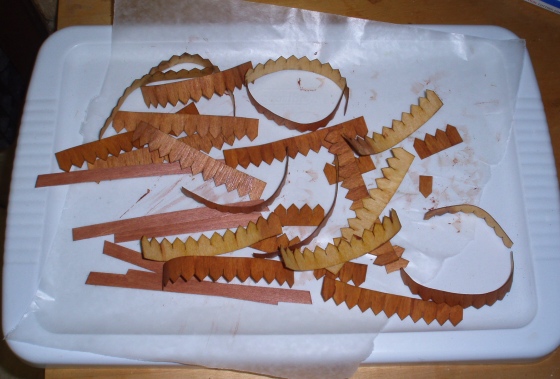
In general I prefer to use individual shingles since it provides a nice, random color variation for the roof. With shingle strips you run the risk of getting a striped effect if one entire strip comes out a little darker or lighter than the others. To avoid this, I randomly stained some individual shingles on the strips and let them dry. Then I went back and re-stained the entire strip. This way some came out darker than the rest. I don’t know how necessary it was but I’m happy with the end result.
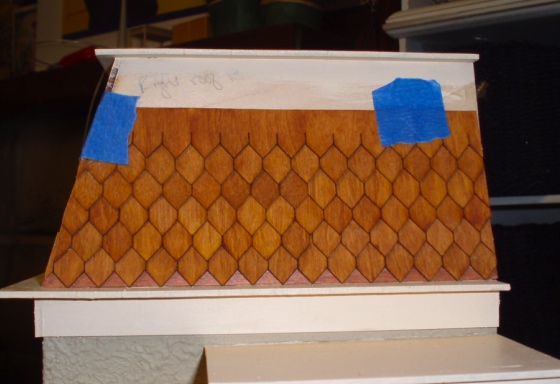
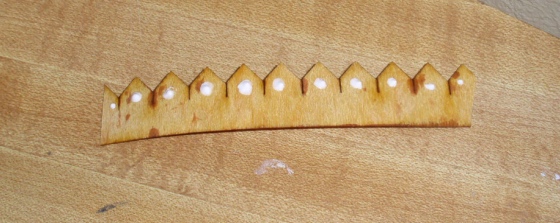
I usually apply shingles with hot glue, but didn’t want to hurt myself by dabbing hot glue on the point of each shingle and getting it on my fingers. Instead, I used The Ultimate glue on the points, as shown below, then ran an line of hot glue along the top edge.
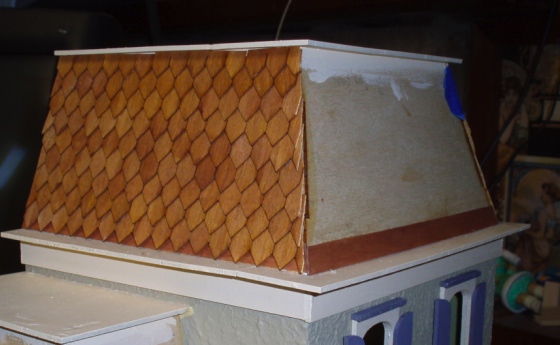
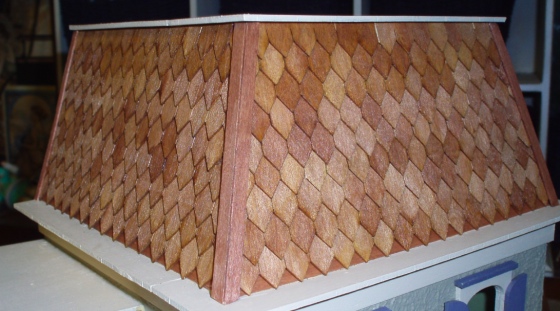
I did the sides of the large roof first, then moved on to the front. The speed strips allow for nice, uniform lines of shingles, but I’m not sure they save much time in the long run. Also the distance between the shingles varied a little from strip to strip, so I ended up with some rows that didn’t overlap the row below quite right. This would have been easier to fix with individual shingles.
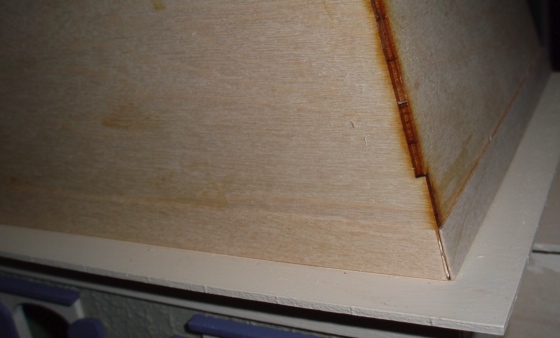
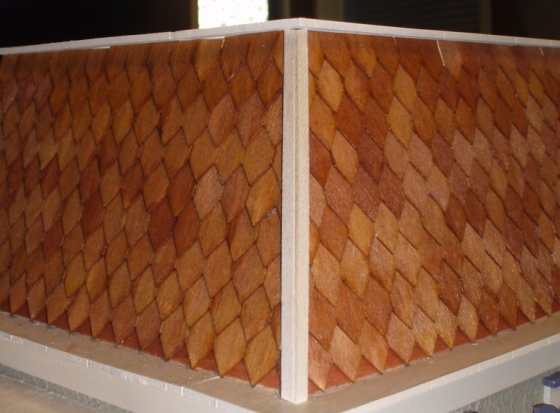
I was trying for neat corners, but they ended up looking kind of jagged. So I cut trim to cover the corners, using my extra front roof piece from Kit B as a guide to get the angles right.
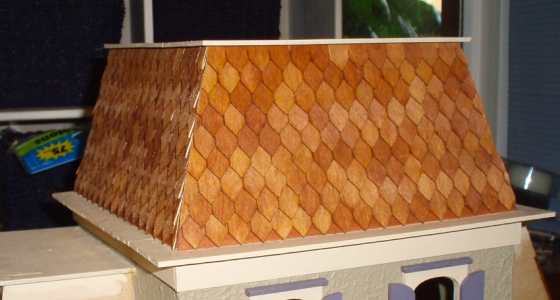
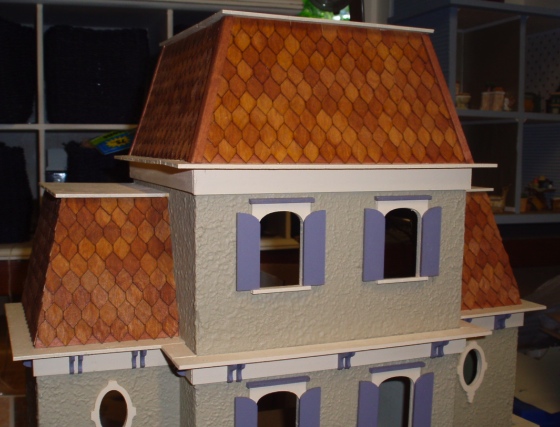
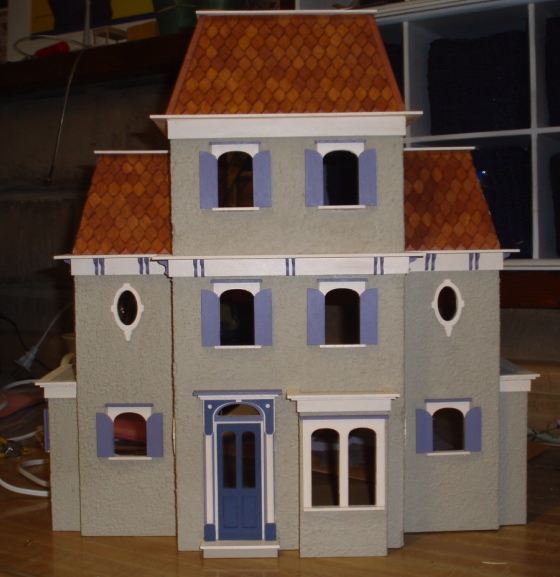
Here’s the finished view. I haven’t added trim to the corners of the small roofs yet. I also still need to glue the brackets to the upper fascia… I don’t enjoy painting small trim pieces so I’ve been doing them in batches to make the job less daunting.
 Emily is a freelance writer, miniaturist, and adventure game enthusiast.


Leave a Reply