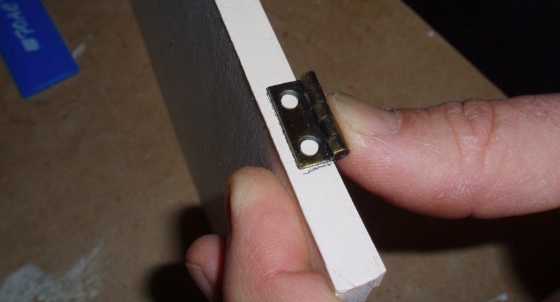
The Queen Anne Rowhouse is my first dollhouse with hinged panels, and all along I’ve been fretting about how to handle them. When I got the house it had shiny brass hinges that were very obvious and the screws didn’t all match, which I hated. I bought some antiqued brass hinges to replace them with — same size, but slightly classier.
I’m at the point where the panels need to go back on, and I started with the roof.
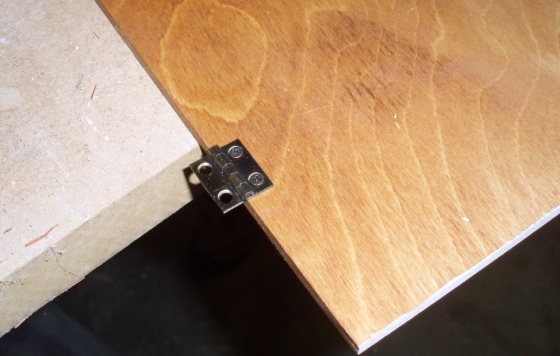
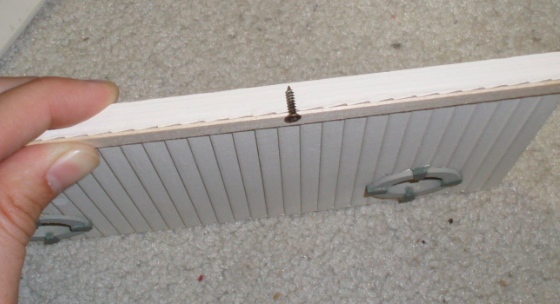
Looks great from the top, but underneath the screws stick through.
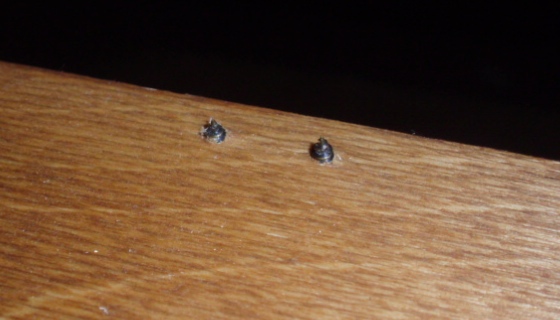
Geoff helped me sand them down with the belt sander.
Much better! And although I originally planned to leave the underside of the roof stained, I decided to paint it house colored instead, so these little nubs have been covered up completely.
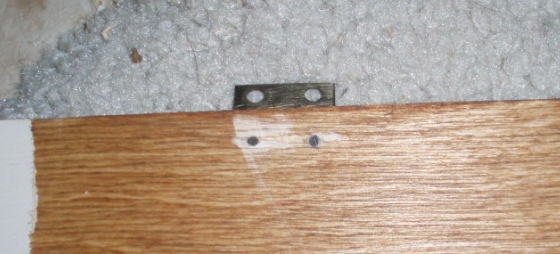
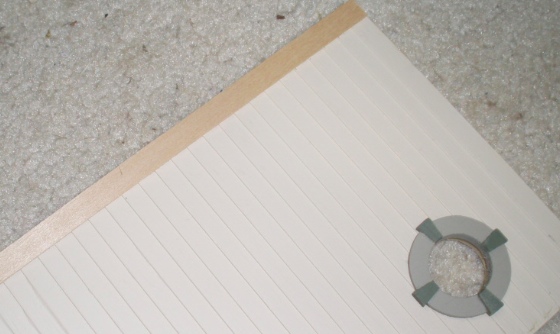
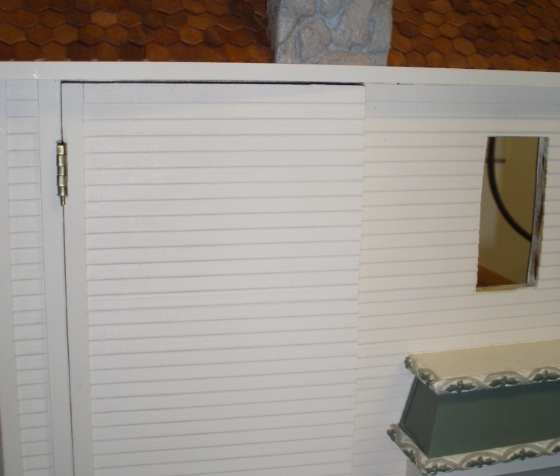
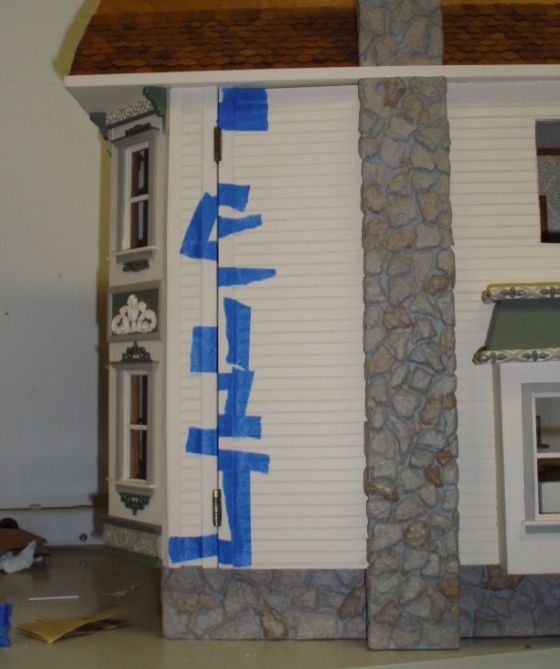
The wall panels have siding so they’re thicker than the roof, and I planned to put basswood trim pieces at the edges to cover up the not-completely-straight edges of the siding, like so. The hinges would then sit on top of these trim pieces, fully visible.
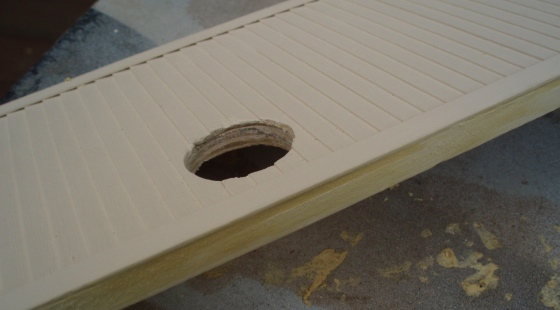
The trim added just enough depth to allow the screw to fit without sticking out the other side.
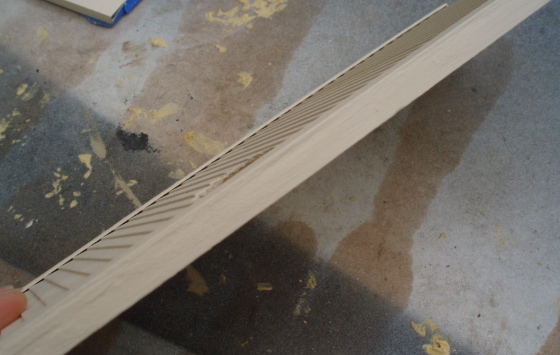
After gluing on the trim, I used woodfiller to fill in the gaps where it met the siding.
This made for a nice smooth edge.
Then my parents came to visit, and when I showed my dad what I planned to do he suggested setting the hinges on the inner edge so they’d be hidden. I was apprehensive about doing it this way and having it look neat but liked the idea of the hinges being as unobtrusive as possible. So we decided to try it.
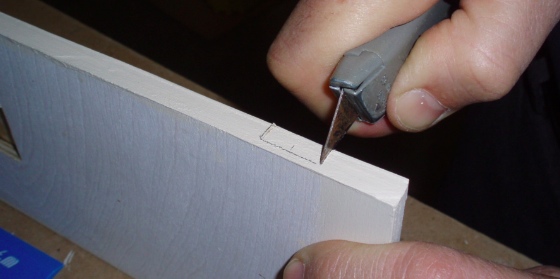
We started by tracing a pencil line around the hinge, and scoring this with a utility knife.
Then my dad used a chisel to scrape the wood out.
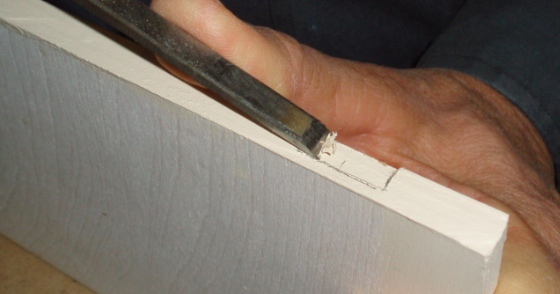
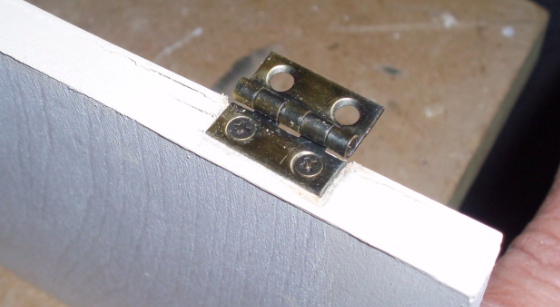
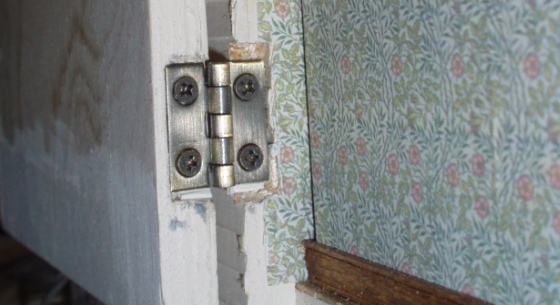
With the hole chiseled out, the surface of the hinge is flush with the edge of the panel.
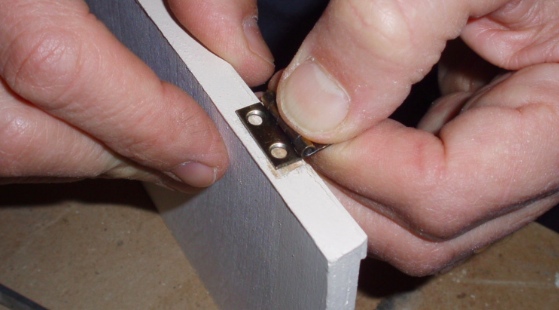
And here’s how it looks with the screws in. Note the cracks to the side of the hinge — we didn’t drill holes first, and that’s what happened.
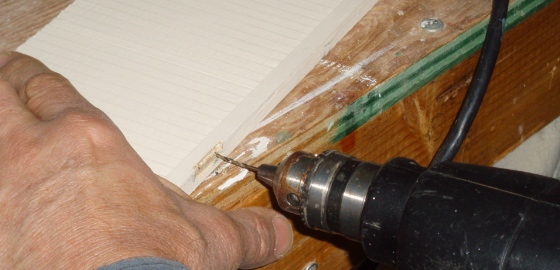
For the other holes we used the drill first.
So far, so good. I didn’t like that the cuts on the basswood trim were a bit wavy but removing the trim and redoing it would be easy enough.
Cutting the holes on the house sides was harder. I’m a perfectionist, and as we were working on this I started regretting going this route for the hinges — if I’d attached them to the front of the house as planned, they would be visible but at least everything would be nice and neat! But by this point there was no turning back.
A few times we ended up with holes in the wrong places that caused the panel not to hang straight. To fix it, my dad had a neat trick of gluing in a toothpick tip and then cutting off the rest of the toothpick.
It turned out that some of the chiseled-out holes were too deep. For these, my dad added paper behind the hinge to push it back out a bit.
After all this (and a hinge that bent, and some swearing — me not him!) the panel on the stair side wouldn’t close.
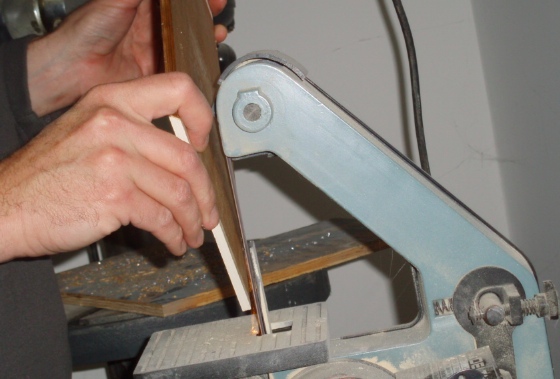
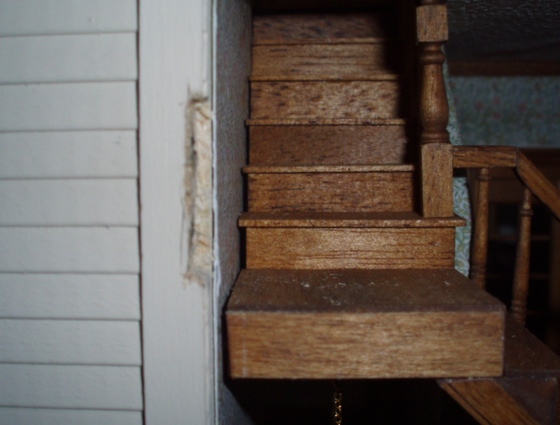
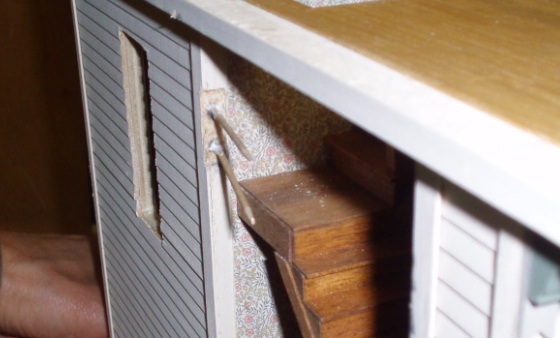
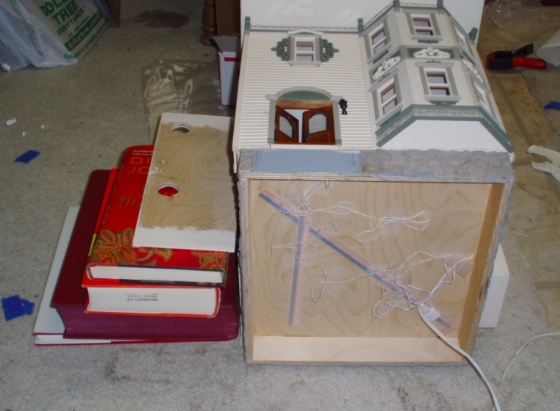
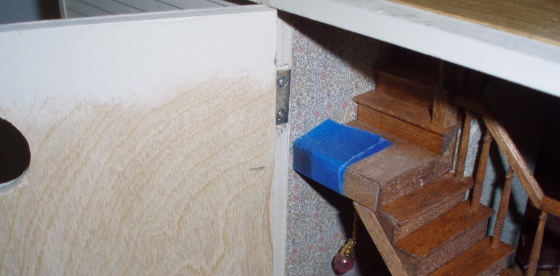
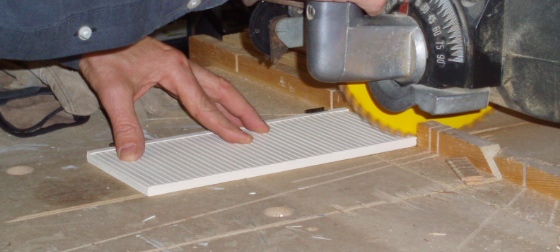
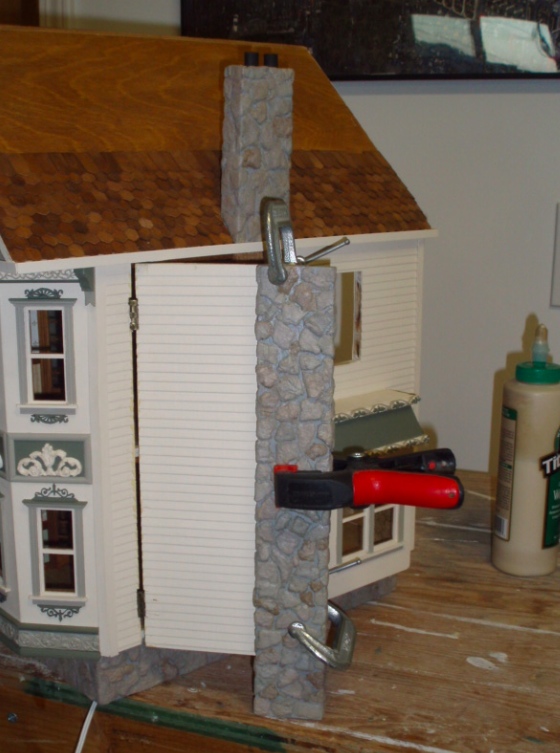
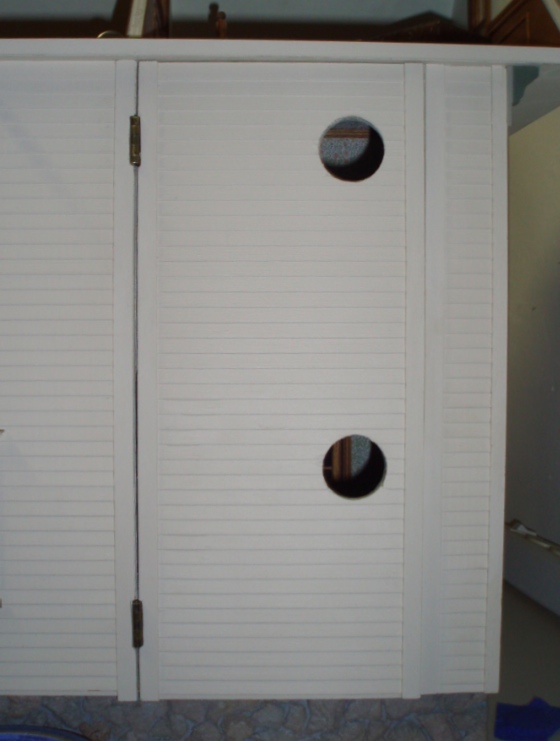
By peering in through the attic stair hole with a flashlight, we saw that the panel was bumping the edge of the upper landing, keeping it from closing all the way. Since the stairs weren’t quite flush with the hole I knew this was a possibility. Not wanting to remove the panel and rehinge it if I didn’t have to, I set it up like so and used the mouse sander on it, hoping to remove enough from the inside of the panel to make it close without bumping the stairs.
After sanding and sanding, I got it to close this much.
But if I pressed it closed with my finger, it would go almost flush. It was still catching somewhere, with the catch point causing the door to spring back open.
I put some masking tape on the landing and rubbed the edge of a pencil tip against it, then closed the panel again. The pencil rubbed off on the panel to show where it was bumping.
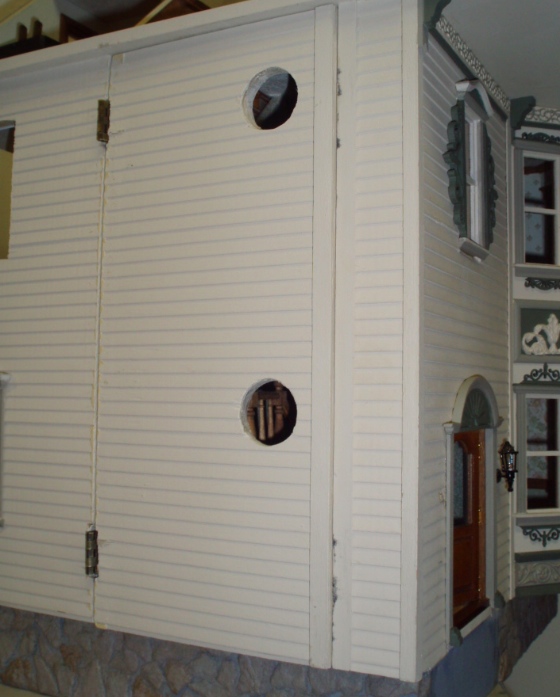
I sanded off quite a bit more in that area, but it still wasn’t closing as well as I thought it should. So I ended up taking off the hinges, playing around a bit more with the amount of paper behind some of them, loosening and tightening screws. And *finally* I got it to close like this. I can live with it!
On the other side, I knew we were going to have trouble making the panel fit because it was warped and had never fit well to begin with. I had it sitting under something heavy for about a month and that straightened it out pretty well, but the panel still didn’t want to close nicely.
Since this seam will be hidden under the chimney, we decided to just saw off a quarter inch of it.
Looks like this.
With the panel hinged in place, I was finally able to glue on the chimney.
On this side, the drill went through the wall when my dad was putting on the bottom hinge. Luckily it wasn’t too hard for me to pull off the chair rail and baseboard and cover it up with a new piece of wallpaper.

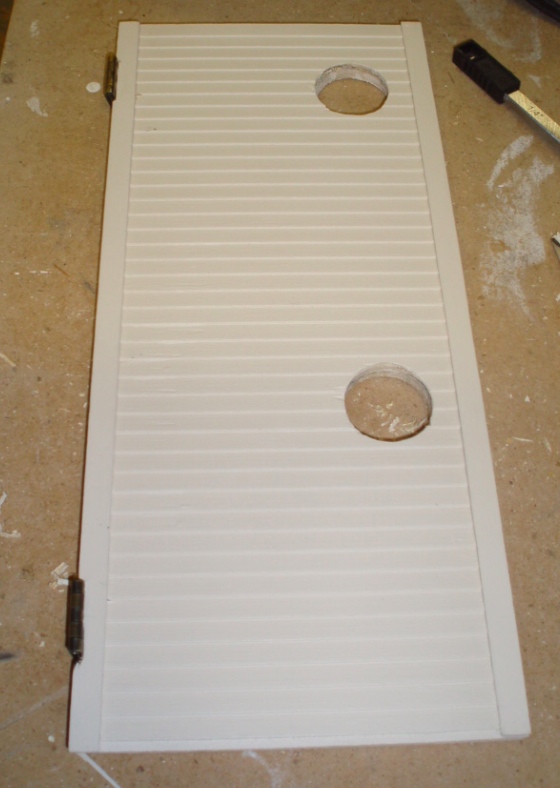
I pulled off the trim pieces around the hinges and replaced them with ones that had cleaner cuts.
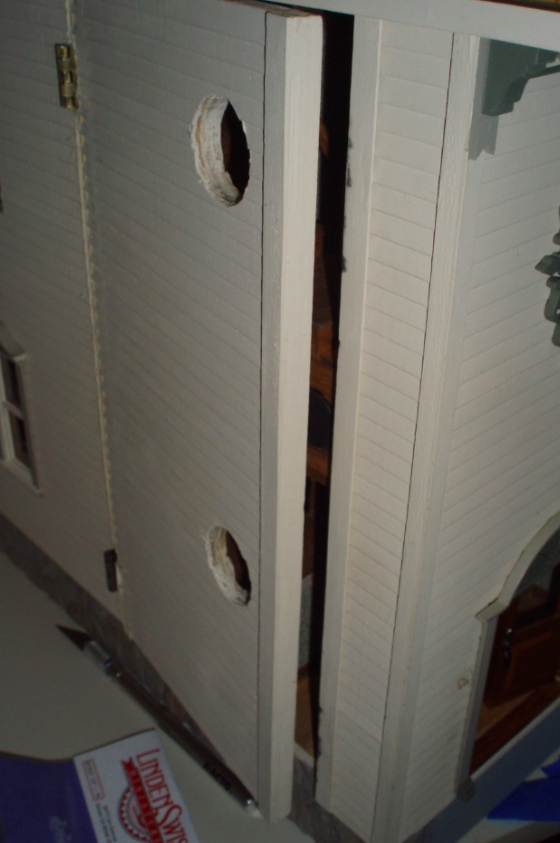
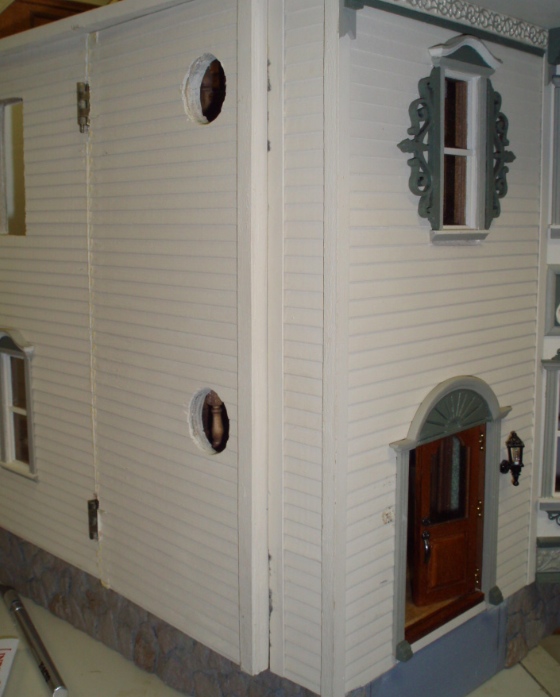
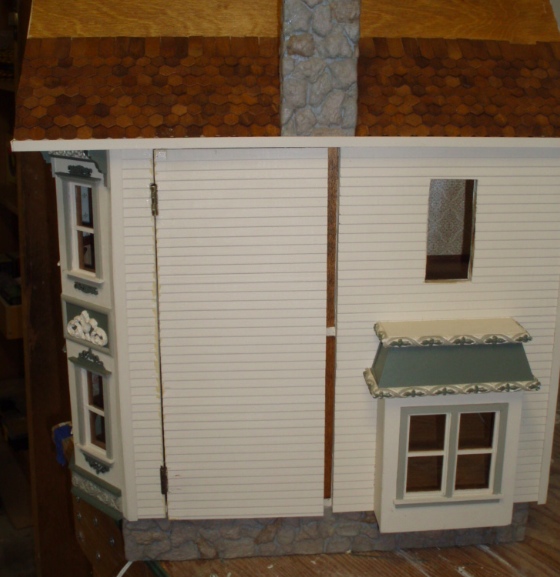
And voila! Because this panel was warped, there is a bit of a gap at the top, but I have a plan to cover that up.
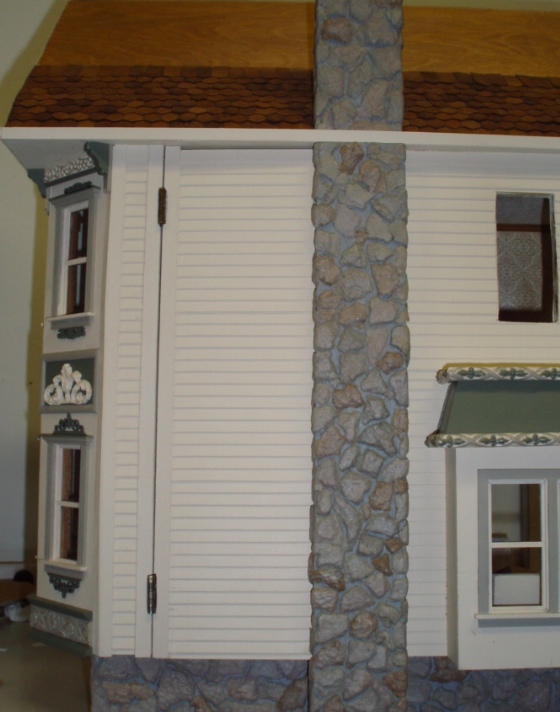
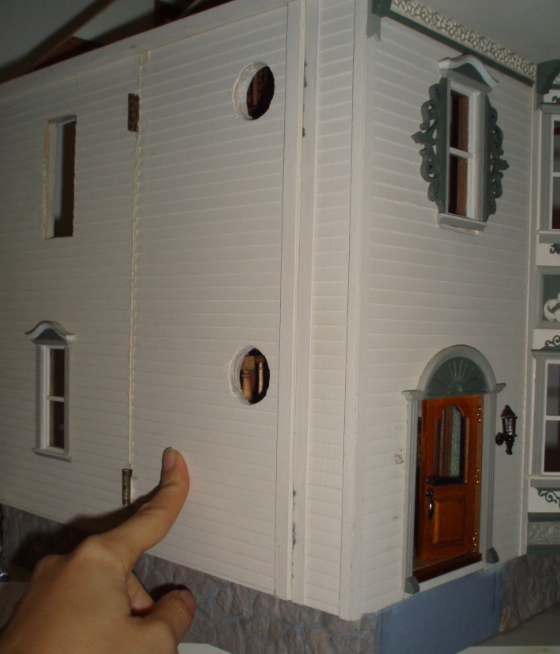
And here’s the other side with the new trim added. You can tell at the bottom corner that the fit isn’t perfect, but I’m okay with it (don’t think I could get it any better than this). Maybe I’ll find a way to mask it with landscaping. Or add a garden hose to draw your eye away from the seam.
 Emily is a freelance writer, miniaturist, and adventure game enthusiast.


While I’m sure this was a nail biting experience, it’s really helpful to see how you were able to deal with the hinges. Thanks!
Thanks for posting about the hinges. We have a panel like that to do soon. I also like the idea of a chimney and fireplace there. Hmmmmm….
We are doing the RGT’s Victoria’s Farmhouse.
Thanks for the description of doing the hinges – I wonder whether the same method would work on hinging a roof?