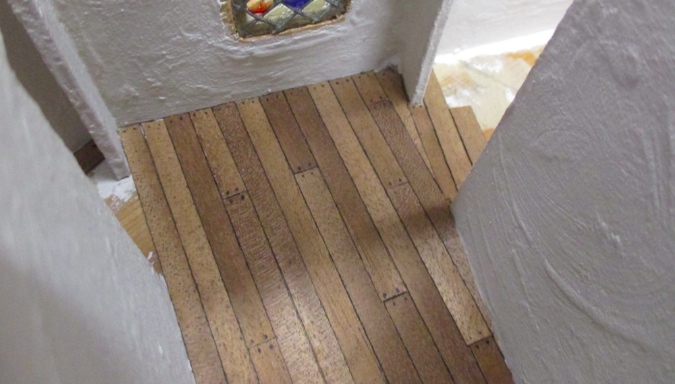
With the Thatched Cottage’s walls painted I moved on to the floors, using the same thin wood veneer I’d used in the Victorianna (but a different color). I started by staining the subfloor so any spots that showed through wouldn’t look like raw wood. I hadn’t done a particularly good job keeping wood filler and paint off the floor, so I was only really able to stain the centers. Better than nothing.

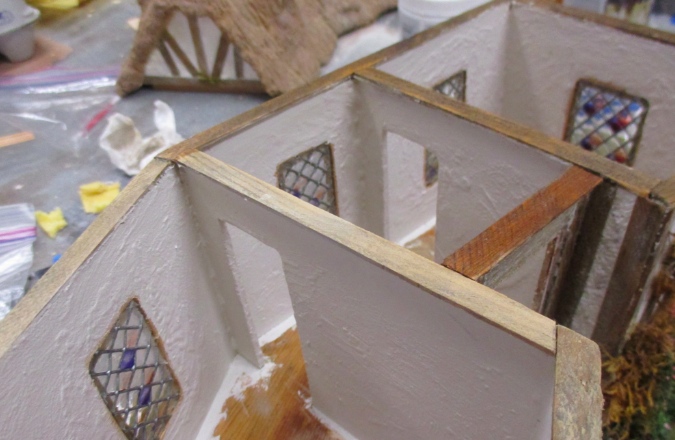
The trim at the top of the house was very faded, so while I had the stain out I went over those pieces with it. The stain is Minwax Weathered Oak. In this picture the trim at the top has been stained and the trim at the bottom hasn’t yet, so you can see the difference.
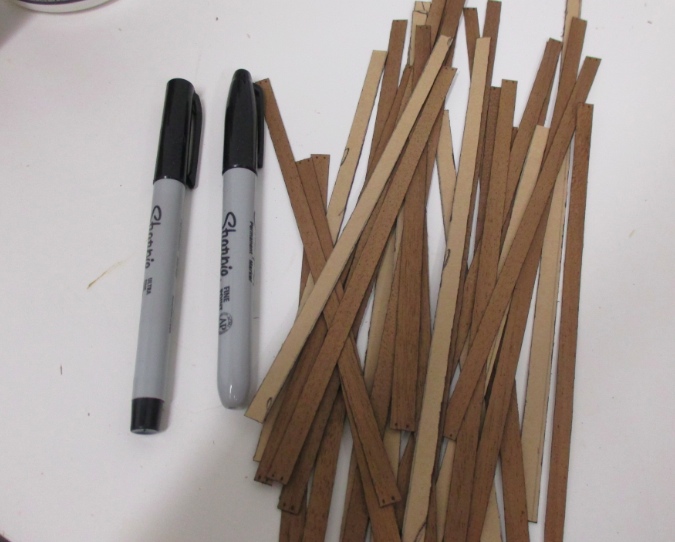
While the stain was drying I cut out 1/4″ wide flooring strips with the paper cutter. I went around the edge with Sharpie to give the flat boards the illusion of depth, and then used a thinner Sharpie to draw nail holes on each end.
The cottage’s rooms aren’t square. I started with the middle room, going left to right, which got kind of wonky when I got over to the next room that meets it at an angle.
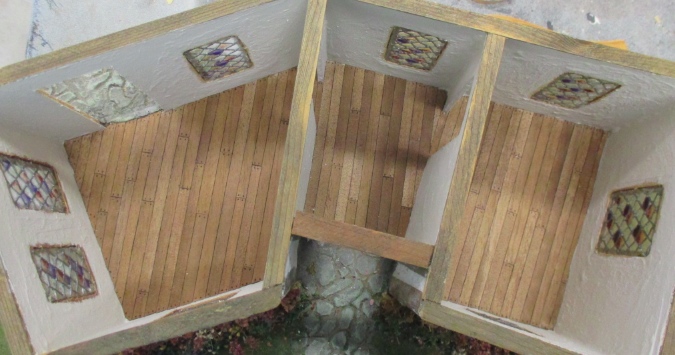
Here’s how the three rooms ended up. I probably should have done the middle room right to left since the right edge of that room is square. Oops.
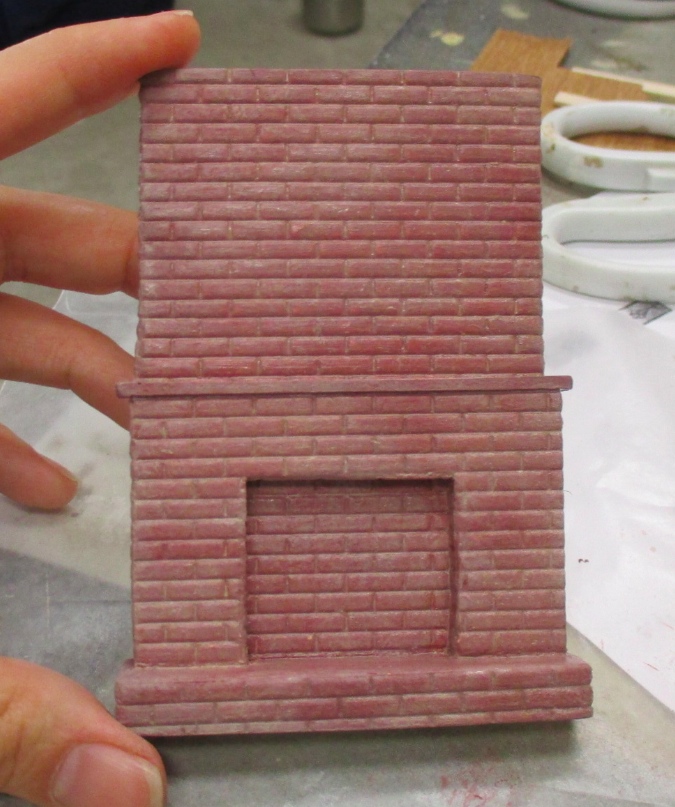
I have two Braxon Payne Colonial fireplaces that I considered using in the two Bill Lankford cottages, but they’re much too big. I searched eBay for 1:24 fireplace options and came across this one. It’s cast resin and about twice as tall as it needs to be.
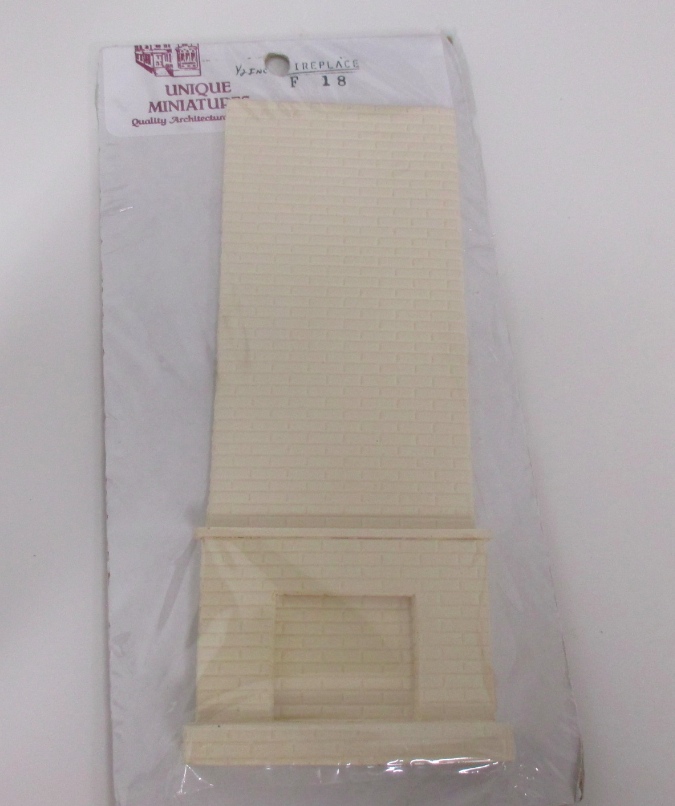
I intended to cut it down and put it on the wall that lines up under the chimney.
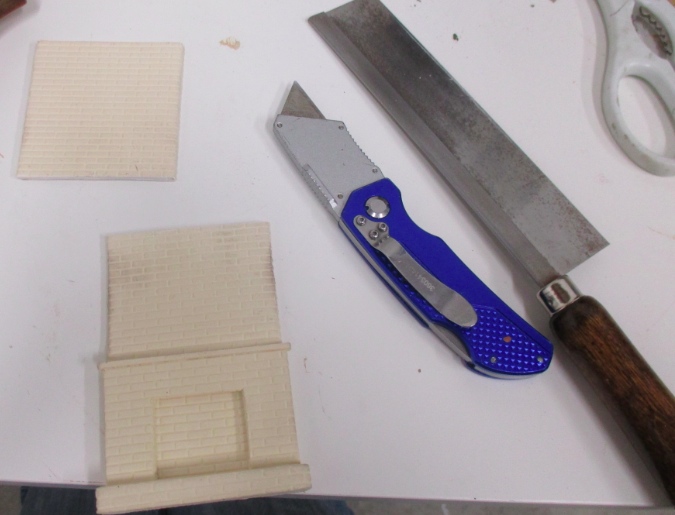
I used the utility knife to score the cut, which was easy since I could score right along one of the grout lines. Once I’d made several slices with the utility knife, I sawed it the rest of the way with the saw from my miter box. I cut it one brick higher than it needed to be, then sanded it down with the disc sander for a perfect fit.
Here it is on the intended wall… it fits, but it’s cramped and doesn’t leave much space in the little room for other kitchen furniture.
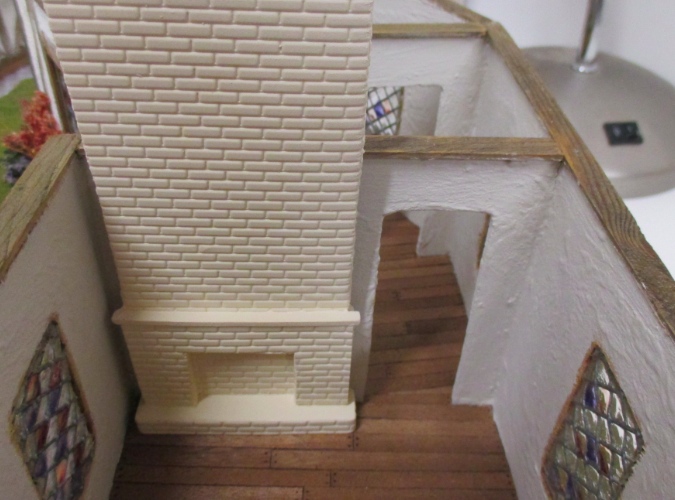
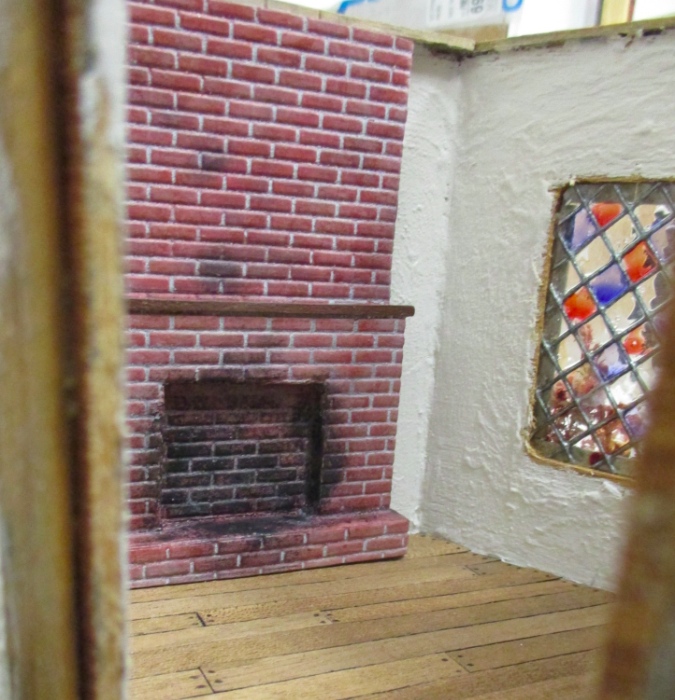
Here it is on the wall in the biggest room, which doesn’t match up with the chimney. I went back and forth about whether I could live with the incongruity of the fireplace not lining up with the chimney. Since the roof is removable, you don’t actually see the fireplace and chimney at the same time, but I hate things like that.
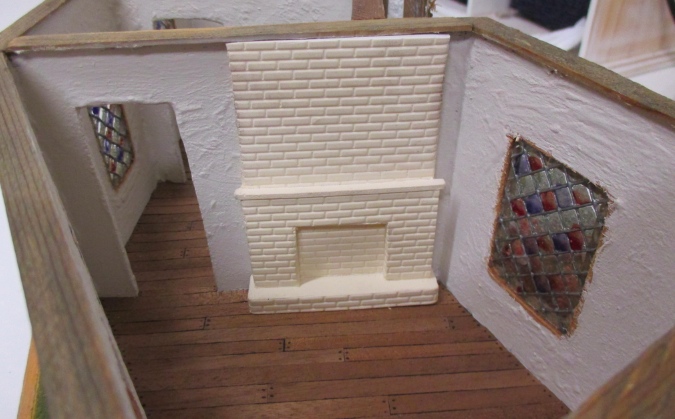
In the end I decided I can live with it. This way the bigger room can be the kitchen, and as an added bonus you can see the fireplace through the back door. (Seemed weird to have a back door off the bedroom, anyway.)
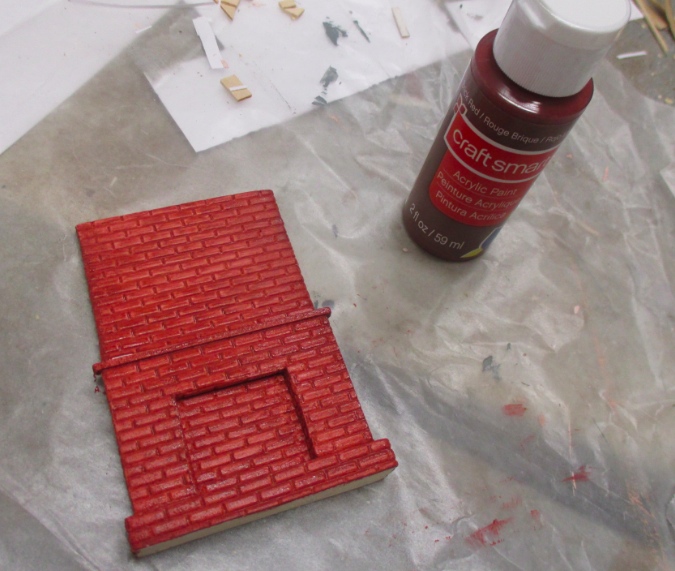
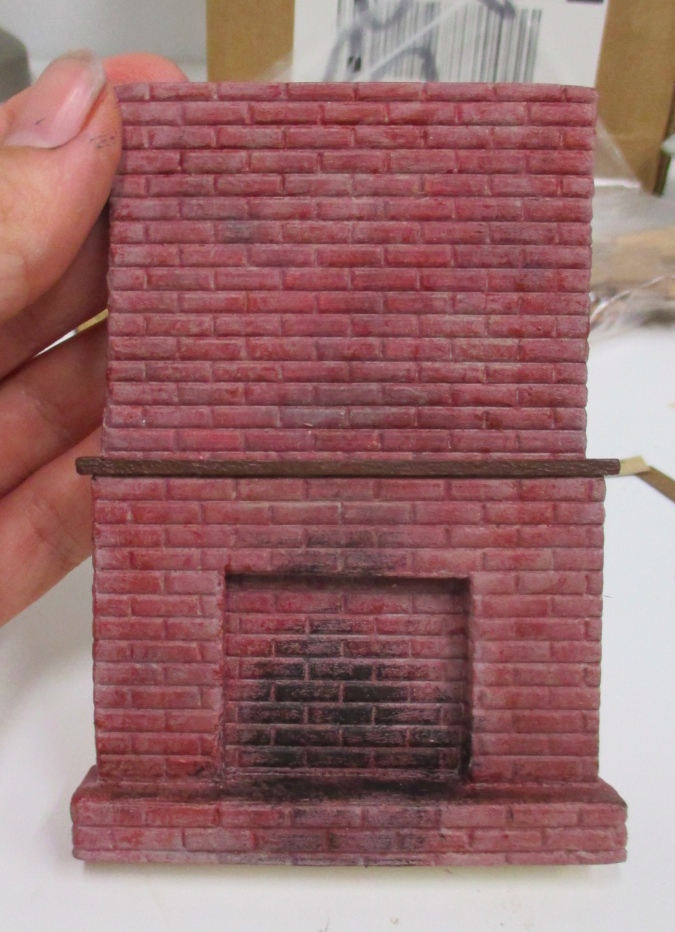
I painted a base coat of Brick Red.
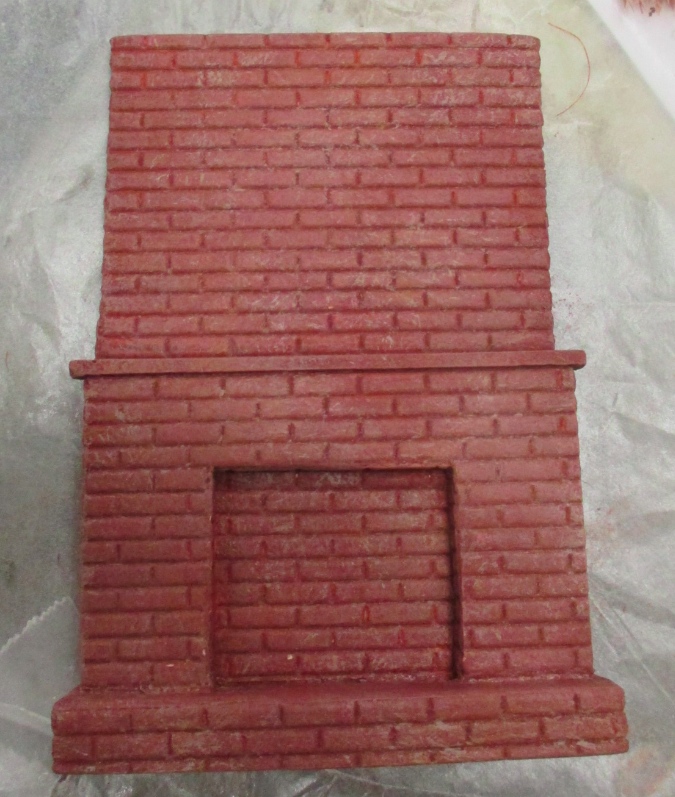
Next I splotched on some other shades of red with a dry brush, and also some light brown.
I added a few brown and gray washes, hoping the wash would get stuck in the grout lines (which had worked on the chimney). The washes don’t look enough like grout, but the color’s getting there.
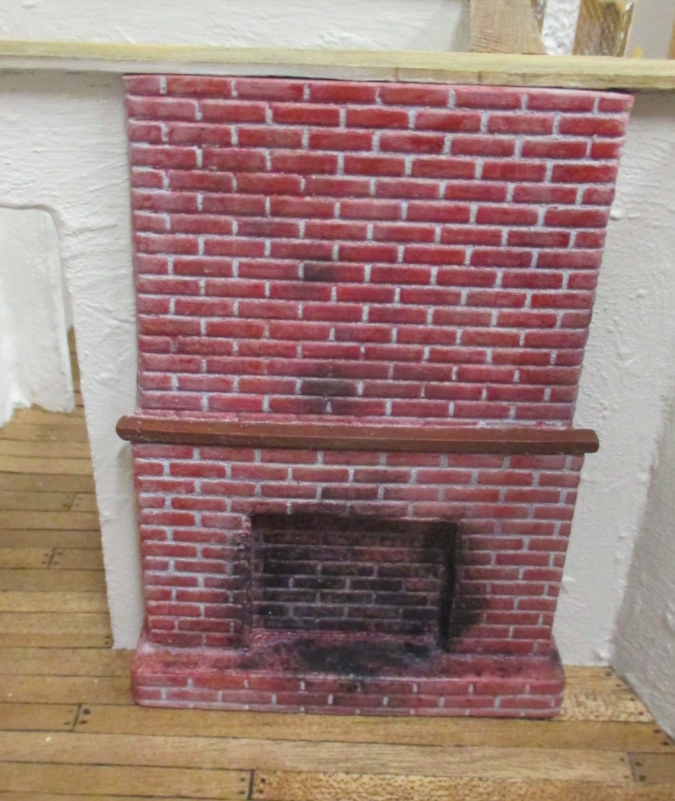
I splotched on some more reds and grays, added black “soot,” and painted the mantel brown to look like wood.
I would have called that done, but the next day the lack of grout was still bothering me. A while ago I bought a tub of gray mortar for the Victorianna’s brick foundation, which I haven’t gotten to yet. I painted over the whole fireplace with a coat of matte varnish to protect the finish, then started smearing on mortar, wiping off the excess with a damp paper towel. Here’s how it looks with the top half mortared.
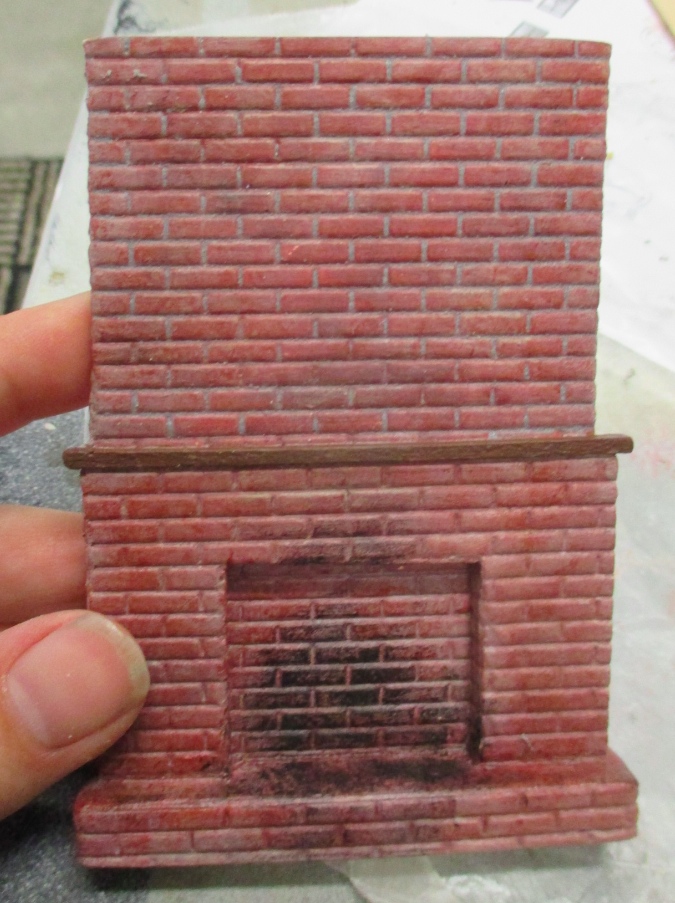
I mortared the rest of it and ended up scraping off some paint. But the grout lines look good!
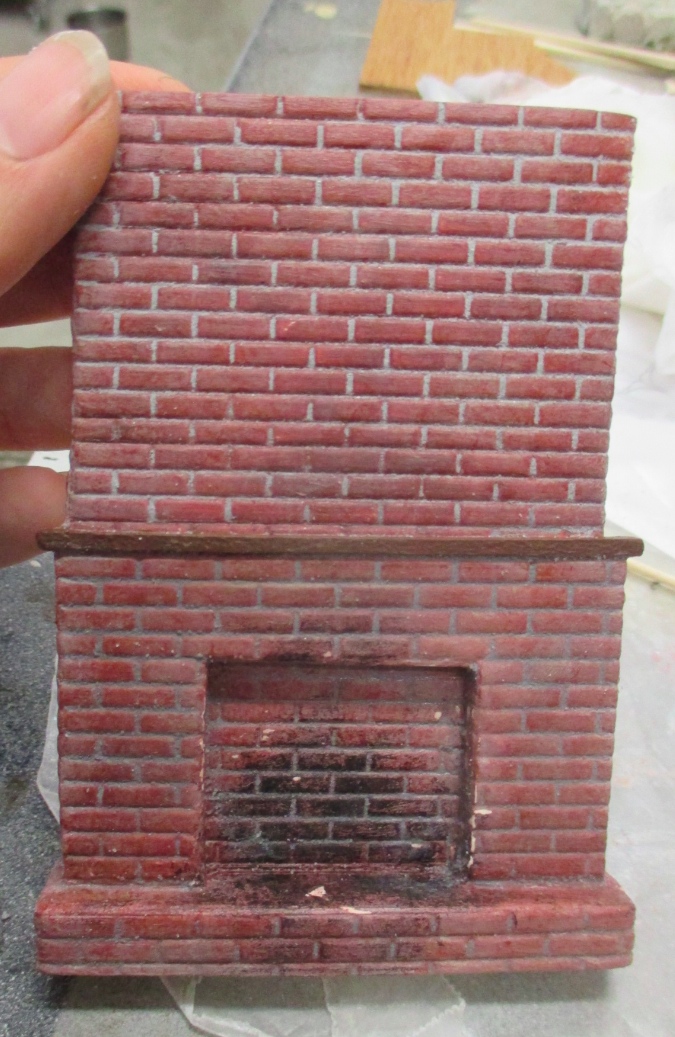
I didn’t want to open a can of worms by splotching on all the different reds and browns and grays again, so I just covered up the scraped parts with black. Now it’s a very sooty fireplace.
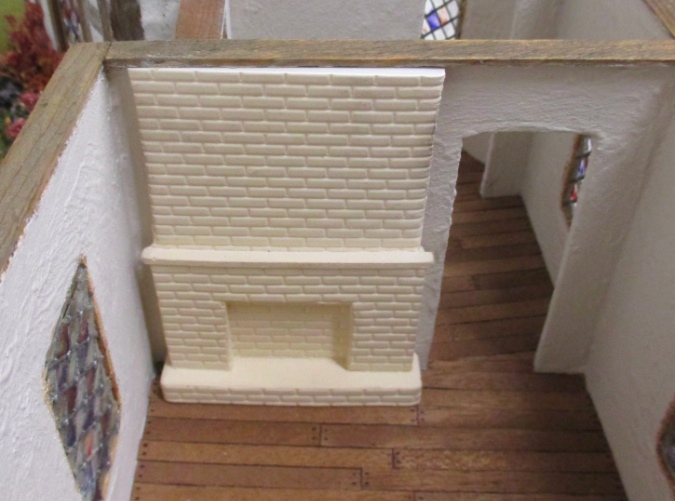
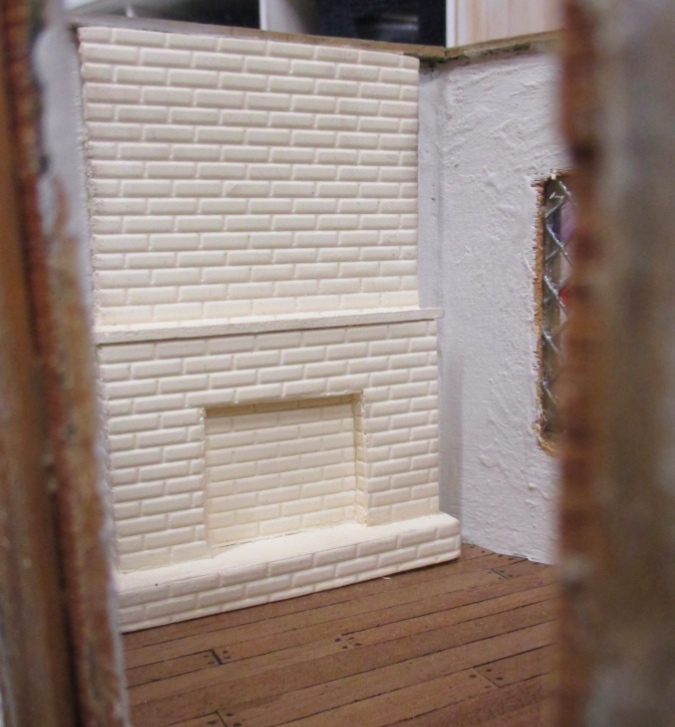
Here’s the finished fireplace through the back door.
 Emily is a freelance writer, miniaturist, and adventure game enthusiast.


I love this thatched cottage! Wonderful job on that fire place.