With the Artist’s Cottage addition assembled, it was time to stucco the outside. For years I have been using watered down Elmer’s wood filler as dollhouse stucco (here it is on the Rosedale, and on the Artist’s Cottage itself). I recently ran out of wood filler and when I went to buy more, Home Depot didn’t have Elmer’s so I got Dap Liquid Wood instead. It has a different consistency, kind of like tahini, and it didn’t hold its shape like I wanted it to. When I used it on the inside of the addition I didn’t like the texture, so I went to a different store to buy a tub of Elmer’s for the outside.
The Elmer’s wood filler was also a different consistency than I remembered. It seems a lot wetter, but that could just be because it’s new and hasn’t had a chance to dry out yet.
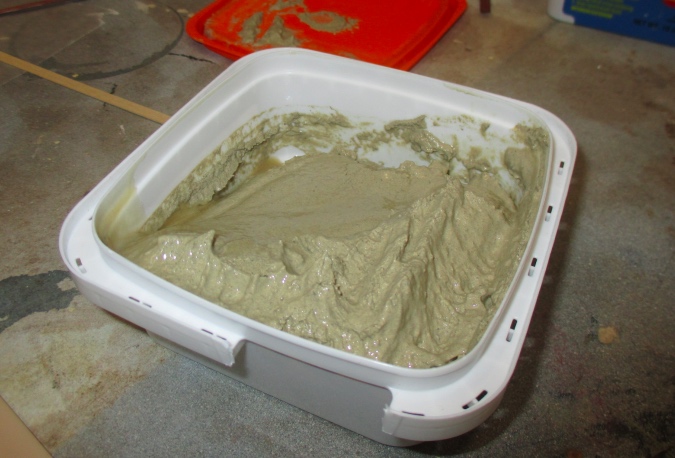
Not wanting to end up (again) with something too runny for a good stucco texture, I started by spreading the wood filler directly on the house instead of watering it down first. I dabbed it with a piece of sponge to make the bumps.
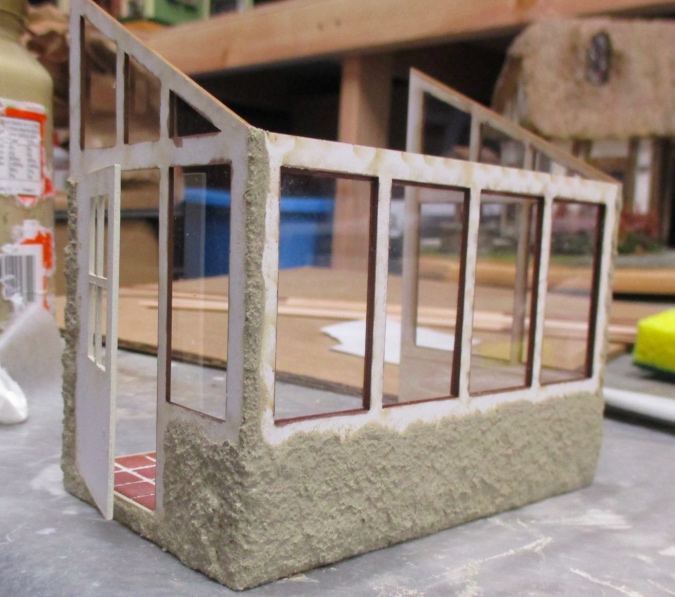
This resulted in a very thick layer that took all night to dry (usually it dries in an hour). Because the addition is made of cardstock — and only one layer when I was supposed to use two — the thick layer of stucco helps give it some stability. After painting, though, the texture still seemed off to me, especially at the bottom which had rubbed on the table as I was handling the addition.
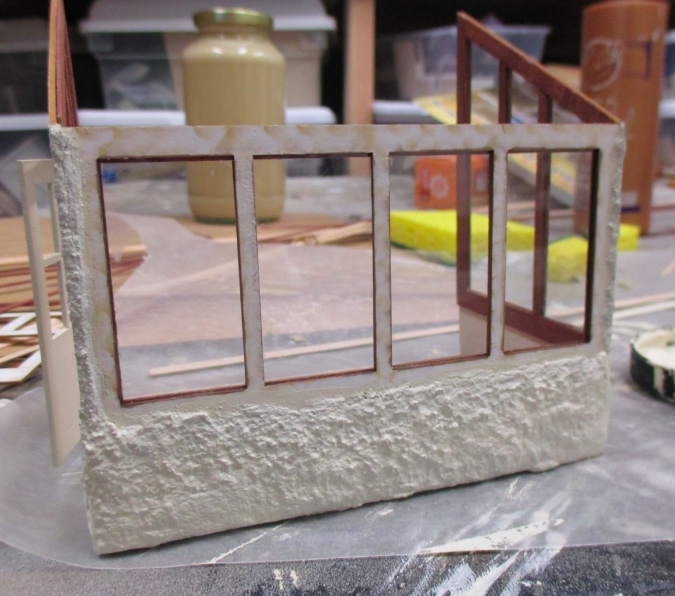
So, I watered down the Elmer’s a little bit and went back for round two.
Between rounds of waiting for the stucco and paint to dry, I worked on the rest of the inside trim.
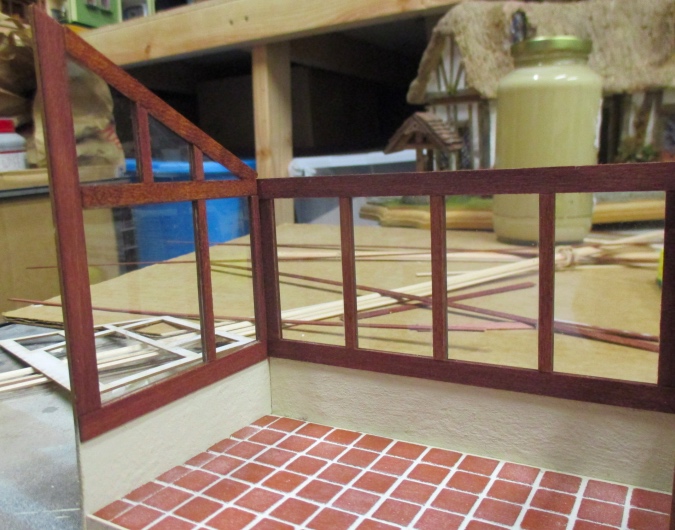
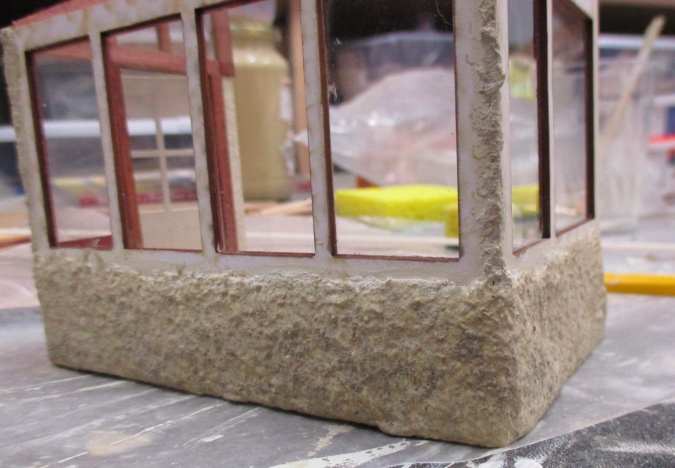
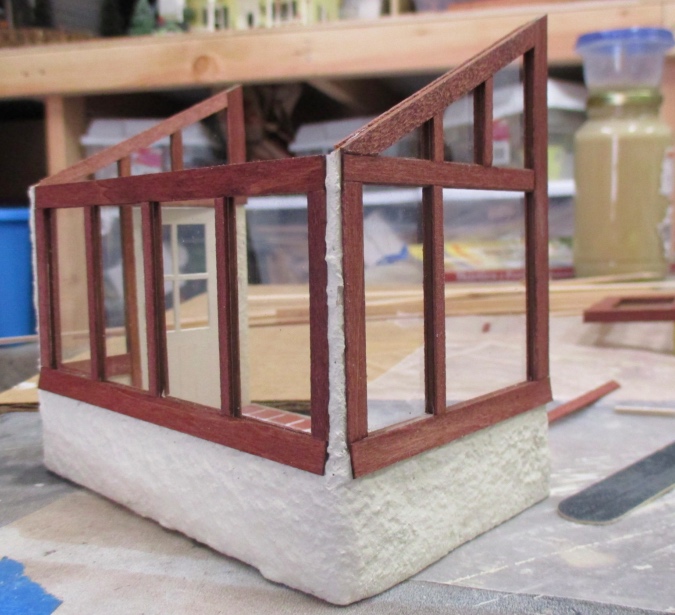
I’m still not 100% happy with the stucco… it looks different than on the house. Here it is after another few coats of paint (more than one was needed to cover up the dark wood filler) and the addition of trim. I had tried to keep wood filler off the areas where the trim would be glued, but got a bit too close at the bottoms, so the bottom trims bow out a bit.
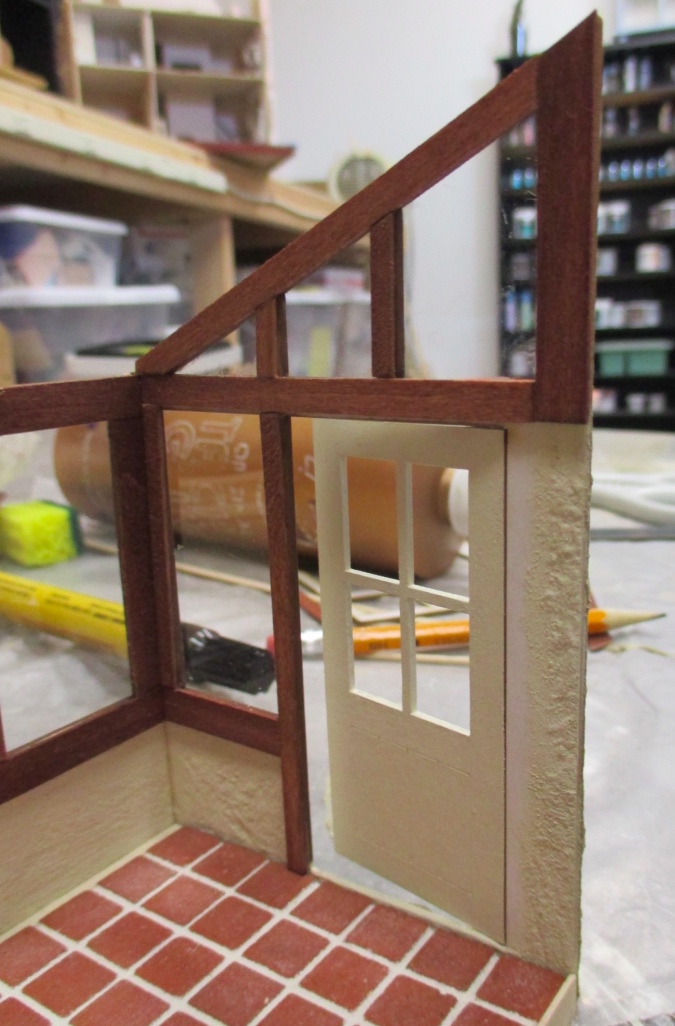
I saved the side with the door for last. I started by gluing the separate door piece (with window acetate attached) to the piece that’s hinged to the addition.
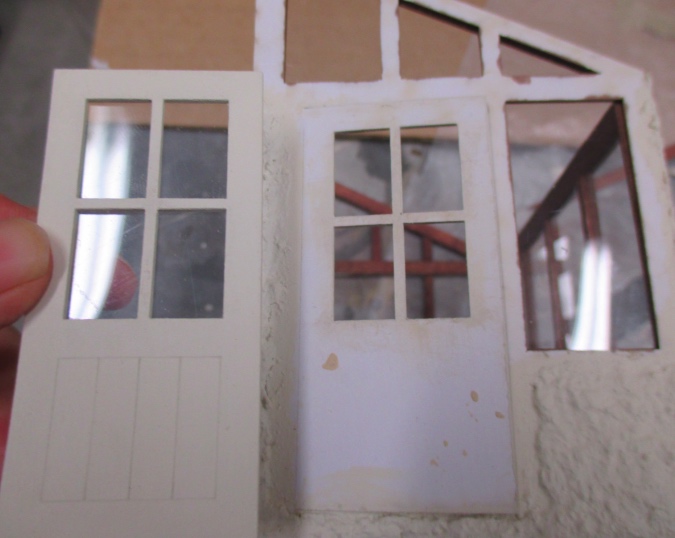
The separate piece was curling away from the hinged piece, so I used a bunch of clamps while it glued. I put little pieces of waxed paper under the clamps with the hope that it would prevent the clamps from leaving marks.
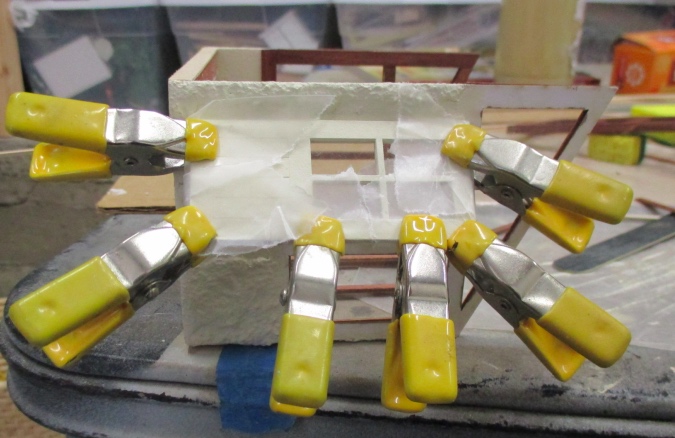
No such luck!
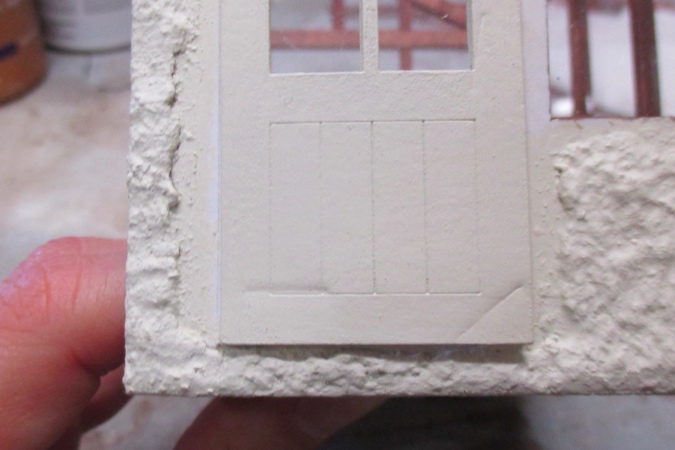
I did a few rounds of wood filler and paint on the dented parts.
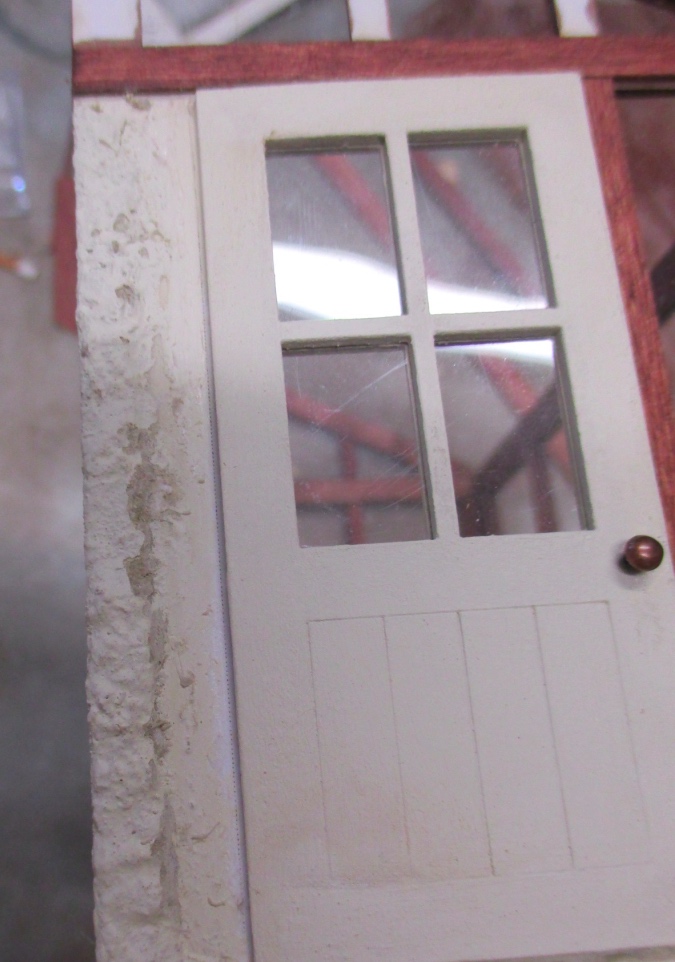
Not perfect, but they look better now. Hey, it’s a beat-up old door! What do you want from tiny cottage out in the middle of the desert? (And if you think this door’s in bad shape, you should see the sagging roof…)
I used some mini brads to make doorknobs.
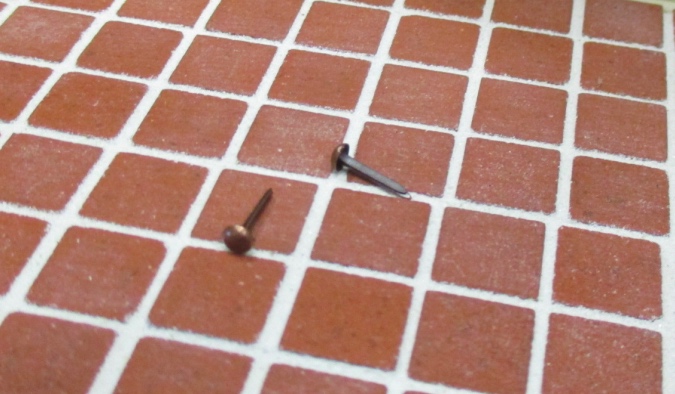
I cut down the legs on the backs of the brads, sliced into the door with the Xacto knife, and glued the remaining nubs into the slices.
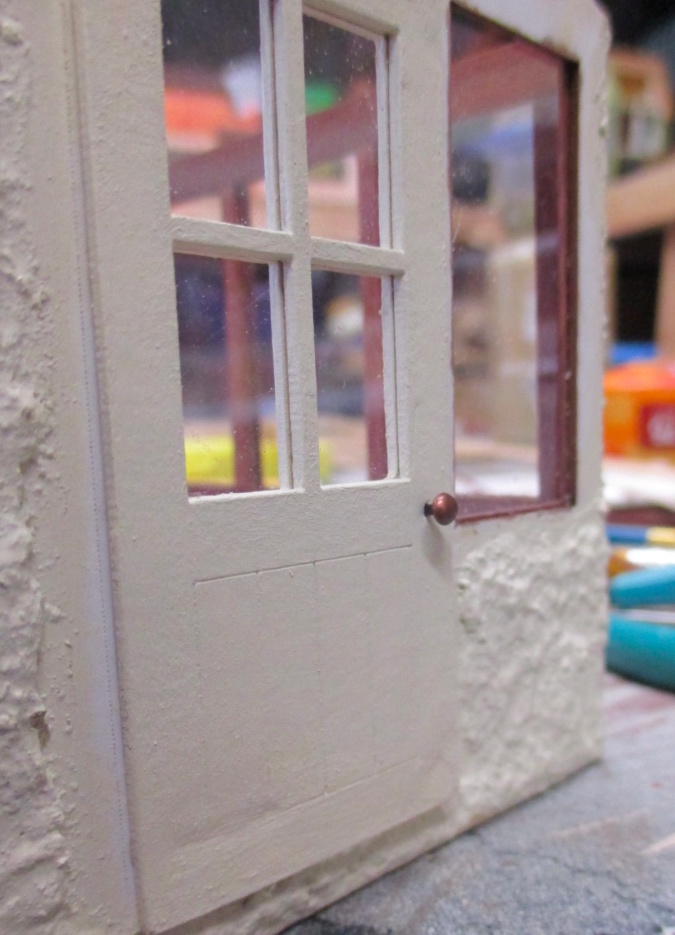
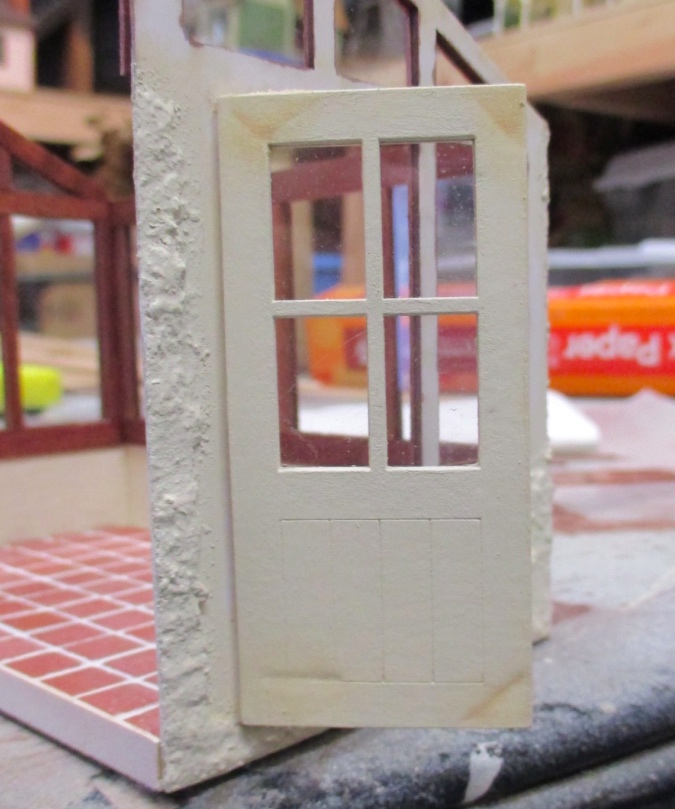
The stucco on this side of the door came too close for the trim to fit, so I had to hack some of it back with the Xacto knife.
I had stuccoed underneath the door but decided as I was working on the trim that it would look better to have a stained piece underneath, so I also had to remove the stucco here. The top layer of cardstock peeled off too.
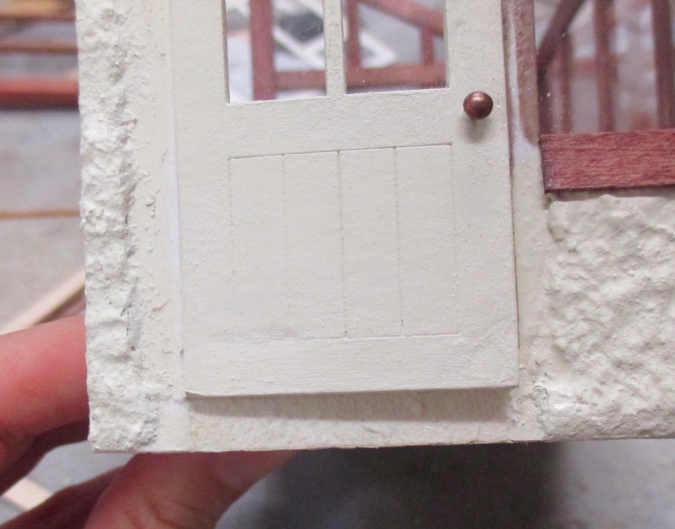
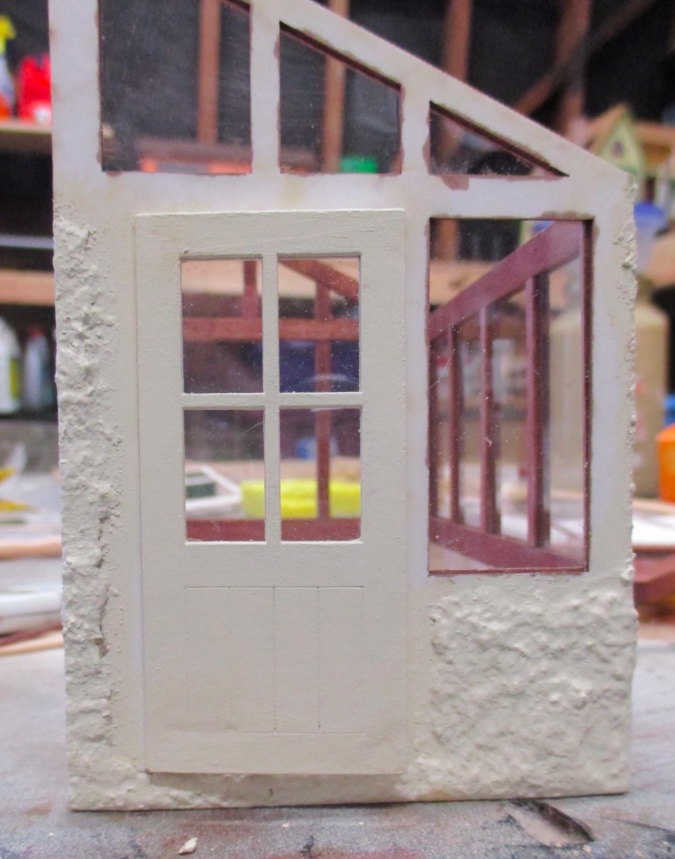
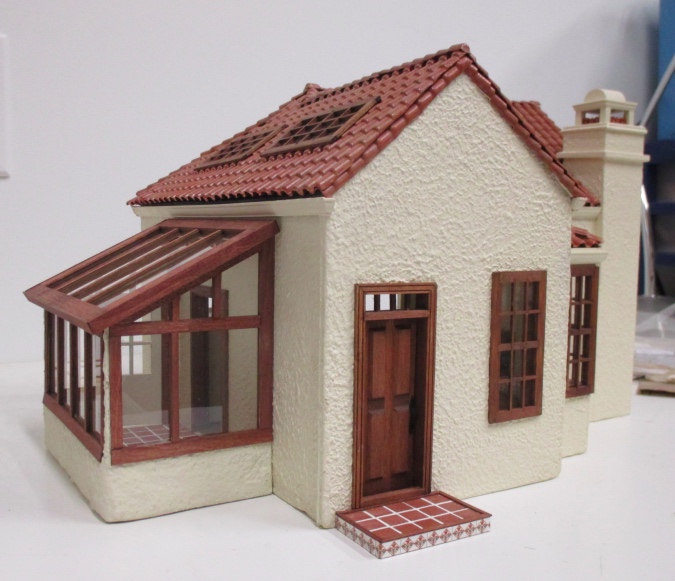
With the trim glued in, you can’t even tell.
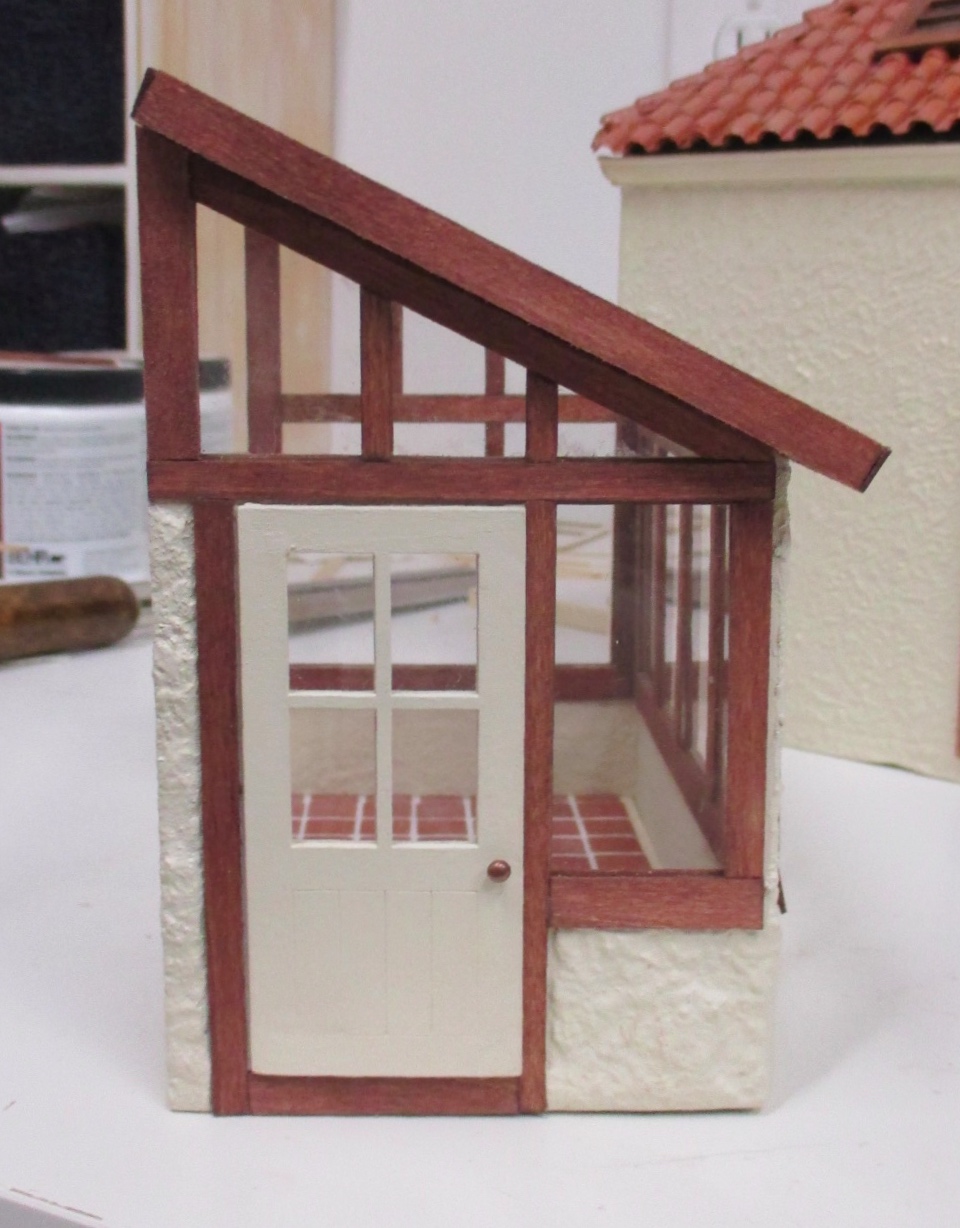
Finally I glued on the roof.

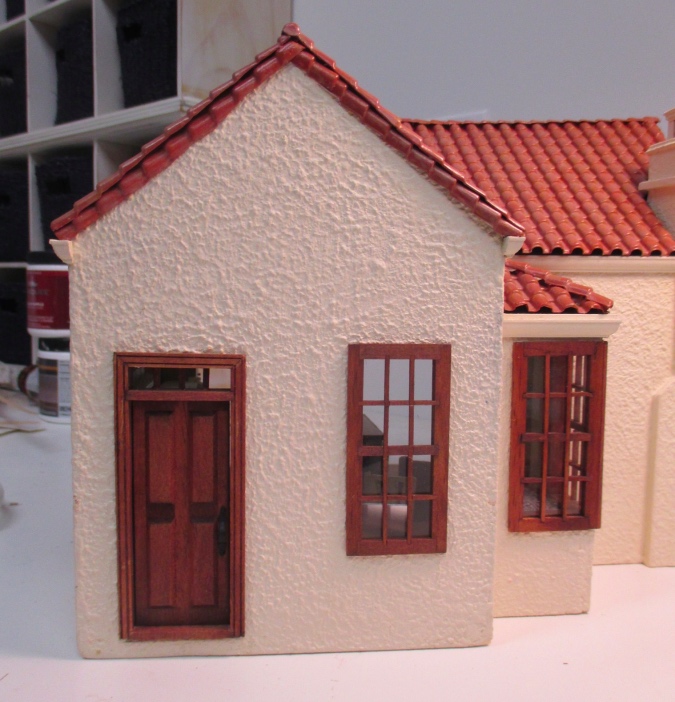
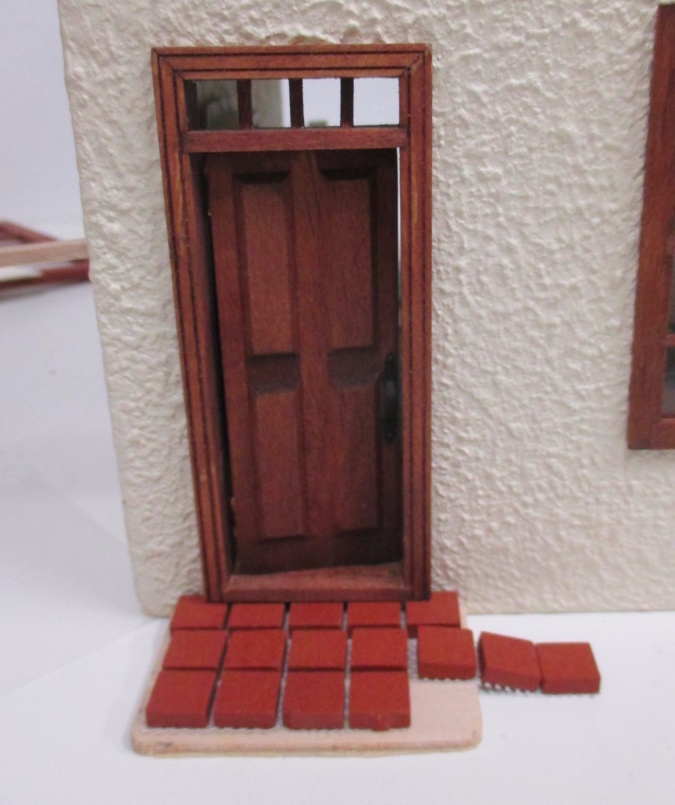
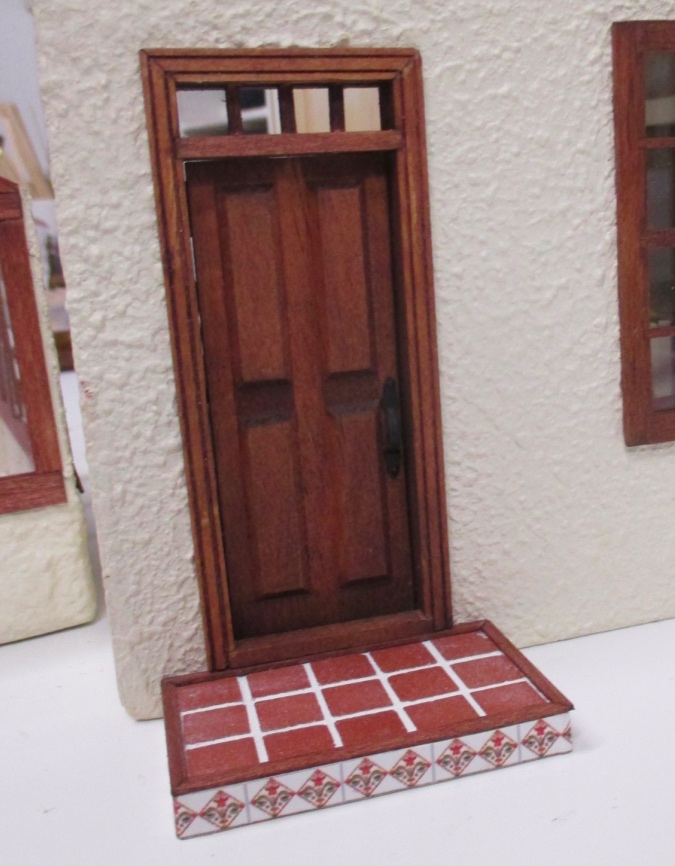
Before I show off the finished addition, let’s take a quick detour to the front of the house. I didn’t like that the door hangs in space.
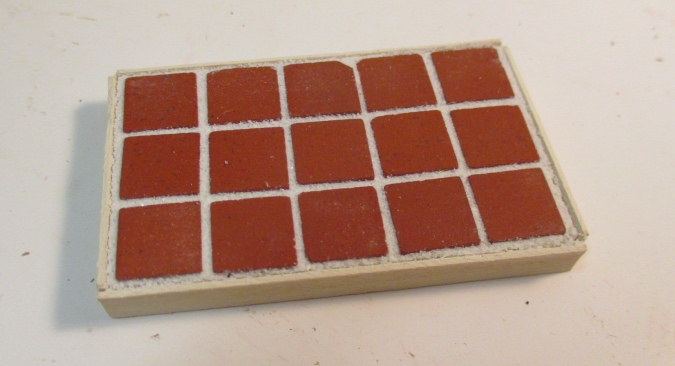
I made a front stoop to fill up the space under it by gluing my remaining terra cotta tiles onto a scrap of wood from the Victorianna.
I glued strip wood around the edges to create “walls” for it, then added mortar.
Finally I added some Spanish-like tiles (left over from the Rowhouse bathroom) and stained trim at the top. It’s sorta fake looking since the tiles wrap around the corners, but for this unpretentious house it’ll do just fine.
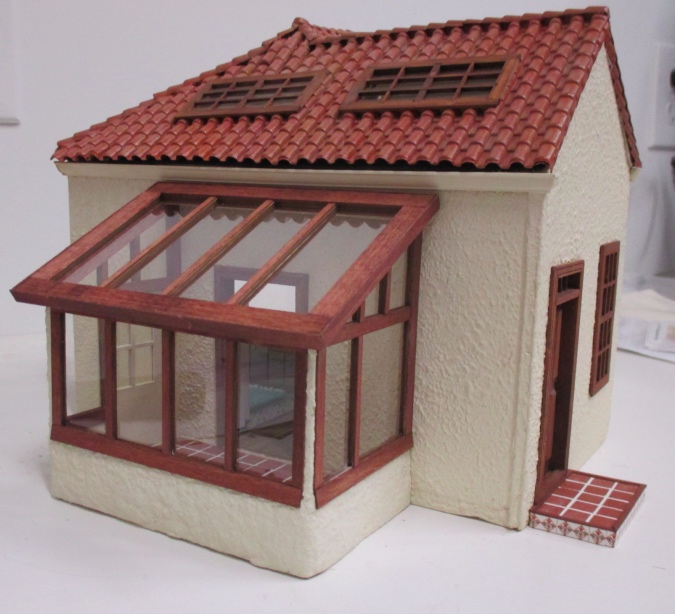
Drum roll please…
The addition will be the artist’s studio with an easel, a paint-splattered table (and sink if I have enough space), and some paintings in progress.
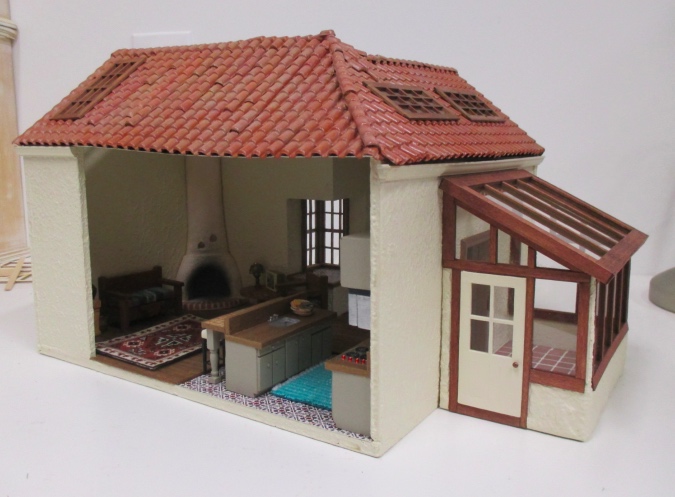
Inside, the house is mostly finished… the only thing left to do is the sleeping loft, which will go over the couch.

 Emily is a freelance writer, miniaturist, and adventure game enthusiast.


Great information, particularly about the stucco! You’re amazing!