The other day I used the word “bashed” in conversation and the person I was talking to didn’t know what I meant. In case you’re not familiar, “bash” is short for “kitbash,” which is a phrase I first read in Nutshell News back in the nineties, and I’m sure it was around before then. It means modifying a kit or other component to use it in a way it wasn’t originally intended. I bring this up because today’s post is all bashing — a necessity in half scale, since our options for 1:24 windows and doors are so limited.
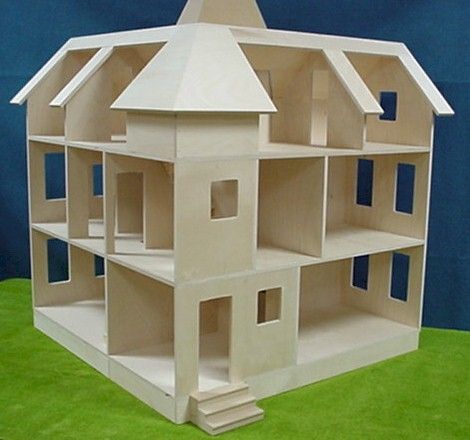
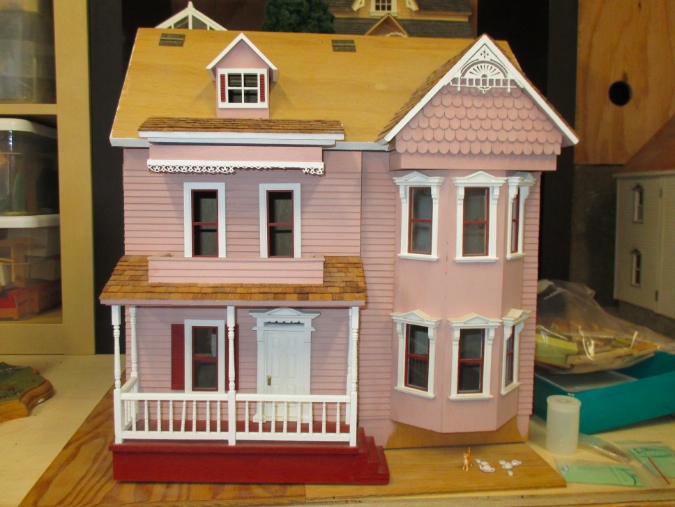
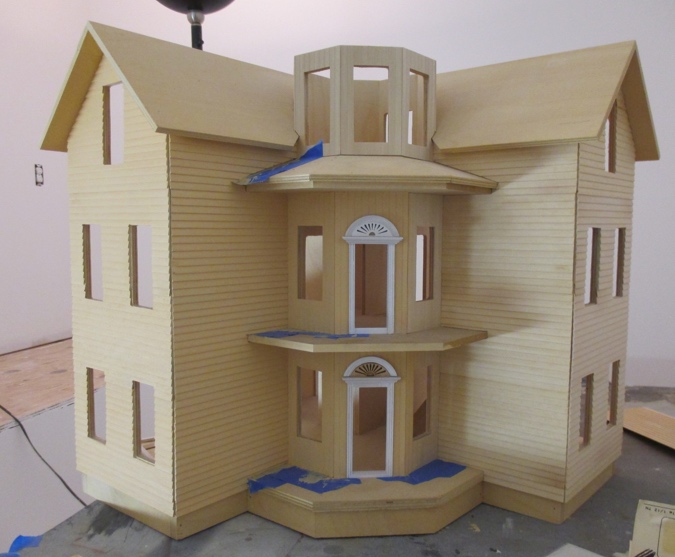
I recently finished the siding on the front of the Seaside Villa, but I couldn’t do the back wall until I figured out what windows and doors to use, in case the holes needed to be enlarged or en-smalled. The Majestic Mansions windows I’m using on the front of the house are pricey and also seemed a bit fancy for the back, so I decided not to go that route.
The door hole was about the right size for a Houseworks 4-panel exterior door. I like the idea of that, but I’m not a big fan of that particular door, which is flat on the inside and has raised panels on the outside. I wanted a back door with a window in it, which is incidentally available in 1:12 scale, but the only 1:24 Houseworks door with a window in it like that is the Palladian.
As luck would have it, I had a Palladian door. I removed the door and put the frame aside for some future project. (I have a door left over from another bashing escapade that I think will fit in the Palladian frame.)
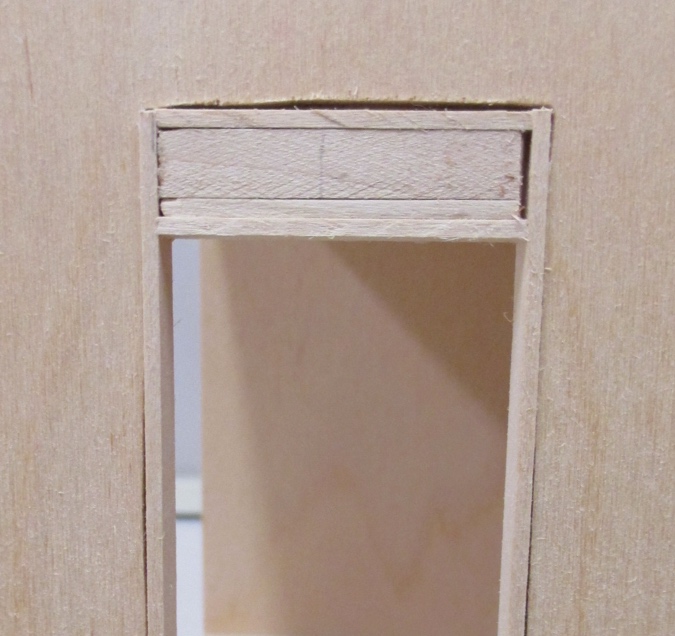
I made a door frame to fit in the existing hole.
The transom is 5/16″ tall. I made a spacer out of scrap wood to ensure the bottom piece glued in straight.
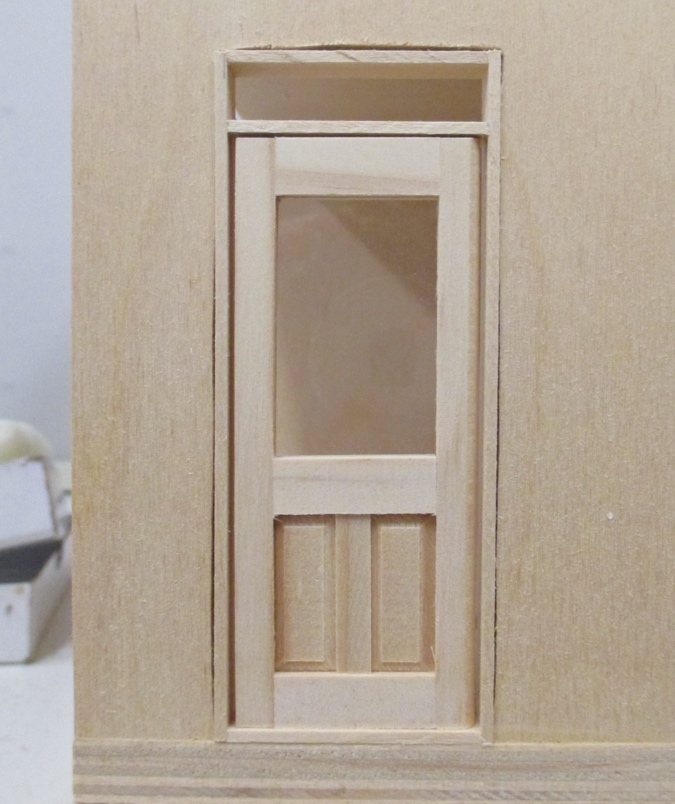
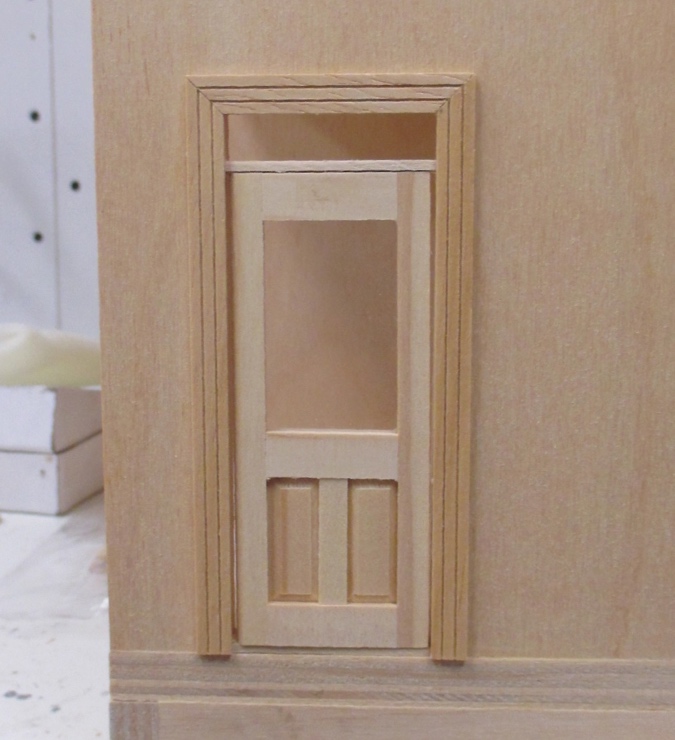
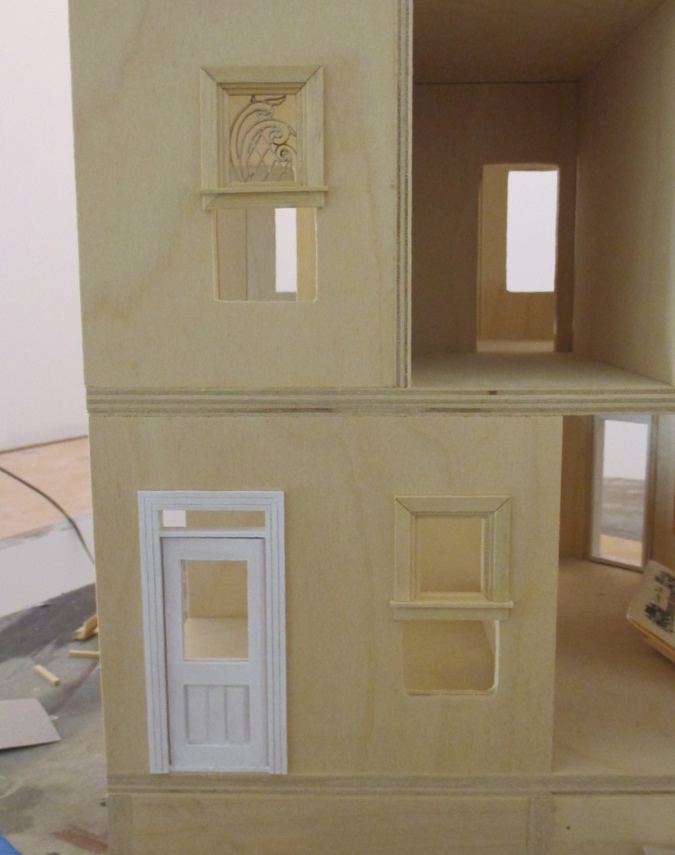
And here it is with trim. I still need to add some pieces of wood to divide the transom up into panes, but I want to paint them before gluing them in, so I’ll add those later. Same with pin-hinging the door.
The 1:12 version of the Seaside Villa has half height windows on the back, and I wanted to do the same on my house. These rooms are going to be a bathroom and a laundry room, so they don’t really need full sized windows. Houseworks offers a four-light window, but it wasn’t the look I wanted.
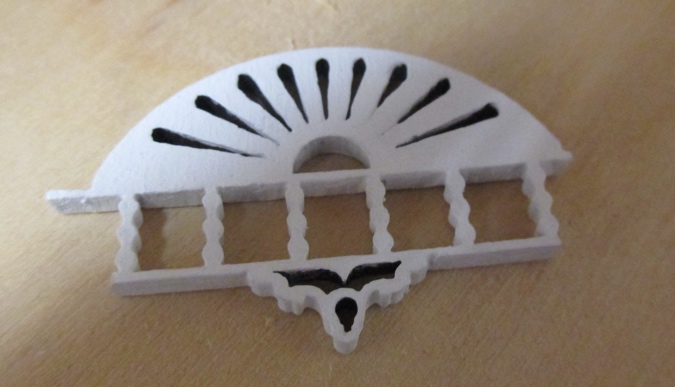
The Victorianna has a couple of half height windows that I made out of Houseworks traditional windows. I liked how those turned out, so I figured I’d do it again. For added flair, I bought a laser-cut mullion to go in the bathroom window.
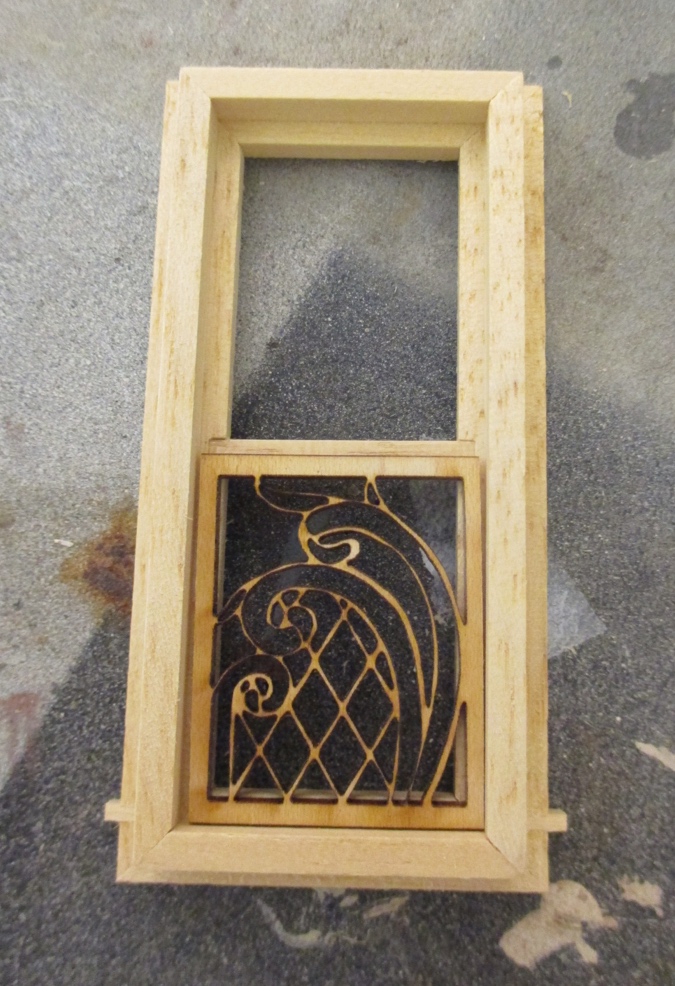
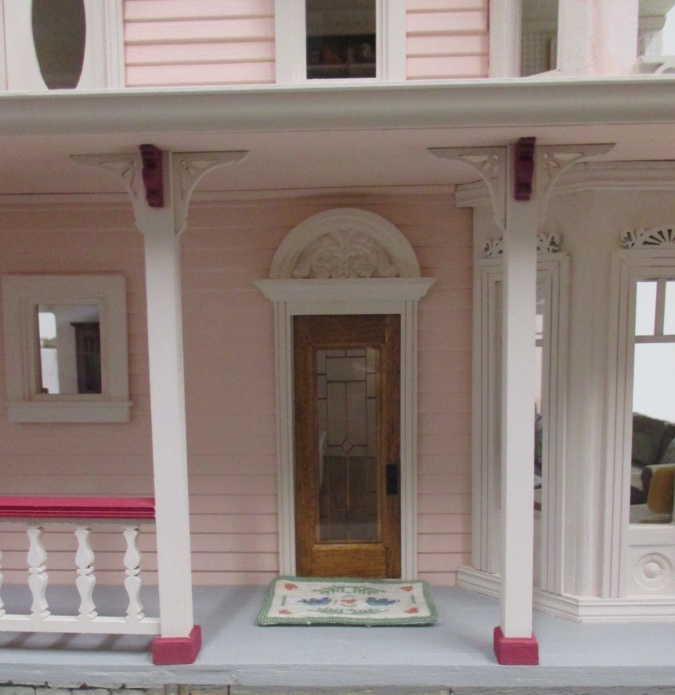
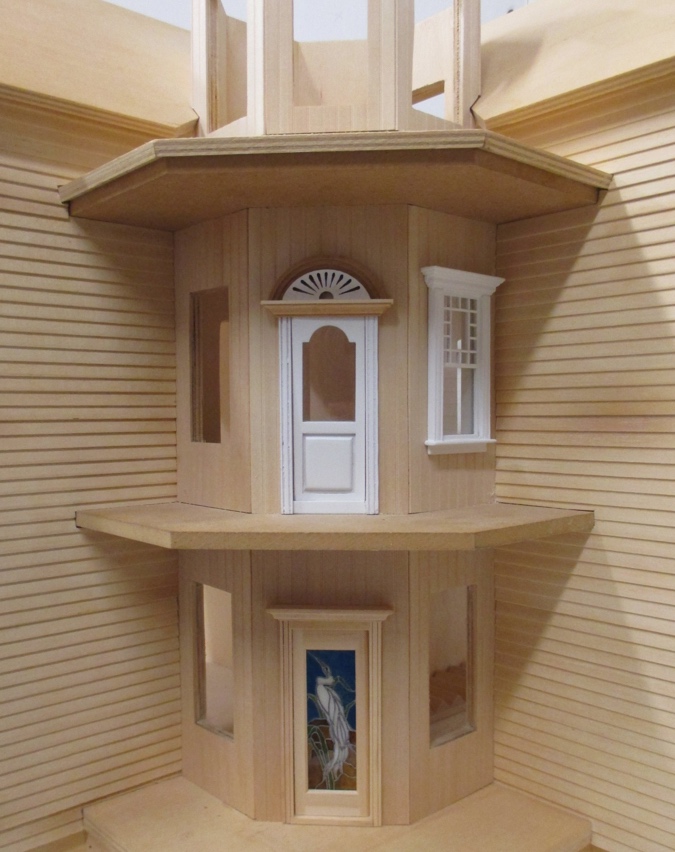
I’m not sure what this design is supposed to be, but the curves remind me of waves, so I’m going to use Gallery Glass to make this a stained glass window — seems appropriate since the front door is also a water-themed stained glass. (There’s a picture farther down in this post.)
The first step was to microwave the window, to loosen the glue. The last time I did this, it popped apart more easily. This time took a few rounds of 10 seconds each. After each round in the microwave, I wiggled the pieces and pulled apart what I could, then nuked again, until all of the pieces were loose.

I cut the side pieces just below the notch where the sash had been and then put the window back together, using the hole to hold it square while it dried.
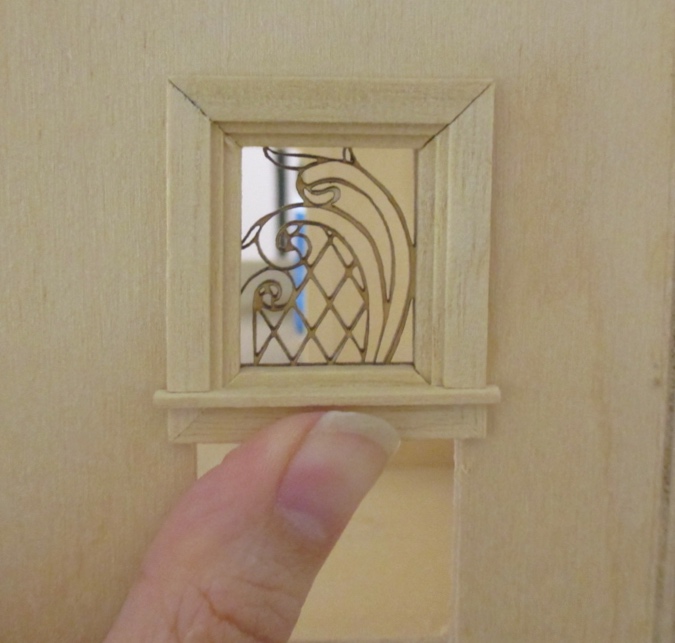
Since these windows have flat trim and the rest of the doors and windows have routed casing, I’m planning to turn these around so the trim and sills are on the inside. I’ll use the Houseworks door/window casing outside to match the back door.
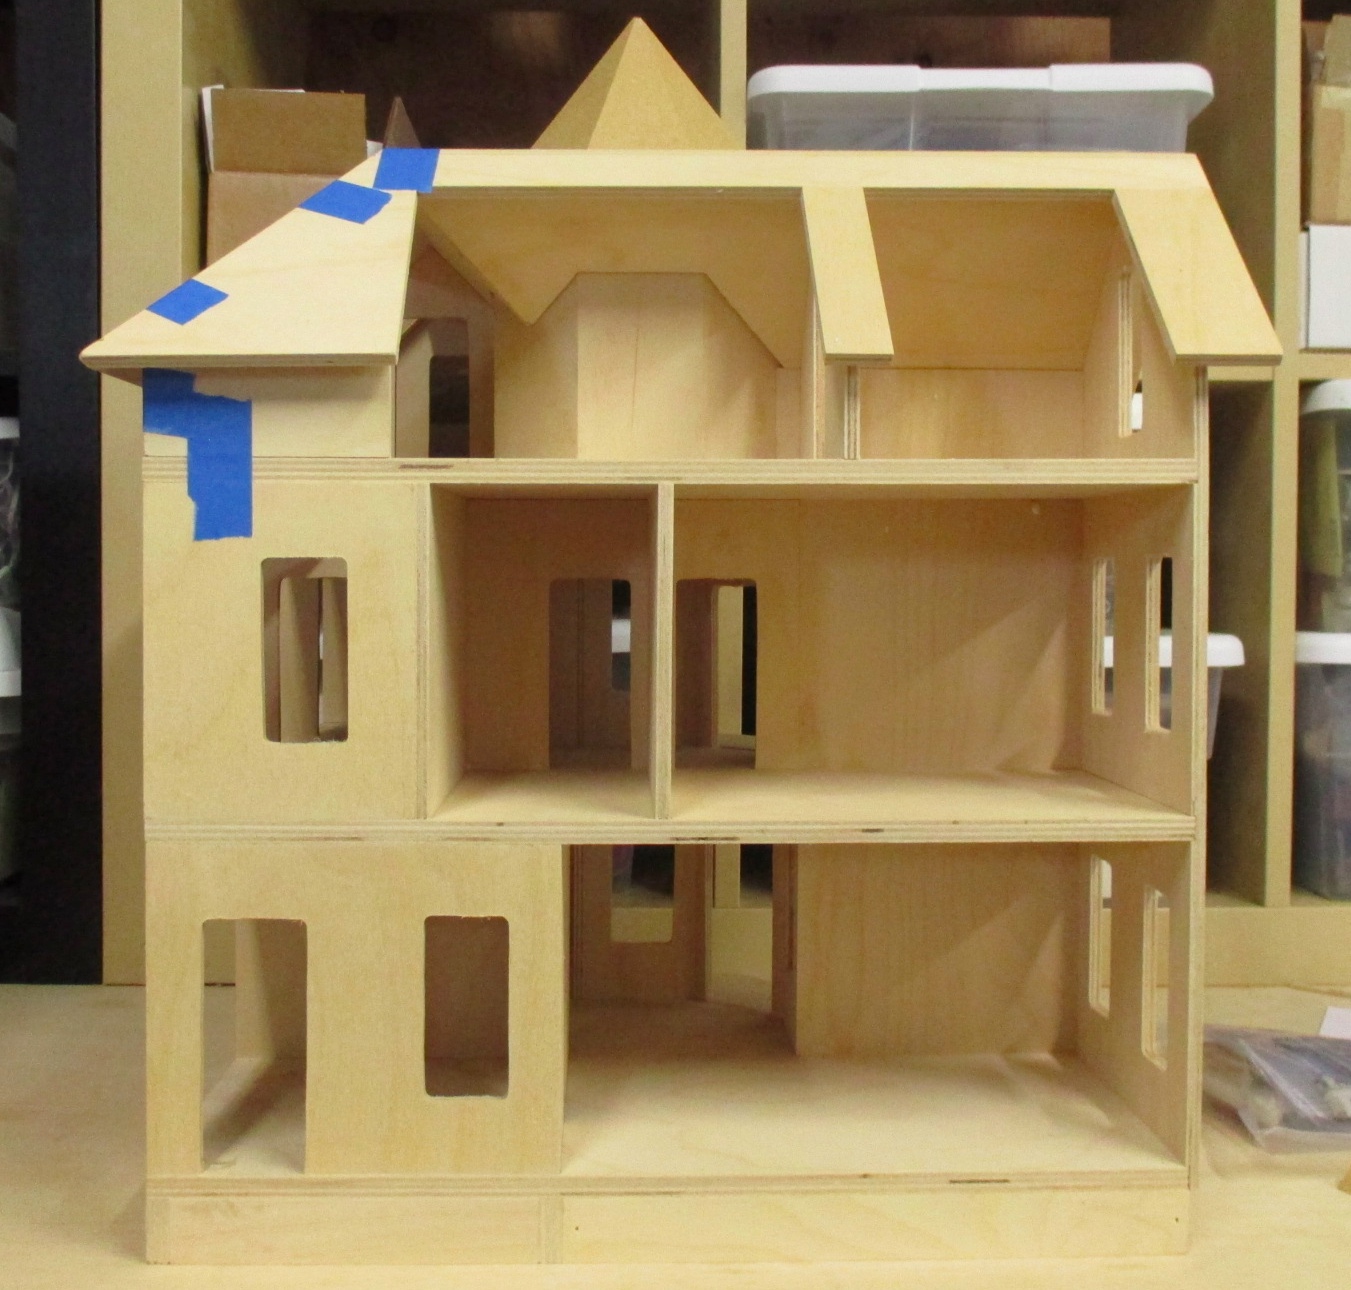
The last part of my bashing rampage started with a broken piece. A few years ago I bought this Houseworks front-opening Victorian off Craigslist for $50. It’s been sitting unfinished ever since — I’ll get to it someday!
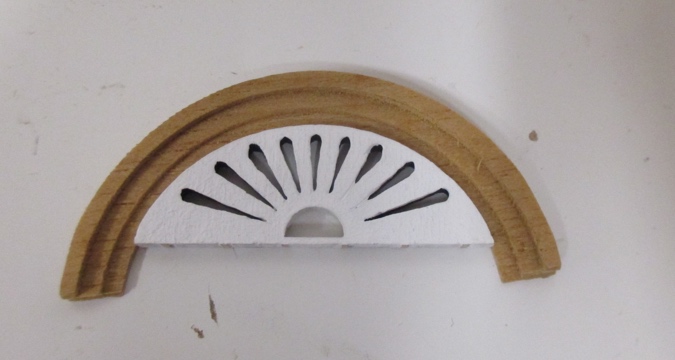
I’m storing some doors inside it, and when I opened the house to grab one of them, I pushed my thumb through the apex trim and broke it. Oops.
Okay, so what can I do with this? It’s similar to the sunburst pediments on top of the Seaside Villa’s windows.
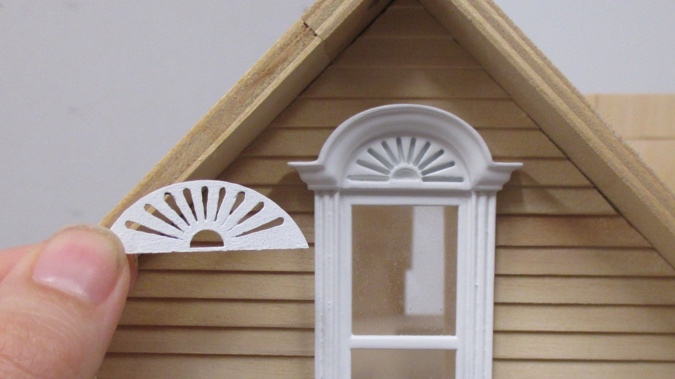
I thought about putting it over the front door, but it looks funny by itself. It needs trim around it.
I added a similar pediment to the top of the Victorianna’s front door. That time, I cut the top off a Palladian window.
I didn’t want to destroy another Palladian window (they’re expensive!), but coincidentally a few days earlier I had stumbled across this box. Several years ago I bought Palladian windows to go in my Thornhill (another “someday” house) and this spare parts box came with them.
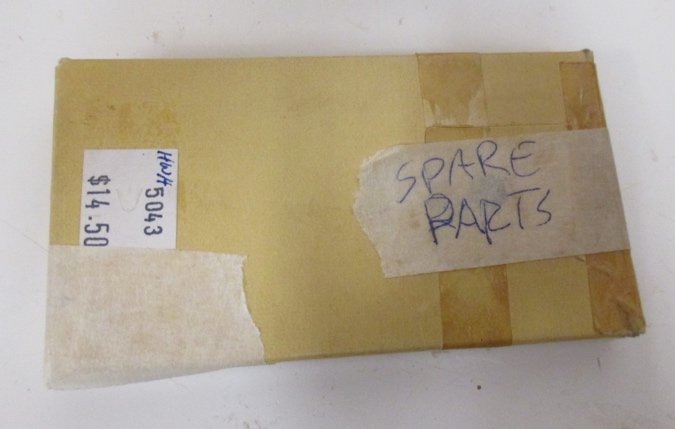
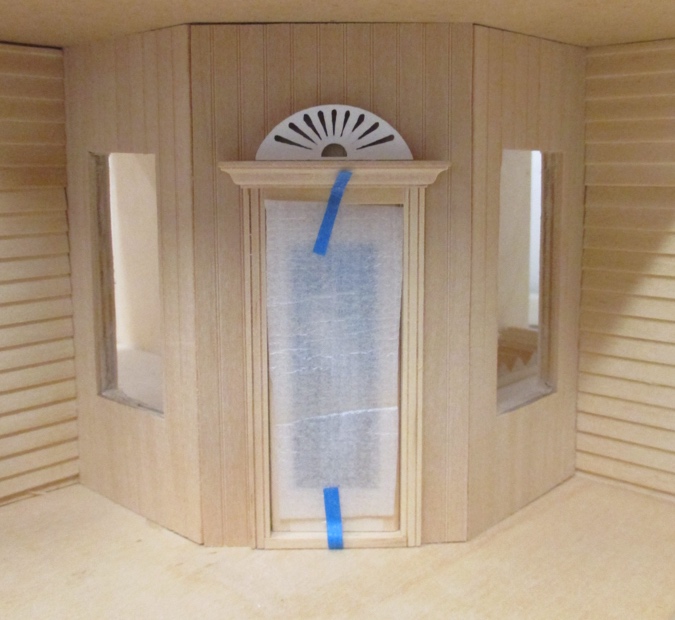
Inside were a few trim pieces, including this arch. Nowadays, the Palladian windows come with flat trim, but the older onescame with this (much nicer) routed trim. It fit the arch of the sunburst perfectly!
Here it is on the door. I like it!
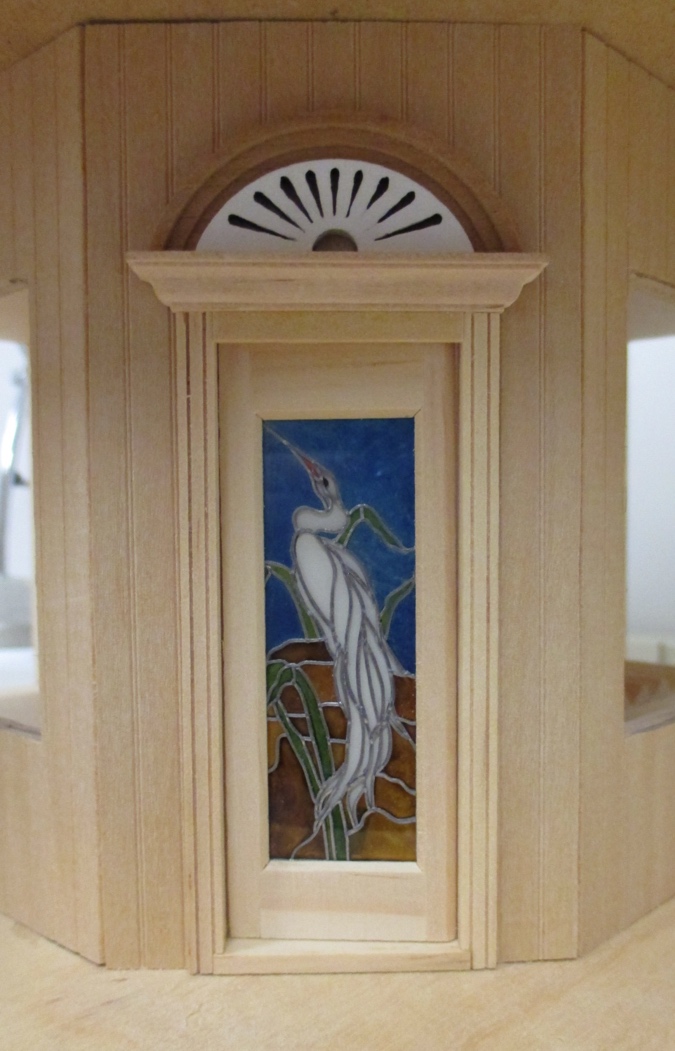
Just one problem… I like it on the upstairs door, too.
Of course, since the Palladian windows now come with the flat trim, finding more seemed like an impossible task. I didn’t want to pilfer trim out of one of the windows set aside for the Thornhill, knowing I’d regret it later.
Lucky for me, I’m not the only miniaturist who never throws anything away! I put out a call on the Half Scale Minis group, and to my surprise a few people got back to me. Diane Siegler (who reads this blog — hi Diane!) had some she’d pulled out of a roombox and squirreled away, and she offered to send it to me. I was able to get another apex piece off eBay.
So now the doors will match. The symmetry makes me happy.
 Emily is a freelance writer, miniaturist, and adventure game enthusiast.


Always a joy to watch your projects and see your twisty kit bashing mind at work!
Thank you!
I love how this house is coming along! You have such a great eye for detail. I’m so glad the trim pieces worked out.
Thanks again for sending them!
Wonderful! Love the bashed details!
Thanks! You sent me that “spare parts” box in the first place, so thanks for making my pediment possible. :)
Looking Really good thus far and how marvellous that Diane was able to come to the rescue with the additional piece that you needed. Mini friends are worth their weight in gold! :D
I agree!
I find it amazing that you have such an understand of architecture. Your work is clean, and perfect–after you fix your mistakes, which you so bravely and graciously share with your audience. You are a fine teacher.
Thanks! I just love figuring out how to use things in ways they weren’t intended.
I really love how your windows are coming out. The arches over the doors look really good too! Can’t wait to see the stained glass waves.
Thanks! I started on the stained glass but the jury’s still out. We’ll see if it works. I’ll post about it soon.
Mini friends to the rescue! They are the best aren’t they? :D I love the new door trim and that it came out of an oopsie.. even better. The bathroom window is delightful.. I love the idea of stained glass. It’s going to look great. The door bash is perfect too.. I agree that a back door should have a window pain. Solid just wasn’t going to cut it. :)