I actually did finish the Rowhouse stair room the same weekend I last posted about it, just didn’t get around to writing about it until today…
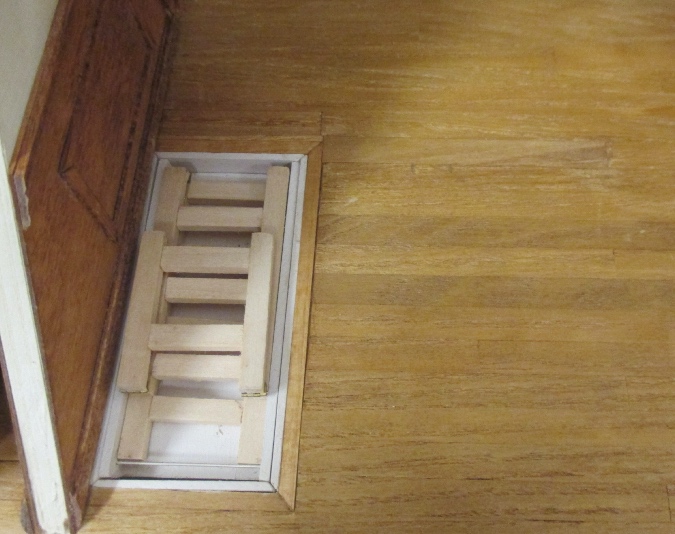
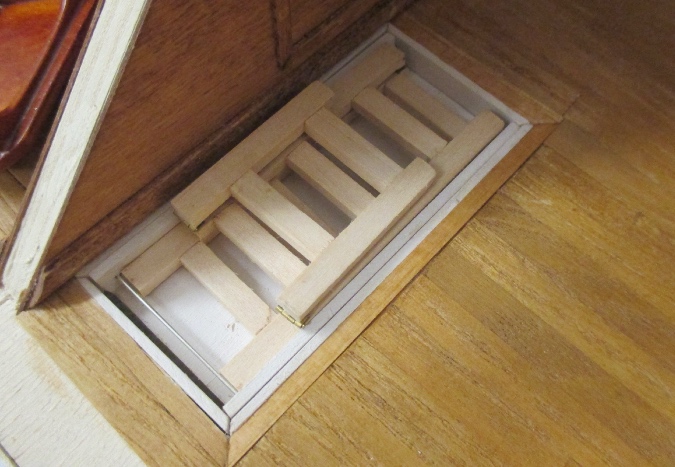
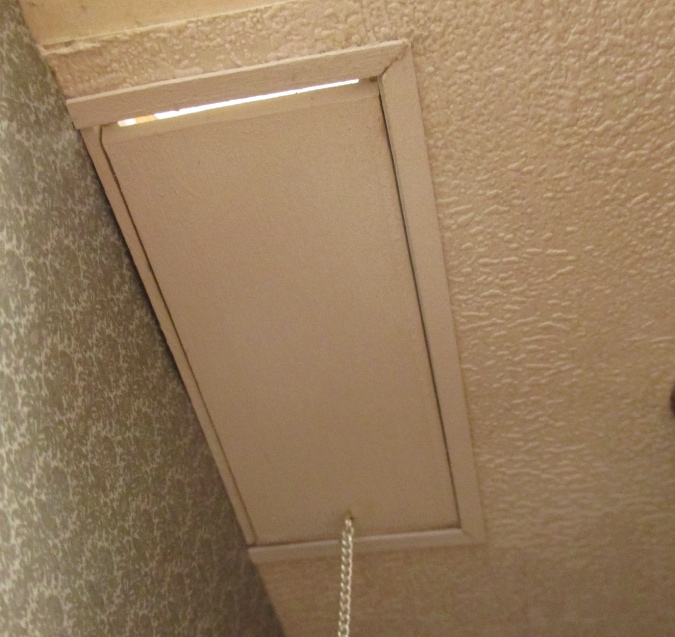
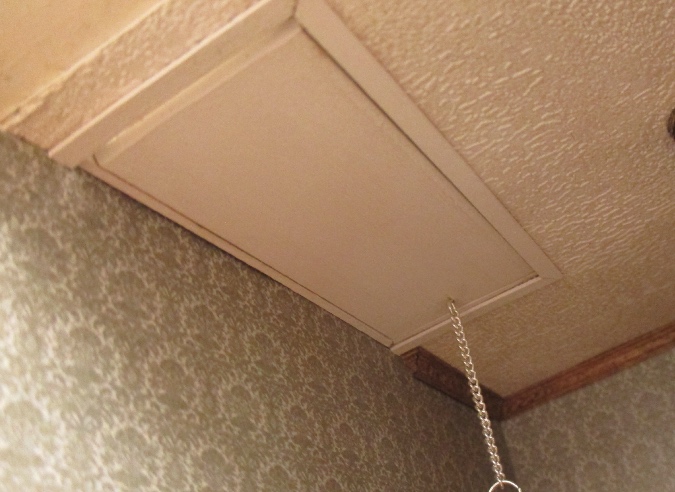
Before I tackled the trim in the the stair room, I glued in the attic stairs and fixed the floor around the opening. My tasks were to cut new frame pieces for the side and edge of the hole, and to patch holes in the floorboards that occurred when I pulled out the original staircase.

I had saved this little piece of floorboard all this time, intending to glue it back in, but you could tell it was a repair.
On to Plan B – I used a razor blade to pry out the rest of the board.
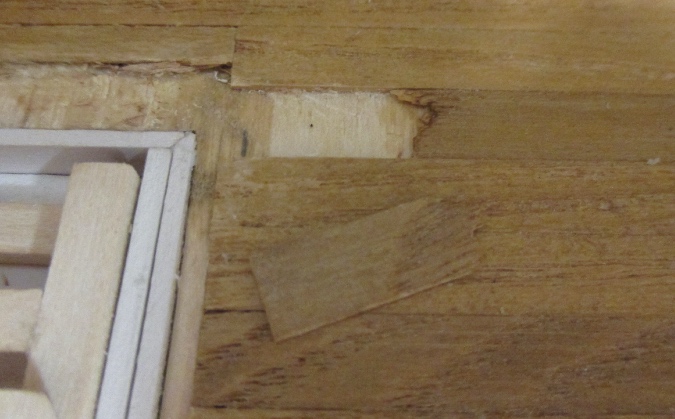
I cut a replacement floorboard, as well as new frame pieces for the side and edge of the hole. The remaining gap is where the top step used to be.
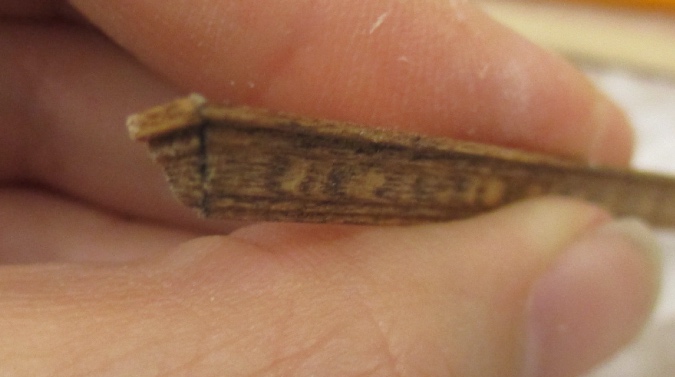
Even with the border piece added, the gap was a little too big for a floorboard.
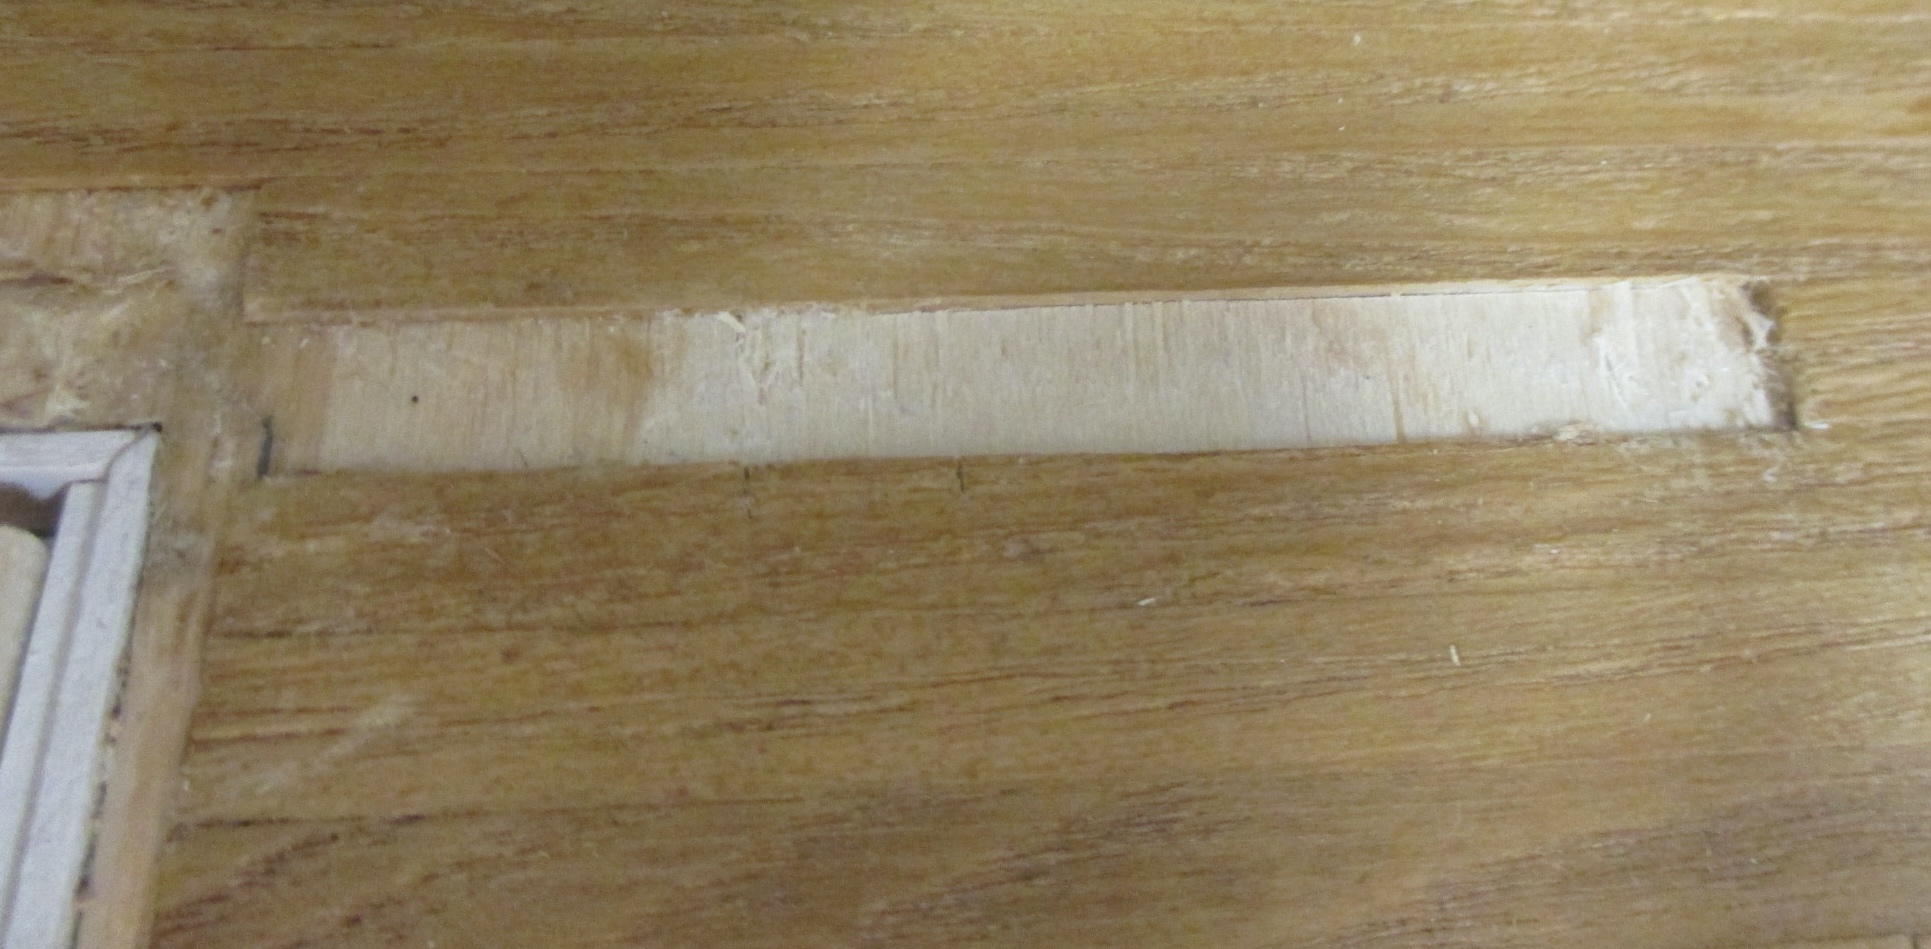
I cut a teeny tiny sliver off a piece of floorboard to make up the difference.
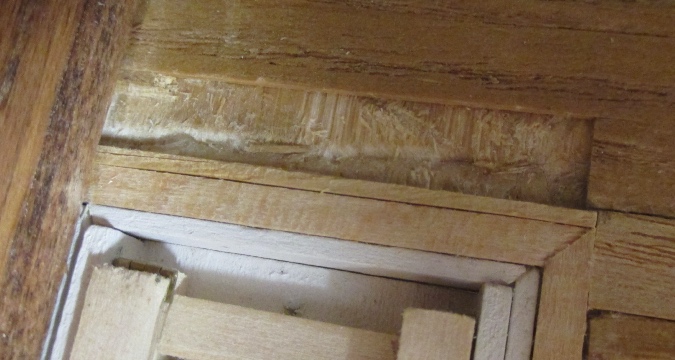
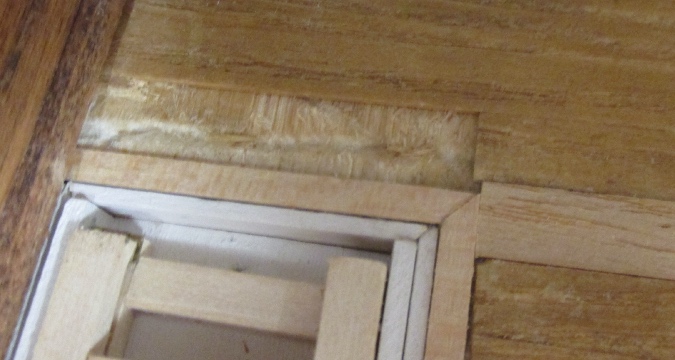
Here it is with the new pieces stained and glued in.
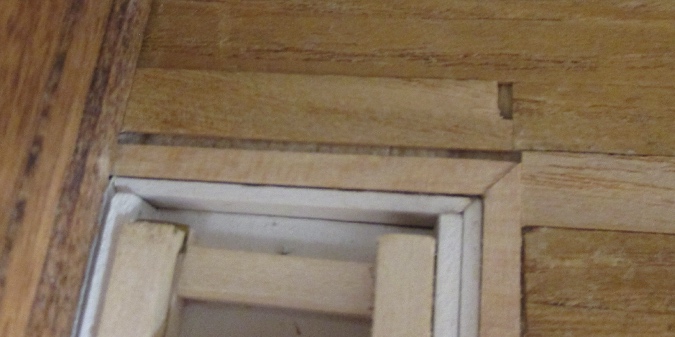
I had to sand the edges of the floorboards to get the side piece to fit, and I sanded a bit too much. There a visible crack where the floorboards don’t butt up against the trim piece.
I used Minwax Golden Oak wood filler (same color as the stain) to fill that in.
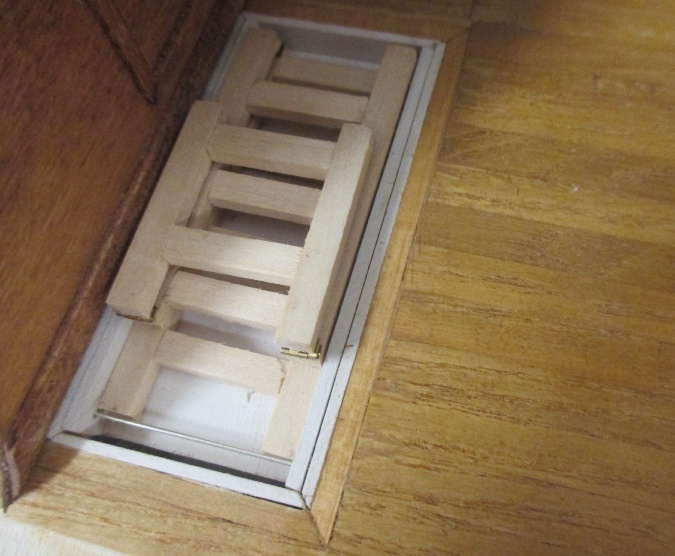
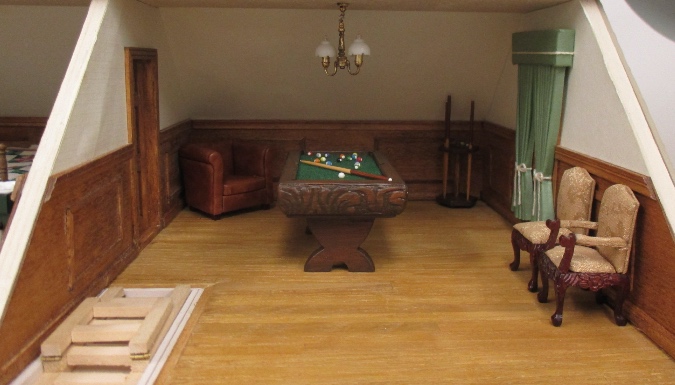
Here’s the finished attic. I want to replace those two brown chairs with bar stools and add a table with the cocktail set I made for last year’s half scale swap. I like these chairs but the shipping from Australia is too expensive.
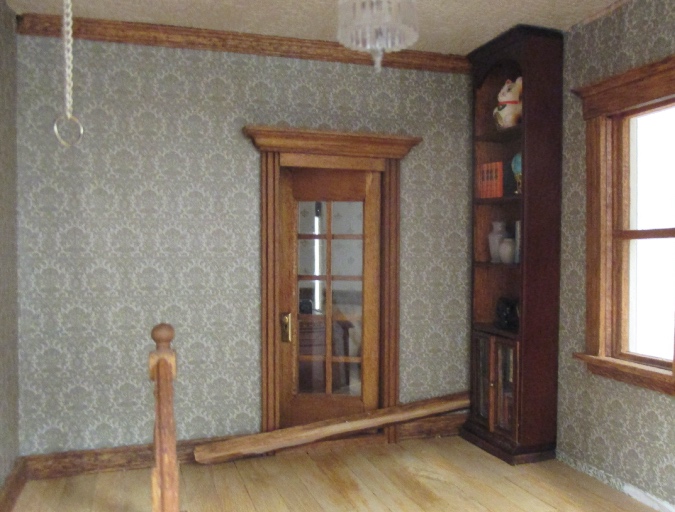
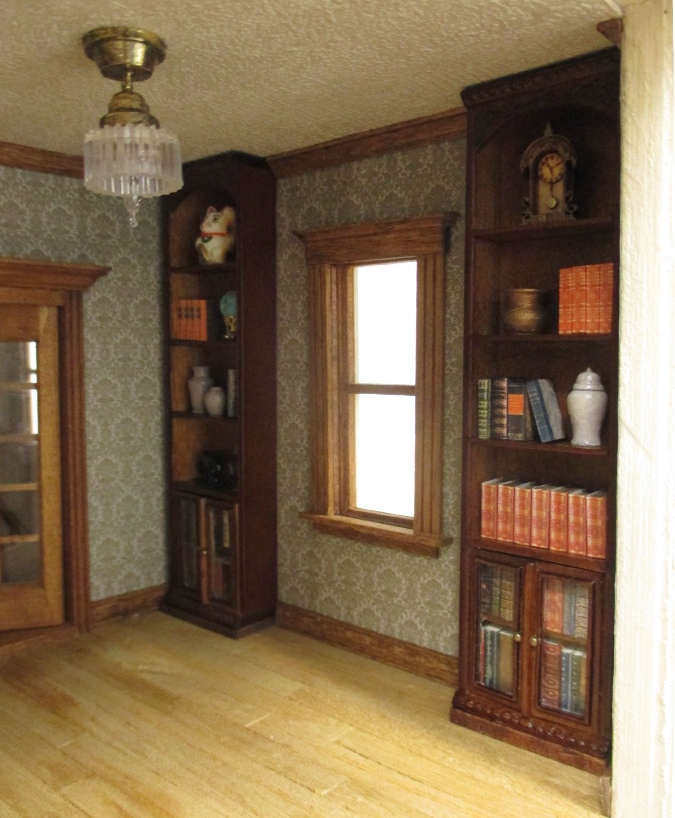
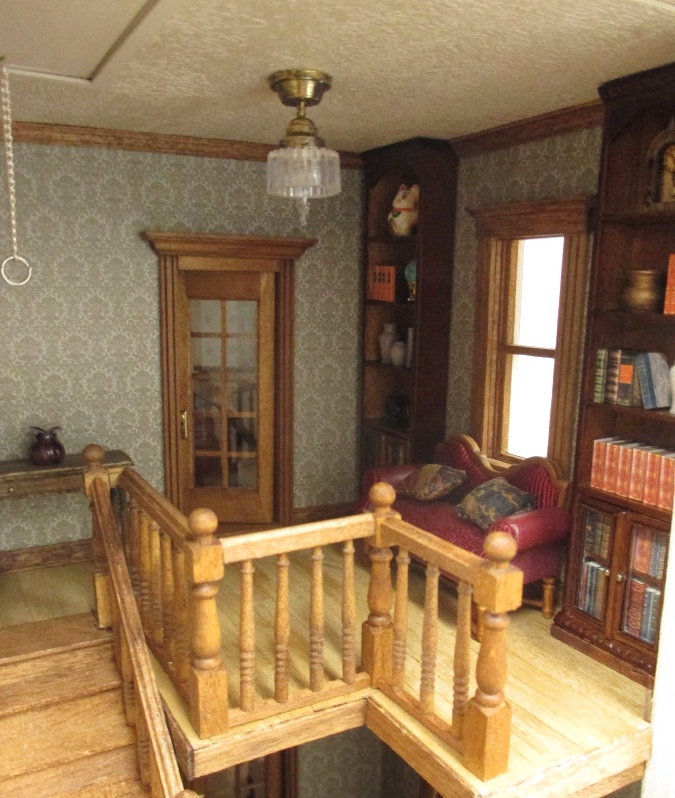
Heading downstairs. Now that the shelves have their accessories glued in, I can glue the bookcases into the house. This is necessary because once the stair railing is glued in, there won’t be enough space to remove them.
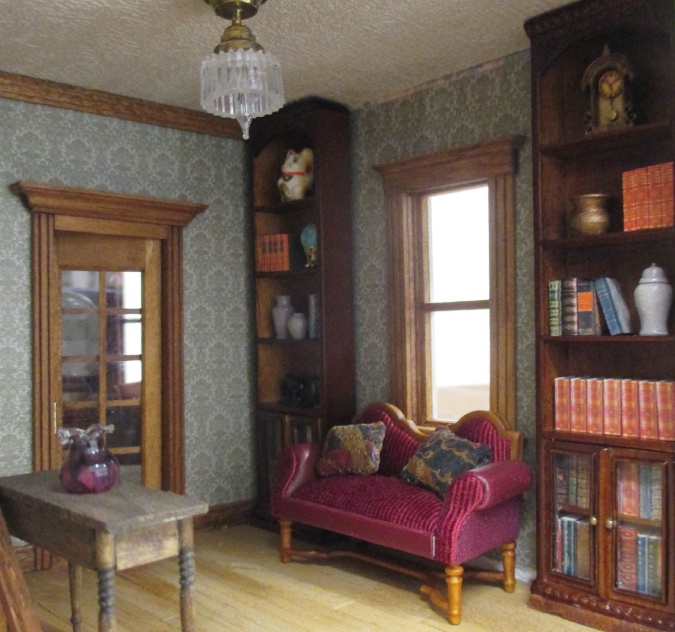
Since the bookcases are too tall for the crown molding to run over them, I made base pieces out of basswood for them to sit on. These bring the bookcases all the way to the ceiling. I glued these to the bottoms of the bookcases.
I guess this wall isn’t square, because the bookcase tips forward. (Not my fault, I bought this house as an assembled shell!)
To prevent this, I put glue on the back of the bookcase and glued it to the wall. The base might be slightly lifted off the floor at the front, but you can’t tell. Since the baseboard trim is not as wide as the crown molding, I used a piece of crown molding as a spacer to make sure the bookcase didn’t glue in crooked (closer to the wall at the bottom than the top).
Once the two bookcases were glued in, I added crown molding and baseboard between them.
Next I added trim pieces around the stair hole. This was not easy to do upside-down!
Finally I prepared a piece of crown molding to fit between the stairs and the corner. I made a return so the edge looks nice. (I didn’t notice until I took this picture that the little piece at the edge is upside down, so the grooved part of the crown doesn’t meet up on the two pieces. Oops.)
While I worked on all of this, my hand kept banging into the newel post and it came loose.
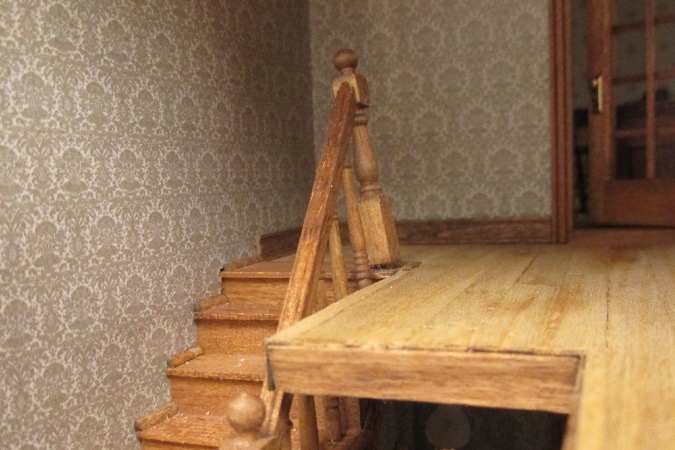
I glued this back in the best I could with super glue (it’s still not very secure). Then I glued in the previously prepared railing pieces.
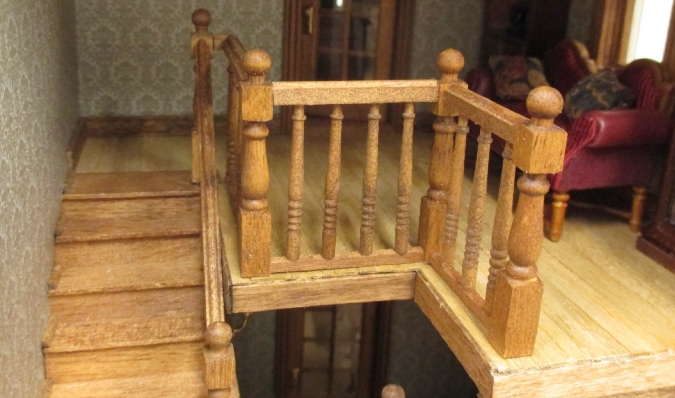
And this, folks, is a finished stair room! Horray!
 Emily is a freelance writer, miniaturist, and adventure game enthusiast.


These are the finicking little things that drive u crazy–walls out of square, knocking newel posts loose, but you have handled each mini crisis with grace and skill, making the rest of us feel that we aren’t the only ones who mis calculated and mess up. Wishing you a Happy Thanksgiving, Emily.
Beautiful job! I can’t tell you how much I appreciate seeing your attention to detail.
It looks wonderful! I love how the railings look. Great view as you’re coming up the steps to see the room.
It looks great! Well done!