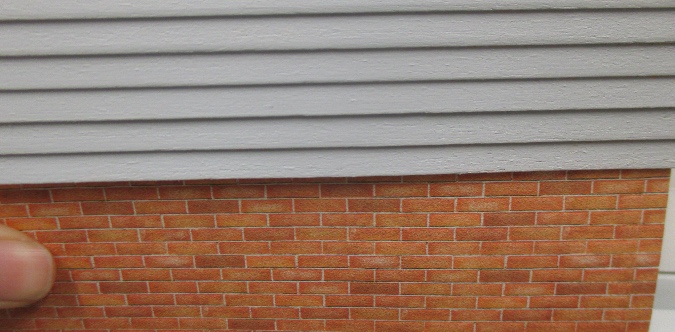
I planned to give the Seaside Villa a brick foundation. I bought this embossed brick paper back when I was going to paint the house Belgian Waffle. It would have looked good with that color scheme, but it’s too orange to go with the gray.
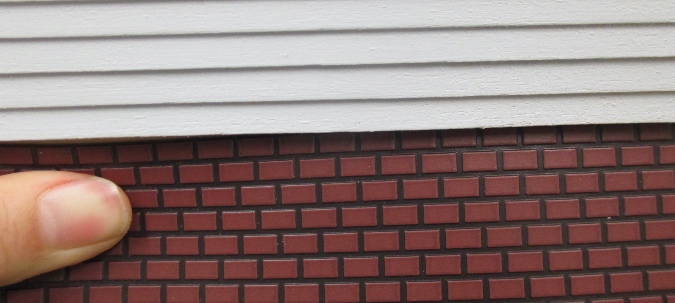
I dug around in my stash to see what else would work. These are Lemax bricks that I bought years ago the day after Christmas, at a deep discount. A little too fake looking. I considered painting them gray but it wasn’t really singing to me.
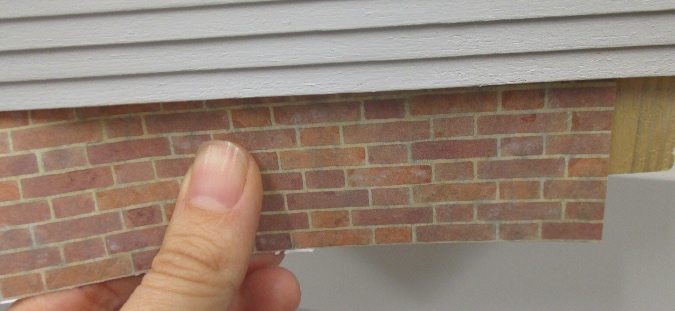
This is a leftover scrap of the paper I used for Sam & Max’s office. The color is great, but the scale is not (the paper is 1:12 scale and the Seaside Villa is 1:24 scale). This paper does come in half scale so I could have bought some of that, but I didn’t need anything else and didn’t want to pay more for shipping than the paper cost.
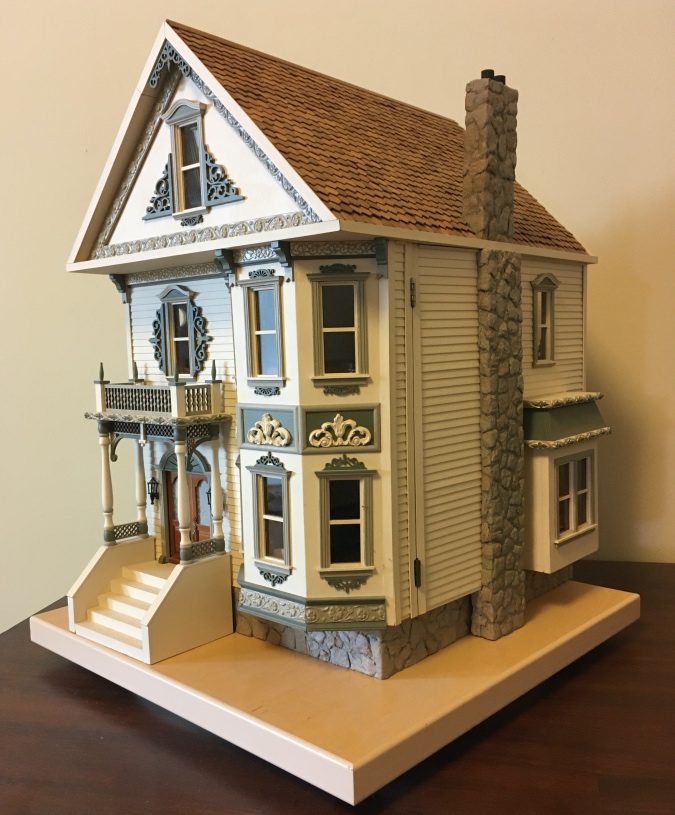
So I turned to the old standby: egg cartons. I don’t know who came up with the idea of using egg cartons for dollhouse stone, but I owe that person a debt of gratitude, because it’s one of my favorite techniques. I’ve used egg cartons to make a stone foundation for the Hillside Victorian, the foundation and chimney on the Queen Anne Rowhouse (pictured below), a fireplace, a wishing well, and probably other things I’m forgetting.
Egg cartons can also be used to make bricks — I really liked how this turned out in my Four Seasons Roombox. (The “concrete” stoop is also made from pieces of egg carton.)
But cutting and applying those tiny bricks is really tedious, especially in half scale. Back in 2015 (!) I started putting egg carton brick on the Victorianna’s foundation and I still haven’t finished it.
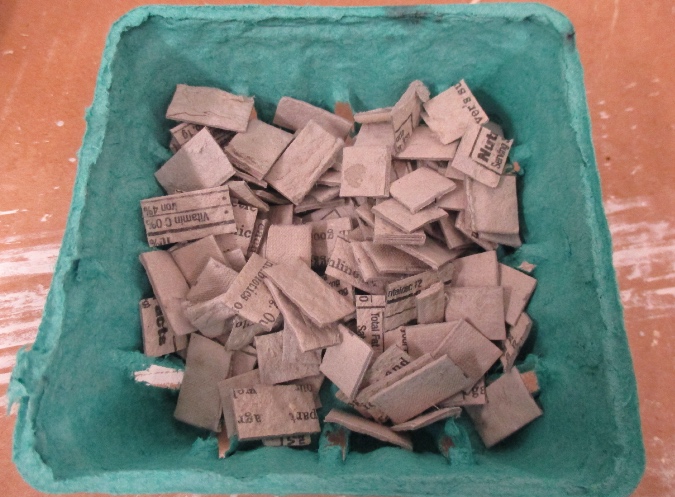
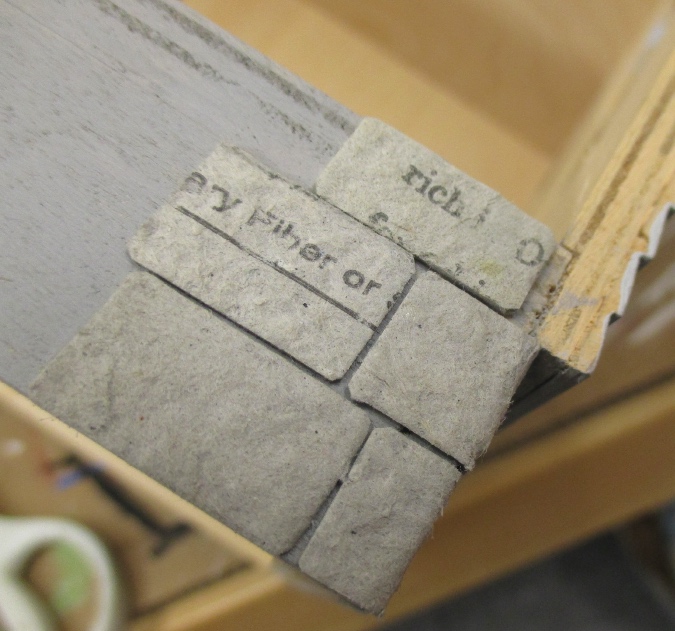
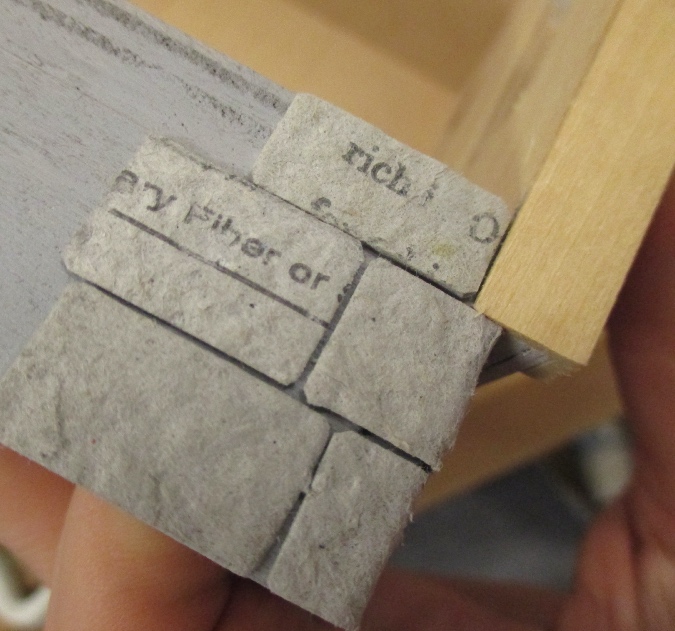
So, stone it is, but I didn’t want it to look exactly the same as the Rowhouse’s foundation. I Googled “stacked stone foundation” and found this website with some pictures. I decided to try something similar to the fully pitched Scotch bond. I cut a couple of egg carton lids into 1/2″ wide strips, and then cut these into 1/2″ and 3/4″ pieces.
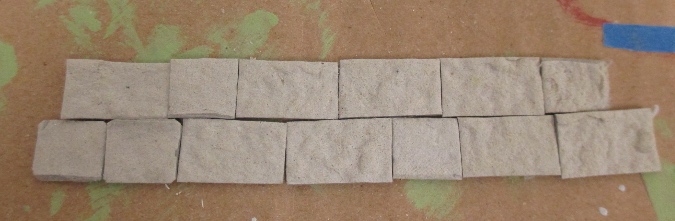
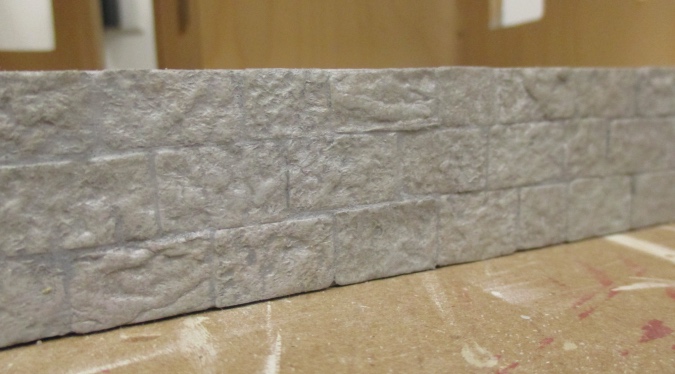
These will be staggered to look something like this.
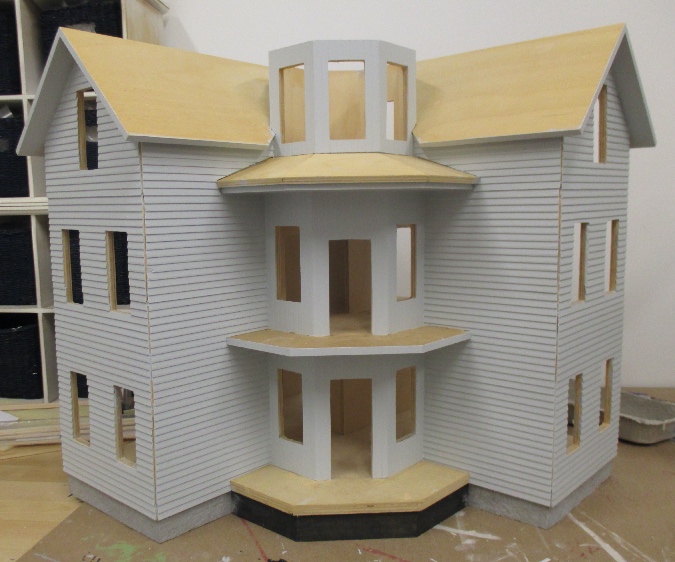
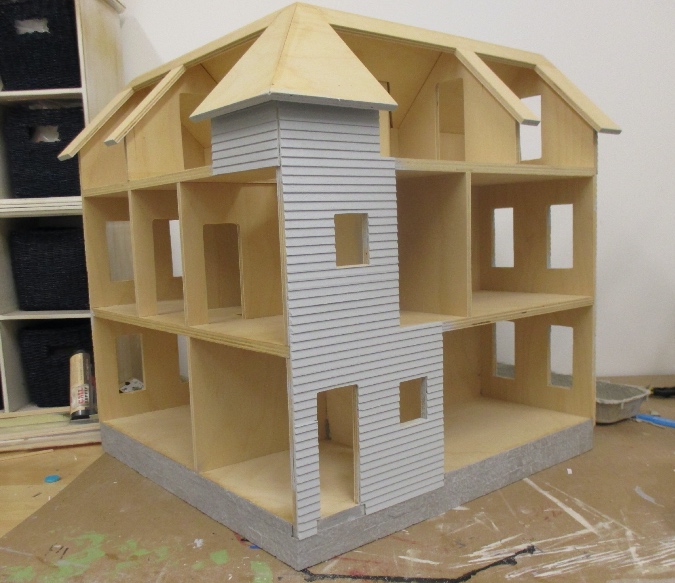
I’d neglected to paint the bottom edges of the walls when I did the rest of the house, so I did that first.
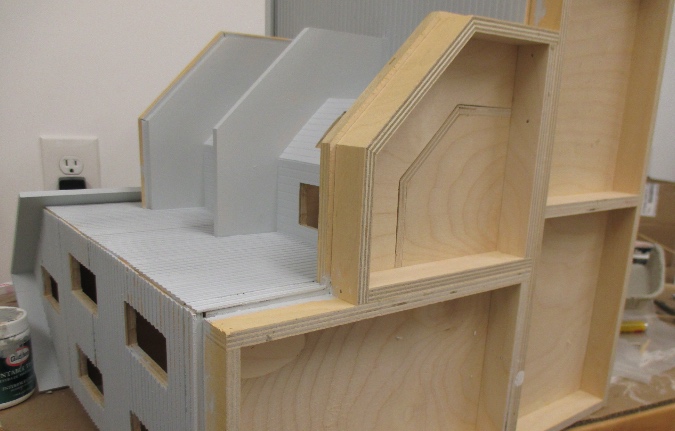
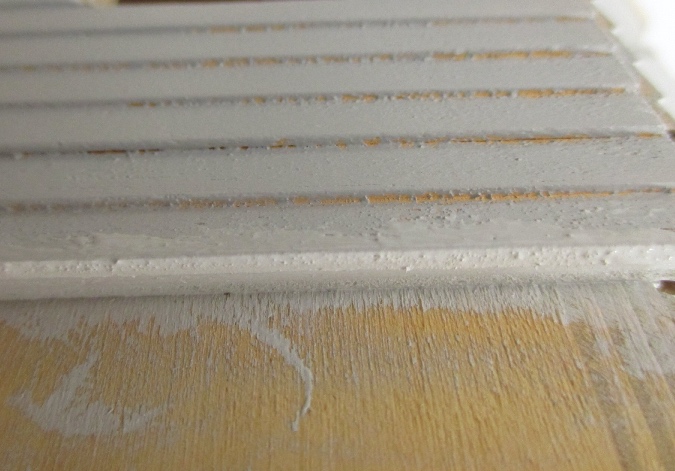
With the house on its side I realized I had not done a good job of painting the undersides of the lap siding when I painted over the Belgian Waffle with gray. You can’t see it when the house is upright, but I took this opportunity to touch it up.
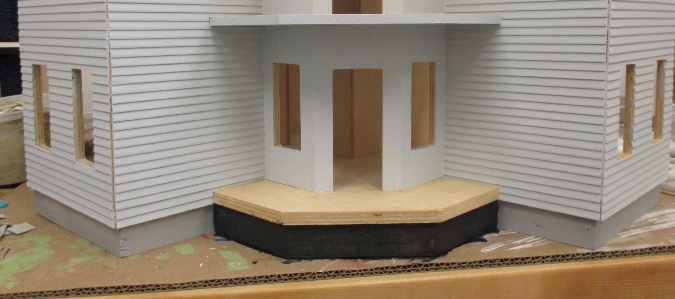
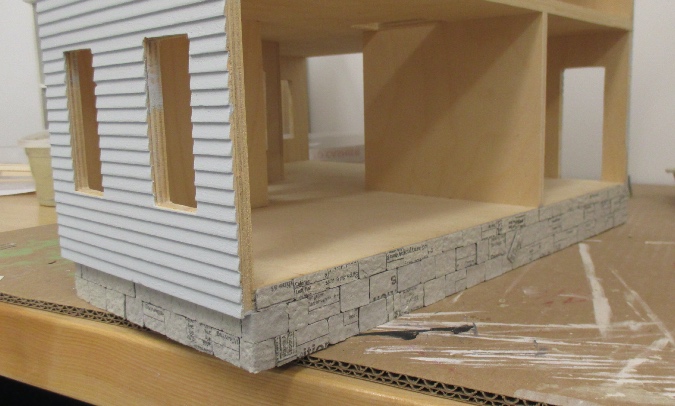
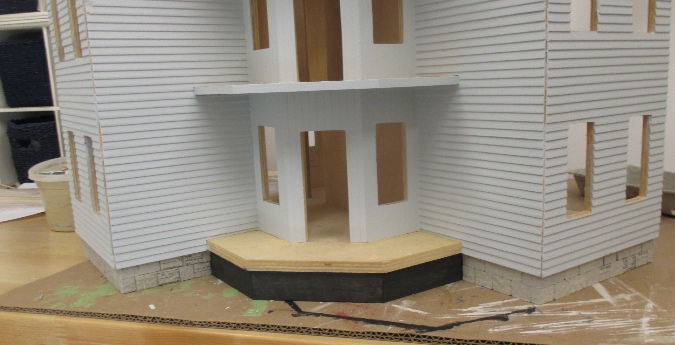
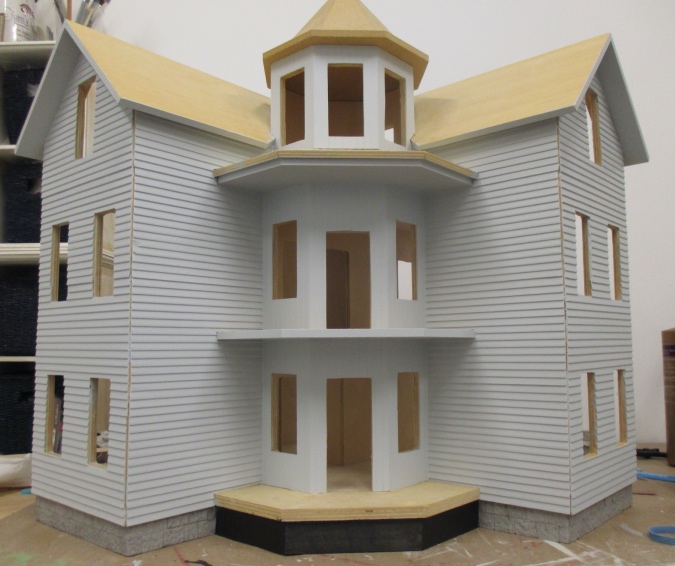
Next I painted the stone part of the foundation with gray paint (Granite Gray from Glidden), and under the porch with black (this will get lattice instead of stone).
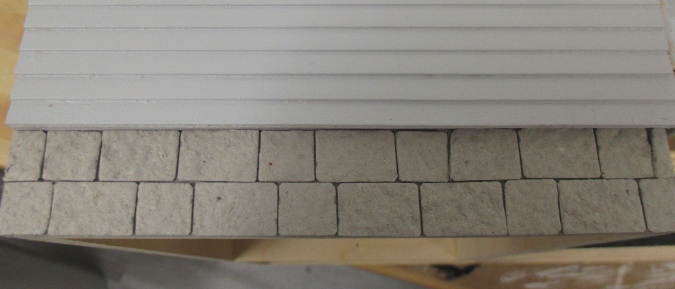
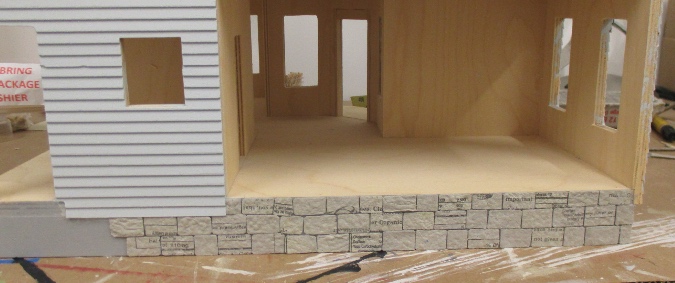
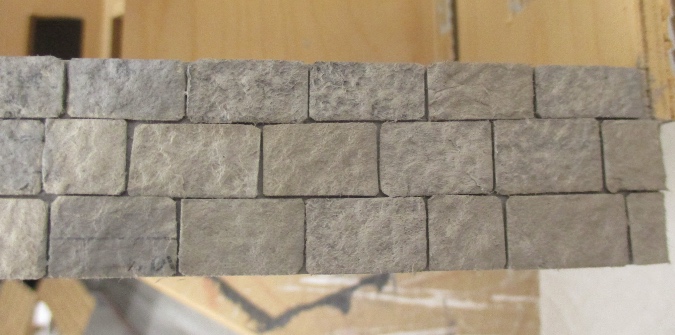
When the paint was dry, I glued on the egg carton stones, leaving small cracks between them. I snipped off the corners on the stones, which makes them look more like stones and less like pieces of cut-up cardboard.
Portions of the egg carton lids had printing on them. This will get covered up with paint.
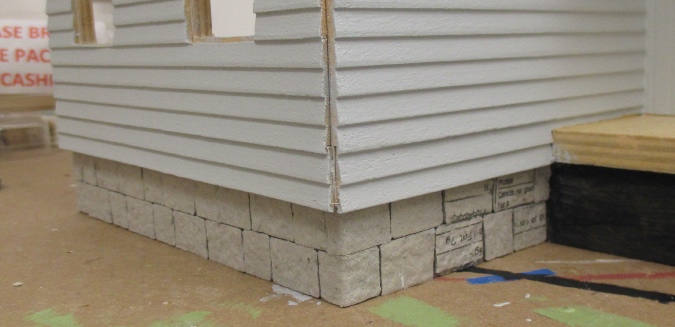
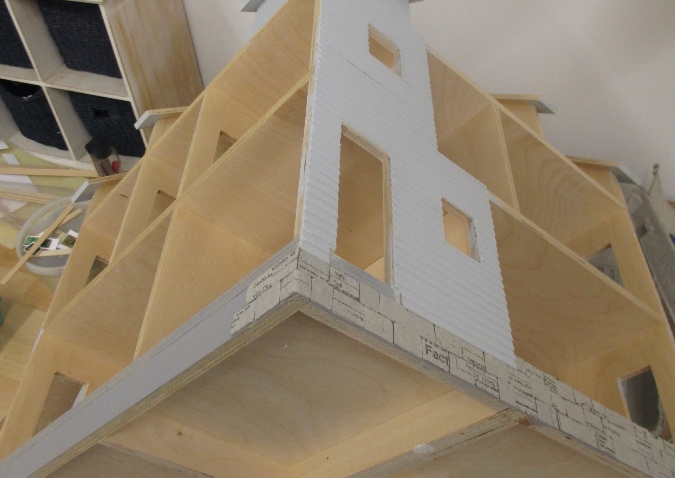
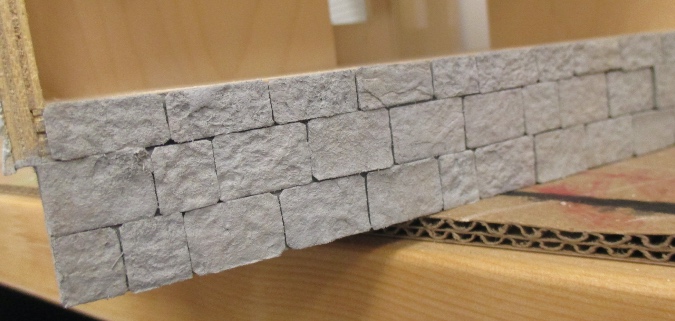
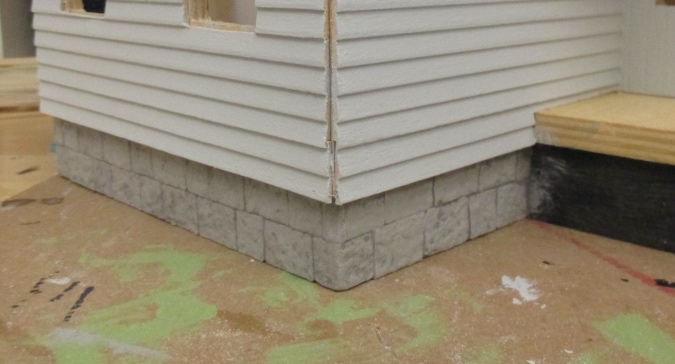
The foundation under the siding is an inch high, so two rows of stone fit perfectly. On the open sides of the house I had to cut smaller pieces to fit at the top.
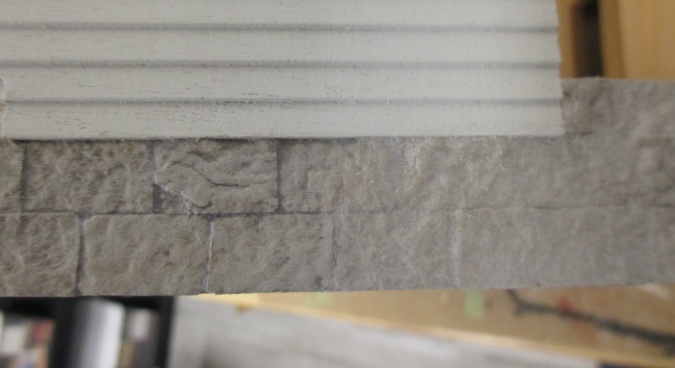
When corner trim is added, it will butt up against the top stone.
I continued around the house until I reached the front again.
Next I painted over the stones that had printing on them, again with the Glidden Granite Gray paint.
One coat wasn’t enough — the printing showed through. I wanted to add shading to all of the stones, so rather than paint these again, I moved on to the next step.
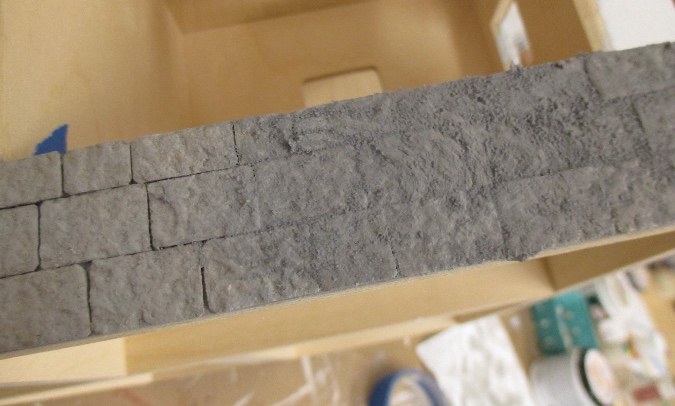
I used a dry brush to splat a lighter shade of gray on the stones. To do this, dip a stiff bristle brush in paint and then dab almost all of the paint off on a paper towel. Then flick the brush around on the stones to randomly add the paint.
After going all the way around, I repeated the process with another shade of light gray.
I repeated this with the Granite Gray, light brown, lavender, and finally again with the first light gray. With random stones, I try to concentrate different colors on different stones, but with these I used the paint uniformly on all the stones since they’re theoretically all the same type of rock.
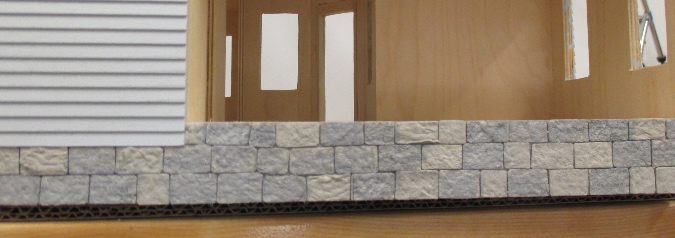
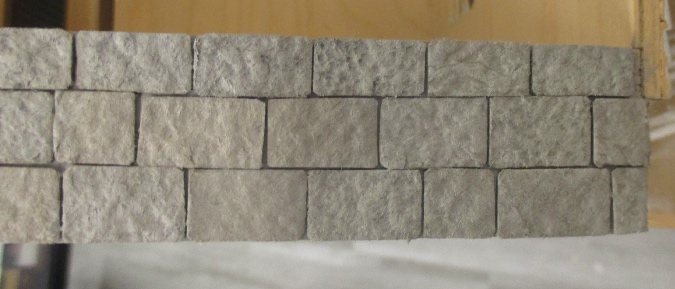
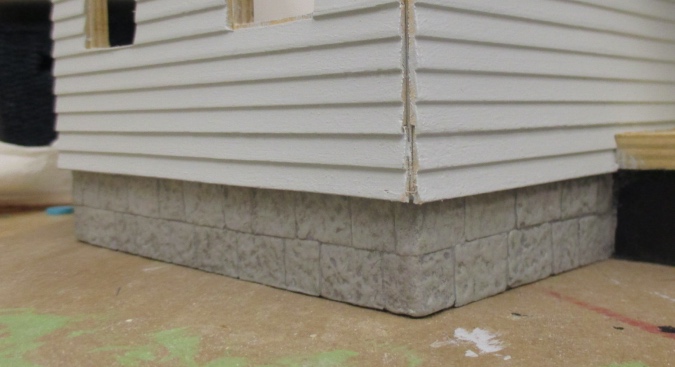
Next I coated them with matte varnish. This eliminates the fuzziness of the egg carton material and gives the stones a hard shell. At this stage I’m happy with how the stones look — the color variation is subtle, but it’s definitely there.
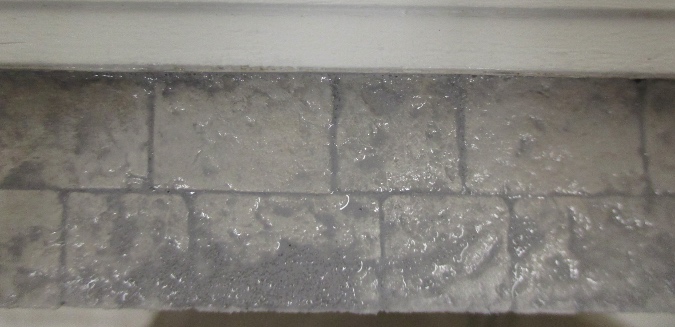
In the past I haven’t used mortar with egg carton stone — I just let the dark gray background serve as the mortar. But I used it with the egg carton brick in the Four Seasons Roombox and liked the result, so I decided to try it this time. This is Andi Brick & Stone Mortar, and it’s dark gray when it’s wet. I spread it around on the stones, making sure to get it in the cracks.
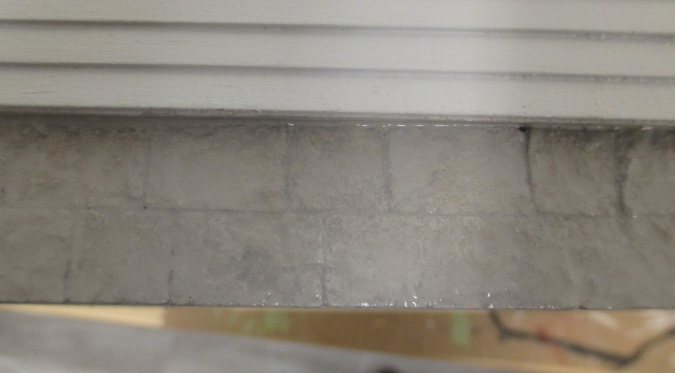
Wiping it of with a damp paper towel left little white flecks on the stone. Instead I wet it with a sponge brush, and then dabbed with a paper towel to take off the wet mortar without leaving paper towel residue on the stones. The picture below shows after wetting and before dabbing.
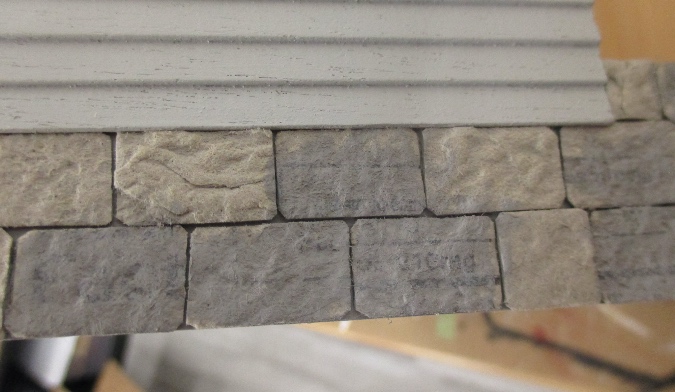
Here’s how it looked as it was drying. I like the contrast of the dark gray mortar with the lighter gray stones.
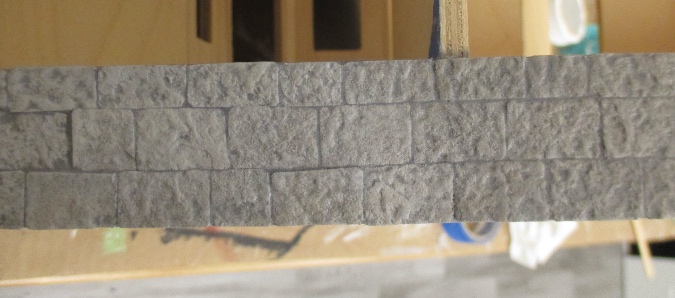
But a few hours later I went to take a picture of the dry foundation and it looked like this — the mortar had lightened considerably, making the whole surface look like it’s dusted with ash. I suddenly remembered my experience with the patio on the Blackbird Bar, which also had nice contrast when the mortar was wet but lost its definition once the mortar dried.

I do like how the mortar makes the foundation look like a solid stone unit instead of individual pieces of egg carton with little cracks in between, but it’s too subtle now. Pull back a bit and the detail gets lost.
When I came back to it this morning, I thought it might help to wet the mortar again and try to wipe off more of it. I wet a little bit of it and that vibrant color came back. When the grout is darker, it helps show the pits and texture in the egg carton material. Plus, the painted shading is visible again when the stone is wet.
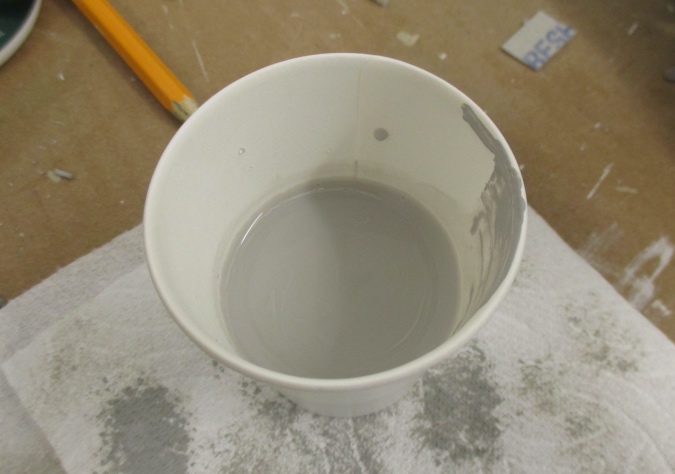
This got me thinking about what I could do to darken the dried grout and I decided to try a wash. I mixed some of the Granite Gray paint into water.
I sponged this over the stone and then dabbed it off with a paper towel. The idea is for the paint to seep into the grout but not cover up the paint that’s already on the stones.
Did it work? Impossible to know until the grout is completely dry again, and I didn’t have the patience to wait and find out.
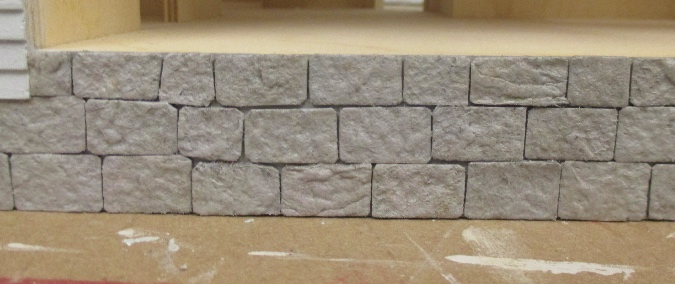
I did another coat of matte varnish and then left it alone for an hour. And… I think it worked? I don’t know if it’s because of the wash or the varnish or both, but the stones look way more stone-like than they did last night after the grout dried.
The matte varnish feels dry, so hopefully it won’t change any more after this, but I don’t want to tempt fate by saying this is the finished product. If it stays this way, I’ll be happy with it!

 Emily is a freelance writer, miniaturist, and adventure game enthusiast.


I love how it looks.
As another option, you could try mixing drywall spackle with some light grey paint and using that as mortar. You still need to coat the painted brick with a flat varnish but the spackle is smoother and lighter.
My biggest issue with mortar or grout is that it has such a gritty texture it can take off some of your egg carton if you’re not careful. I love it but I really have to coat my brick/stone multiple times before I use anything with texture.
Ah, that’s a good idea. Another thought I had was to use tinted grout (I have some left over from a real life tiling project), but you’re right that the texture might be rough on the egg cartons. Luckily I haven’t had that problem.
I would be lost if I decided to use egg carton bricks. I see the results when others use them and am amazed at the authenticity. Your results are incredible and very realistic. Bravo. The red bricks would never have worked. Happy Thanksgiving, Emily. It’s been a great year watching you work.
Thank you, happy Thanksgiving to you!
I hope it stays the way you want it to. Love the way it looks. Great job!
The technique you have described looks wonderfully authentic once in place…love the look!
I think your egg carton stone looks Great and I’m glad that you went with the grey stone foundation, which visually supports the weight of the house above it.