Last month I posted about the Bauder Pine Mansard Victorian, which I’m planning to furnish with lots of Cassidy Creations kits. Right after that, I got to work on the Cassidy Creations Federal fireplace wall, and I’ve been working on it ever since. This is a complicated kit, and probably one I should have worked up to!
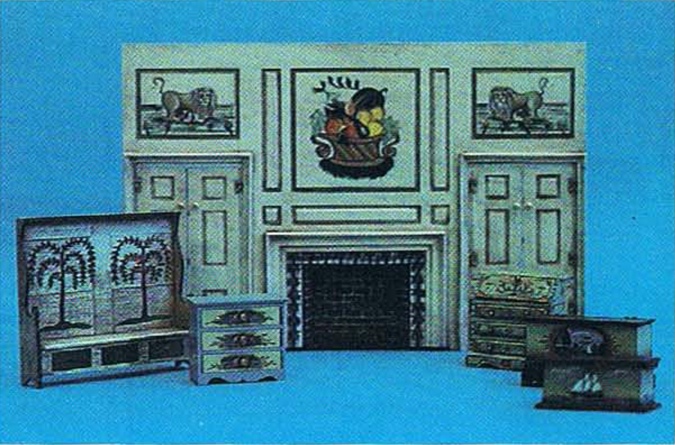
This picture from a 1986 Nutshell News article about Bauder Pine shows a completed Federal fireplace wall.
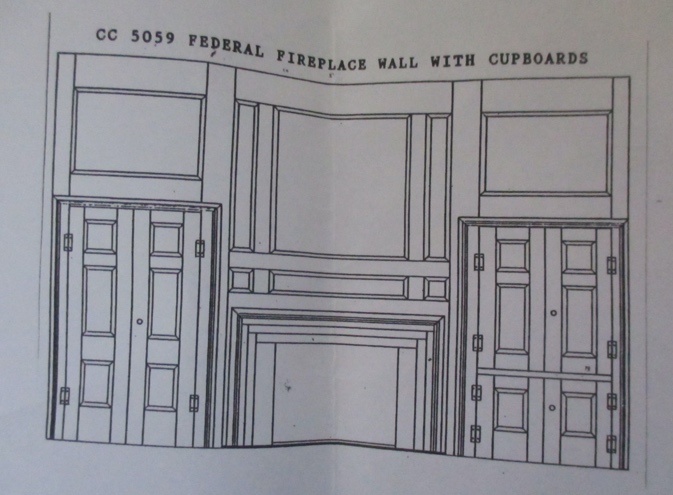
Here’s the picture that comes with the kit.
And here’s the kit itself. Whoa, that’s a lot of unlabeled pieces!

I bought this at a flea market several years ago. Besides the picture in Nutshell News, I don’t think I’ve ever seen one finished. My plan was to build this for the Mansard Victorian’s living room, and put a false staircase behind it leading up to the second floor.
The kit doesn’t have a parts list, so the only way to figure out what’s what is to lay out the pieces on the diagrams. The instructions are pretty bare bones as well. Not for the faint of heart.
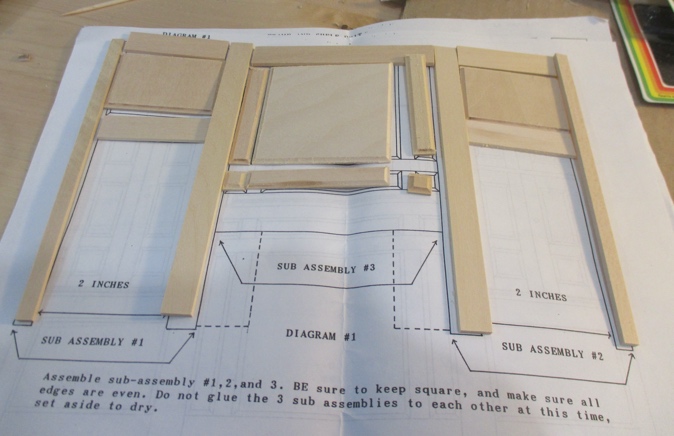
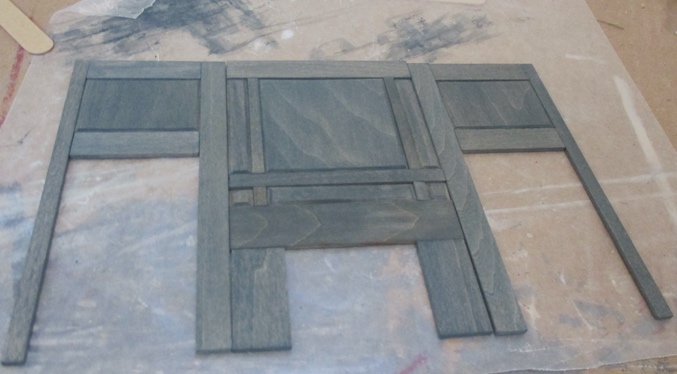
Some of the furniture I’m planning to use in this house is blue, so I decided on a blue color scheme throughout. I stained the front pieces with water-based Minwax blue/gray stain. The first step is to assemble the left, middle and right front sections, but not to glue the three sections together yet.
At this point I brought the glued pieces over to the Mansard Victorian and made an unhappy discovery. The Federal fireplace wall is six inches tall but the Mansard Victorian’s rooms are only five inches tall. Five inches is fairly standard for half scale houses, so I wonder if the Federal fireplace was intended to go into a specific Bauder-Pine structure with higher ceilings?
I do have a dollhouse that this will fit into, the Little Belle. Since I’d already started working on it, I decided to keep going. But the blue stain won’t work for the Little Belle, which I’m planning to make very Victorian with dark stained wood.
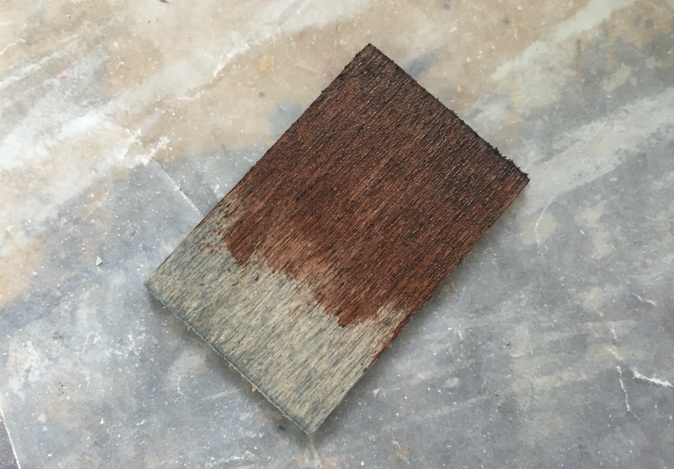
I stained a test piece with the blue and then covered it with Minwax Mahogany gel stain. Unlike regular oil-based stain, gel stain works over other finishes, including glue (to an extent). This seemed like it would work.
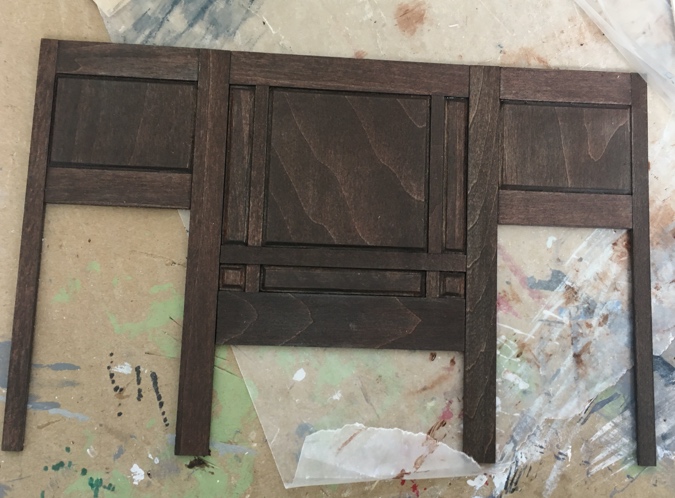
Here are the front pieces in their new dark color.
But the mahogany stain comes out much lighter on a piece of virgin wood. This meant that I had to stain every piece with the blue first, let that dry, and then go over it with the brown. Ugh.
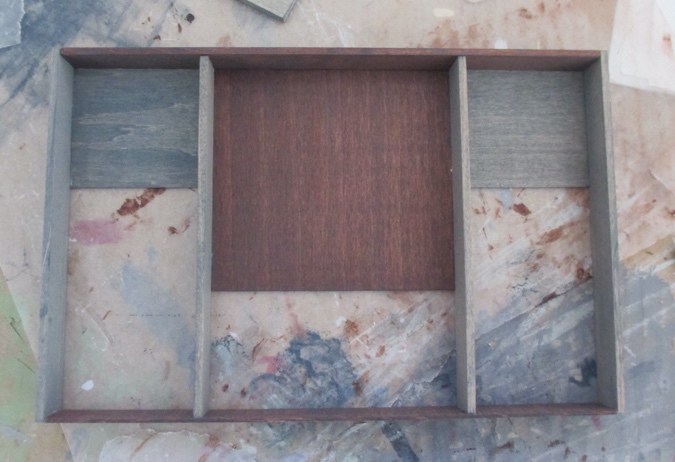
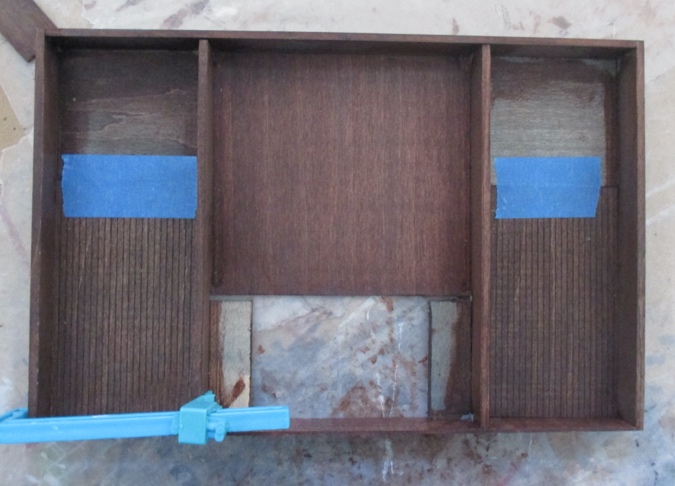
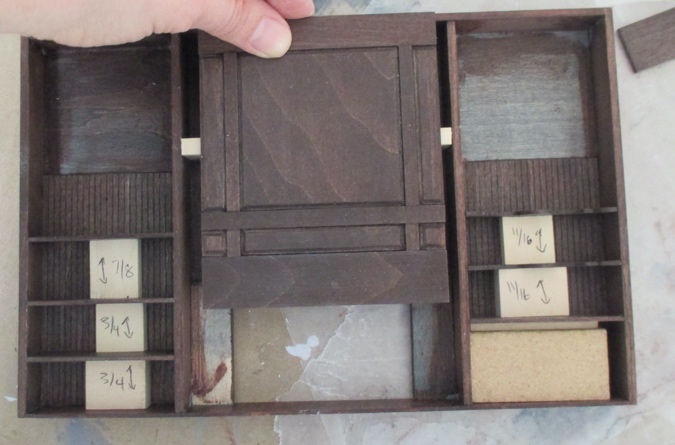
Here’s the back of the fireplace wall. The top sections (the blue and brown squares) are just there for stability — you don’t actually see them once the fireplace wall is assembled. (So why did I stain them? I don’t know.) The bottom of the center section will have the fireplace in it, and the left and right sides get shelves.
Next I assembled the doors.
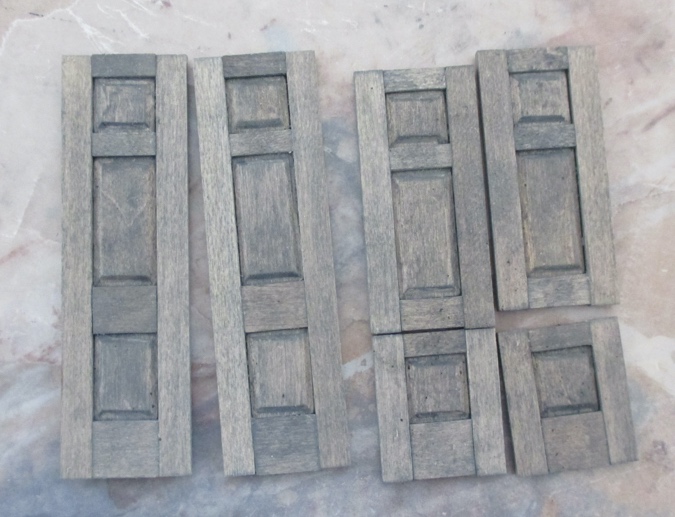
I needed to sand these slightly to make them fit. I sanded the sides that meet in the center and now they’re not perfectly straight. Grumble.
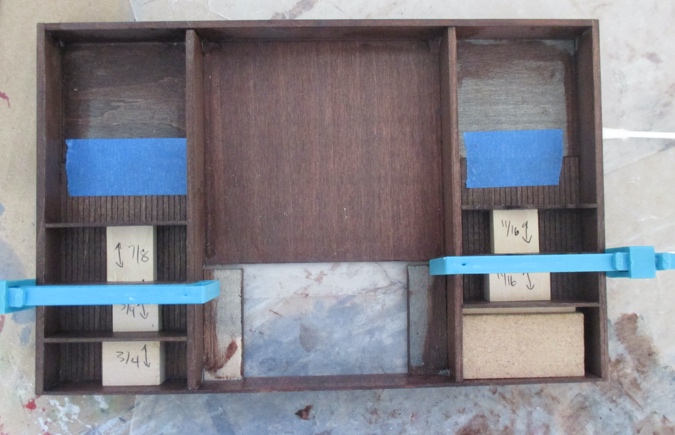
The next step was to glue in the shelves, which I just couldn’t make work without a back for support. The shelves don’t have a back piece, which seemed strange and made them impossible to glue in straight. I cut pieces of my favorite scribed basswood to fit into the empty backs.
The new back pieces are 1/16″ deep, so I used the disc sander to sand 1/16″ off the backs of the shelves.
One of the diagrams specified the distance between shelves. I created spacers to make them easier to glue in.
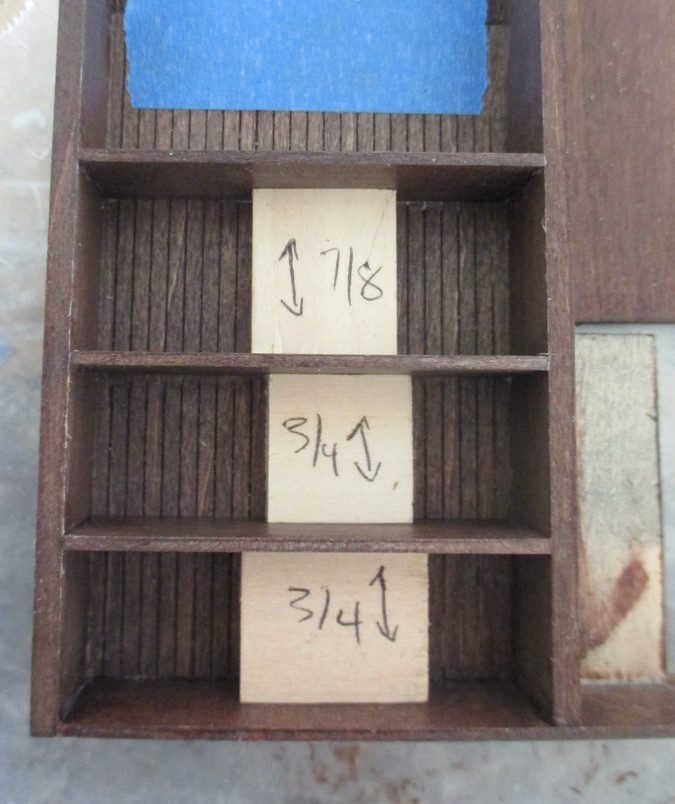
The added back pieces gave me more of a surface to glue to and the spacers kept the shelves at the right height until the glue dried. There’s no way I could have glued these in straight without the back pieces there.
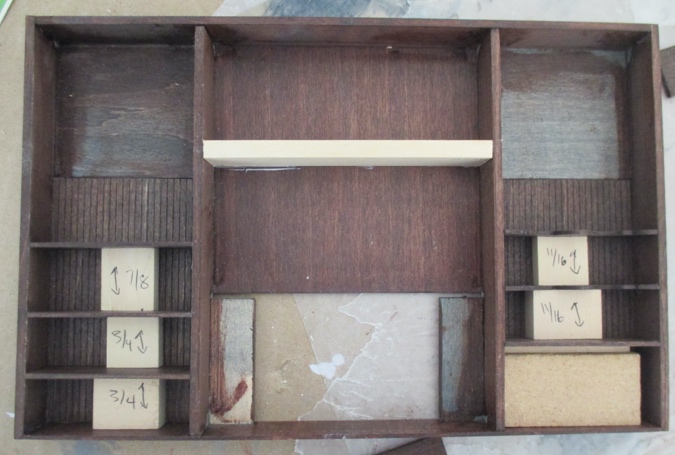
I also added a piece of strip wood across the top center area, since the center front piece seemed like it would need extra support.
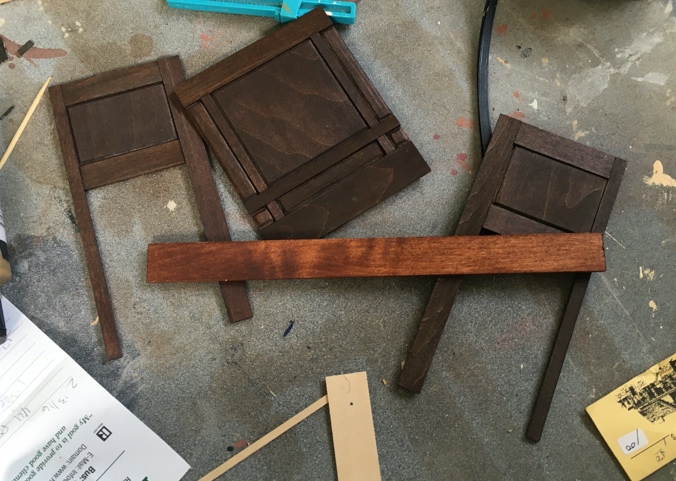
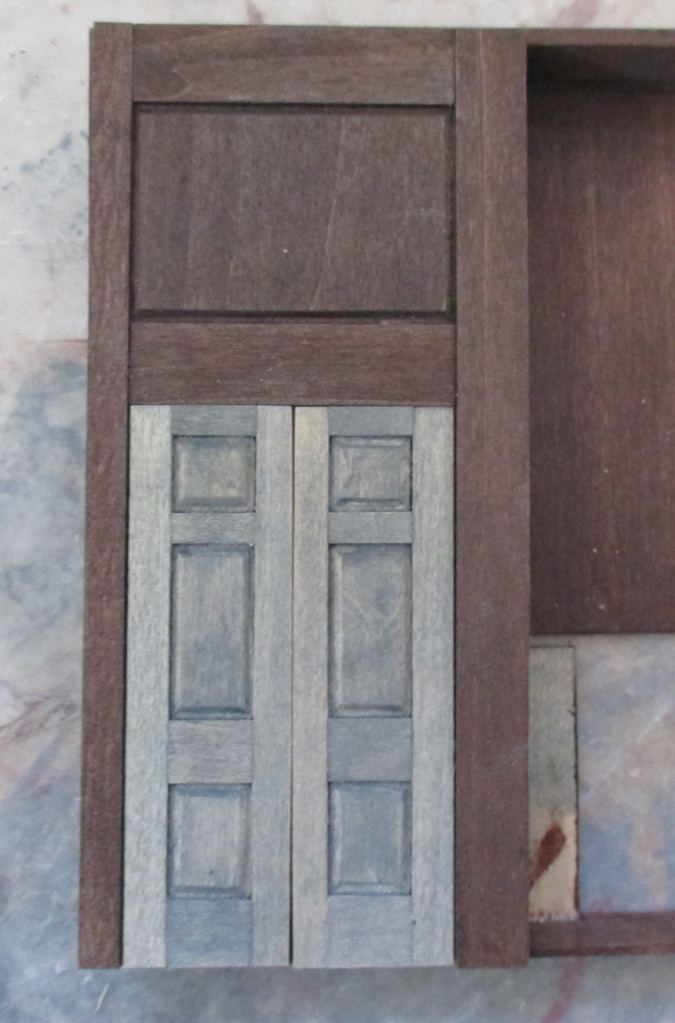
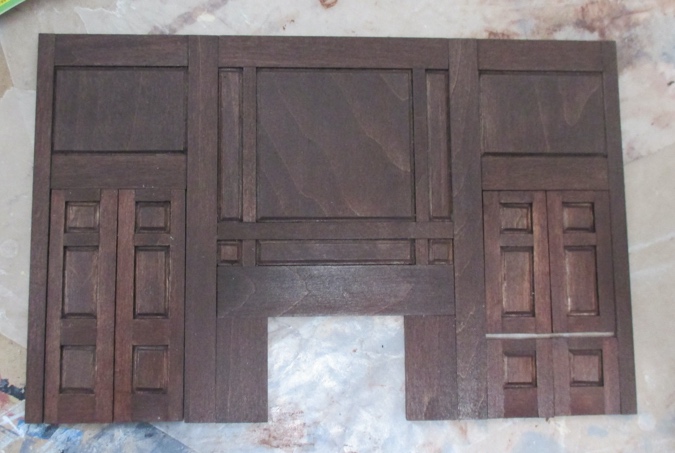
Here’s how it looks so far. The front pieces aren’t glued to the back piece yet.
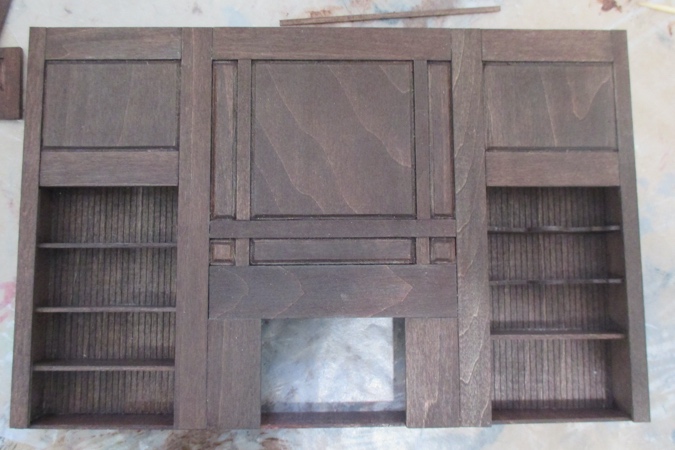
The doors took the stain differently and are a little lighter than the rest of the facade, even after several coats of stain. After taking this picture, I tried another coat of blue and then another coat of brown over that, but I don’t think it made a difference. I might have to call it good enough.
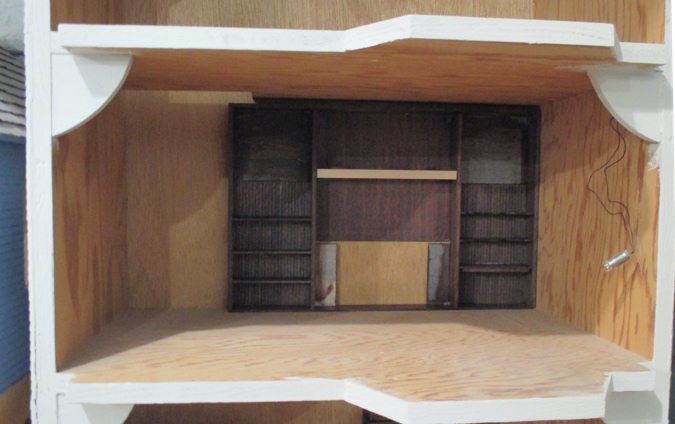
Here’s the back piece set up in the Little Belle, to give you an idea of the size. I’ll probably close in the stair hole and build false stairs behind the fireplace wall, like I had planned to in the Mansard Victorian.
In my next post I’ll show how I finished the fireplace portion.
 Emily is a freelance writer, miniaturist, and adventure game enthusiast.


Quite the puzzle but that is really a nice kit. Never saw one. Good find!
Nice work. I have only seen this kit in the photo from Nutshell News. I didn’t realize there were shelves behind the doors.
Nice project. Good that you have a house to use it in that is tall enough. The top sections are simple enough that you could have cut it down, too. (Before assembly–too hard to do now that it is assembled.)
Dad
Yeah, I thought about that but by the time I realized, it was too late. The doors would have been a problem anyway.
Nice work! I turned out really well!
Really beautiful work! Your experience, expertise, and skills continue to amaze me, and it’s truly a joy to see your projects come to fruition. Thanks for sharing!
This is a lovely house. I had to catch up your previous posts. What interesting history. I discovered the benefit of using spacers to get shelves straight and even, what an easy trick to avoid crooked pieces.