On HGTV they’re always saying that kitchens and bathrooms are where you should spend your renovation money for good resale value. And that’s where I’m focusing my efforts on the Rosedale right now… not for resale or anything, just because I sort of hate doing miniature bathrooms, and the kitchen has been in limbo for two years after a bad backsplash decision.
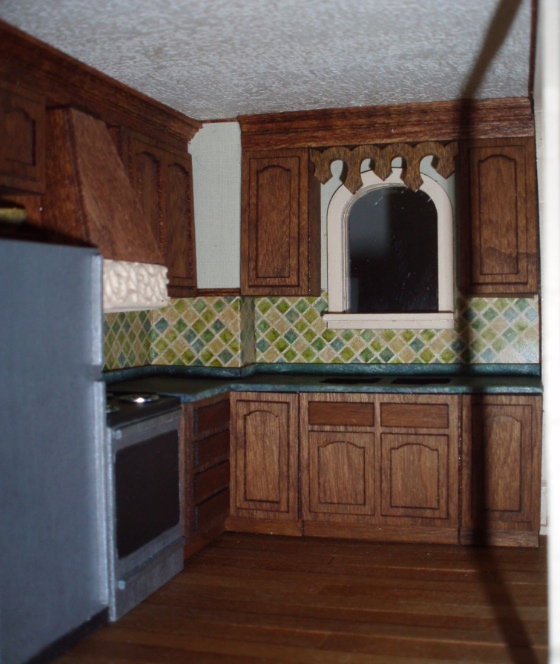
We’ll start with the kitchen. Here’s how it looked when I last worked on it in early 2012.
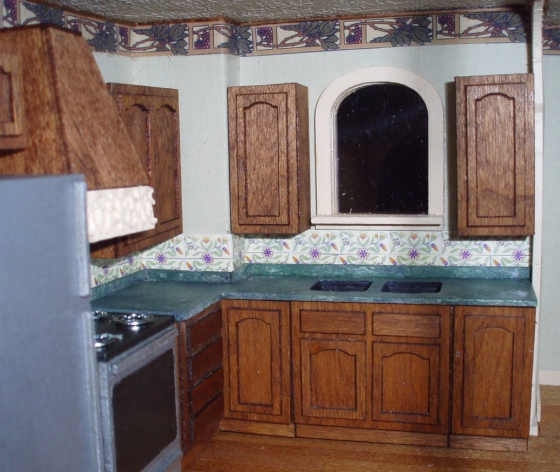
The tiles came off the border a 1:12 tile sheet. I liked them by themselves, but once I got them in the colors seemed all wrong. I didn’t like how they competed with the floral wallpaper border at the top of the wall, either.
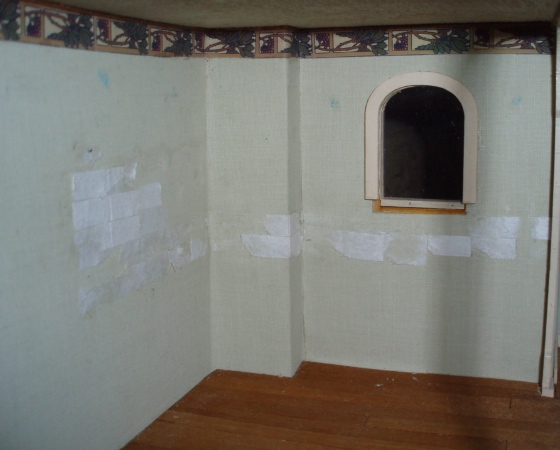
So… I ripped them out.
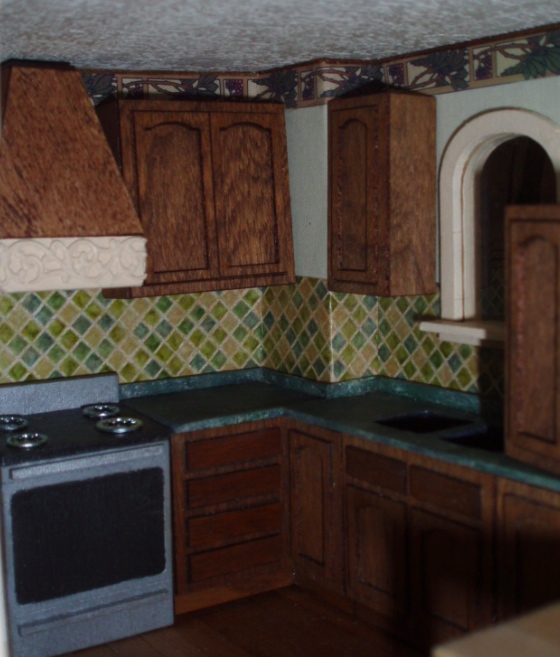
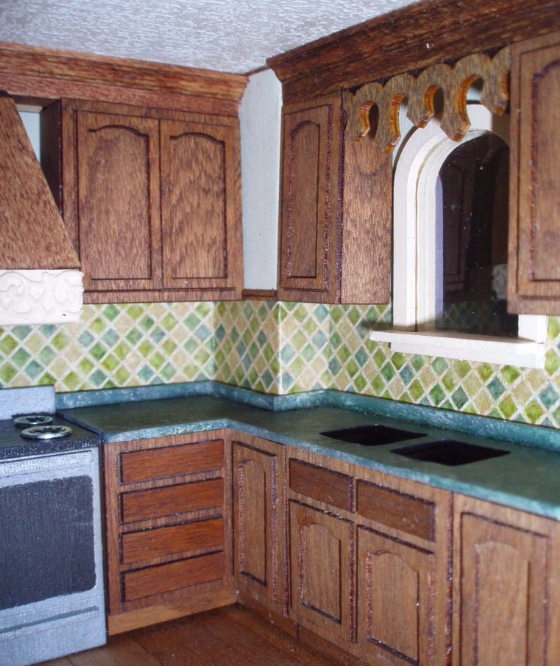
I got this green-hued tile paper from Itsy Bitsy Mini for the Rowhouse fireplaces, and had a ton leftover. I turned it to put the tiles on a diagonal.
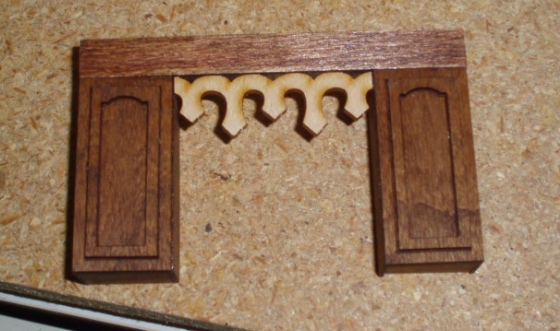
My next task was to finish the cabinets. I assembled these from kits by Bonnie Lavish. I’d planned to have a small cabinet over the fridge and another small cabinet next to it over the stove, with a stove hood under the cabinet. But along the way I decided to make my own, more ornate stove hood, so the cabinet over the fridge is the only small cabinet. That one has to be at a certain height to accommodate the top of the fridge, and I thought I’d hang all the cabinets at that same height. But they kind of looked like they were floating in space.
I decided instead to add some trim and crown molding to the top of the cabinets so they’d go all the way to the ceiling. But then there was too much space between the bottom of the small cabinet and the top of the fridge. (I failed to take a picture of this, hopefully you can visualize.) After looking at some pictures of real kitchens online, I decided to add height to the small cabinet by building in a wine rack underneath it. I started by removing the sides and putting on new, longer ones.
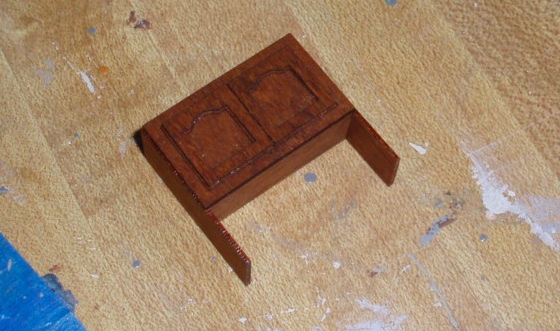
I then added a new bottom. I had some scrap pieces from the kits so these are the same cherry wood as the rest of the cabinets. Although I liked the wine rack idea, this was a tiny space to get my fingers into so I decided to just leave it as a shelf.
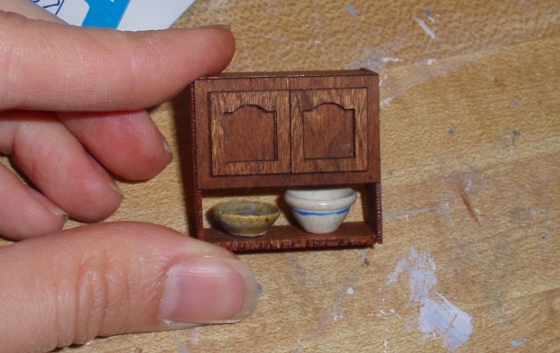
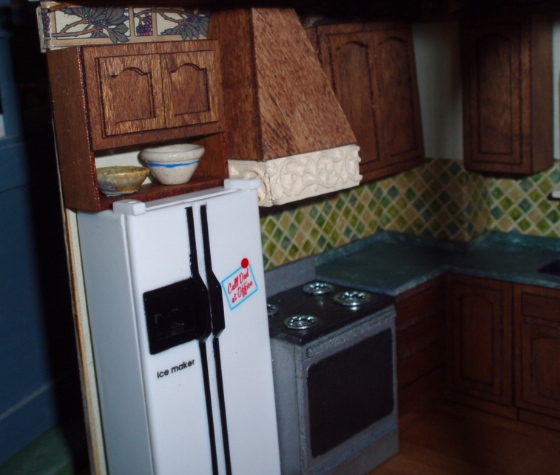
Here it is in action. I briefly thought about swapping in a different fridge but ended up changing my mind about that…
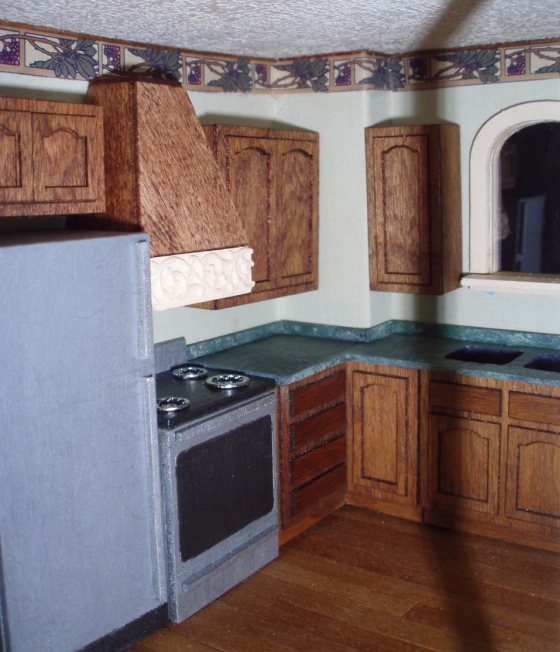
I glued basswood to the tops of the cabinets to fill the space up to the ceiling. This took stain differently than the cherry cabinets. In retrospect, the dollhouse store has some cherry trim and I probably could have found something that matched better, but I didn’t think of it until too late. For the cabinets over the sink, I made a cornice over the window from a piece of unused roof trim.
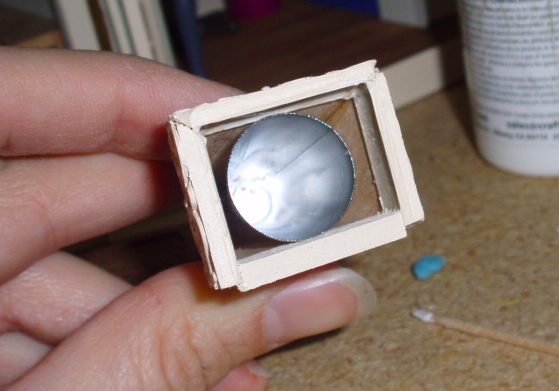
My stove hood is made from scrap wood and resin trim. When I was working on the Rowhouse kitchen recently I picked up a cake frosting tip as a stove hood option and ended up not using it. It was just the right size to fit inside the hood I made for the Rosedale.
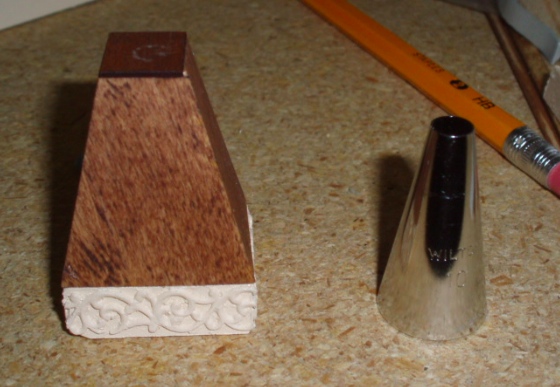
I squirted in some glue and stuck the frosting tip in place. It’s silly because there’s virtually no way to see this with the cabinets glued to the wall. But hey, I know it’s there!
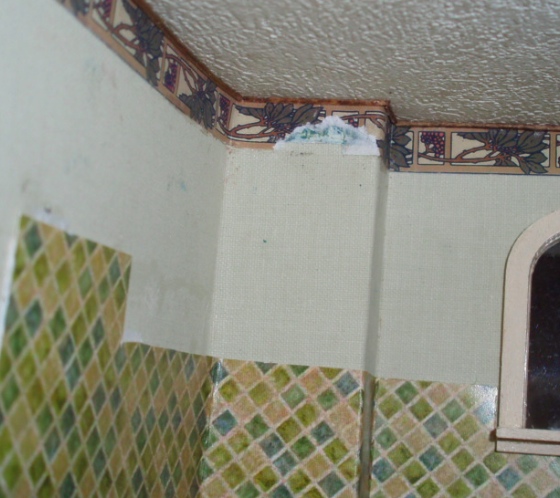
So with my new plan of the cabinets going all the way to the ceiling, the wallpaper border gets covered up. There’s a small patch of wall where the border would still be visible and I wanted to remove the border from that area so it wouldn’t look funny. Tearing it off didn’t work too well (especially since there was another, rejected border underneath it…)
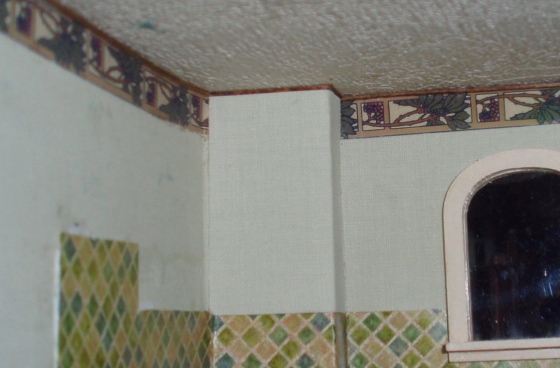
I had some scraps of this paper left over (never throw anything away!), so I cut a new piece to go in that corner.
With the cabinets in, you can’t tell it’s been patched.
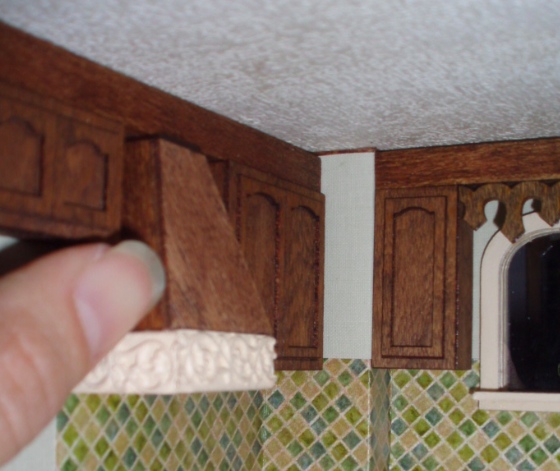
Finally, I glued the cabinets in place and added crown molding to the tops. On the cabinet over the sink, I probably should have cut the left side of the crown molding at a 45-degree angle so it would look more crown-molding-y, but once again I didn’t think of it until too late. Because these are dark, it’s kind of hard to tell there’s crown molding at the top at all when you look into the room, and having it at an angle jutting out over the corner wallpaper would have helped with that. But, eh. Good enough.
From another angle. It’s really tough to get good pictures of this room due to the placement of the room divider. I still have to figure out a faucet for the sink.
And a glimpse of the dining room side. I’ve still got some odds and ends to do in here but it’s pretty much done. Behind the table there’s a plant in a pot sitting under the window – hard to see from this angle, but it looks funny in this picture with the plant sticking up out of nowhere…

 Emily is a freelance writer, miniaturist, and adventure game enthusiast.


yes…you’re right. it does look better and the new wood matches just fine. Sounds like me…. change mind and then redo it. ha! Looks good!