After a brief hiatus I’m back at work on the Victorianna. The last big thing to do before attaching the back wall is finish the second story staircase and nearby trim. I started by gluing on the third floor.
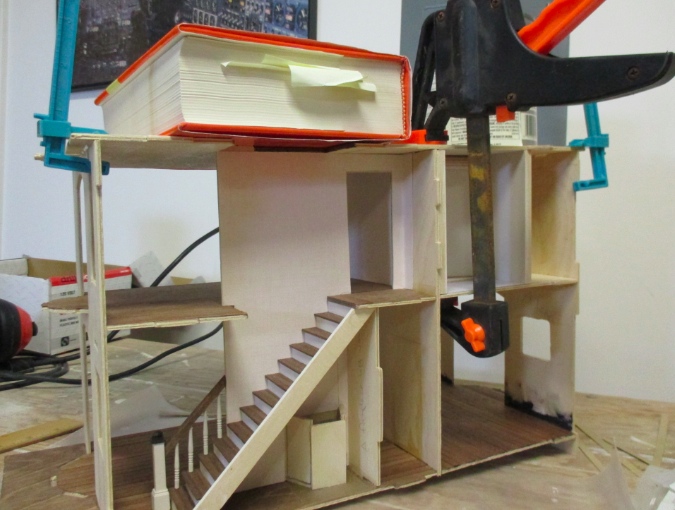
Then I glued in the staircase, with the top step butting up to the underside of the third floor.
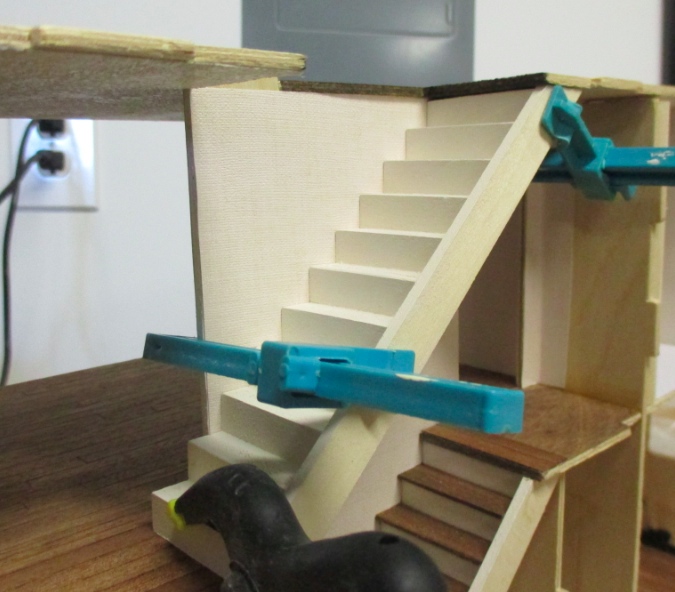
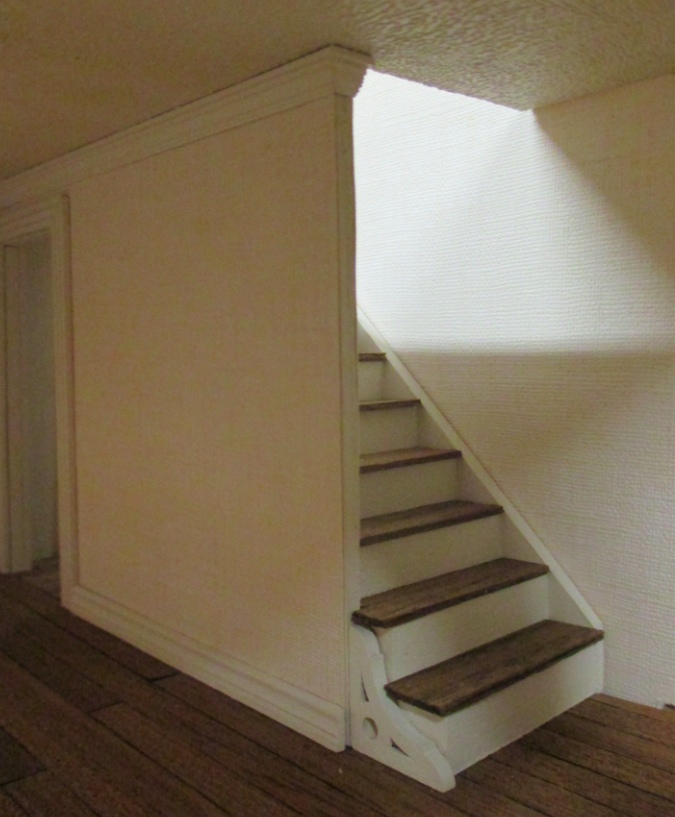
Since I’d cut this staircase to make it fit with the second floor’s lower ceiling height, the top step wasn’t quite straight. This left a noticeable gap where the stairs meet the floor.

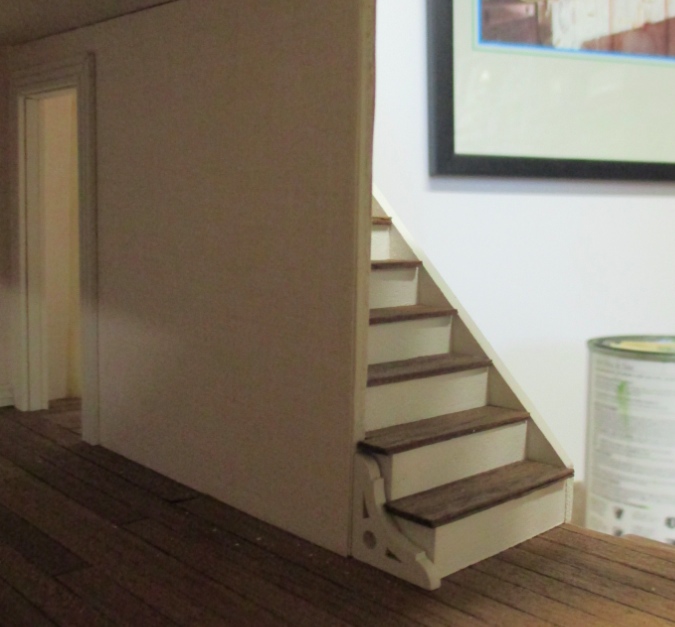
I masked this by adding a piece of strip wood to the front of the top stair.
At the bottom, there’s a small triangular gap where the stairs extend past the edge of the wall.
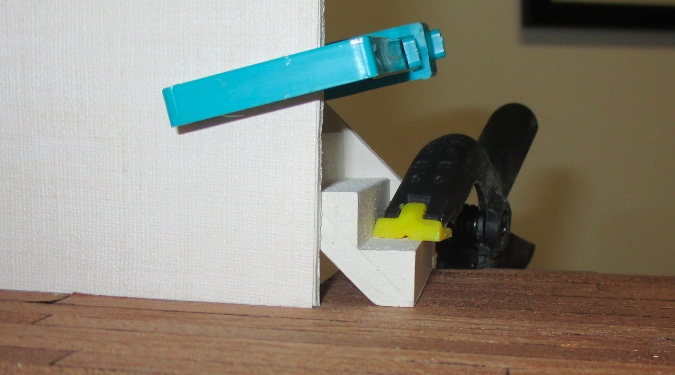
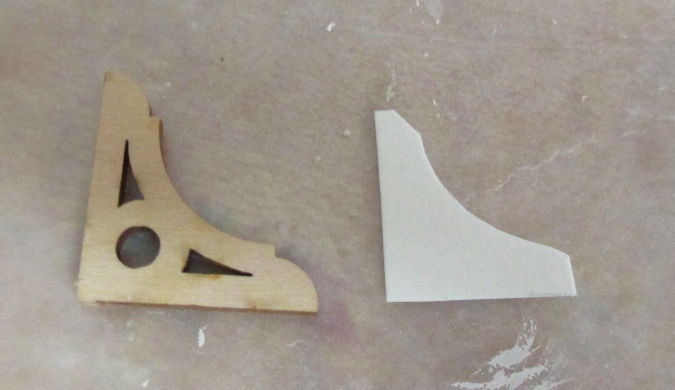
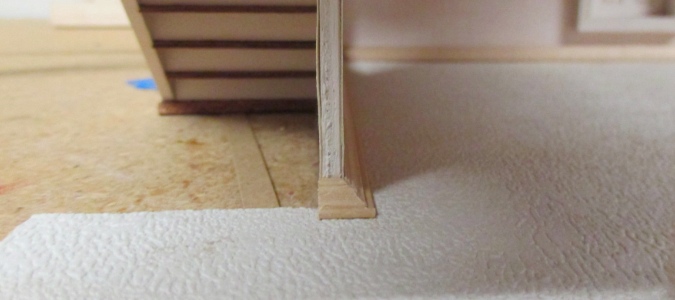
This piece of 1:48 apex trim covers it up nicely.
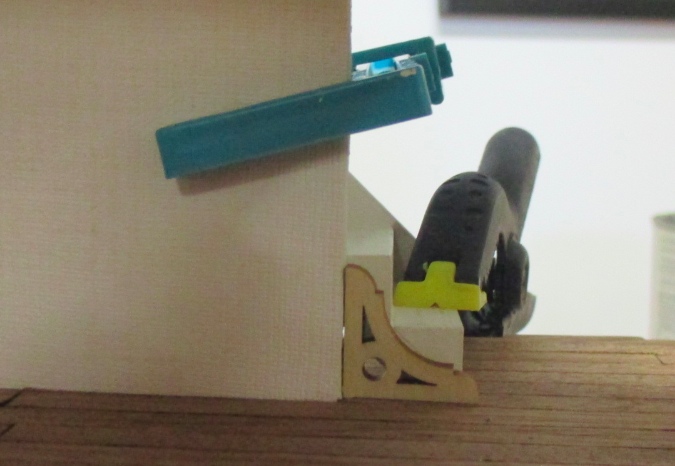
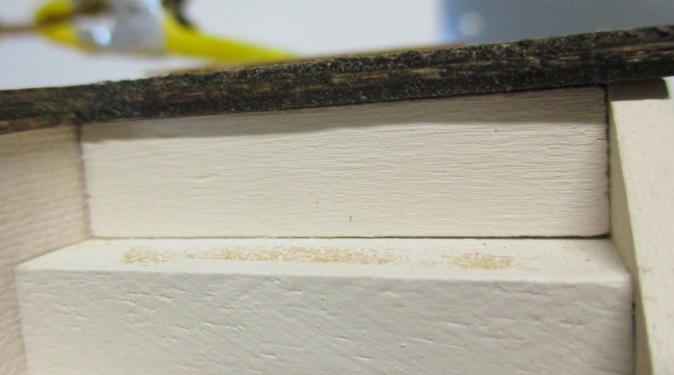
I didn’t want to be able to see through the cove molding to the underside of the stairs, so I cut a piece of posterboard to go on the back and fill in the holes.
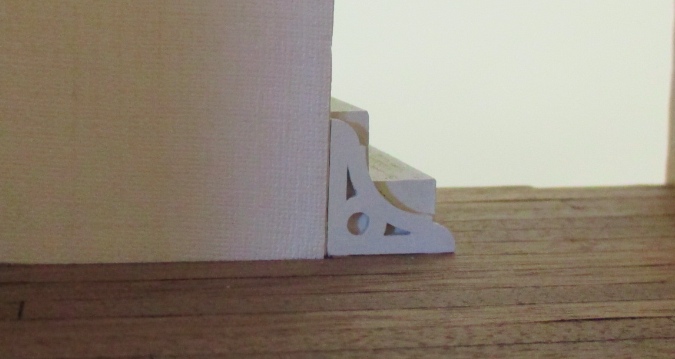
I painted both pieces with my Tuscan Beige trim color, then glued them together. Here’s how it looks in place.
Next I added floorboards to the area at the top of the stairs, which will be hard to reach once the back and other half of the house are glued on. These floorboards will extend into the hallway on the other side of the house, so I left them long. Here you can see how they’ll stick out through the hole in the back wall.

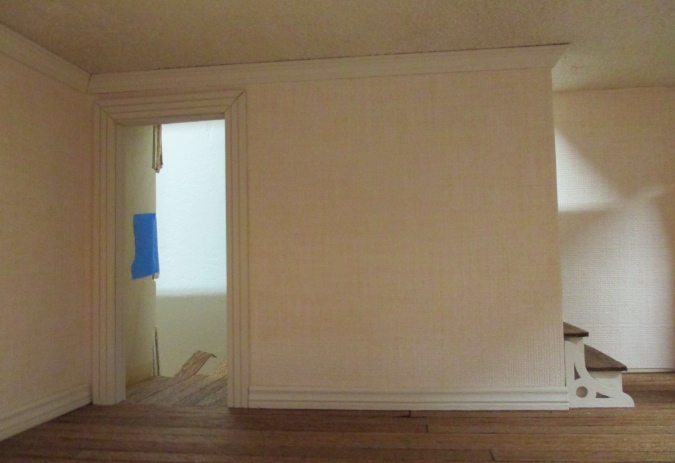
The doorway near the stairs will also be hard to reach once the second half of the house is glued on, so I did the trim now. The casing is for the two sides of the door and the thin strip wood is for inside the door, to cover the exposed plywood edges.
Here’s the door trim glued in. I’m going to try to cover up the seams at the corners with a bit of paint but am not sure if I’ll be able to do it, since this room is fairly deep — don’t want to get paint all over the walls!

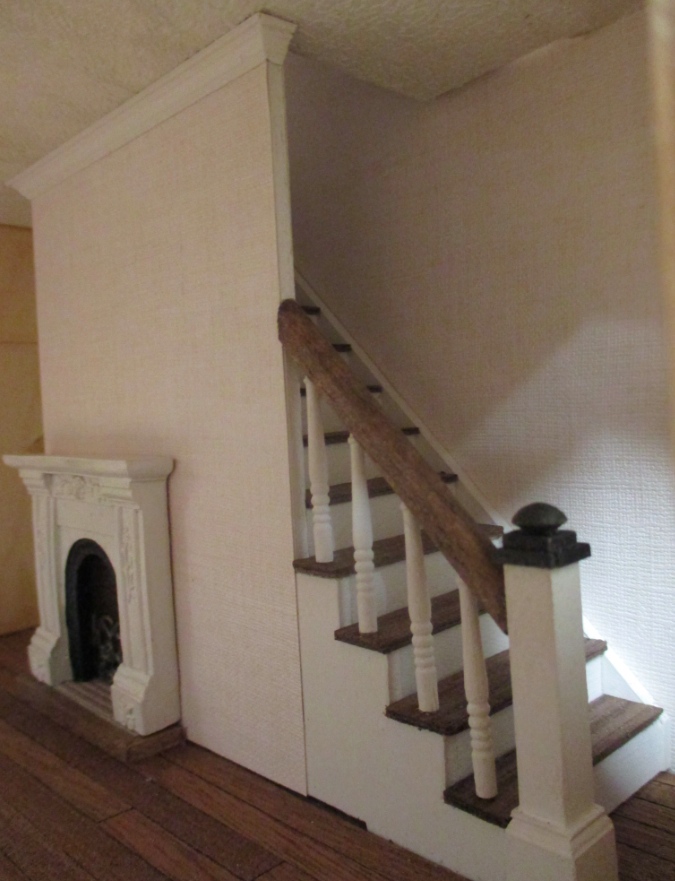
I did the stair treads the same way as on the first floor staircase.
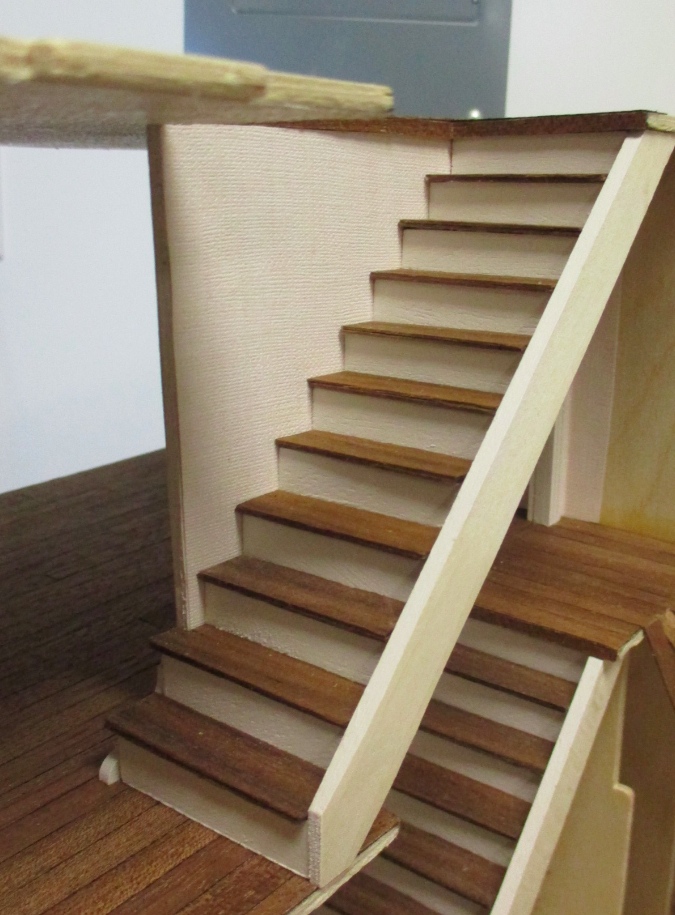
For the second stair up from the bottom, I had to cut a notch in the tread to make it fit around the wall.
Finally, I cut crown molding for the room with the stairs. I made a return around the edge of the wall and glued this piece on before painting to make it easier to paint. I did the same thing for the wall along the first floor staircase.
I glued these in with the house upside-down. The ceiling and the moldings are both slightly warped, so I taped the molding in while the glue dried to make it as flush to the ceiling as possible.

The end result.
Here’s how the return looks on the second floor staircase. Maybe I should have done the same thing with the baseboard but, well, I didn’t.
And on the first floor.
That’s all the trim I needed to do… time to glue on the back wall!
 Emily is a freelance writer, miniaturist, and adventure game enthusiast.


I really like the little apex trim at the foot of the stairs – it gives a lovely decorative touch. And the way the stair tread is cut around the wall is nice too. The cornices around the ceiling are a very attractive finish.