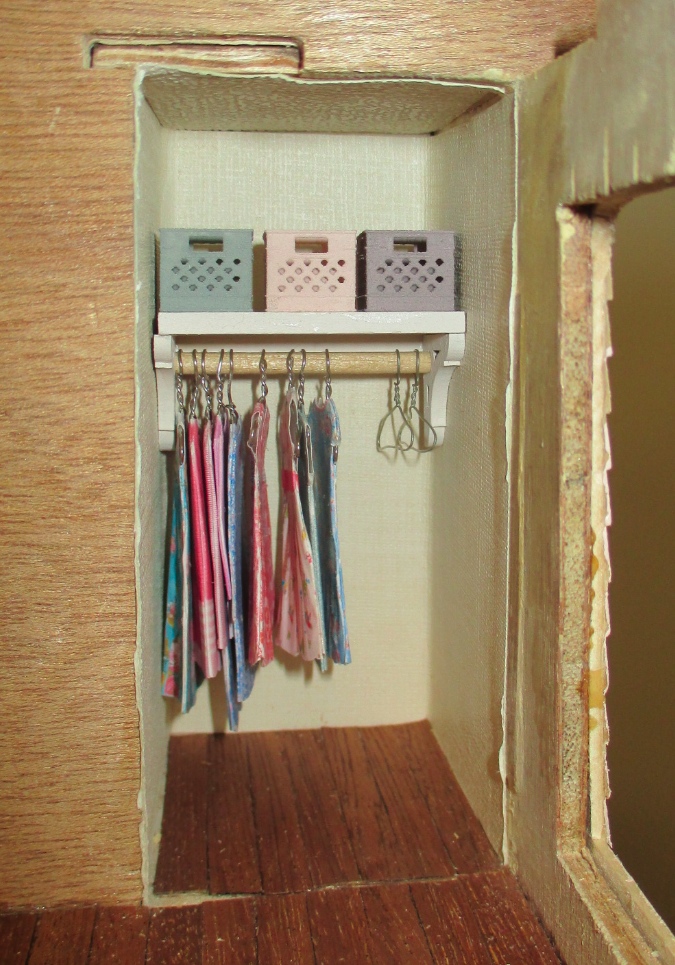
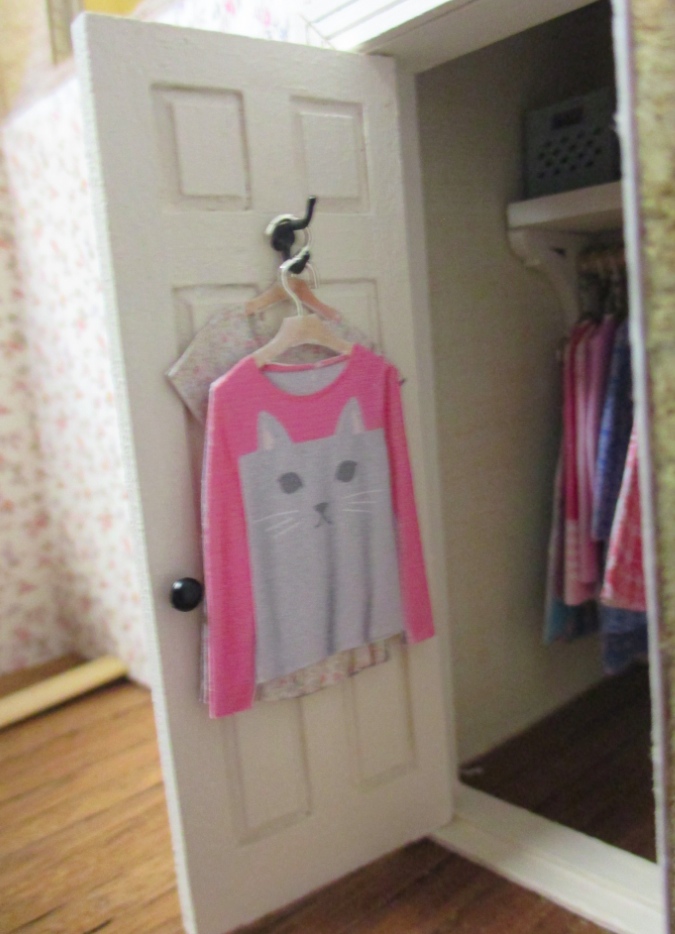
With the clothes neatly put away in the closet, it’s time to finish the second girl’s room, starting with finishing the closet. I bought these 1:24 plastic crates from Shapeways and painted them pretty colors.
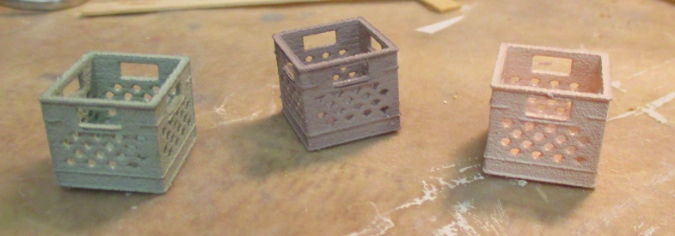
I thought about putting something in them, but once they’re in place you can’t really tell they’re empty, so I didn’t. I glued the crates to the shelf since they would be very hard to get in there once the closet is closed up.
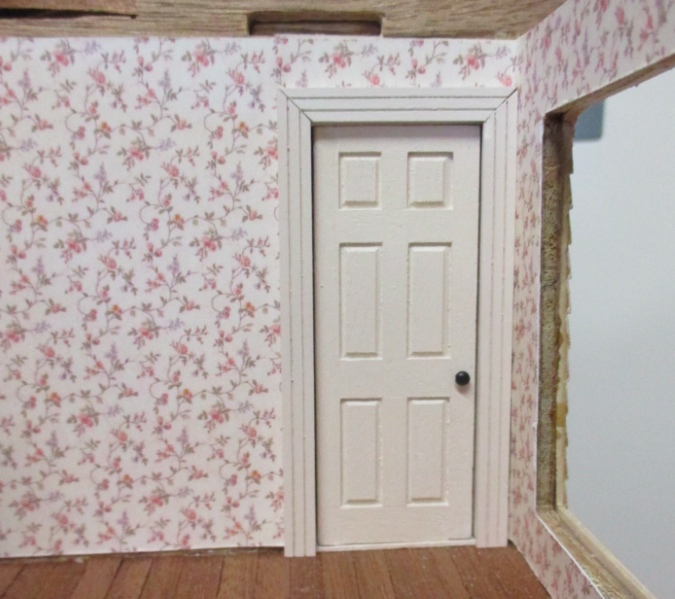
I had already prepared the door by gluing strip wood to the sides so it fits snugly in the opening. I added a piece to the top for the top part of the wall to attach to.
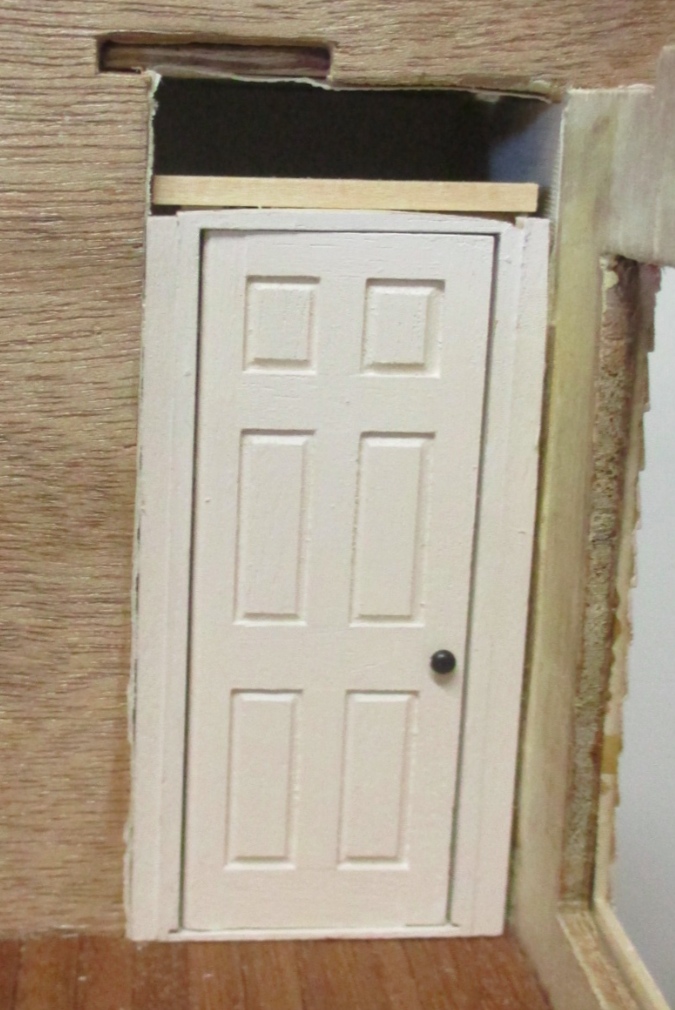
I glued in the door, and then glued a piece of wood over the door.
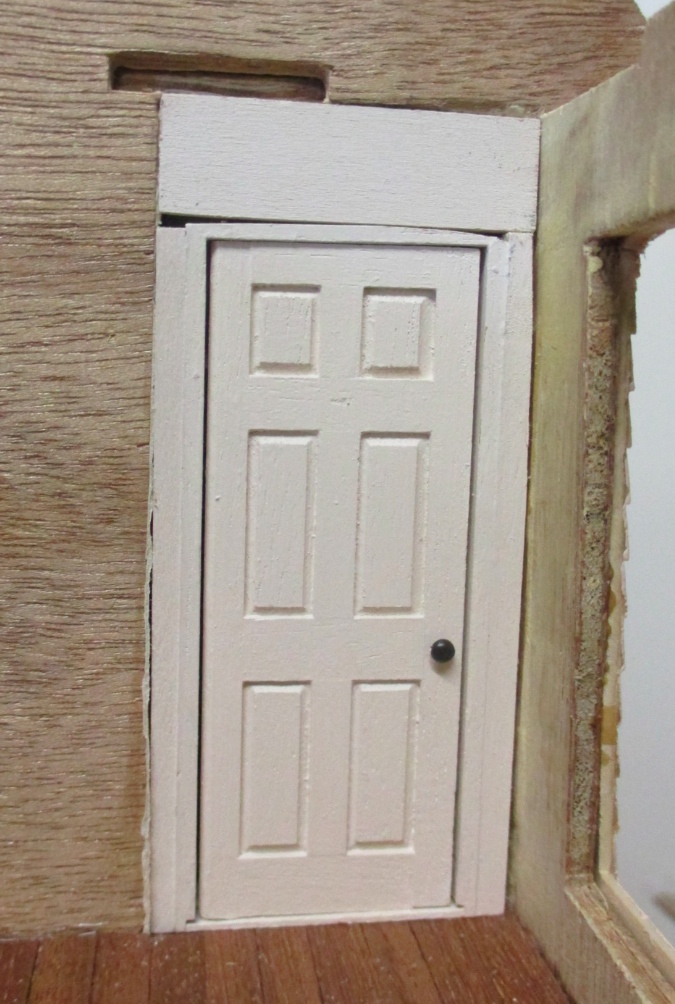
I wallpapered the room and added trim around the door. The wallpaper is from Itsy Bitsy Mini — it’s 1:12 scale, but a small enough print to work in half scale.
It was bothering me that the hanger on the hook inside the door seemed very out of scale compared to the hook. I had a few printouts leftover from the clothes project with wooden hangers as part of the image. I cut down eye pins, opened up the eye a bit to make a hook, and sandwiched the hook between the paper to make the tops of the wooden hangers. I had to use Super Glue to keep the hooks from sliding out from between the two pieces of paper.
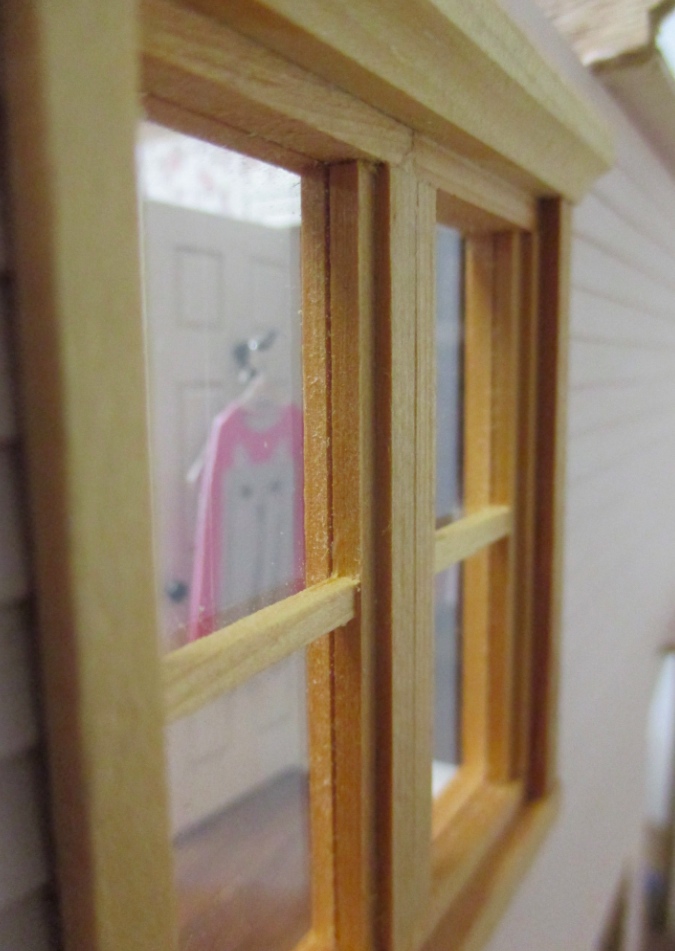
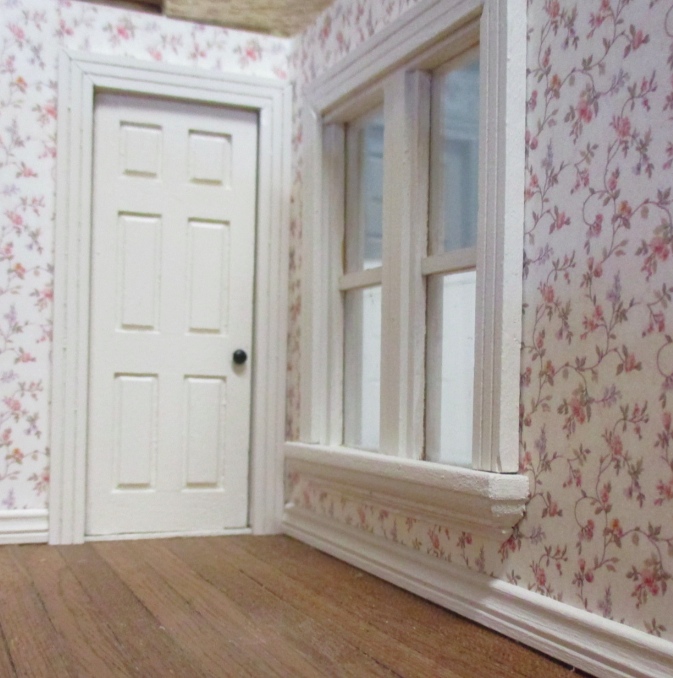
Here’s the view through the window near the closet.
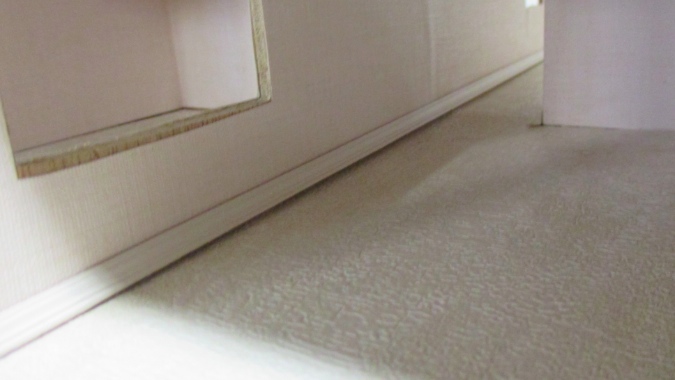
I wanted to get the third floor glued in so I decided to finish this room completely while I could still easily get my hands in. Next came the baseboards.
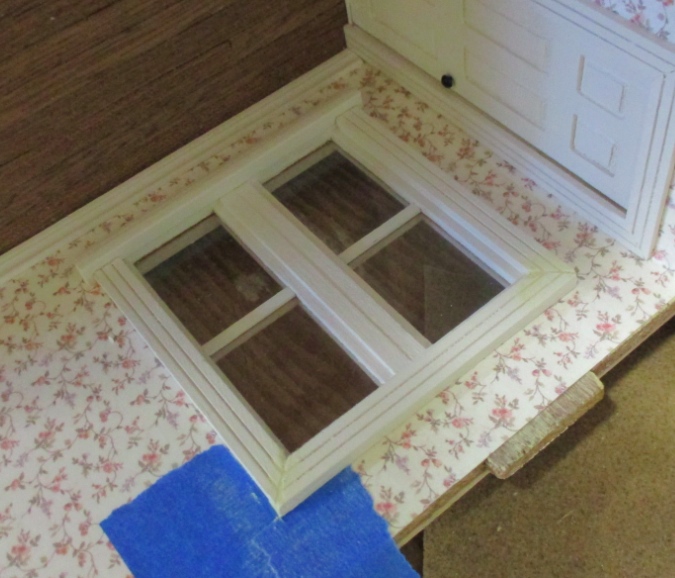
This is an old Carlson’s window. I was dreading painting it because the glass is permanently attached. Initially I put masking tape on the plexiglass but still managed to get paint on it. I found that I could easily scrape any stray paint off the plexiglass with the end of a toothpick, so masking tape wasn’t really necessary.
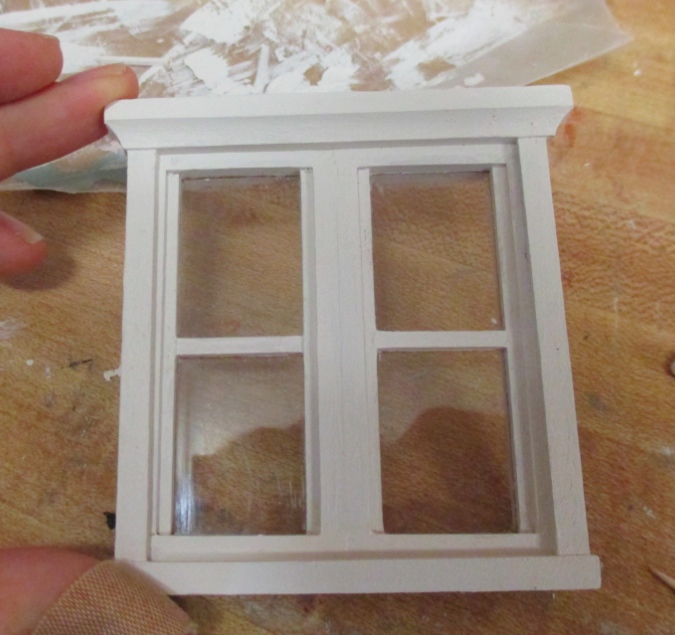
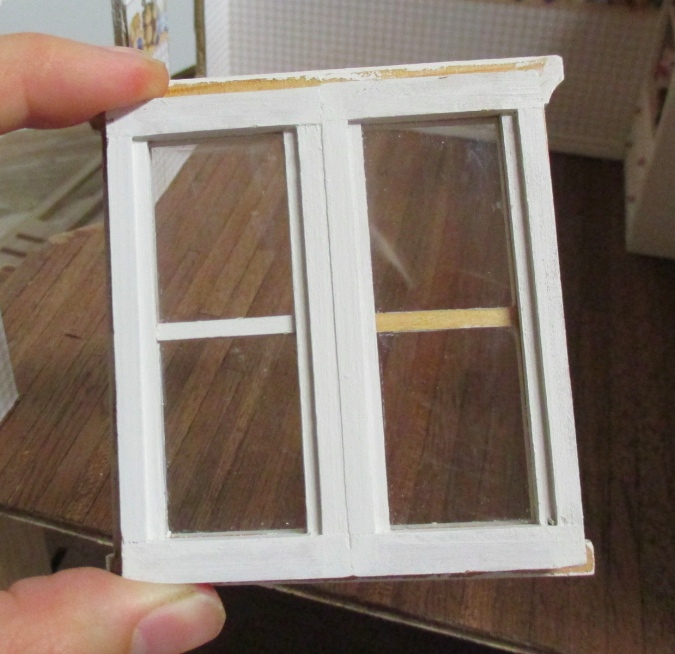
Because the plastic doesn’t come out, there’s no way to paint the back of the center piece. I painted pieces of strip wood the same size and put these on the back of the window over the center piece, to hide the unpainted part. I made these wide enough that no glue was needed, they’re held in with pressure.
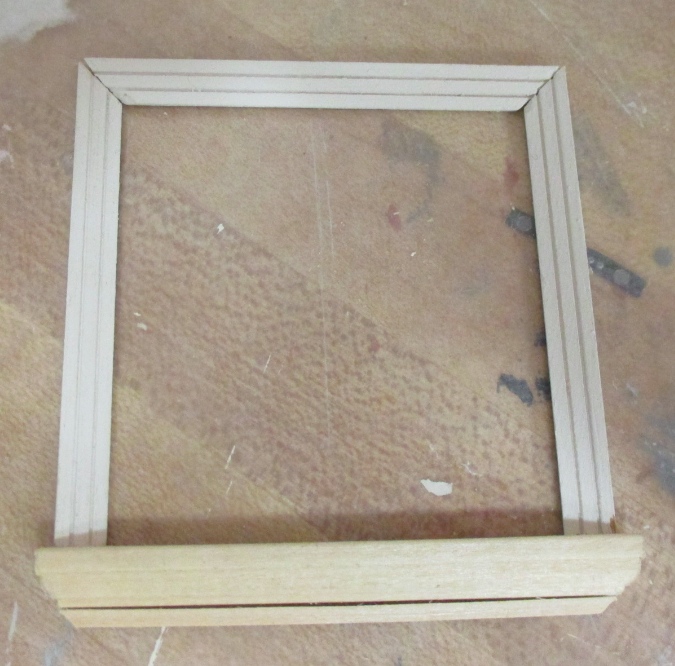
I cut four pieces of window trim to make a frame but somehow incorrectly measured the vertical pieces, or maybe the problem arose because the shims I added to accommodate the window being not quite flush with the wall prevented me from putting the trim in the same position it was in when I cut it. Either way, there would have been gaps at the corners too big to fill in with wood filler.
Too lazy to go to the store for trim, I squared off the bottoms of the vertical pieces and made a piece of cornice with mitered corners into a window sill instead. There was a gap between the underside of the window hole and the top of the wallpaper, so I cut a little piece of cove molding to go underneath the sill and cover it up.
I glued everything on the best I could but still had gaps at the top corners, and where the cove molding meets the cornice. (The top piece of trim couldn’t come down any farther due to the shim bumping into the top of the window.)
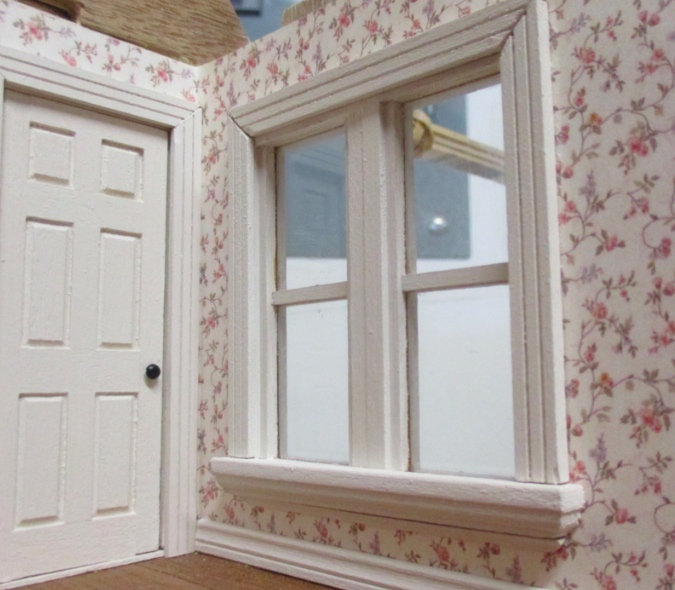
Since the ceiling wasn’t on yet, it was easy to flip the house sideways and add wood filler to the top corners, then paint over them.
A paintbrush variety pack I got at Michaels came with a short-handled thingie that looks like an eye shadow applicator. I used this to dab paint over the gap between the cornice and the cove molding — no more obvious gap.
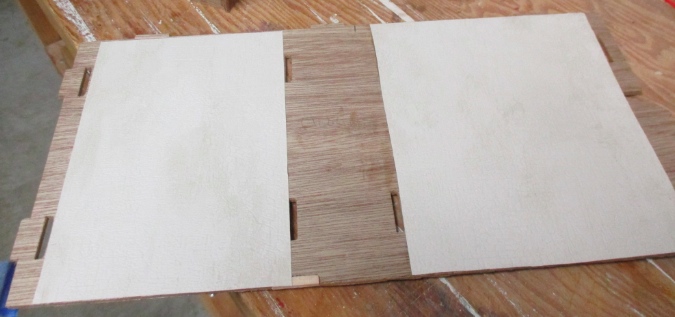
With the window finished I could finally glue on the ceiling. First I added ceiling paper over the two bedrooms and slathered the portion in between with wallpaper mucilage.
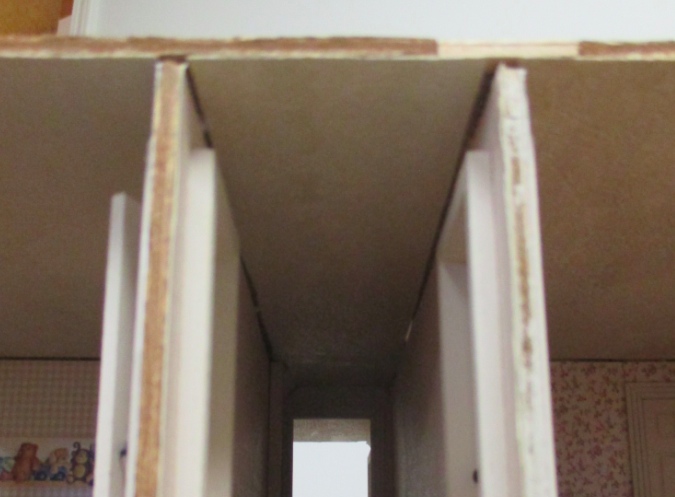
I glued in the third floor piece, reaching into the hallway to smooth the ceiling paper I’d already inserted onto the glue-laden ceiling above. I had my doubts, but this crazy plan worked out great!
I flipped the house over on the shelf under the worktable while the glue holding in the third floor dried, with some heavy stuff on top and some boxes underneath to keep it from flipping off the shelf. The top part of the center wall is wedged between the edge of the shelf and the boxes.
While I was waiting for the glue on the third floor to dry — with the house still upside down — I glued a long piece of crown molding into the first floor living room that spans the width of the two Victorianna kits. This was a little warped, and a hump in the ceiling where the two kits meet didn’t help.
I used several dabs of Super Glue in addition to Tacky Glue, and lots of masking tape to hold down the piece while it dried.
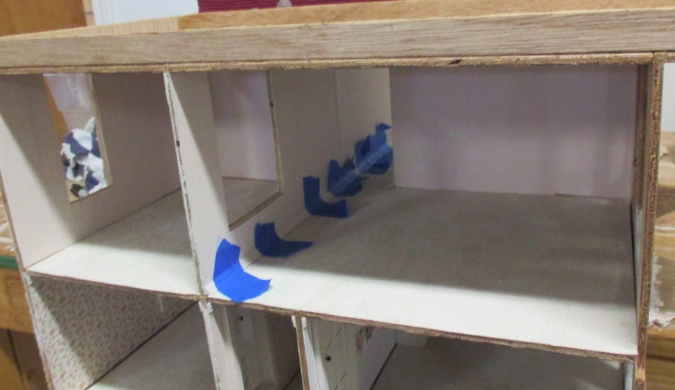
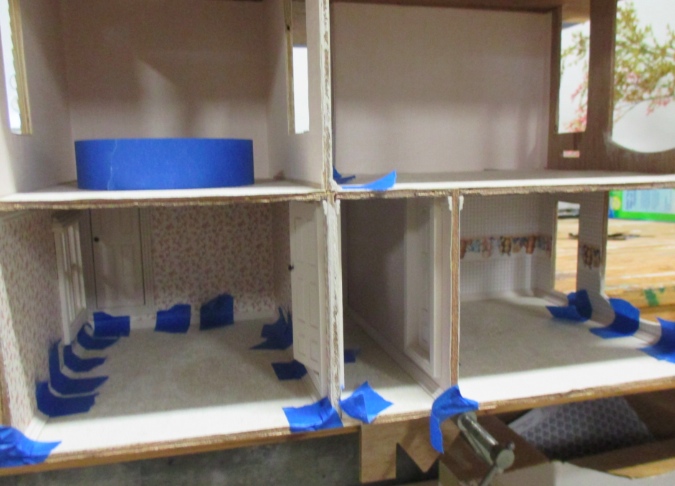
Finally, I added crown molding to both bedrooms and the hallway on the second floor.
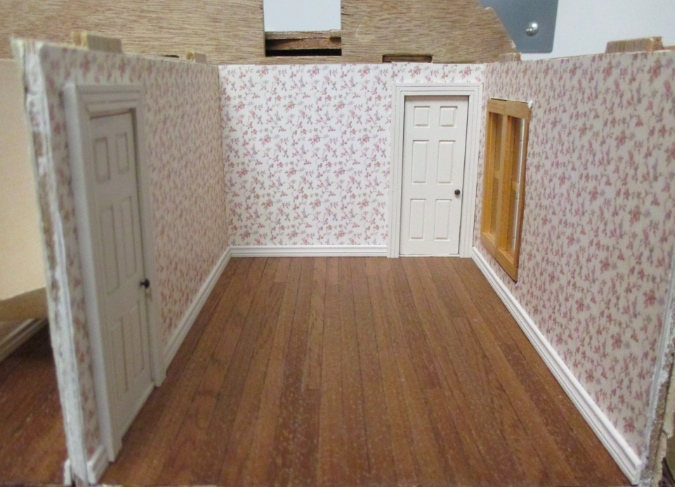
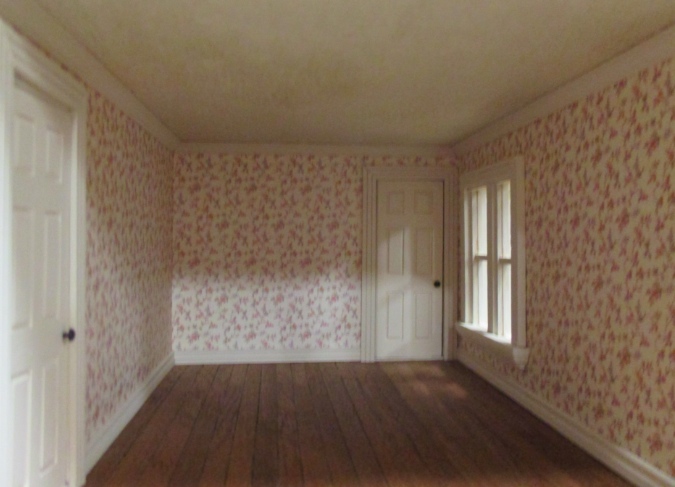
Here’s the finished girl’s room #2.
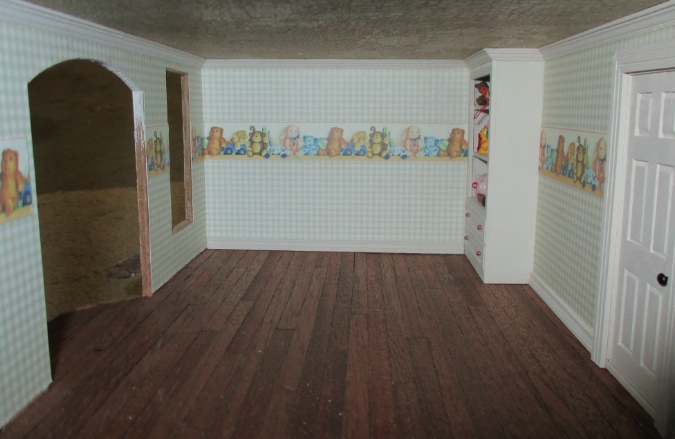
Girl’s room #1 still needs some work. I haven’t quite figured out how I want to do the bay windows yet.
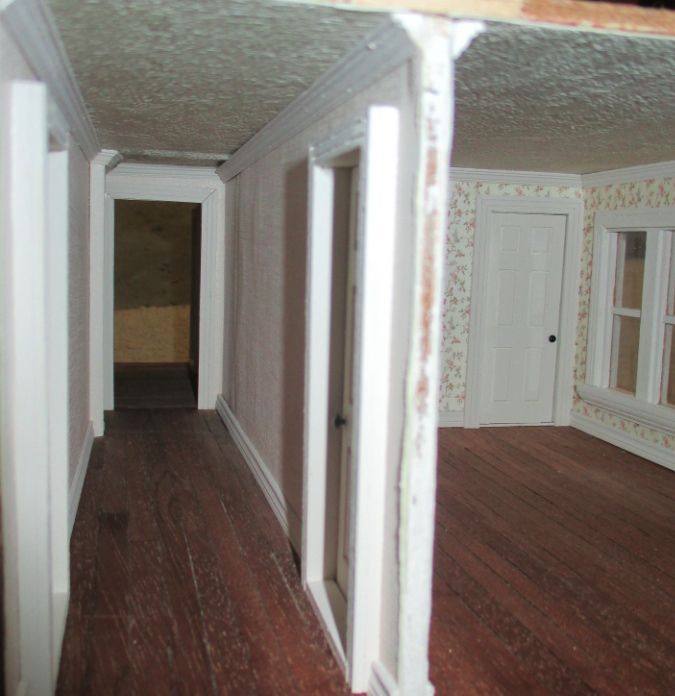
Here’s the finished hallway. There is a visible hump where the two kits meet here, too, but hopefully not too obvious if you don’t go looking for it. And I really like how the crown molding turned out on the left side, where it goes around the corner by the stairs.
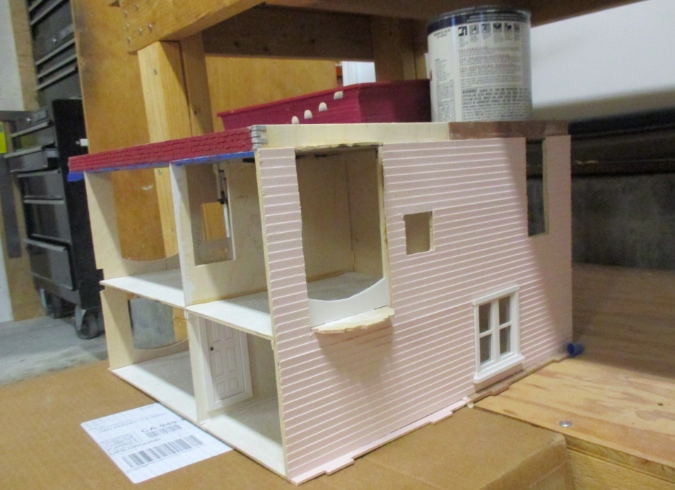
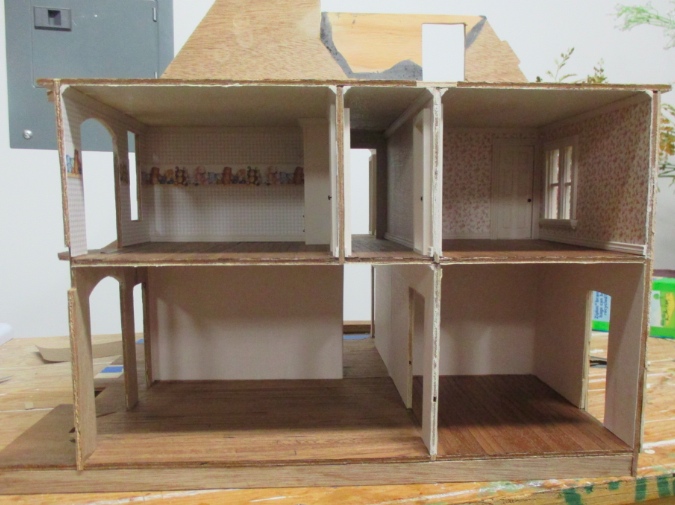
One more shot of this side of the house. I’m moving into a new real life house soon (!) and had to pack up all my dollhouse stuff in anticipation, so it might be a while before I get back to the Victorianna, but this is a good stopping point.
 Emily is a freelance writer, miniaturist, and adventure game enthusiast.


Hope you have as much fun decorating your new real life house as you do the little ones! ;-)
I am reading these posts backwards because I can’t find where they begin, so it’s a bit confusing but I am loving what you are doing with this house – which I’ve now discovered is actually two houses! I couldn’t find a ‘Victoriana’ on the Greenleaf website, is that it’s name?
Sorry you had to go out of order! For future reference, at the bottom of a post there’s a “tag” with the house’s name – click that and you’ll find all the posts about that house, with the most recent on top. Then you just need to scroll to the bottom of the list to start at the beginning.
The house is called the Victorianna but it’s been discontinued for a long time. Sometimes it shows up on eBay. It’s a half scale version of the McKinley.