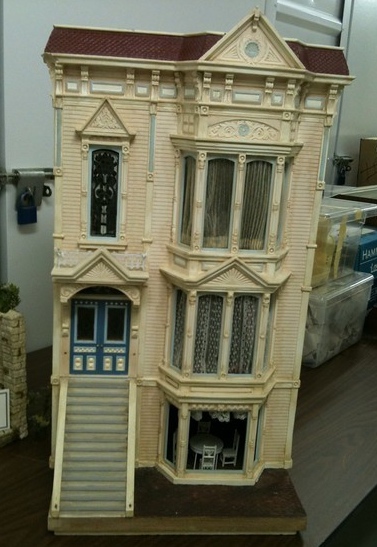
 First things first: someone who read about my Little Belle tipped me off to the one pictured at the right, which was sold in a silent auction in the Texas Showcase of Miniatures in 2012. (See here for details — I got the poster’s permission to repost the photo, though it’s been so long she might not remember! I found this in November 2014, just never blogged about it.) I emailed the Texas Showcase to ask where they got the house but they didn’t get back to me.
This brings the tally up to 10 known Little Belles, out of a production run of about 20. I still hope to uncover more of them! If you own or know of a Little Belle dollhouse that isn’t mentioned here or here, please contact me.
Anyway, since I bought the Little Belle almost two years ago, she’s been patiently waiting her turn. I actually did a little work on her last summer but didn’t get too far before I had to pack everything up for the move. Here, finally, are those photos.
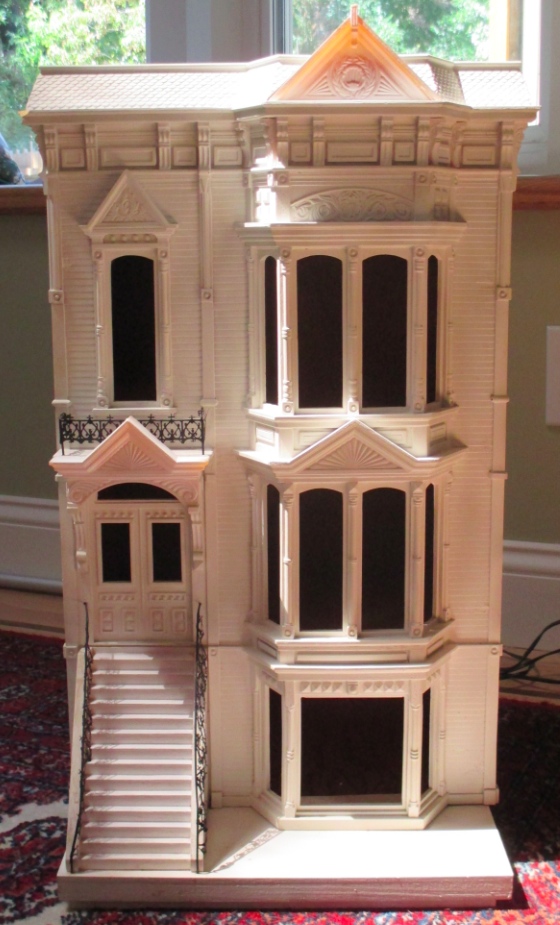
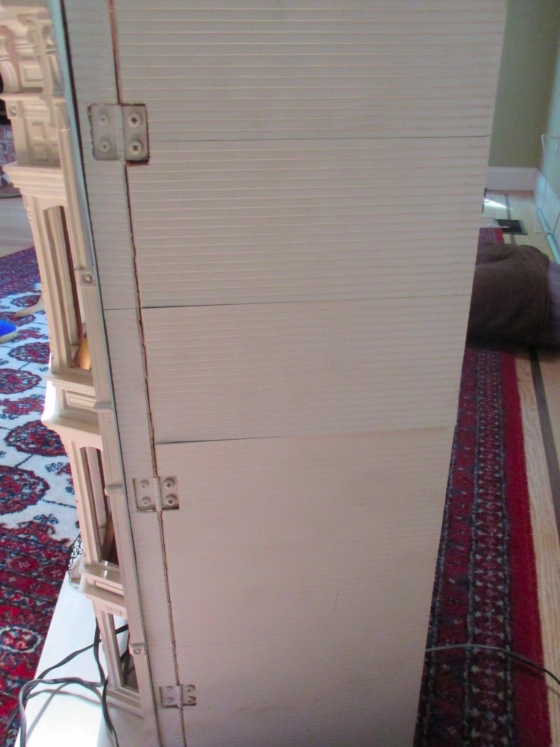
This is how the house looked when I got it. There were three things I wanted to address before painting: repair a crunched corner on the left side of the roof, re-glue the peeling siding, and replace the ugly hinges.
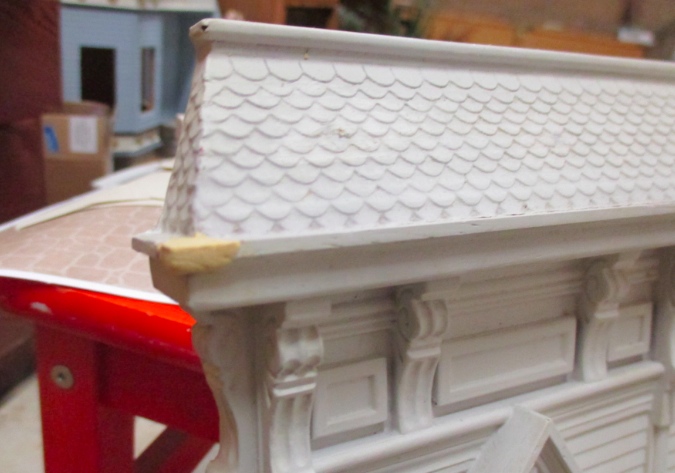
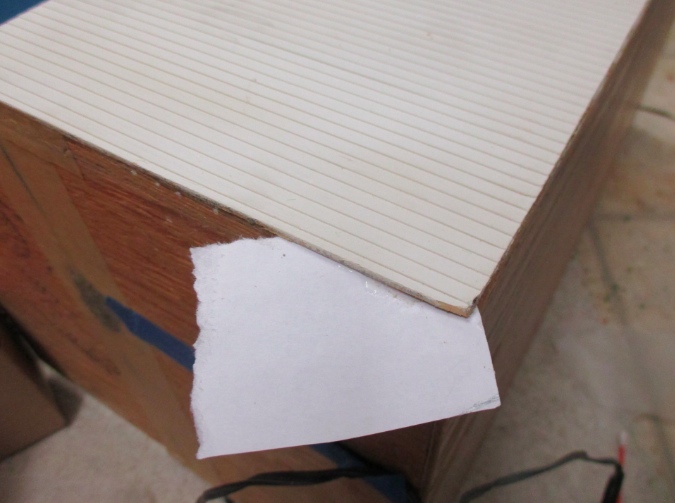
The front of the house is resin cast so I couldn’t fix the broken corner with wood. I clamped skinny sticks to the roof overhang to create a form and filled in the missing corner with wood filler.
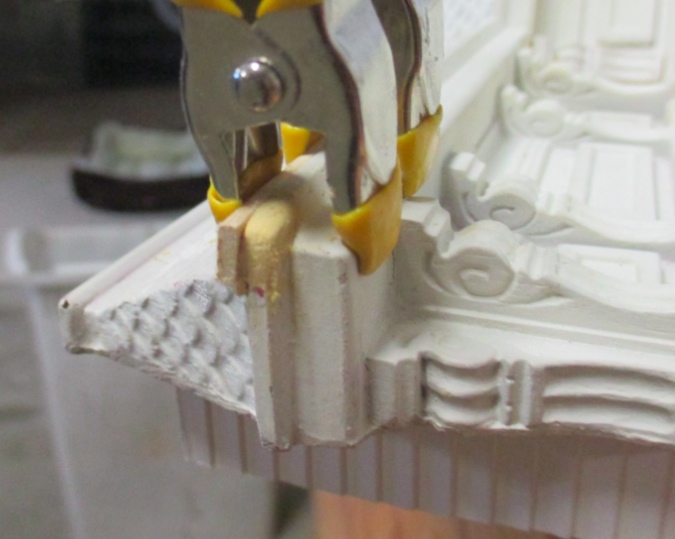
It’s not exactly a sharp corner, but it gets the job done.
Most of the siding sheets were peeling up where one sheet meets another.
I put wood glue on scraps of paper and slid the paper up under the siding to get it in there.
Then I taped the heck out of it while it dried.

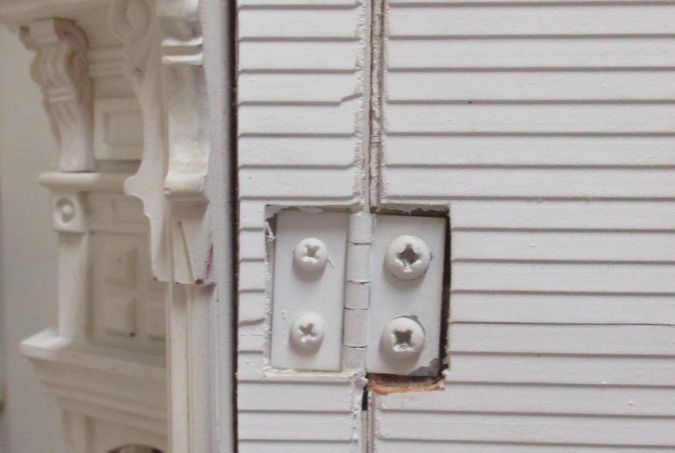
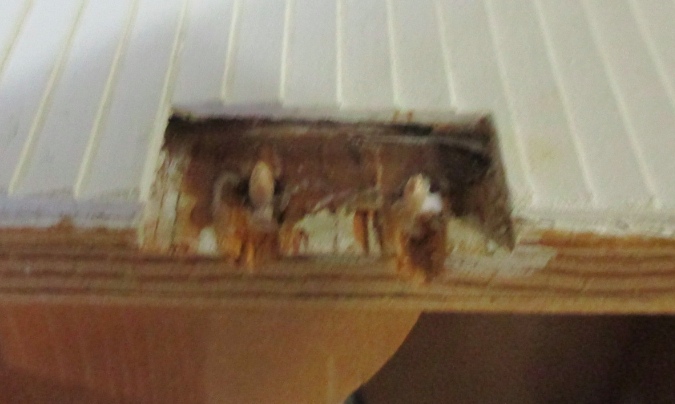
Finally, the hinges. This is what they looked like: white plastic with mismatched screws. Even if I replaced them with other hinges, I didn’t like how messy the cuts in the siding were.
After I bought this house, I had a few phone and email conversations about it with Jim Marcus, one of the creators. I remembered him telling me that he didn’t mind if his houses had visible hinges — that you shouldn’t try to hide the fact that a dollhouse is a dollhouse. That stuck with me, especially since I’d had such a hard time hinging the panels on my Queen Anne Rowhouse. If you can’t totally hide the hinges, maybe the next best thing is to go all out?
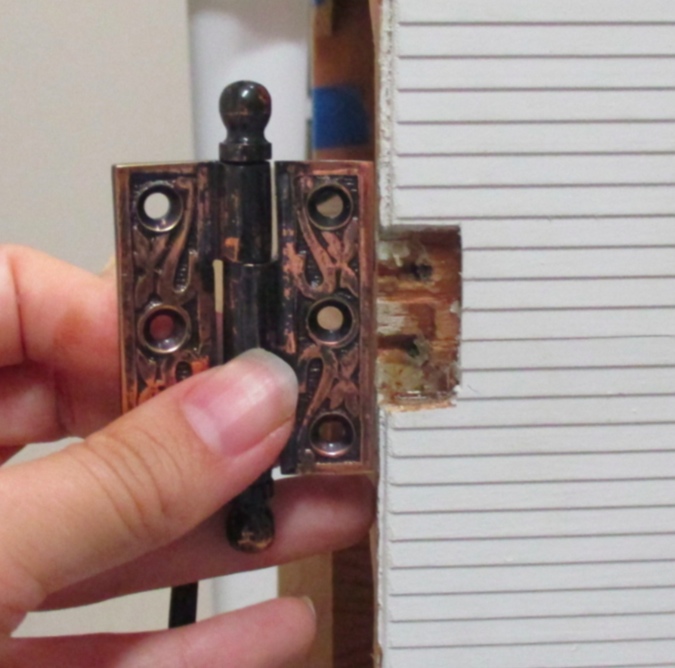
Looking for a Victorian solution, I ended up on Historic Houseparts, a website that sells antique and replica hardware. I decided on the Delilah Hinge because I liked the design and it’s big enough to fit over the entire hacked-out area from the old hinges, effectively hiding the messy cuts.
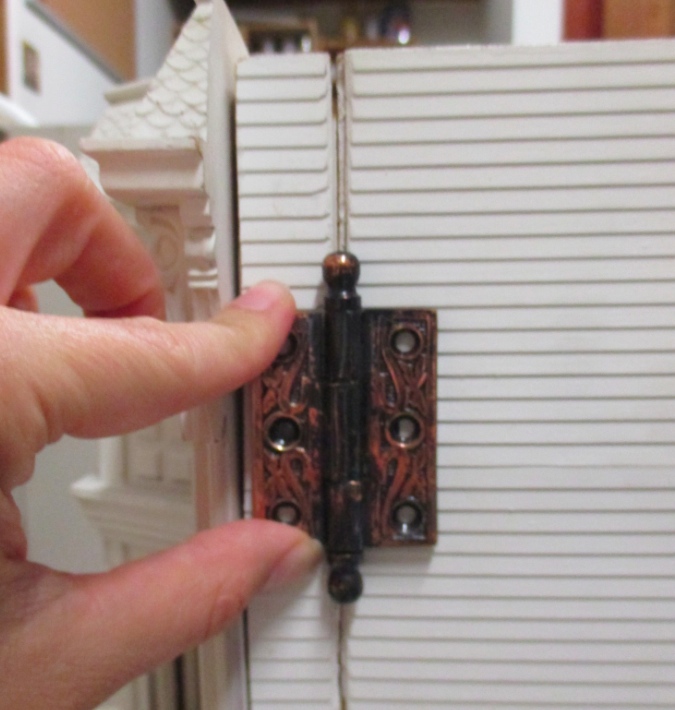
Here’s how the new hinge compares in size to the old one. It’ll be much more obvious, but that’s the point. The house is totally plain on the sides so the hinges won’t be competing with anything else, and will add visual interest as well as function.
I removed all three hinges, which were glued in as well as screwed. I used scrap basswood to fill in the holes.
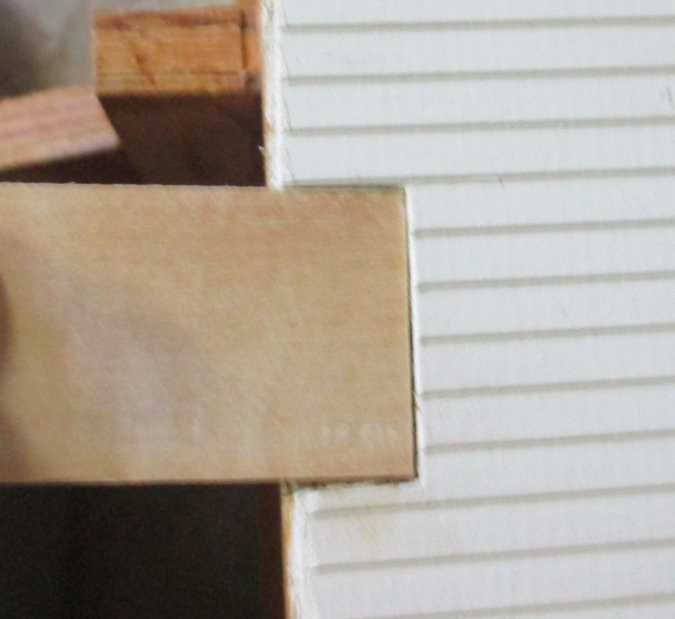
Before gluing in the patches, I glued toothpicks into the existing holes, just in case one of the new holes overlaps an old one. This is a trick my dad taught me when we put the panels on the Queen Anne Rowhouse.

With the toothpicks glued in, I cut them down with wire cutters. The nubs stuck up a little higher than I would have liked.
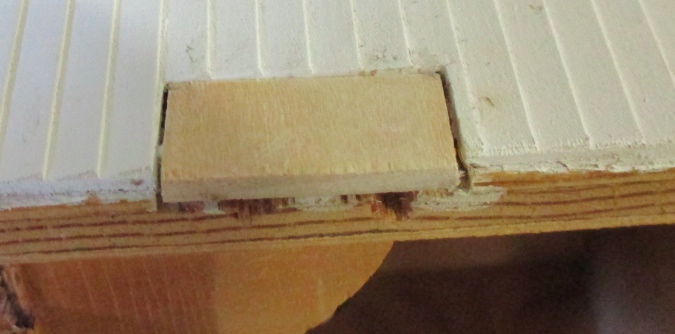
I glued in the basswood patches with wood glue.
I clamped the basswood down while it dried, since the nubs were interfering a little. I did all this on the front piece of the house, too, just didn’t take pictures of it!
With the roof corner fixed, the siding re-glued, and the old hinges removed, it was finally time to paint. I had intended to paint the house a creamy off-white but didn’t have anything like that lying around, so I grabbed a Behr sample named Haze that’s a very light tan.
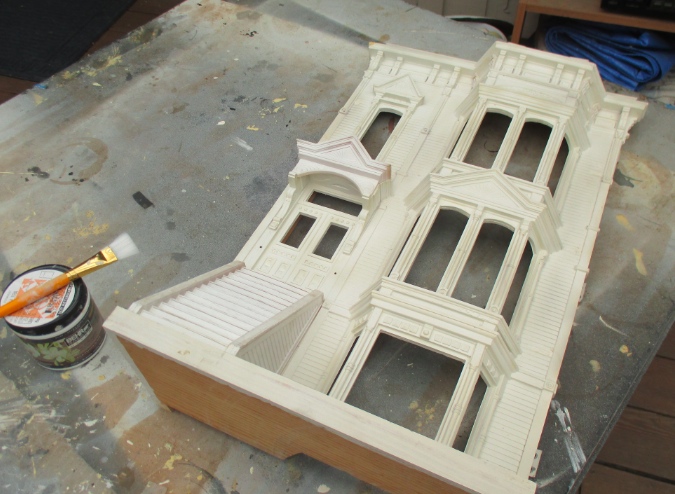
I was thinking if I didn’t like it I’d just redo it with a new color, but it took so long to paint all the frilly stuff (hours!), I didn’t really want to redo it. Also, it was hot out and the paint started getting thick while I was painting it, so I was worried about doing another 1-2 coats of a new shade and somehow messing up the delicate details by glopping so much paint on them.
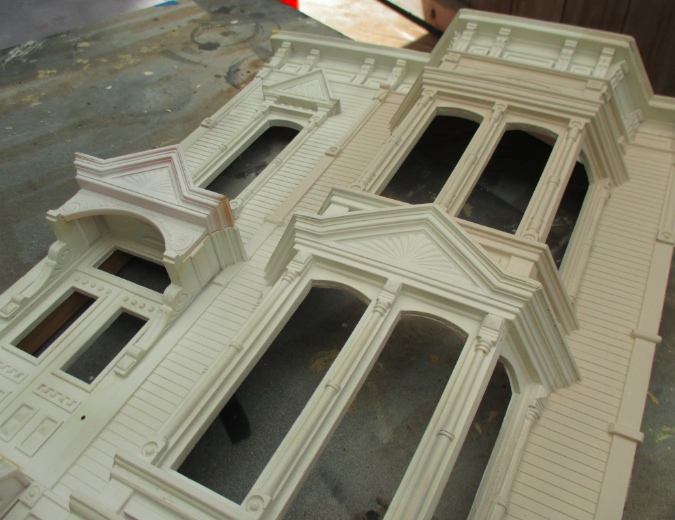
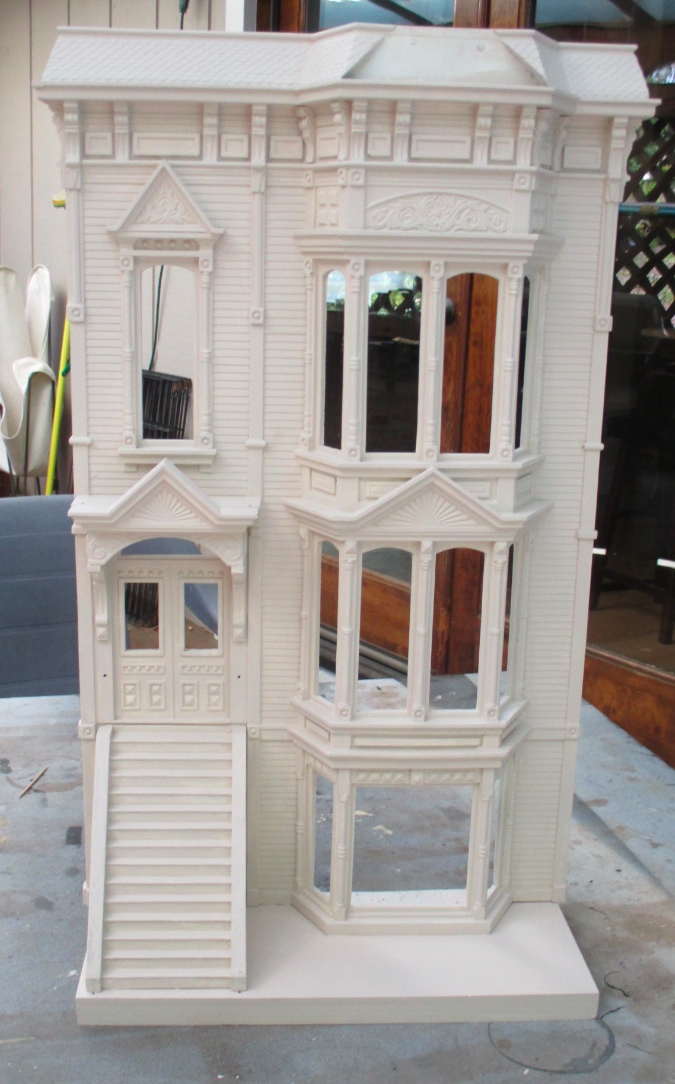
Here’s the painted front (the shingles are still the original white).
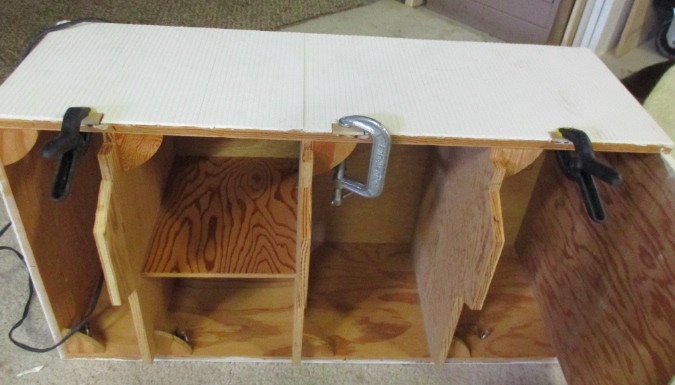
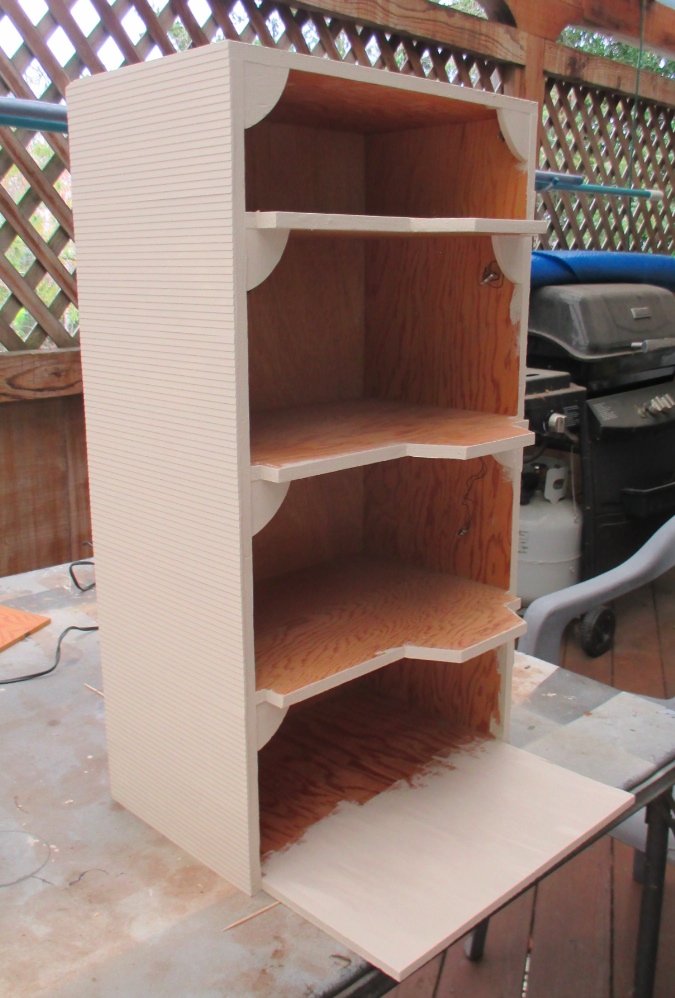
I also painted the cabinet.
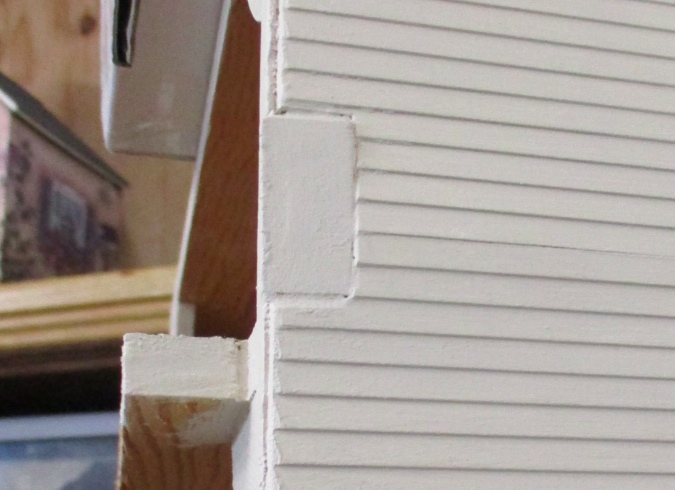
And here’s how the hinge patches turned out. These will be completely covered by the new hinges — hopefully you won’t even know they’re there!
Coming up next time: a copper roof!
 Emily is a freelance writer, miniaturist, and adventure game enthusiast.


I like the new colour.
What a beautiful design–I’m quite enchanted.