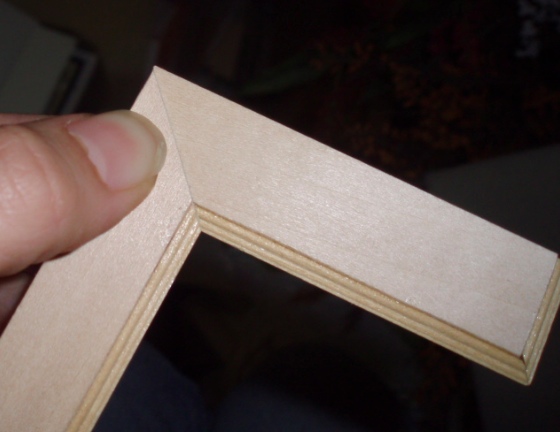
This is kind of a boring topic but I feel like I skipped over a step in documenting my final days on the Rosedale. Over the last month or so I got in all the windows and added some trim below the wallpaper borders that I think makes a big difference. So, here are those pictures. You’ve been warned.
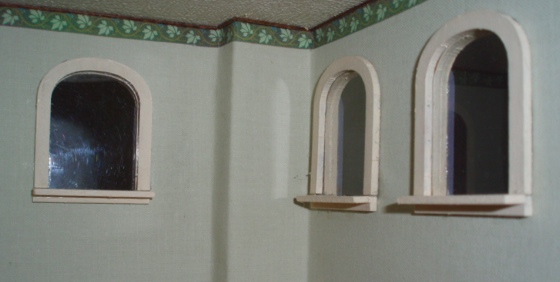
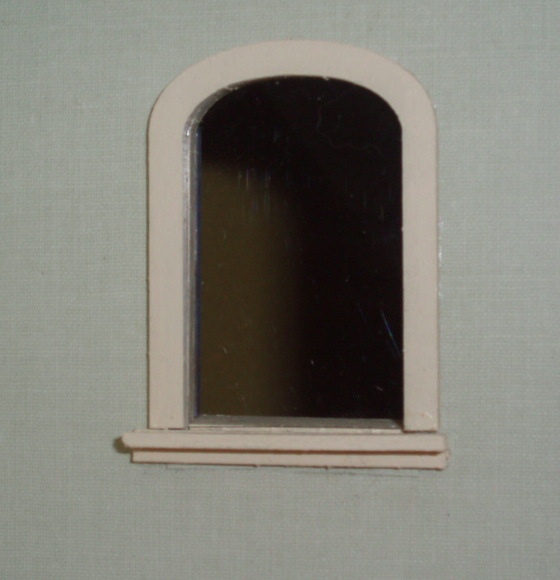
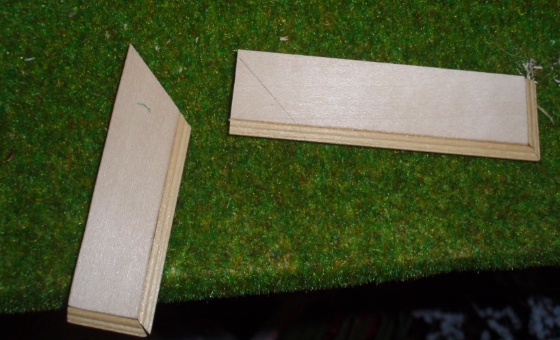
I don’t know what it is about this house… maybe after working on the Rowhouse with its Houseworks components I’m out of practice with the smaller, more delicate pieces of a Greenleaf laser cut kit… but I had a terrible time getting these windows in. First I had to cut out acetate and glue it to the frames without getting glue all over the windows, which is something I’ve never been good at. (I didn’t use the acetate that came with the kit because I wanted clear windows without the decorative design.) I added little pieces of strip wood below the sills, and it was easy enough to glue these pieces of wood together but for whatever reason, the window frames didn’t want to stick to the walls. With ceiling heights less than 5″ tall and no window hole to stick your hand through for leverage (because it’s now covered up with acetate), this was not an easy job.
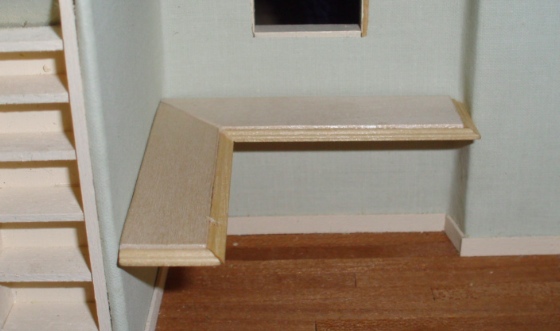
When cutting the wallpaper for the 2nd story family room, I apparently got over zealous and cut too long of a hole on one of the windows. The sill didn’t entirely cover it so I patched this with a small piece of leftover wallpaper.
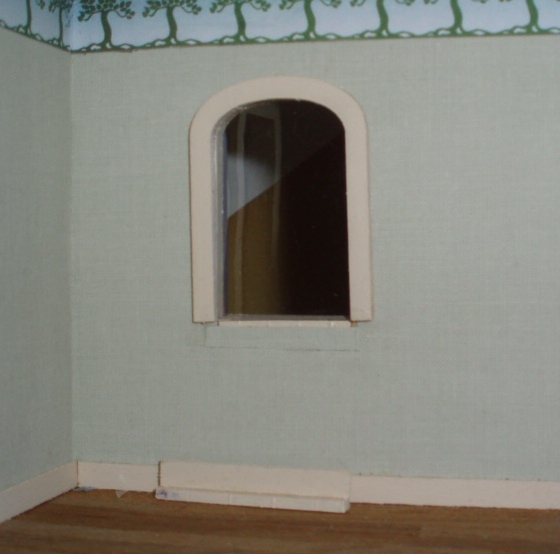
Here’s how it looks with the window sill up. You’d never notice it unless you knew to look for it, but it was driving me crazy at the time. Then I totally forgot about it until I saw these pictures, so mission accomplished I guess.
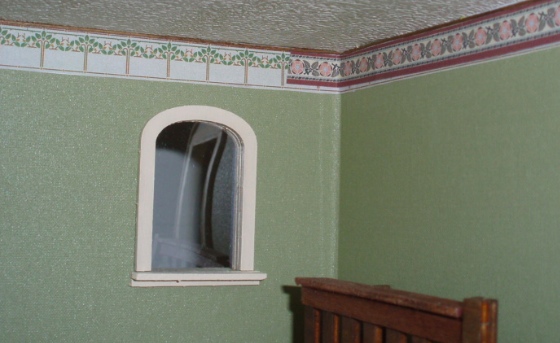
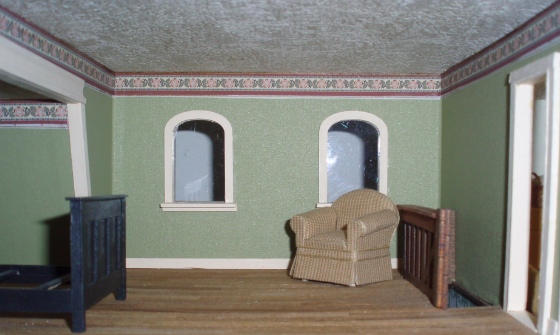
With the windows in, I turned my attention to the border in the master bedroom, which I’ve disliked ever since I put it up. I had some floral border left over from the Rosedale stairwell that went well color-wise with the green paper in the master bedroom, so I used that to cover up the border I didn’t like.

 Emily is a freelance writer, miniaturist, and adventure game enthusiast.

