The Den of Slack

emilymorganti.com

Page 59 of 239

Patching up the upstairs stair room

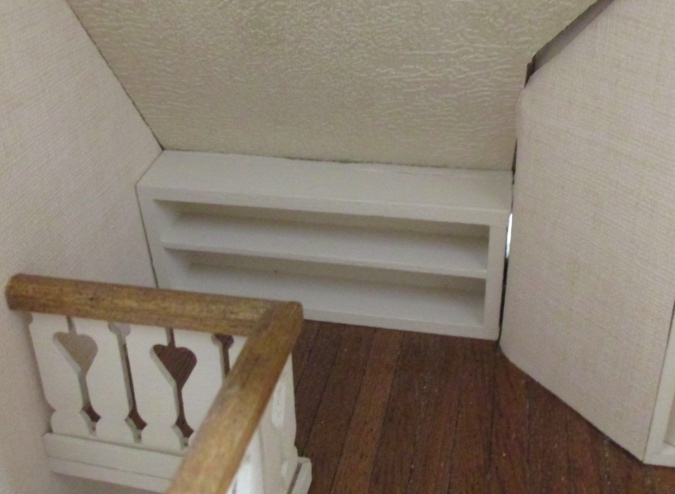
With the Rowhouse’s wallpaper and staircase fixed, I moved on to the upstairs room. I needed to patch the floor where the staircase had previously been, add railings so the little people don’t plunge to their deaths, and figure out how to handle the crown molding and baseboard around the Greyford bookcases I bought to go on either side of the window.

I didn’t think to take a picture of the floor when I started this process, but this one gives an idea of the area that needed patching:

Luckily, I had a few leftover pieces of the flooring I used. I tried removing some floorboards so the patch would be less obvious, but it was hard to pull them up without breaking them, which left remnants of the floorboard behind that were then tough to get off.

So I decided to start patching and see how bad it looked with the boards all meeting up in the same place, rather than staggered. The fact that the boards all meet up next to each other isn’t too noticeable beside the bookcase, but as the patch extended beyond the bookcase it would have become more obvious. So I got to work removing more floorboards by sliding the tip of my utility knife or a razor blade under the edge and prying them up.

Some came off more easily than others. Luckily this tapewire isn’t attached to anything so I didn’t have to worry about damaging it.

When I got to the edges I needed two irregular pieces. The floorboards splintered if I tried to cut them, so I used basswood for these.

All patched!

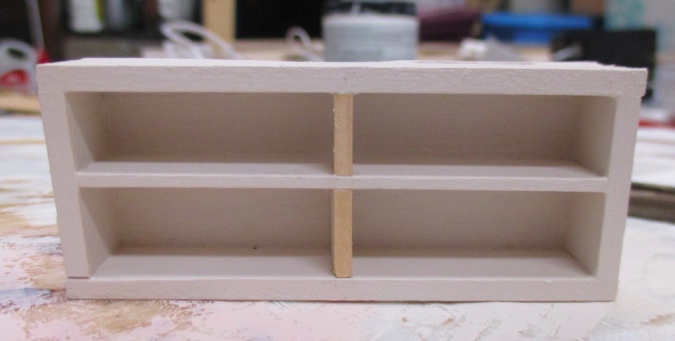
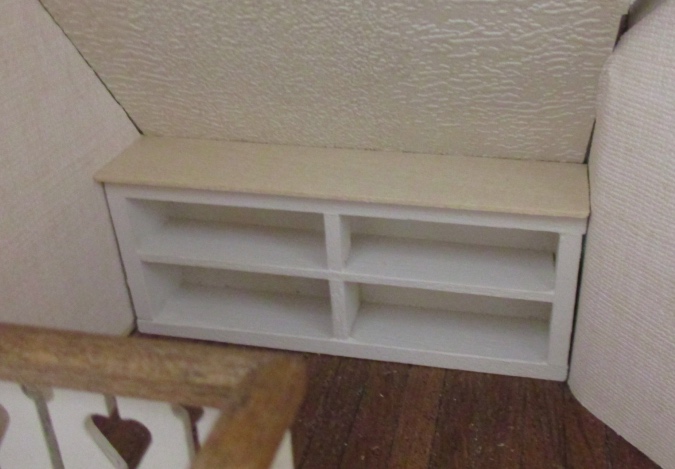
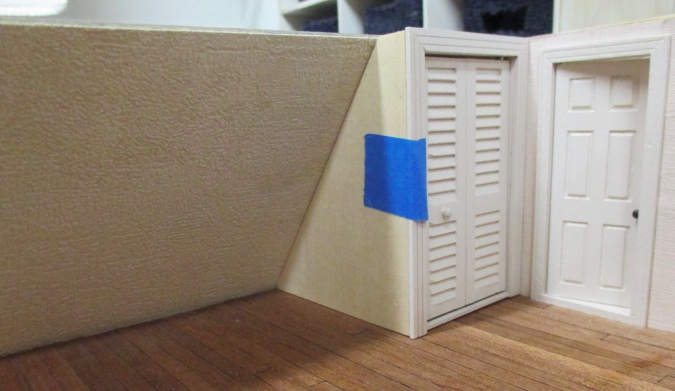
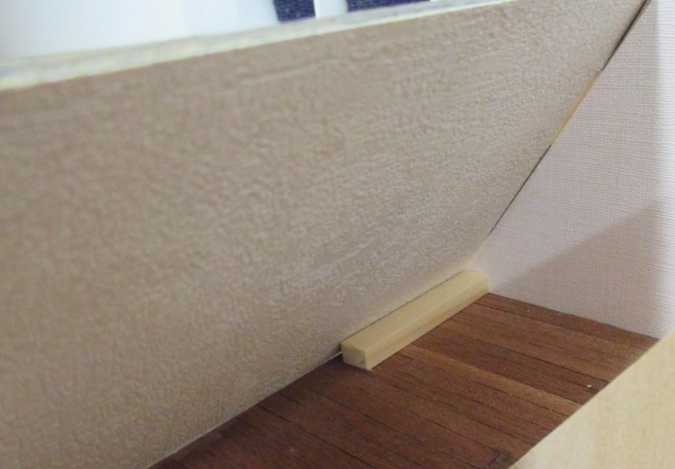
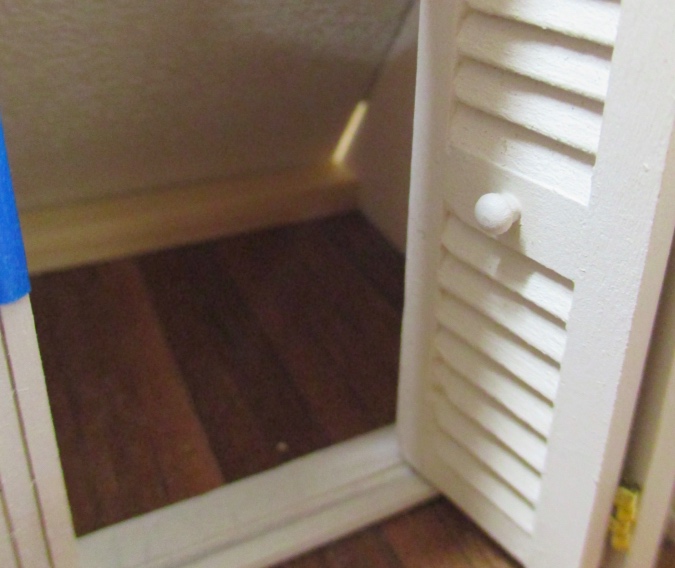
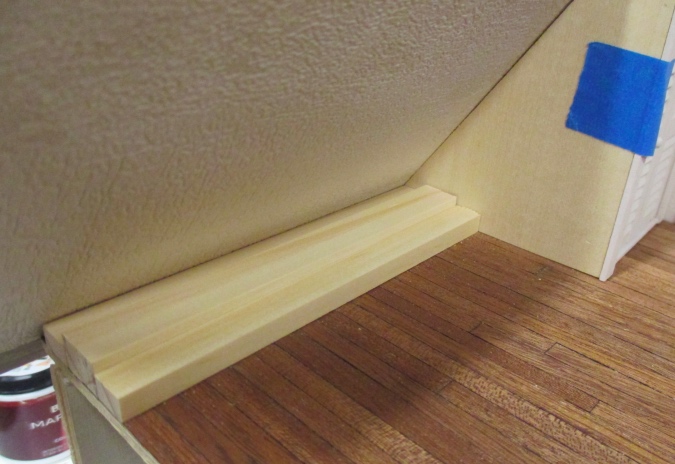
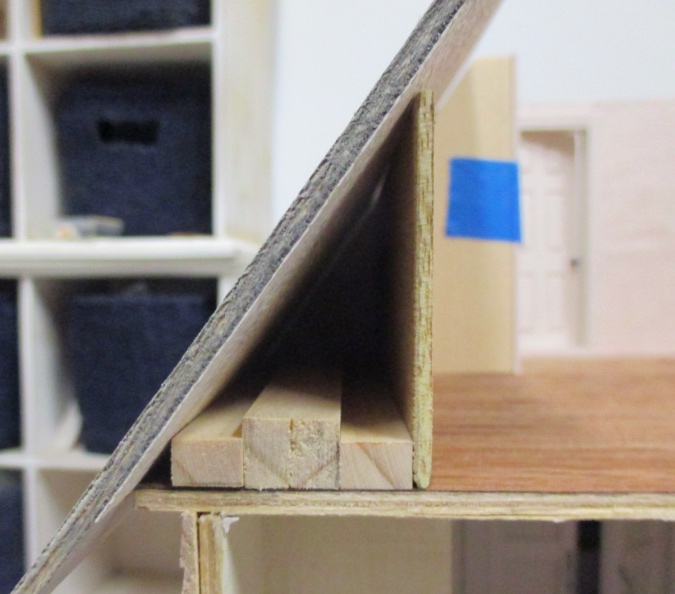
The Greyford bookcases are 4.75″ tall and the ceiling height is 5″. That left too small of a space above the bookcases to fit the crown molding. I decided to add wood to the bottoms, so the bookcases go all the way to the ceiling. Then I’ll just put crown between the two bookcases rather than running the crown around the top (which would have been complicated by the trim at the top of the bookcase).

These bookcases are supposedly “new walnut” finish, but they’re darker than other new walnut pieces I’ve bought in the past. Here’s the bookcase next to a new walnut kitchen cabinet I’m going to use in a different house. The lighter color was what I was expecting when I ordered the bookcases.

I tried all my different stains to find a match and this was the closest I could get. This is Minwax Mahogany gel stain.

The base blends in better on the far bookcase, which is in shadow, than on the close one, but hopefully once the room is finished that won’t be where your eyes go. While I was working on this, the settee I ordered from JBM in Australia arrived. I like it!

Continue reading

Fixing the Rowhouse staircase

With the new wallpaper in, here’s how the Rowhouse’s staircase looked when I slid it back into place.

There was always a gap between the staircase and the wall, but I think it got worse as a result of the extra thickness added by the new wallpaper and the sanding I did on the top side of the stairs to make them fit.

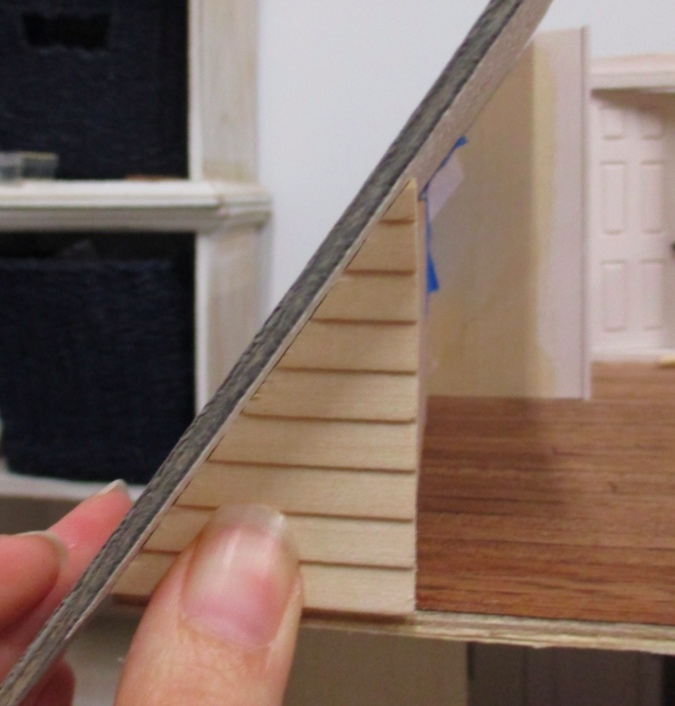
I glued in strip wood to fill in the gap at the side.

The bottom three steps don’t meet the wall.

I decided to fix this by adding strip wood to the fronts of the steps. I also made a new piece for the landing.

Before sliding in the stairs, I had made a paper template for the wallpaper.

Here it is with the wallpaper and trim back on. No more gap!

Continue reading

Rowhouse stair sconce, and yet another electrical disaster

Fixing the Queen Anne Rowhouse’s wallpaper requires installing two new lights, which always has the potential to go horribly wrong. The Rowhouse is wired with tapewire, and all of the lights are attached with brads to the tape underneath the house. There are also two outlets plugged into the tapewire, in the two bedrooms.

On the second floor, I used a 1:12 Scalloped Shade Ceiling Lamp with the wire running under a false ceiling, behind the wallpaper, and through a hole in the floor under the staircase. Because of the big open space next to the staircase, I didn’t have to drill a hole between the two stories.

(Before removing the plug to install this, I plugged it into the outlet in my bar roombox to make sure it worked. It did — but my hand bumped and broke the strawberry margarita glass in the process. Not a good omen.)

On the first floor, I decided to add a sconce to the staircase wall, with the wire again going through floor under the stairs.

I bought a 1:24 globe sconce, which has mysteriously disappeared from Miniatures.com’s website in the weeks since I bought it. It’s the same as the sconces I used on the bar. I bought this not because I wanted that style, but because I planned to replace the globe with the cranberry shade from the lamp that was previously hanging from the second floor staircase. I tested the shade on one of the bar lights, and it fit, and looked pretty cool. (But I didn’t take a picture, and I’m not going to now, lest I break something else in there!)

Unfortunately the shade didn’t fit on the new globe sconce — it got stuck one turn in, like the threads didn’t line up. I didn’t want to force it and end up with the shade stuck on the lamp, which won’t do me any good if I ever need to change the bulb. But I didn’t want to use the plain globe, either, so I ended up taking the shade off a Frosted Shade Oil Lamp that I’d planned to put in the bedroom. You’ll see a picture of it below.

But first! Before removing the plug and attaching it to the stairs, I plugged the sconce into the outlet in the Rowhouse’s bedroom to make sure it worked. The last time I turned on the lights in the Rowhouse was before I moved, more than two years ago. I was also using a new transformer for the first time. What could go wrong?

Continue reading

« Older posts Newer posts »

© 2025 The Den of Slack

Theme by Anders NorenUp ↑