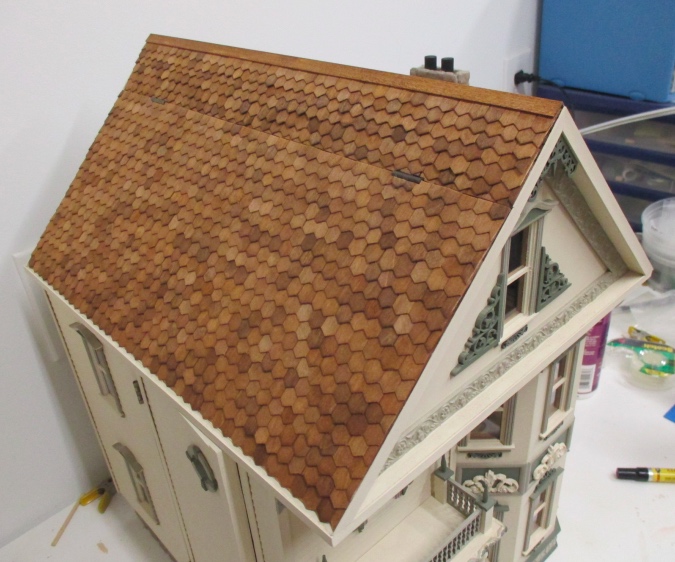
I’m at the point where I could attach the Victorianna’s roof, but after spending so much time shingling the Rowhouse I just don’t have it in me to do another roof right now. So I moved on to the last room in the house: the kitchen.
I wanted to use the same tan wallpaper I used in the second floor bathroom (which has the same texture as the pink wallpaper used in the rest of the house), but I don’t have any more and it’s discontinued. Instead I papered it with a heavy off-white scrapbook paper that also has some texture to it.
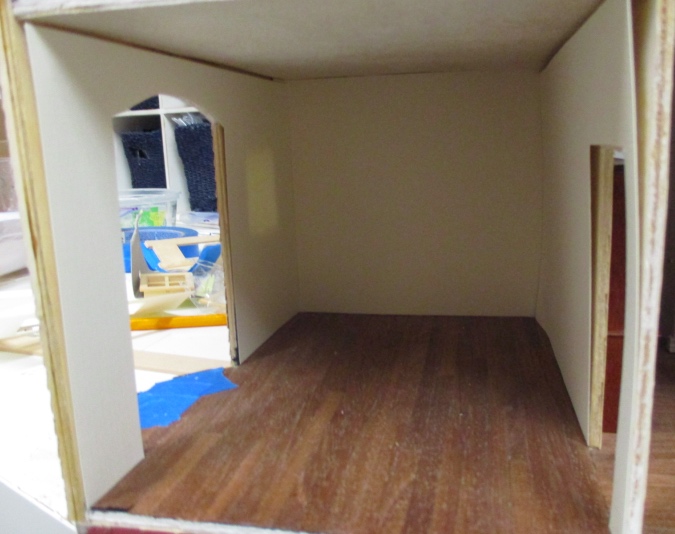
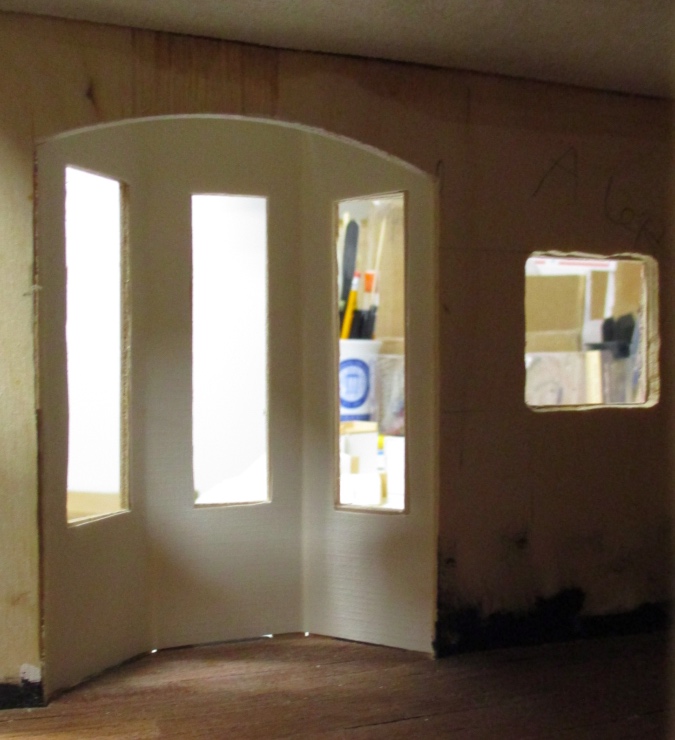
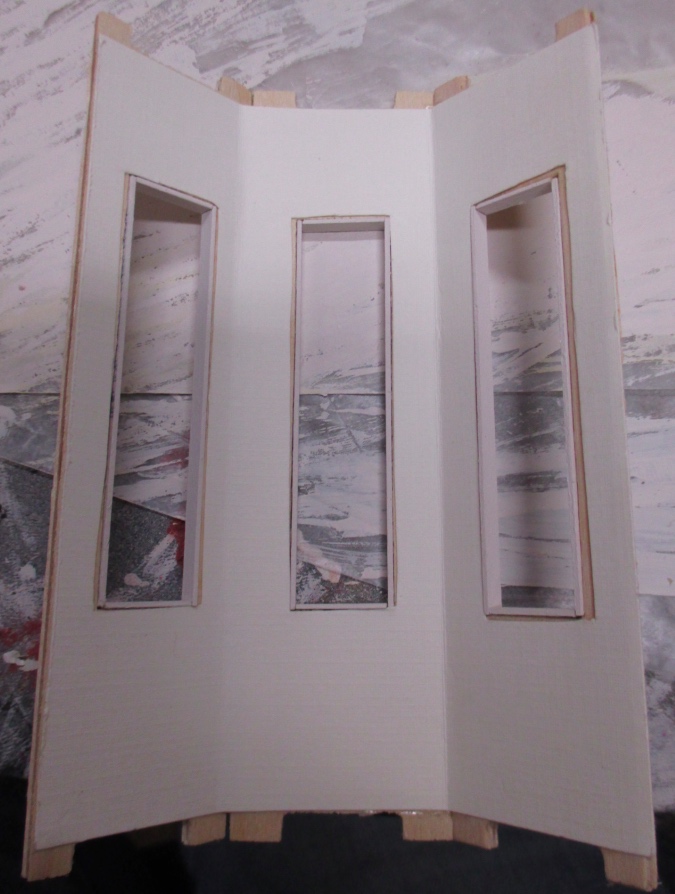
It’s too difficult to slide the wallpaper up behind the archway, especially with this stiff scrapbook paper. When I did the other four bay windows, I slid the wallpaper in through the gaps in the sides. I couldn’t do that in the kitchen because I’ve already added siding to the back of the house, blocking off those gaps. Luckily I hadn’t glued in the bay window wall pieces yet. With one of the walls removed, I was able to slide the wallpaper in.
I put that wall panel back in, creased the paper at the joints, and cut out the window holes.
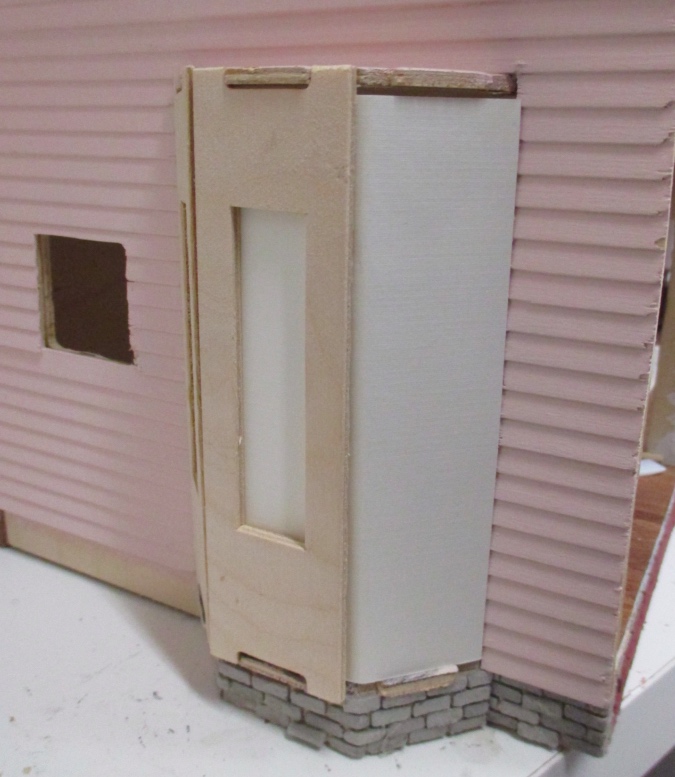
Then I removed the wallpaper from the opening and glued the three wall pieces together. These are only glued to each other, not to the house yet.
When the glue was dry, I was able to remove the assembly to add wallpaper and trim. This was much easier than doing it with the bay window in place (which is how I did the other four).
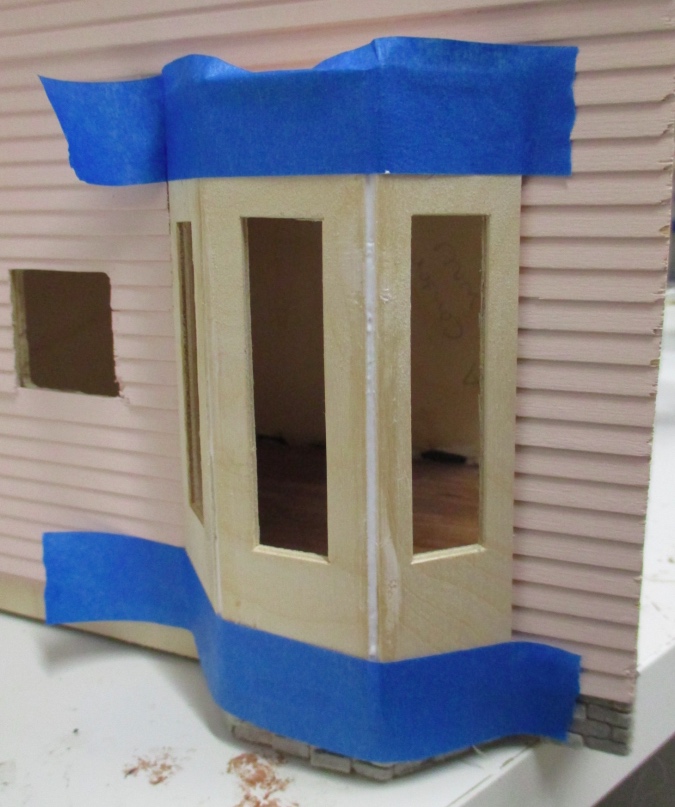
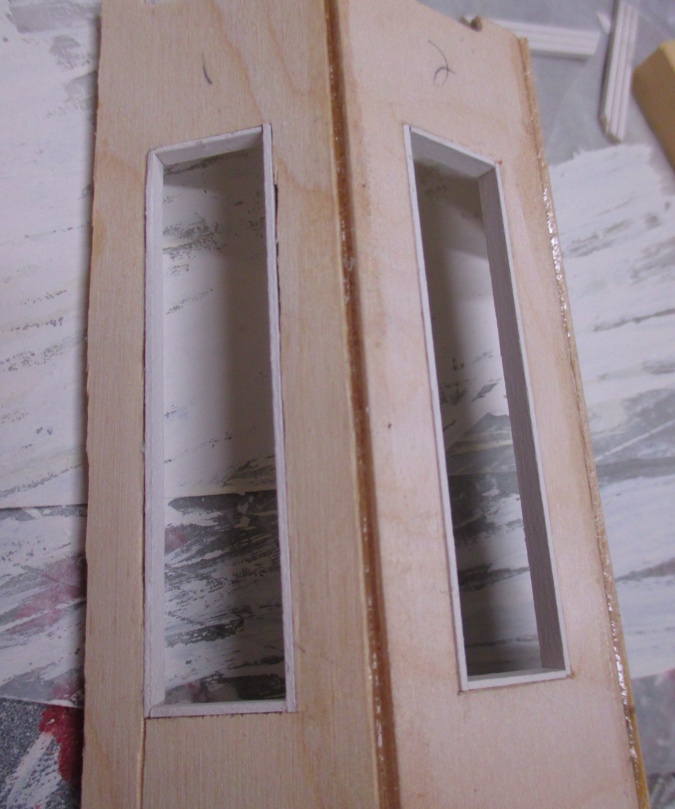
I added painted strip wood to the inside edges of the window holes.
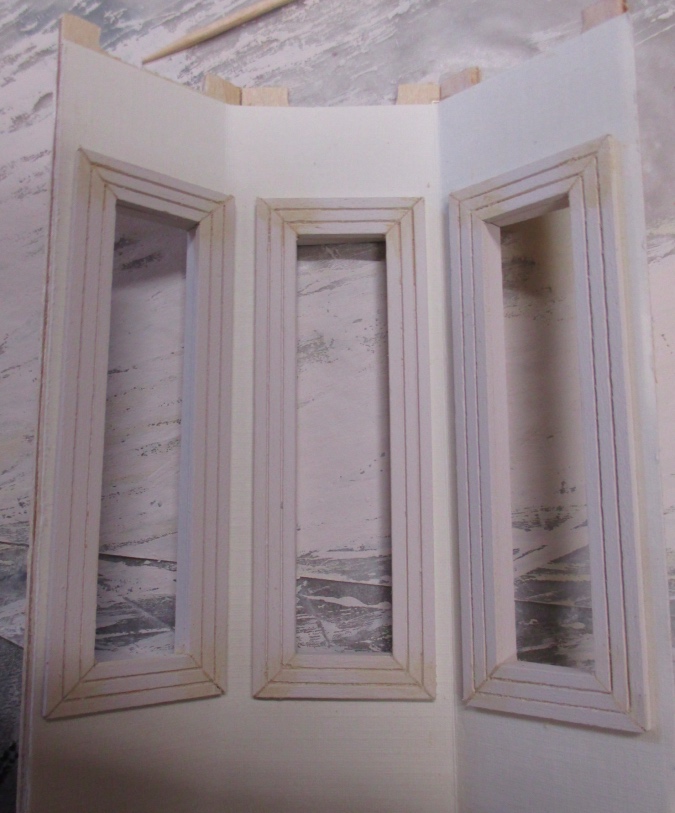
Then I glued in the interior window trim, cleaned up the seams with wood filler, and touched up the paint.


 Emily is a freelance writer, miniaturist, and adventure game enthusiast.

