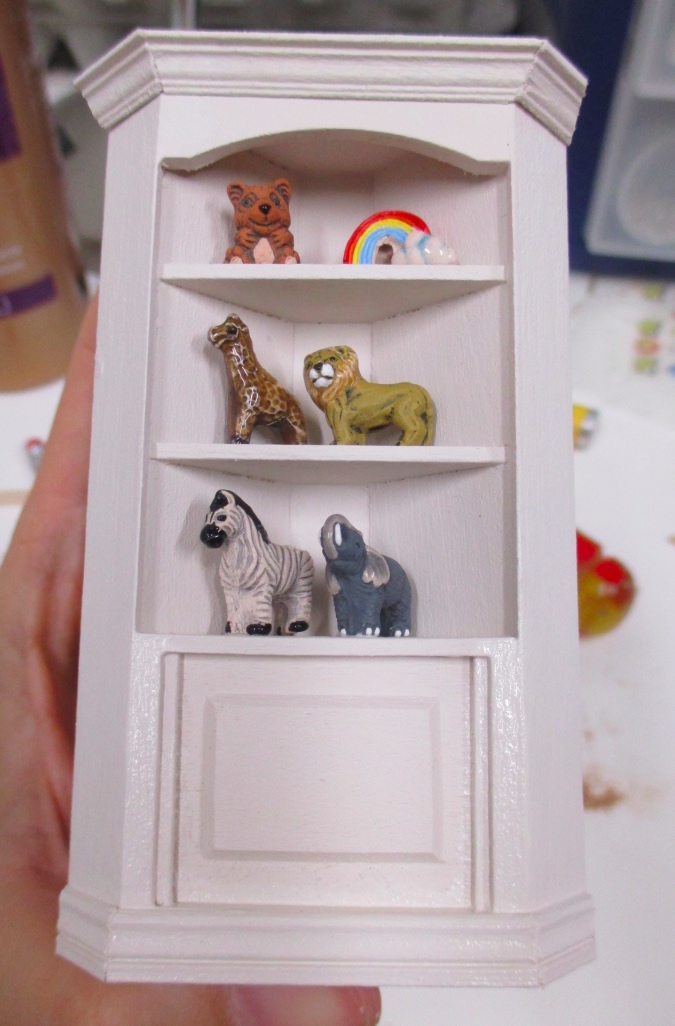
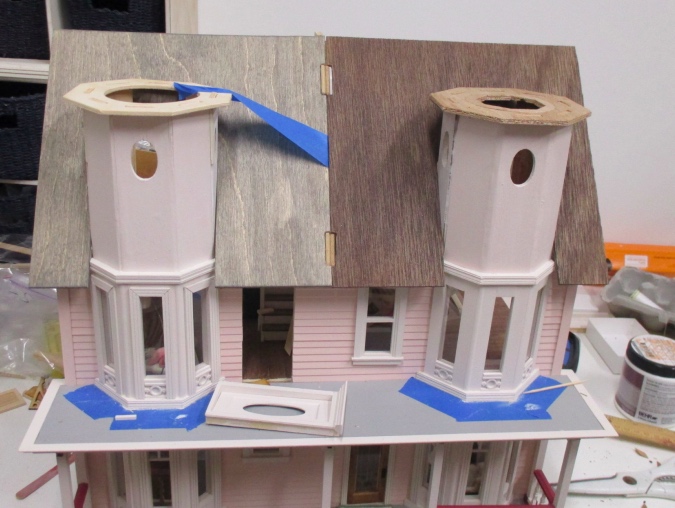
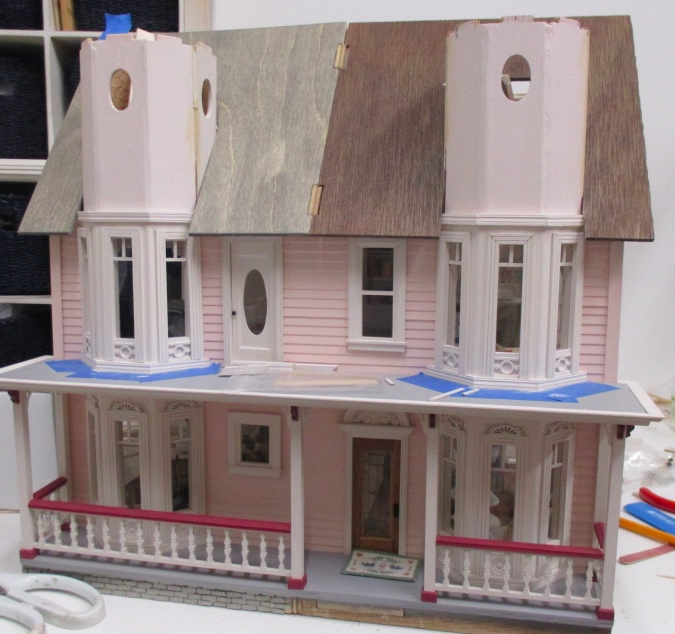
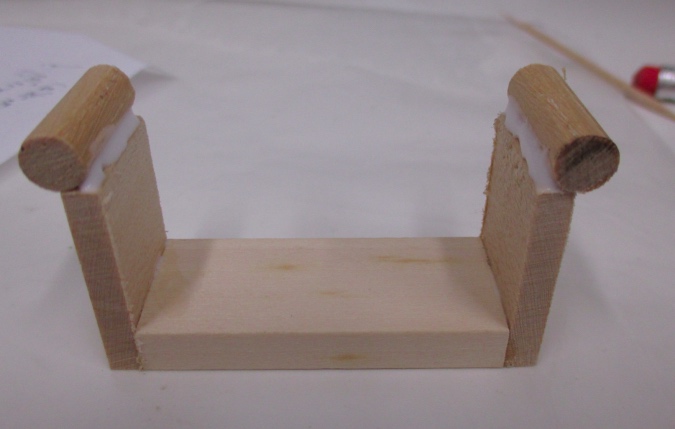
The Victorianna’s nursery is coming together. I’ve been working on trim, starting with the built-in corner cabinet. I can’t add crown molding until the ceiling is glued in, but I cut the pieces before gluing the cabinet into the room. I then glued them together, using the cabinet as a guide but not actually gluing the crown to the cabinet yet. This is a deep room, so having the crown glued together ahead of time should make it easier to install when the time comes.
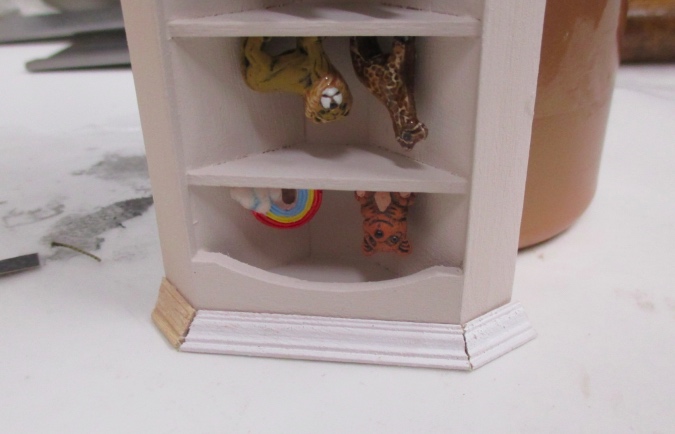
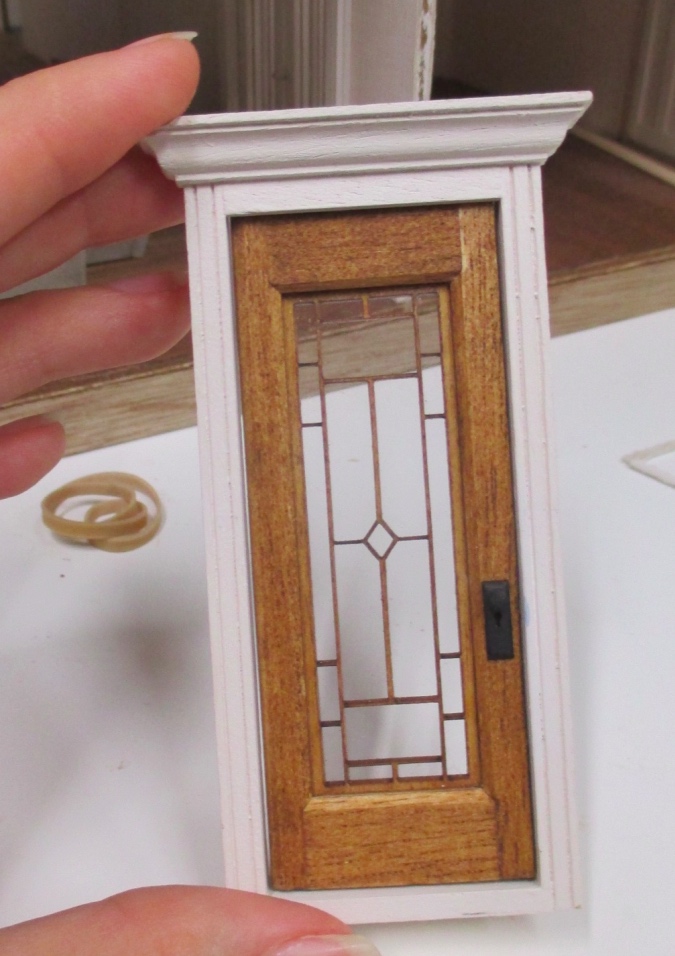
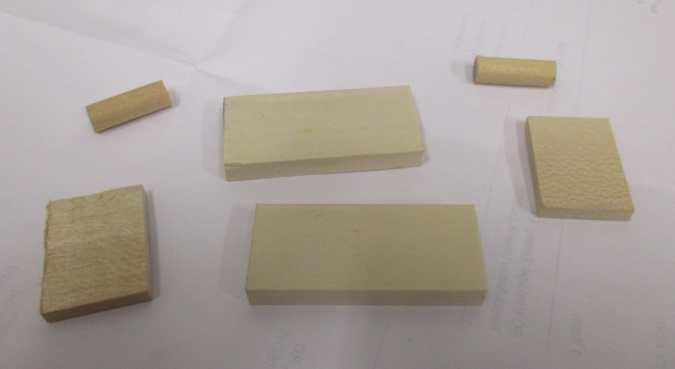
I recently bought a new miter box to cut 67.5 degree angles. (My other one only does 90, 45, and 60.) This will come in handy for the baseboards and crown molding around the towers, the corner shower in the master bath, and any other trim pieces that make up an octagon or a portion of an octagon. My old method was to cut 90 degree angles on one piece and 45 degrees on the piece that butted up against it, but then the back corners don’t meet up nicely. It’s an okay fudge if the corners will be covered up, but I want the trim pieces in the towers — and on this cabinet for that matter — to be nice and neat.
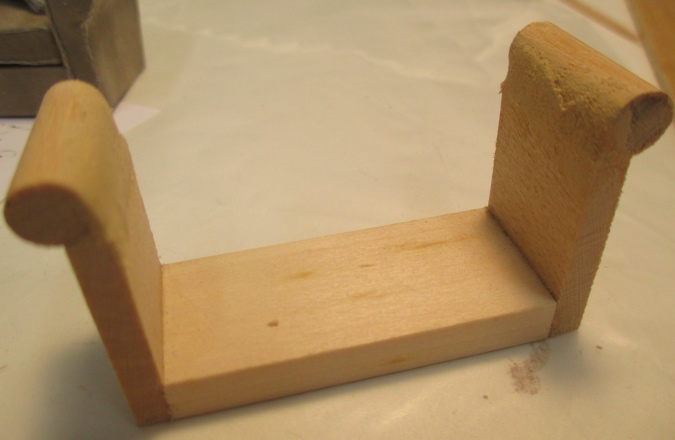
Next I cut the baseboard pieces, again at 67.5 degree angles, and glued them on to the cabinet. The edges that meet the wall are cut at a 45 degree angle to meet up with the baseboard there.
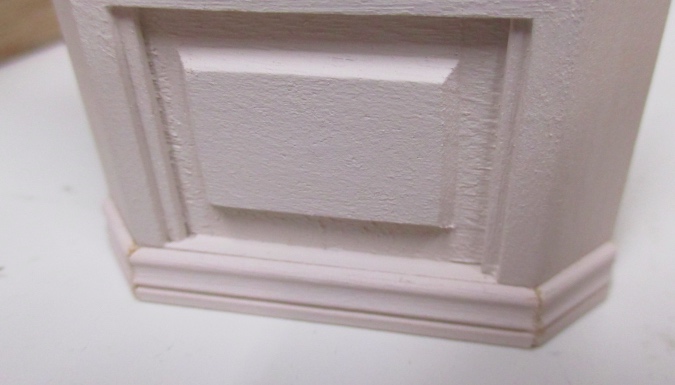
One last coat of paint, and now the cabinet is ready to be glued in.
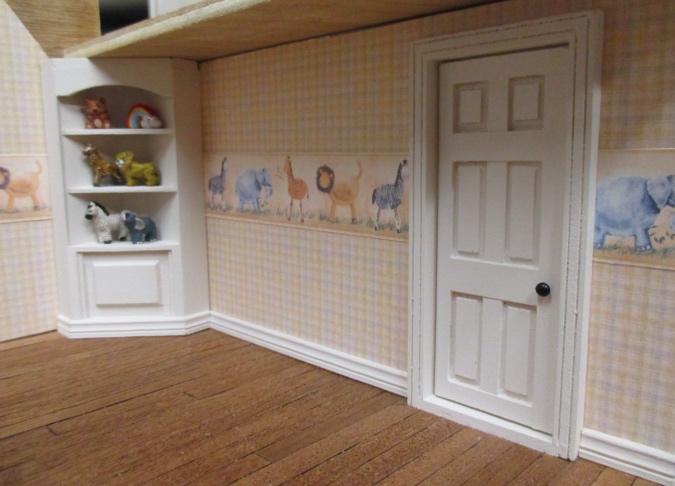
Here it is installed, along with the baseboard along this wall. That pesky zebra butt is gone forever!
I mentioned in a previous post that the baby I ordered was taking her sweet time getting here from the UK. She finally made it! I bought this clay doll from Sheryl Coupland on Etsy. Her dolls are adorably detailed and the prices are reasonable. She doesn’t have much half scale in her shop right now, but I have seen a lot of 1:24 dolls there in the past few months as I kept checking for the perfect addition to my scene.
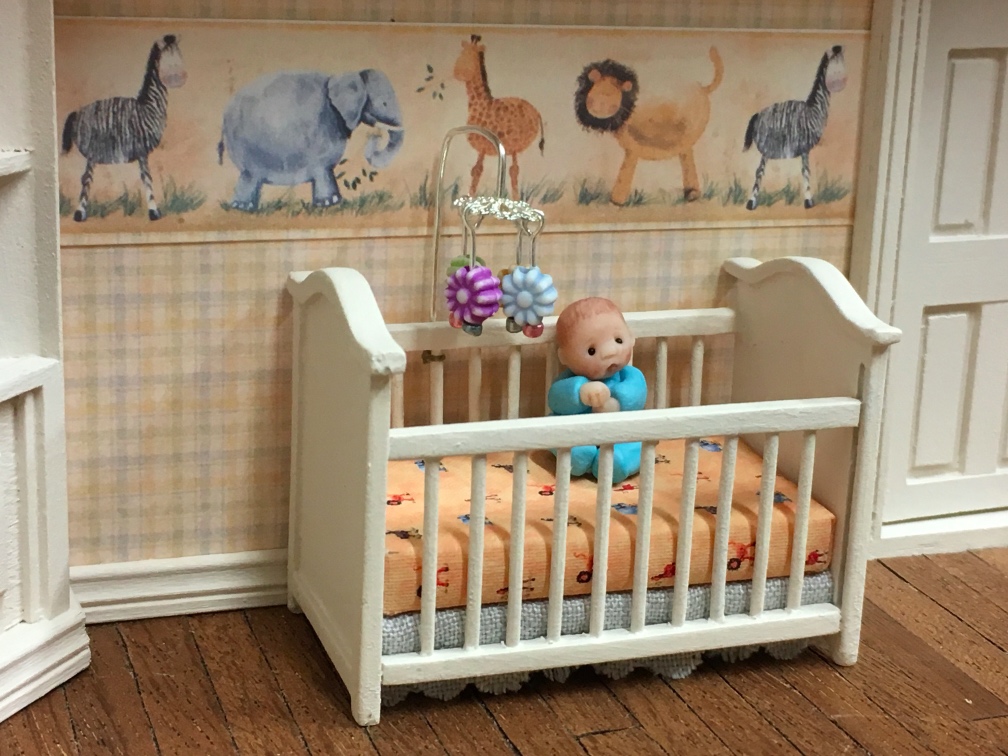
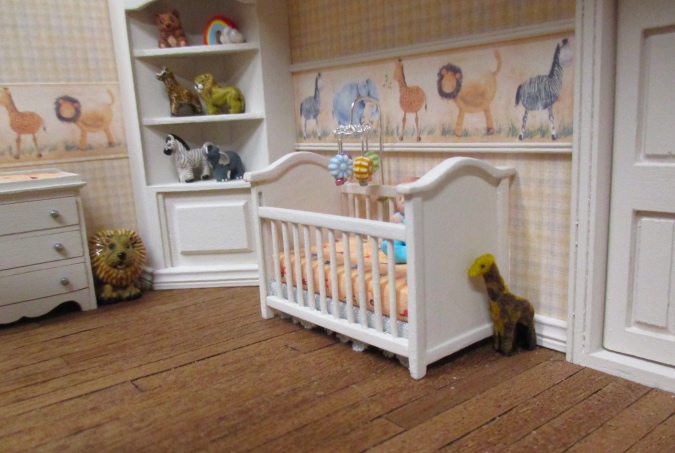
Like in the little girl’s room downstairs, I added 5/64″ double bead trim above and below the border strip. The flocked giraffe toy is a generous gift from Debora Loughner (dalesq at the Greenleaf forum) — she added nail flocking powder to a plastic toy. The detail is amazing.
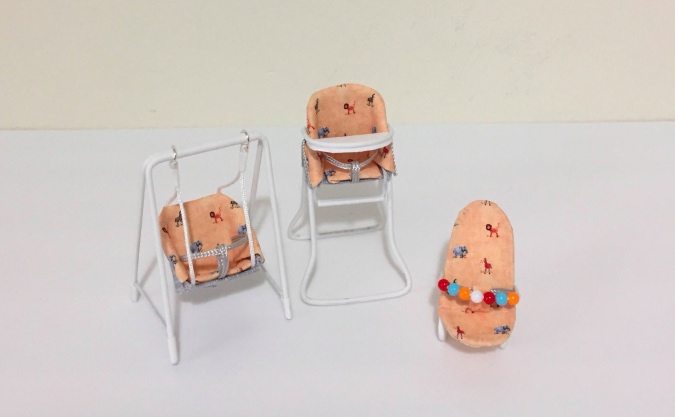
Here’s my other exciting Etsy purchase — a custom-made bouncy chair, high chair, and swing from Jane Timms at Thimblemins. I had been looking for a high chair that didn’t look fake and I was blown away when I stumbled across this store but, as usual, everything was 1:12 scale. I reached out about doing a custom order in 1:24 scale. Lucky me, Jane said yes!
 Emily is a freelance writer, miniaturist, and adventure game enthusiast.

